Transforming your backyard into a personal oasis begins with the right shelter, and a well-constructed pavilion roof is the crowning jewel of outdoor living. Whether you’re a first-time DIY enthusiast or a seasoned home renovator, understanding the nuances of pavilion roofing can elevate your outdoor space from ordinary to extraordinary. Today, we’ll delve into the essentials that make up a sturdy and stylish pavilion roof, ensuring your haven is both functional and inviting.
In this step-by-step guide, you’ll gain insights into selecting the right materials, mastering construction techniques, and incorporating design elements that reflect your personal style. From foundational tips to advanced strategies, this guide is crafted to empower you with the knowledge and confidence to create a lasting retreat. Join us as we explore the art of pavilion roofing, and get ready to turn your backyard vision into a reality.
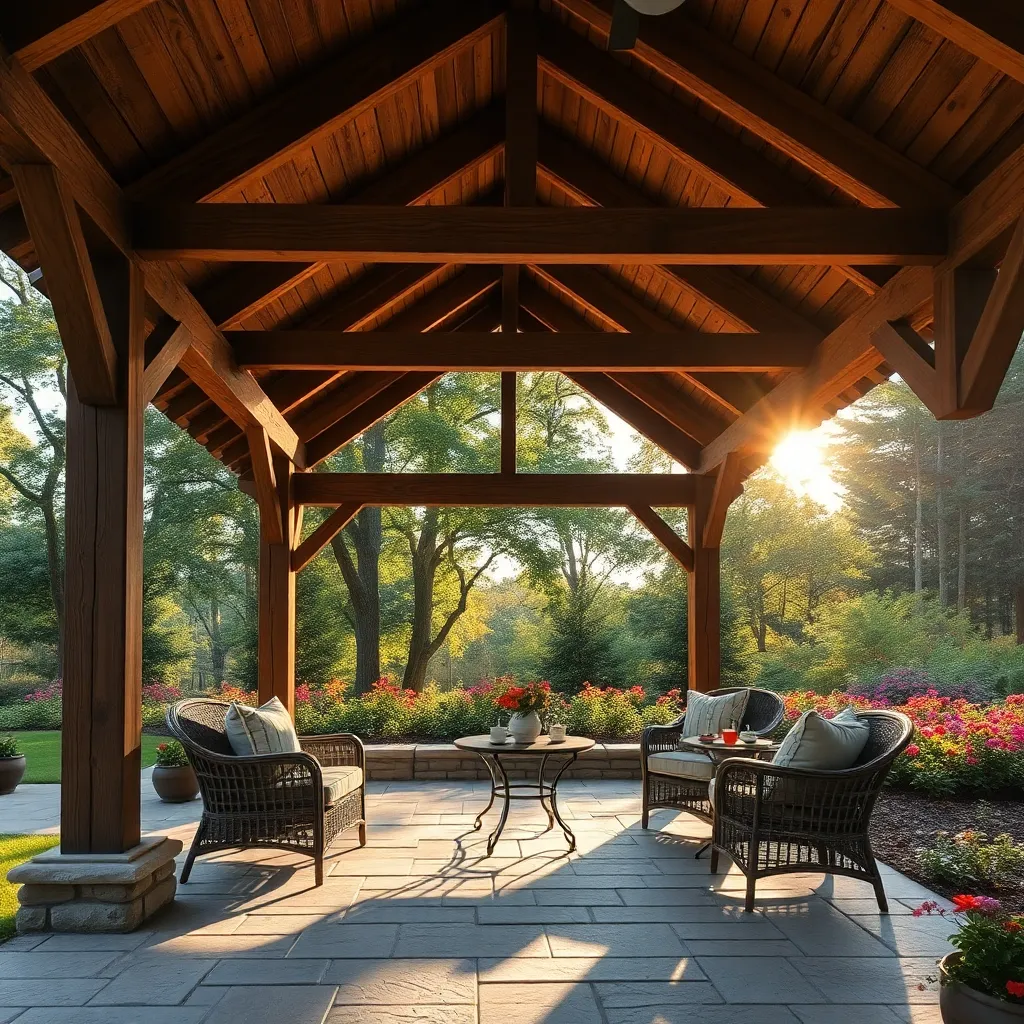
Assess Pavilion Structure Stability
Begin by ensuring that the pavilion’s foundation is solid, as this is crucial for long-term stability. Use pressure-treated wood or galvanized steel for the frame to resist weather damage and provide robust support. For added stability, consider setting the posts in concrete footings, ideally 12 to 18 inches deep, which will help anchor the structure against wind and weather challenges.
Once the foundation is secure, focus on the joints and connections to maintain the pavilion’s integrity. Use stainless steel or galvanized hardware, such as bolts and brackets, for durability and corrosion resistance. Cross-bracing techniques can be applied at corners for extra reinforcement, especially in areas prone to high winds. Always check that all connections are tight and secure, as these are critical points that ensure your pavilion withstands various weather conditions over time.
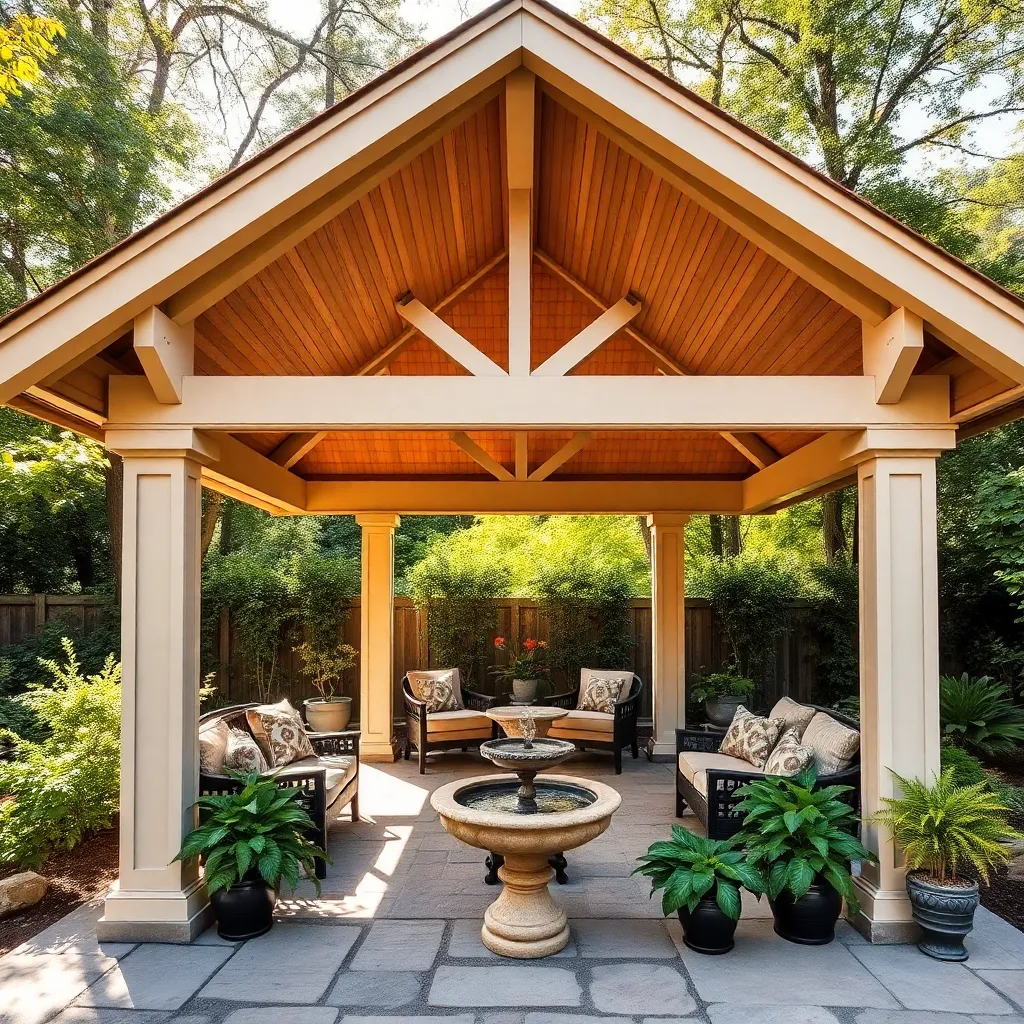
Select Suitable Roofing Materials
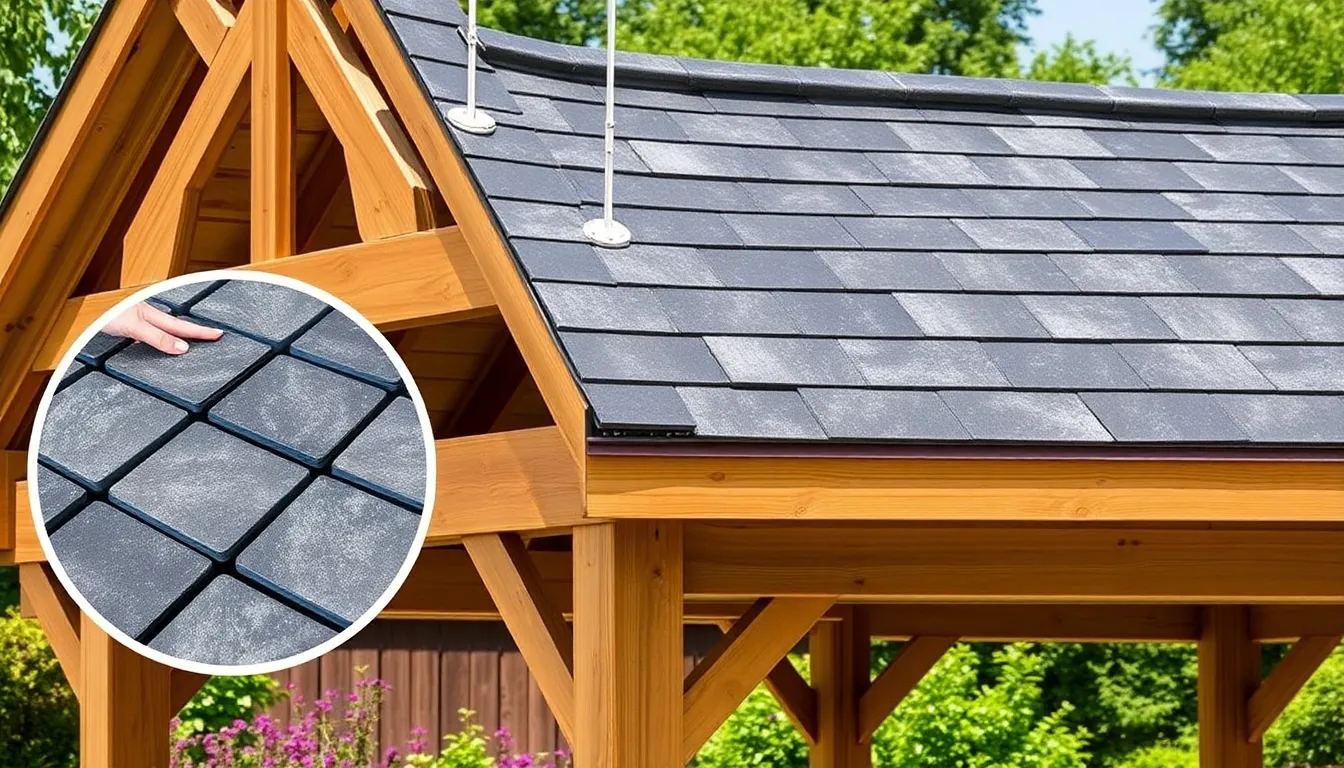
When selecting roofing materials for your pavilion, consider both aesthetics and durability. Asphalt shingles are a popular choice due to their affordability and ease of installation, making them ideal for beginners. For a more upscale look, consider metal roofing, which offers longevity and a sleek appearance. Ensure the materials you choose can withstand local weather conditions, such as heavy rain or snow, to maintain the integrity of your structure.
For those seeking advanced design elements, cedar shakes add a rustic charm and natural insulation. However, they require regular maintenance to prevent rot. If sustainability is a priority, explore recycled rubber tiles that mimic traditional shingles but offer enhanced durability and eco-friendliness. Always measure the pavilion’s roof dimensions accurately before purchasing materials, ensuring you have extra materials on hand to account for any installation errors or unforeseen repairs.
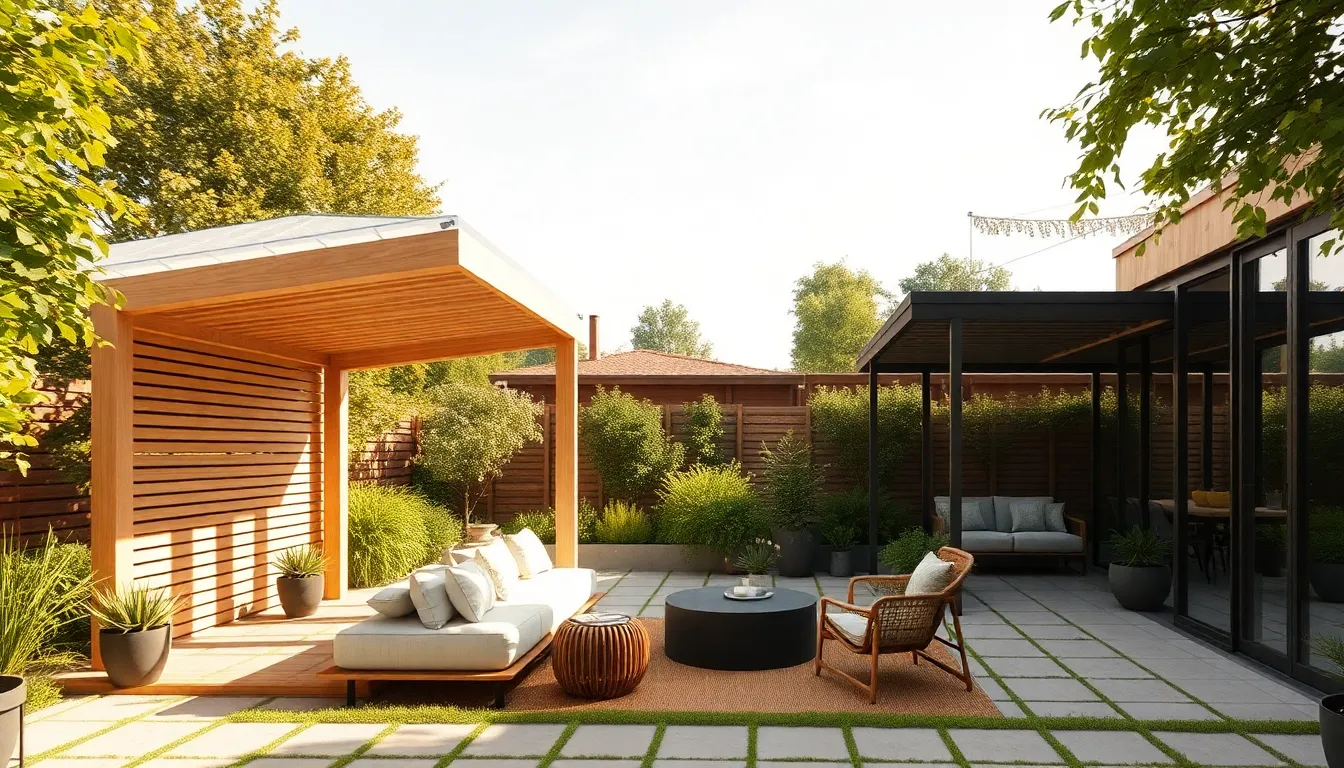
Install Roof Support Framework
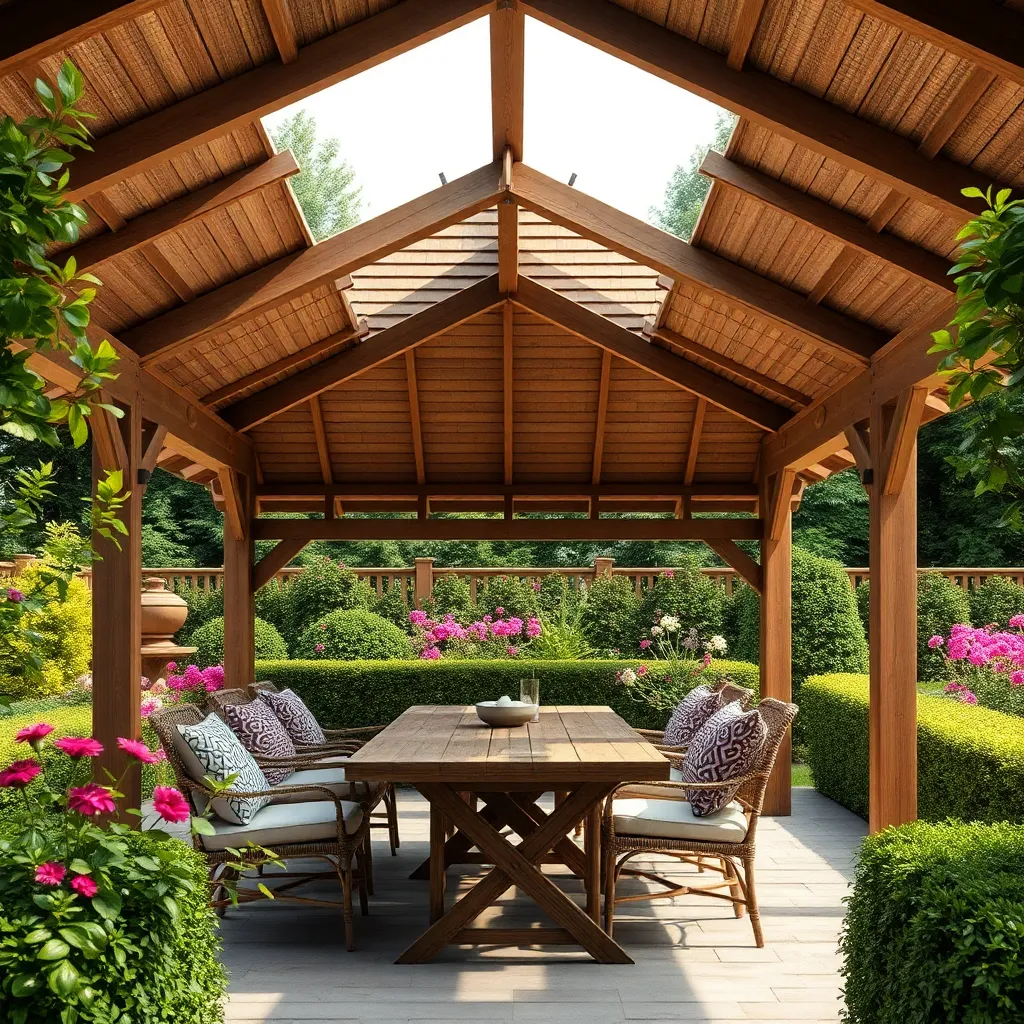
Begin by measuring the dimensions of your pavilion to determine the appropriate size for the roof support framework. It’s essential to use durable materials; pressure-treated lumber is an excellent choice for long-lasting support. Make sure to secure the framework well into the ground using concrete footings to protect against wind and weather. For beginners, pre-cut kits can simplify the process, while more experienced builders might prefer customizing their design with unique angles or overhangs for added flair.
Next, focus on ensuring the framework is level and square, as this forms the foundation for a stable roof. Use a spirit level and square tools to check the accuracy of your alignment. For added strength, consider incorporating metal braces or gussets at the joints, which can provide additional support against heavy loads, such as snow. Advanced DIYers might experiment with decorative elements, such as integrating wood carvings or metalwork into the framework, offering both style and function to your outdoor space.
Secure Roofing Panels in Place
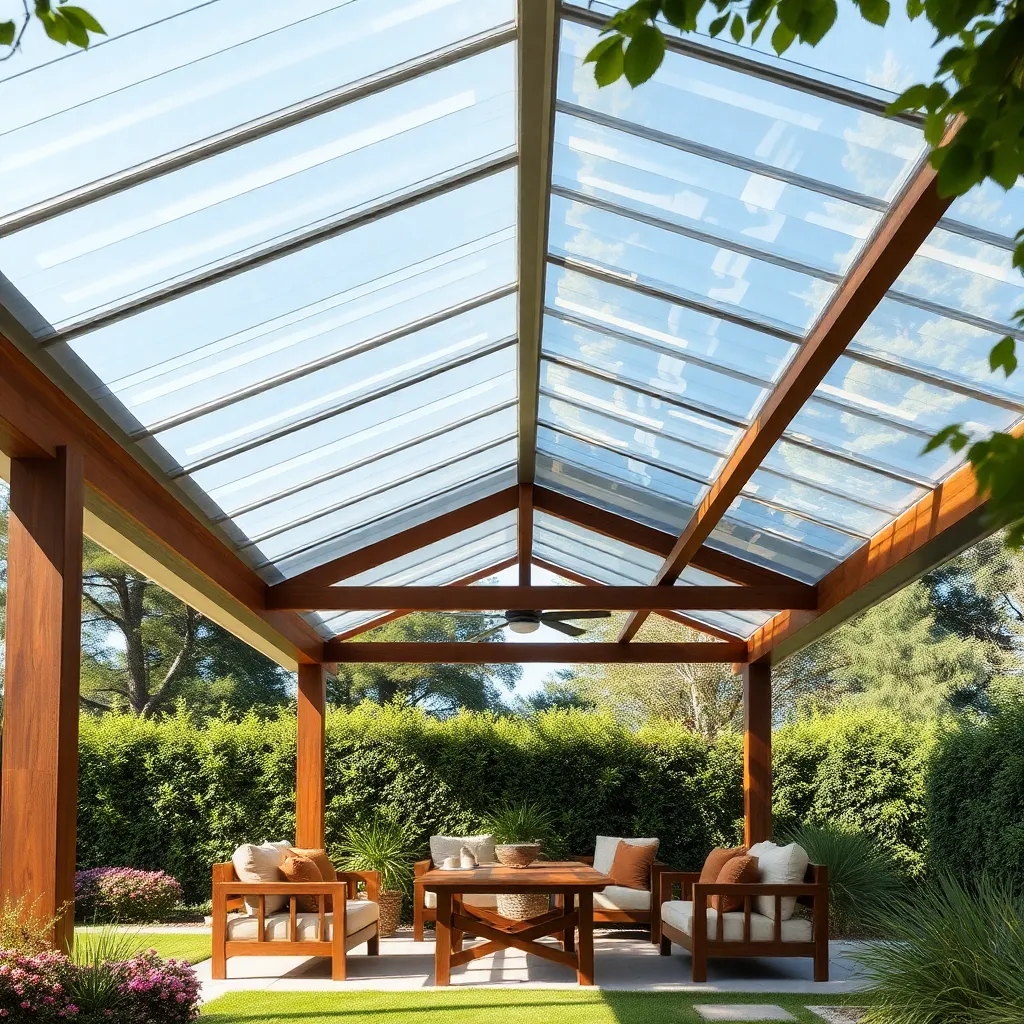
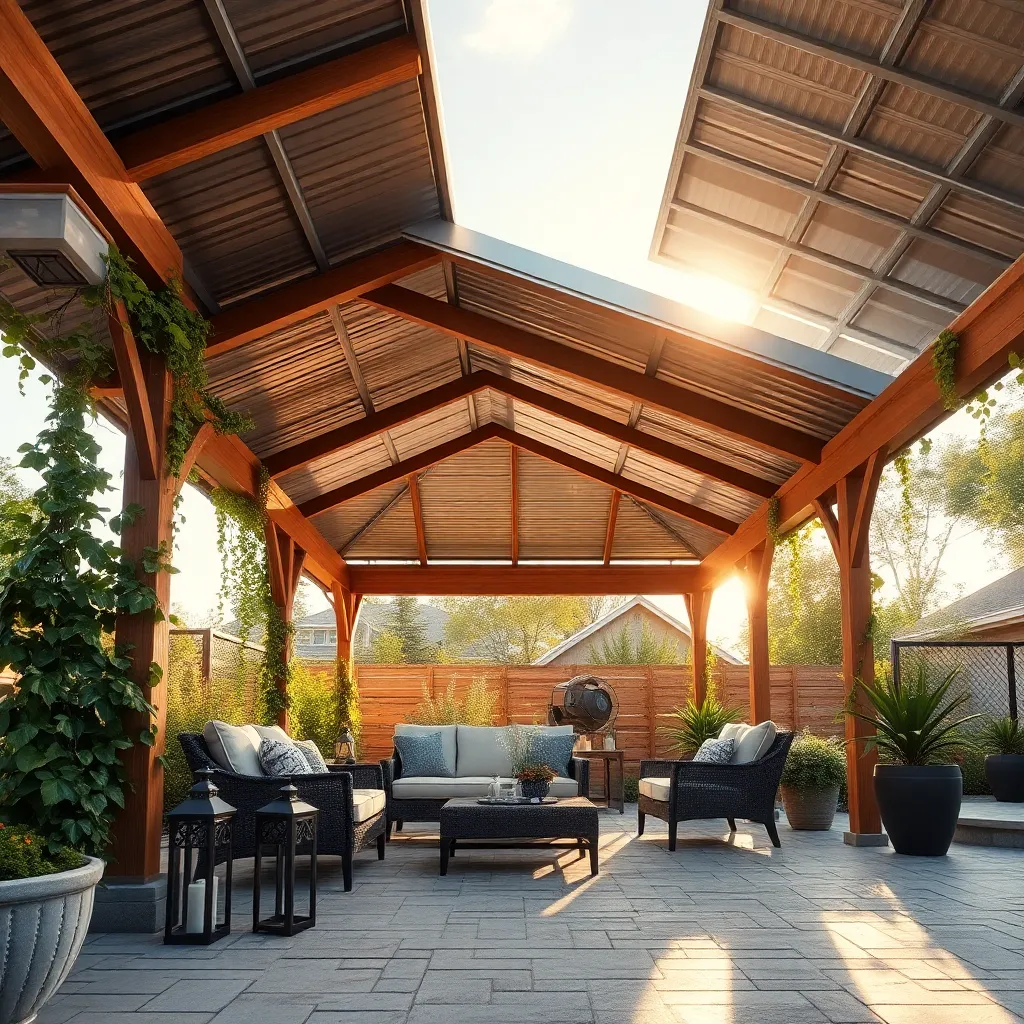
After installing the roof support framework, it’s time to secure your roofing panels in place to ensure a durable and weather-resistant structure. Begin by selecting the right materials for your pavilion’s location and climate; common options include metal, polycarbonate, and wood. Metal panels offer excellent durability and fire resistance, while polycarbonate panels are lightweight and provide UV protection. Once you’ve chosen your materials, measure and cut the panels to fit precisely over the framework, ensuring they extend slightly beyond the edges to allow for proper water runoff.
To secure the panels, use weather-resistant screws or bolts, making sure to fasten them at regular intervals along the support beams for maximum stability. Begin from one side of the roof and work your way across, overlapping each panel slightly to prevent leaks. For advanced protection, consider applying a sealant along the seams, especially if you live in a region prone to heavy rainfall. This step not only enhances durability but also adds a polished look to your pavilion, ensuring your outdoor shelter is both functional and aesthetically pleasing.
Seal and Inspect Roof Edges
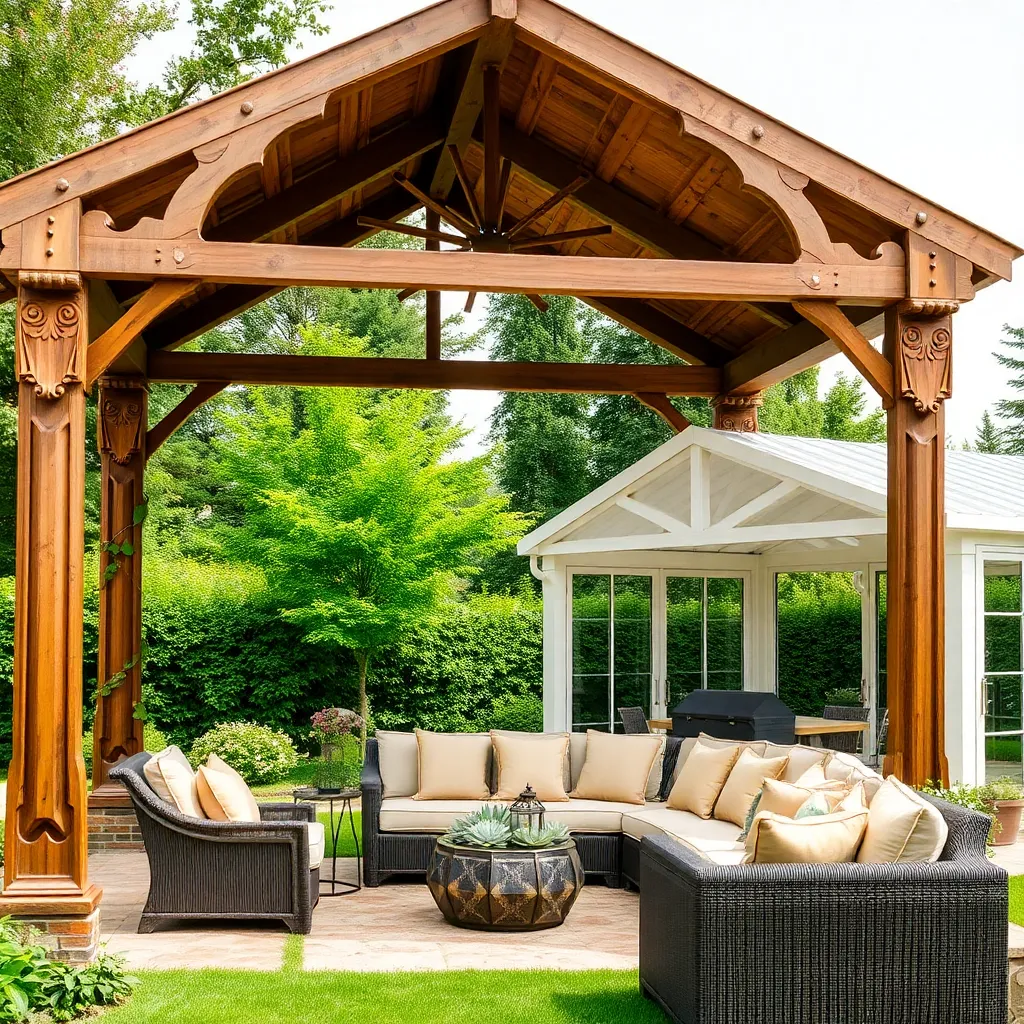
After securing the roofing panels in place, it’s crucial to seal and inspect the roof edges to ensure durability and weather resistance. Use a high-quality outdoor silicone sealant along the edges where the roofing panels meet the frame. This will prevent water infiltration, which is especially important in regions prone to heavy rainfall or snow. For beginners, applying the sealant with a caulking gun can offer precision, while experienced DIYers might opt for a putty knife for a smoother finish.
Inspect the roof edges for any gaps or loose areas that might compromise the pavilion’s structural integrity. Pay special attention to corners and joints, as these are common points of vulnerability. Advanced tip: consider adding metal flashing to further secure these areas, which helps direct water away from the edges. Regular inspection and maintenance of these roof edges will not only prolong the life of your pavilion but also enhance its aesthetic appeal, making your outdoor space more inviting and functional.
Conclusion: Creating Beautiful Outdoor Spaces
In our exploration of ‘Step-by-Step Guide to Pavilion Roofing,’ we’ve uncovered five pivotal relationship concepts that parallel the art of crafting a sturdy roof. First, laying a solid foundation in relationships provides the necessary support, much like constructing a reliable base. Second, effective communication acts as the frame, ensuring stability and connection. Third, trust is akin to weatherproofing, offering protection against life’s storms. Fourth, maintaining individuality within unity resembles choosing the right materials for longevity. Lastly, continuous nurturing, like regular maintenance, ensures lasting resilience.
To take immediate action, consider setting aside time today to engage in an open conversation with your partner about these principles, identifying areas of strength and opportunities for growth. Remember, just as a well-built pavilion offers shelter and comfort, a relationship fortified by these principles can withstand any weather.
Be sure to save or bookmark this article as a handy reference on your relationship journey. As you apply these insights, envision a future where your relationship not only survives but thrives, creating a haven of love and understanding. Embrace this opportunity to build a relationship as strong and enduring as the sturdiest pavilion roof.