Transforming your backyard into a cozy retreat doesn’t have to be complicated or costly. Whether you’re new to DIY projects or a seasoned homeowner, simple pergola kits offer a practical way to add shade, style, and structure to your outdoor space with confidence.
In this article, you’ll discover straightforward steps to select, assemble, and customize pergola kits that suit your needs and skill level. By the end, you’ll have the tools and inspiration to create a charming outdoor shelter that enhances your home’s comfort and appeal.
Benefits of DIY Pergola Kits
Choosing a DIY pergola kit offers homeowners a streamlined way to enhance their backyard with minimal hassle. These kits typically include pre-cut, weather-resistant materials like cedar or treated pine, which are durable and require less maintenance. For optimal stability and aesthetics, look for kits with adjustable posts and customizable beam spacing, allowing you to tailor the pergola’s shade and size to your outdoor space.
Beyond ease of assembly, DIY pergola kits provide flexibility in design elements such as lattice roofs or retractable canopies, which can improve both sun protection and ventilation. Advanced builders can integrate features like built-in lighting or climbing plant supports to create a cozy, functional outdoor room. Remember to anchor your pergola securely into concrete footings to withstand wind and ensure long-term durability.
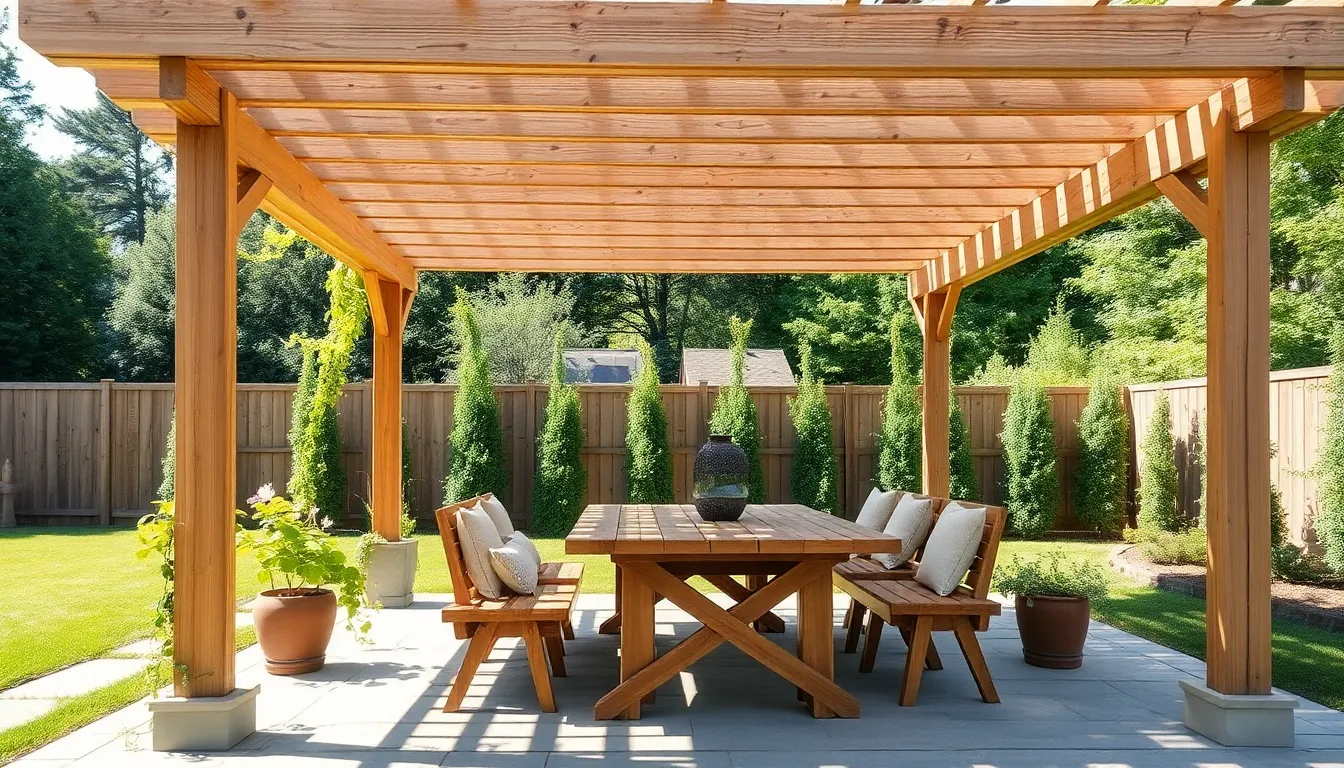
Choosing the Right Pergola Design

When choosing the right pergola design, start by considering the size and purpose of your outdoor space. Opt for a structure that fits comfortably within your backyard without overwhelming it—common dimensions range from 10×10 to 12×16 feet. Selecting durable materials like cedar or pressure-treated pine ensures longevity, while aluminum or vinyl kits offer low-maintenance alternatives. For beginners, look for kits with clear instructions and pre-cut components to simplify assembly.
To elevate your pergola’s function, think about adding features like adjustable louvers or retractable canopies for customizable shade and weather protection. Incorporating built-in seating or planter boxes can maximize space and enhance the design’s appeal. For advanced DIYers, consider integrating lighting or ceiling fans by ensuring your pergola’s frame supports electrical installations safely. Always verify your local building codes to confirm any required permits before construction.
Essential Tools and Materials Needed
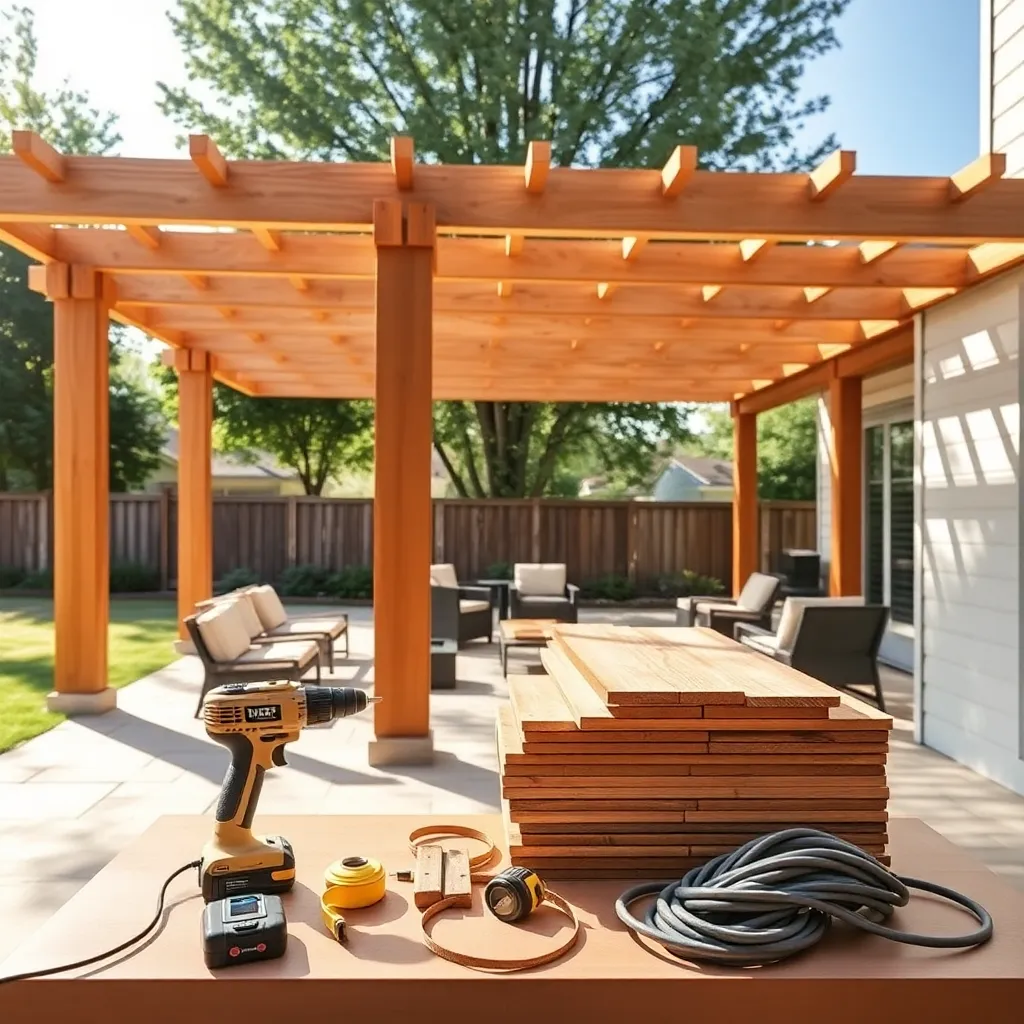
To build a sturdy and attractive pergola, start with high-quality materials like pressure-treated lumber or cedar, which resist rot and insect damage. For simple DIY kits, look for pre-cut beams and posts with clear instructions to save time, and ensure your hardware includes galvanized or stainless steel screws and brackets to withstand outdoor conditions.
Having the right tools on hand makes installation smoother and safer. Essential tools include a power drill, level, measuring tape, and a saw suitable for cutting wood. For advanced tips, consider using a post hole digger for deeper, more secure footings, and a carpenter’s square to keep your angles precise—this attention to detail ensures your pergola stands firm and looks professional.

Step-by-Step Pergola Assembly Guide
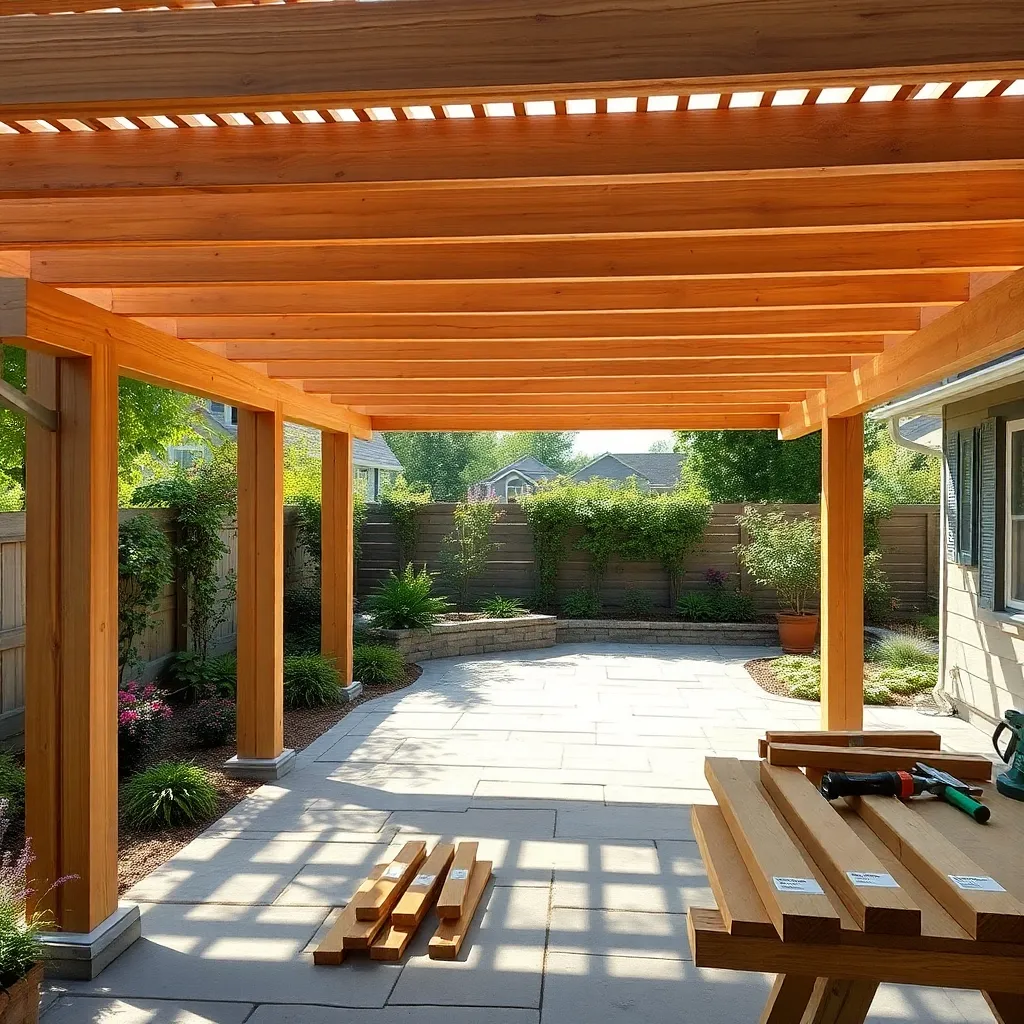
Begin your pergola assembly by carefully reviewing the kit’s instructions and laying out all parts to ensure nothing is missing. Start with the posts, securing them firmly into the ground using concrete footings or metal post anchors for maximum stability. For a classic backyard pergola, aim for posts spaced about 8 to 10 feet apart; this spacing balances strength with open shade. Remember to check that posts are perfectly vertical before moving on to attach the crossbeams and rafters.
Next, focus on assembling the roof framework by attaching crossbeams and rafters according to the design, which typically involves spacing rafters 12 to 16 inches apart for optimal shade and aesthetic appeal. Use galvanized or stainless steel fasteners to resist outdoor corrosion and enhance durability. For an advanced touch, consider adding decorative end cuts to the rafters or integrating a retractable canopy for extra weather protection. Finally, double-check all connections and apply a weatherproof sealant or paint to prolong your pergola’s lifespan and maintain its beauty.
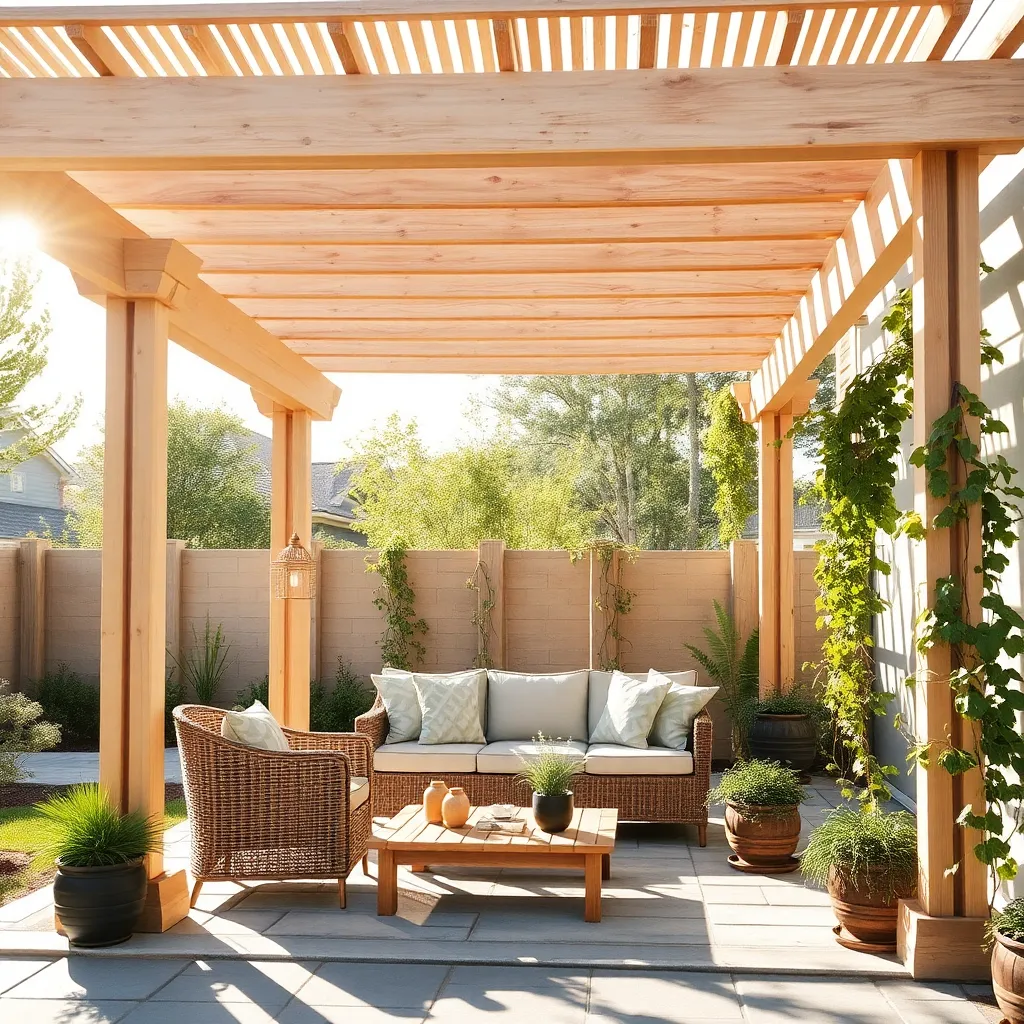
Decorating and Maintaining Your Pergola
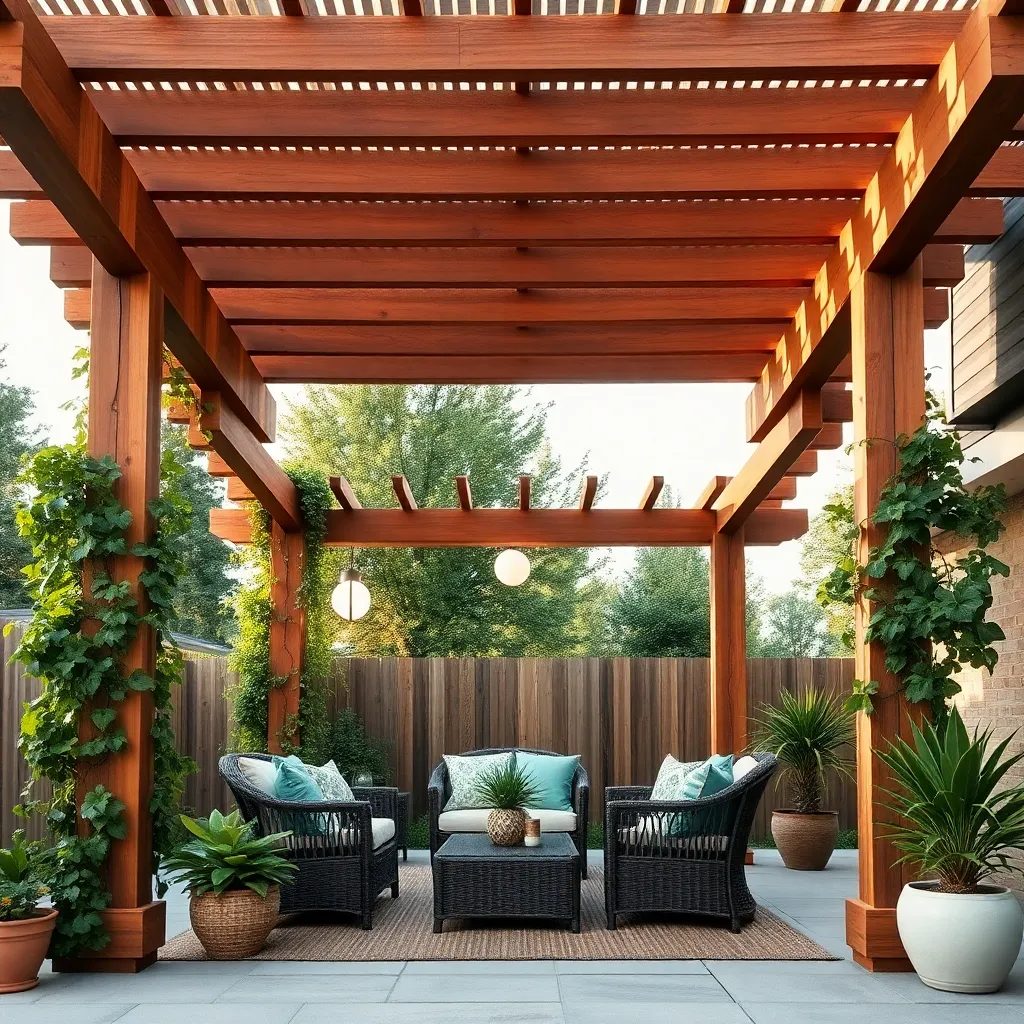
Enhance your pergola’s charm by incorporating climbing plants like wisteria or jasmine, which not only add natural beauty but also provide extra shade. Consider stringing weatherproof outdoor lights or lanterns for ambiance, and use durable, fade-resistant cushions on seating to boost comfort. For a polished look, stain or paint your pergola with a high-quality exterior wood finish that suits your overall backyard palette, ensuring protection against weather damage.
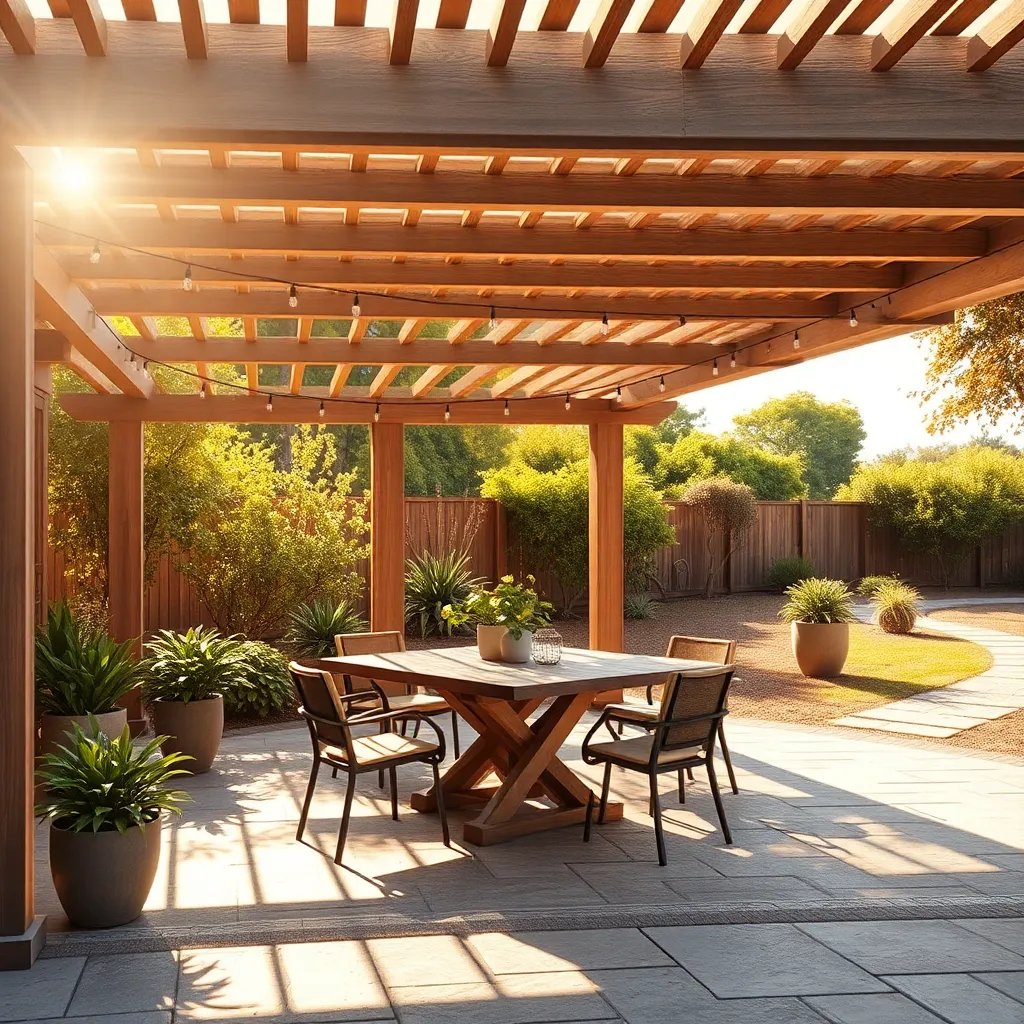
Maintaining your pergola involves regular cleaning and inspection to extend its lifespan and keep it looking fresh. Make it a habit to check for loose screws or joints every season and apply a fresh coat of sealant or paint every 2-3 years to protect the wood. For advanced upkeep, consider installing a removable canopy or retractable shade for added weather protection, and trim nearby plants to prevent moisture buildup that can cause wood rot.
Conclusion: Creating Beautiful Outdoor Spaces
Building a backyard pergola isn’t just about enhancing your outdoor space—it’s a wonderful metaphor for nurturing your relationship. Just like assembling a simple DIY pergola kit, strong relationships thrive on clear communication, thoughtful planning, teamwork, patience, and celebrating small victories together. By focusing on these five key concepts, you create a solid foundation that supports growth and lasting connection.
Your next step? Take a moment today to discuss a shared goal or project with your partner—big or small—and start building together. Whether it’s planning your dream pergola or simply setting aside quality time, these actions strengthen your bond.
Be sure to save or bookmark this article as a handy guide whenever you need inspiration to create your own relationship “sanctuary.” Remember, every small effort builds toward a future filled with love and resilience. Embrace the journey, and watch your relationship flourish just like your beautiful backyard retreat. You have the power to create a lasting, joyful partnership—one step at a time!