
Transforming your backyard into a cozy pavilion doesn’t have to break the bank or require expert skills. Whether you’re new to outdoor projects or a seasoned DIYer, creating a beautiful, functional shelter can elevate your outdoor living experience with smart planning and affordable materials.
In this guide, you’ll discover step-by-step tips to design and build a backyard pavilion that fits your budget without sacrificing style or comfort. From choosing cost-effective supplies to practical construction advice, you’ll gain the confidence to bring your outdoor vision to life—one accessible, rewarding step at a time.
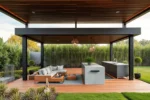
Choose Affordable Pavilion Design
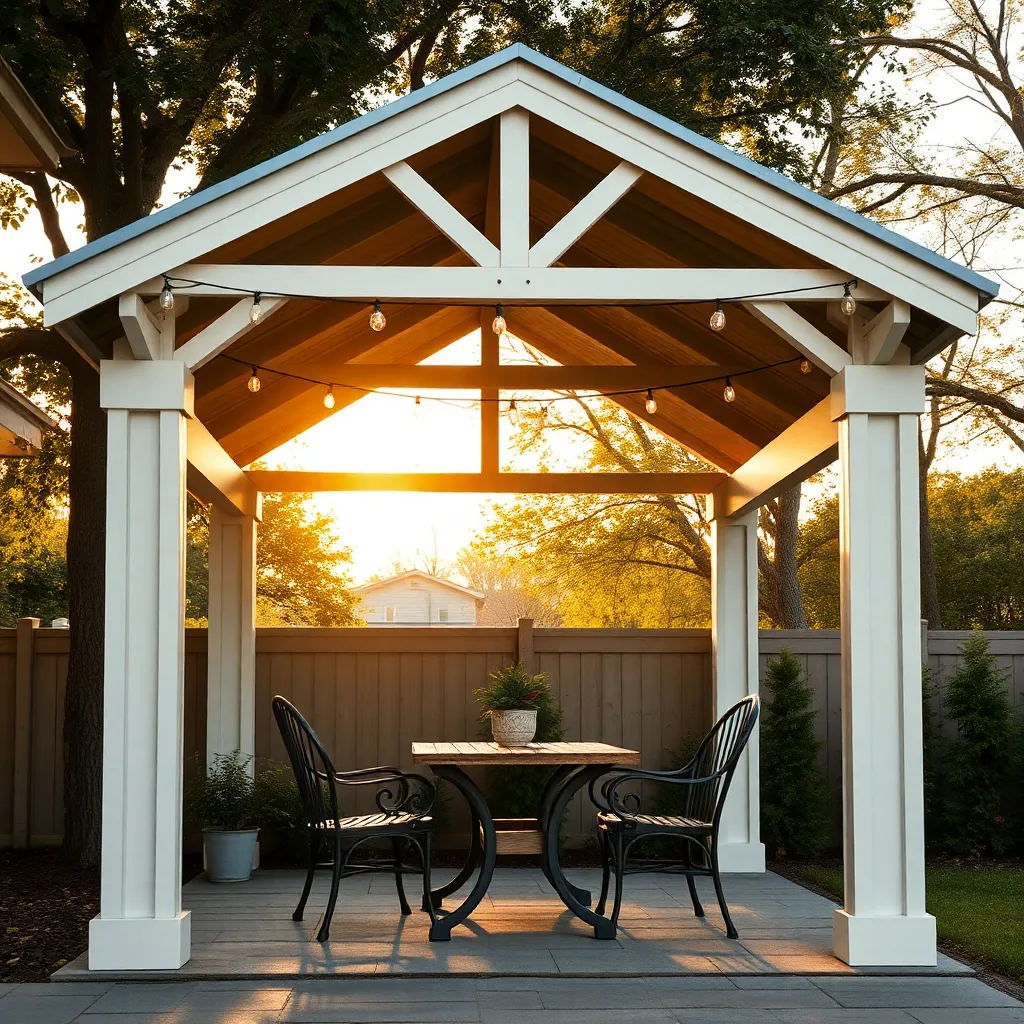
When selecting a pavilion design on a budget, focus on simple, open-sided structures that reduce material costs and labor time. Opt for readily available materials like pressure-treated lumber or metal posts, which offer durability without breaking the bank. A standard size around 10×10 to 12×12 feet provides ample space for gatherings, while keeping construction manageable for beginners.
Consider incorporating prefabricated kits or modular components to save on custom carpentry expenses and ensure quicker assembly. Adding a basic gable or hip roof with asphalt shingles or corrugated metal sheets can protect from sun and rain affordably. For advanced builders, reinforcing corners with metal brackets and using weather-resistant finishes will extend your pavilion’s lifespan without significant extra cost.
Measure and Mark Pavilion Area
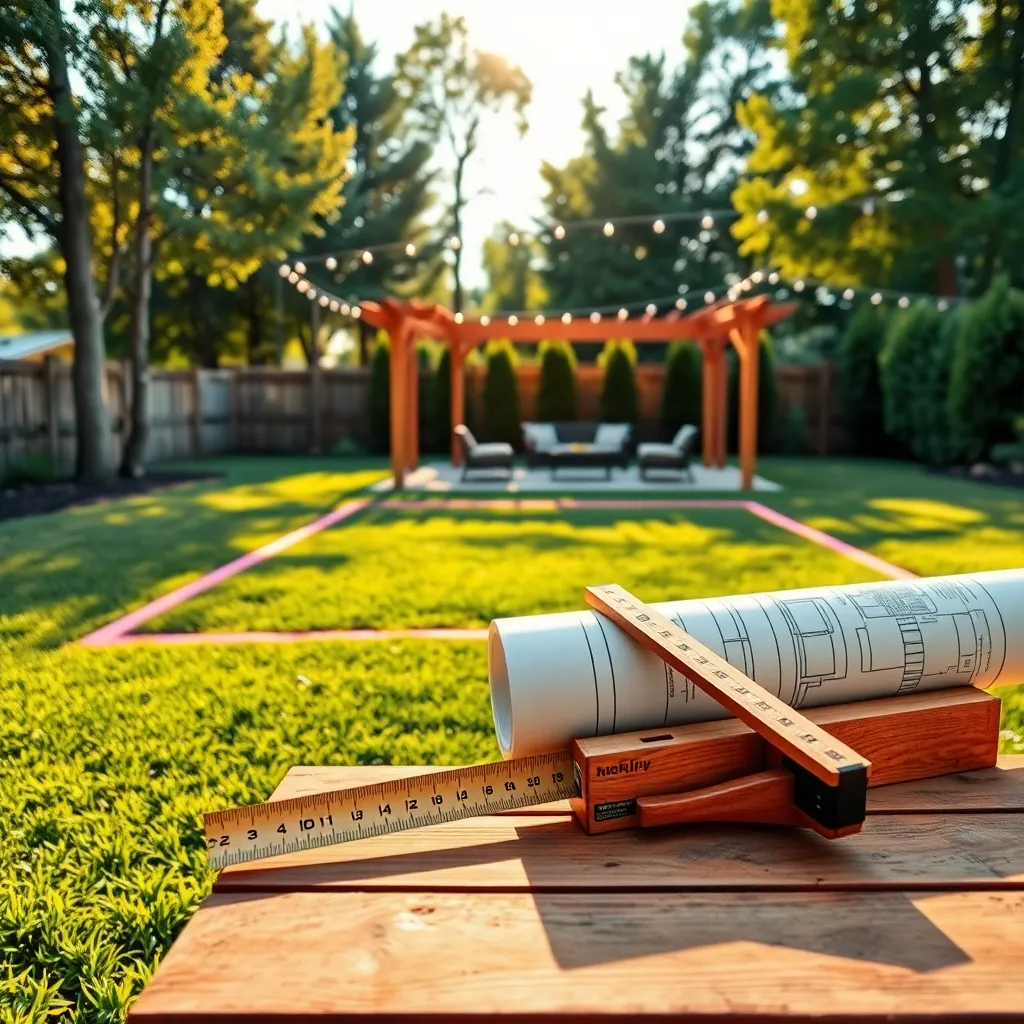
Start by selecting a flat, well-drained area in your backyard for the pavilion to ensure stability and longevity. Use stakes and string to outline the exact footprint, then measure diagonally to confirm a perfect square or rectangle; accurate measurements prevent costly adjustments later. For most backyard pavilions, a common size ranges from 10×10 to 12×16 feet, but customize based on your available space and intended use.
Mark your pavilion boundaries clearly with spray paint or temporary flags before digging or pouring any foundation. Consider adding a gravel or concrete pad within this area for a durable base, especially if you plan to install heavy posts or furniture. For advanced planning, include measurements for roof overhangs and post spacing—typically posts are spaced 8 to 10 feet apart—to ensure structural integrity and ease of assembly.
Gather Budget-Friendly Building Materials
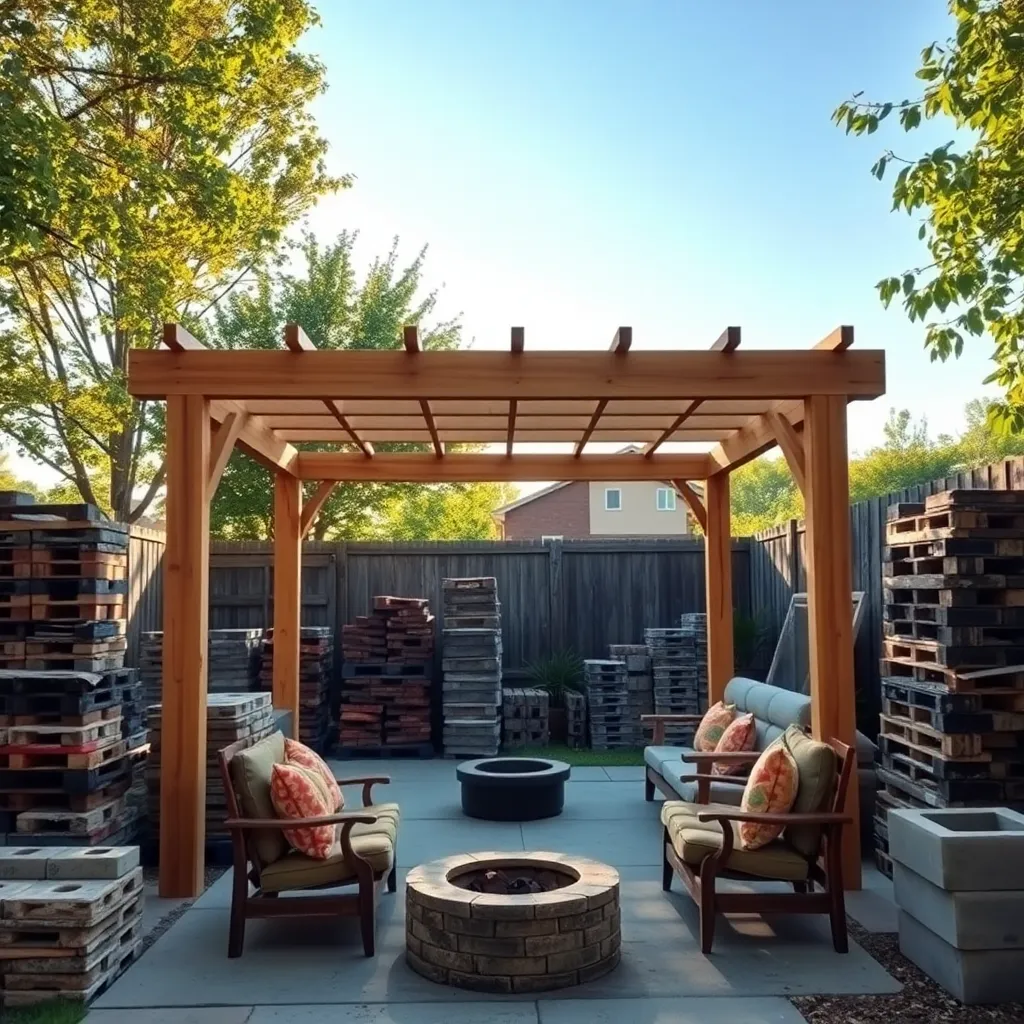
Start by sourcing affordable, durable materials like pressure-treated lumber or cedar, which resist rot and insect damage without breaking the bank. Consider reclaimed wood or surplus building supplies from local salvage yards to save money while adding character. For the roofing, lightweight metal panels or polycarbonate sheets offer cost-effective protection and ease of installation, perfect for a backyard pavilion.
When selecting fasteners and hardware, prioritize galvanized or stainless steel options to ensure longevity in outdoor conditions. Incorporate simple design elements like open rafters or a sloped roof to improve ventilation and water runoff without complicating construction. Remember, precise measurements and a clear materials list will keep your project organized and prevent costly over-purchasing.
Construct Pavilion Frame and Roof
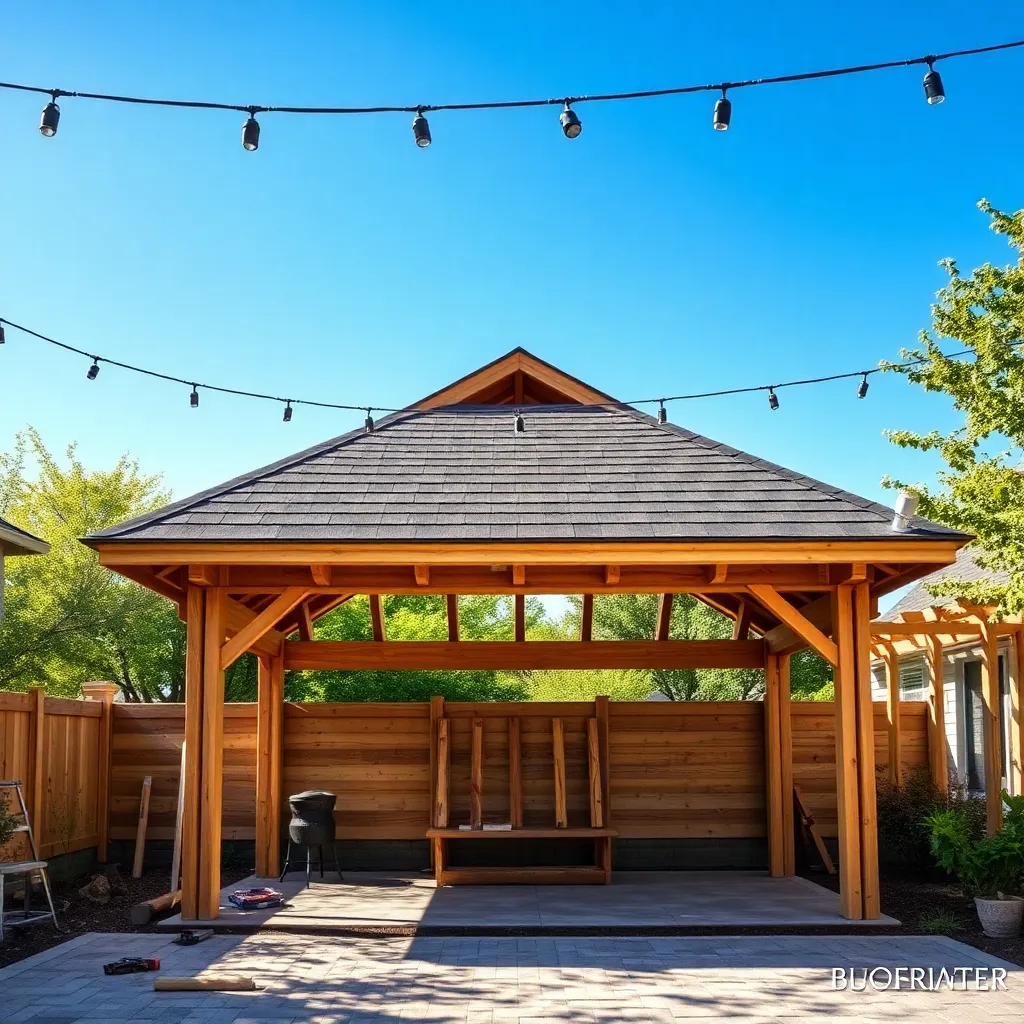
Start by framing the pavilion using durable, budget-friendly lumber like pressure-treated pine or cedar, which resists rot and insects. Use 4×4 posts spaced 8 feet apart for sturdy support, and secure them with concrete footings to ensure stability. For the roof frame, opt for a simple gable design with 2×6 rafters spaced 16 inches on center, providing strong support without overbuilding.
When constructing the roof, cover the rafters with plywood sheathing before adding a waterproof layer such as asphalt shingles or metal roofing for long-lasting protection. For a polished look and extra shade, consider adding decorative beams or cross braces between posts, which also improve structural integrity. Don’t forget to check local building codes for height and setback requirements to keep your pavilion safe and compliant.
Finish with Cost-Effective Details
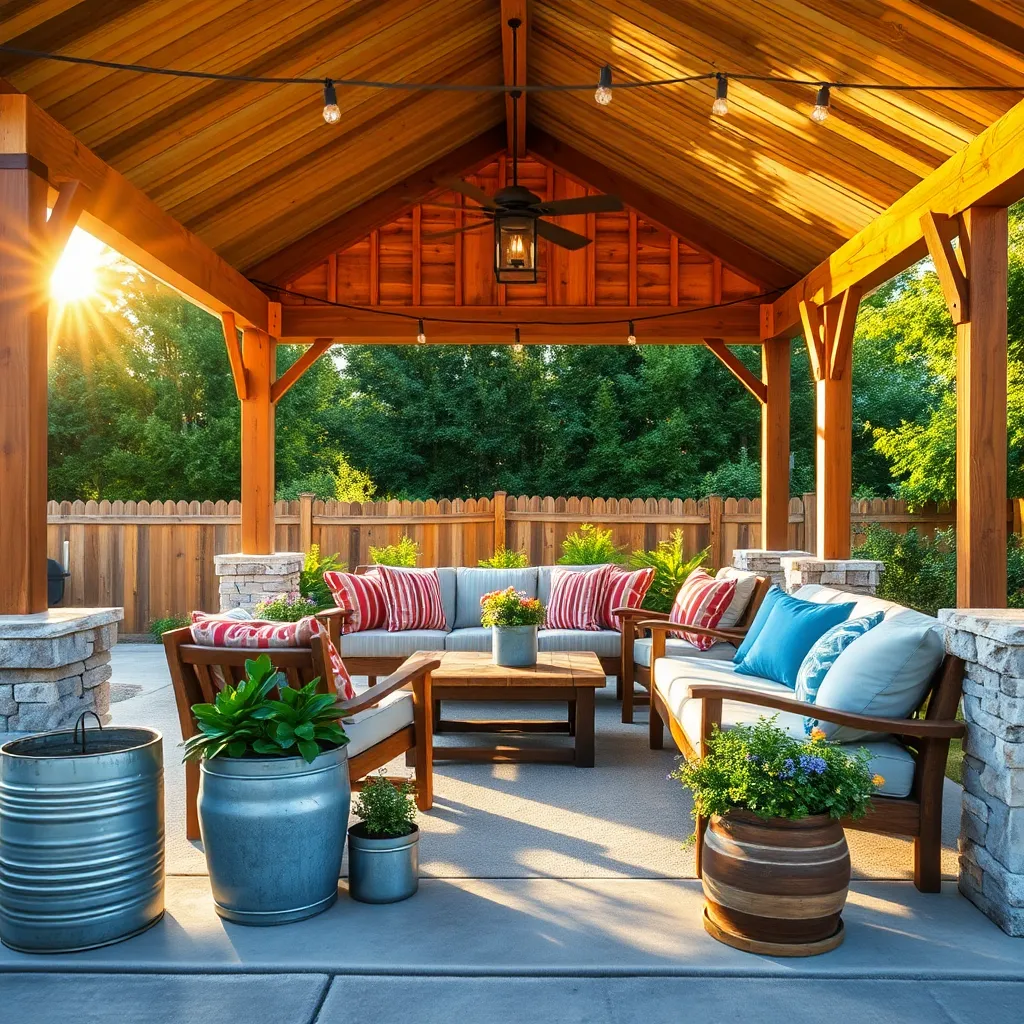
Start by choosing affordable yet durable materials for finishing touches, such as pressure-treated lumber for trim and simple corrugated metal or polycarbonate panels for additional shade or rain protection. Incorporate cost-effective design elements like lattice panels or fabric curtains, which add style and privacy without breaking the budget. For a polished look, seal wood surfaces with an exterior-grade stain or paint to extend durability while keeping maintenance low.

To maximize budget and functionality, consider DIY lighting and seating solutions that enhance comfort and usability. Solar-powered LED string lights provide ambiance without wiring costs, and built-in benches made from leftover wood can double as storage. Remember to plan for basic drainage by sloping the pavilion floor slightly or installing gravel around posts to prevent water pooling and maintain structural integrity over time.
Conclusion: Creating Beautiful Outdoor Spaces
Creating your backyard pavilion on a budget isn’t just about building a structure—it’s about crafting a special space that nurtures connection, relaxation, and shared moments with loved ones. We covered five key concepts to help you make this dream a reality: setting a realistic budget, choosing affordable materials, planning smartly to avoid costly mistakes, incorporating DIY elements for a personal touch, and prioritizing comfort and ambiance to foster togetherness.
Your next step? Sketch a simple design of your pavilion today, focusing on how it can best support quality time with those who matter most. This small action sets the foundation for many meaningful memories to come.
Be sure to save or bookmark this article so you can revisit these tips as you move forward—having these strategies at your fingertips ensures your project and relationships flourish hand in hand. Remember, investing in your shared spaces is investing in your shared happiness. With thoughtful planning and heart, your backyard pavilion will become a lasting symbol of your commitment to connection and joy. You’ve got this!