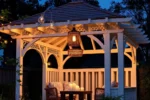
Transforming your backyard with a pergola is a rewarding project that enhances both style and function, whether you’re new to DIY or a seasoned builder. Creating this inviting outdoor structure brings shade, charm, and a perfect spot for relaxation or entertaining right to your home.
In this guide, you’ll find clear, step-by-step instructions that break down the process into manageable tasks, from selecting materials to securing the final beam. By the end, you’ll have practical skills and confidence to build a pergola that suits your space and lifestyle—making your outdoor living dreams truly within reach.
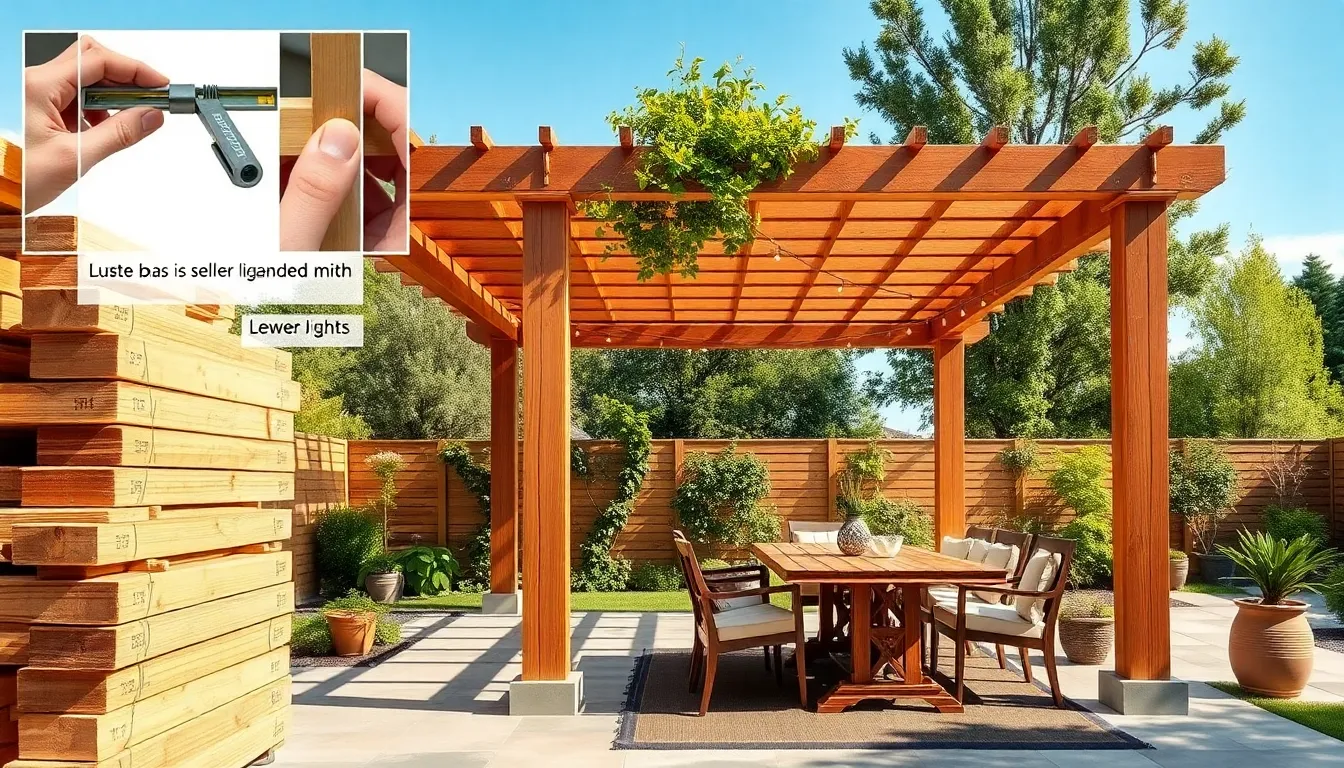
Choose Pergola Location and Design

Start by selecting a location that maximizes both sunlight and shade, depending on your pergola’s purpose. Choose a spot near your patio or garden for easy access and to create a seamless outdoor living space. Make sure the ground is level and consider proximity to utilities if you plan to add lighting or fans later.
When designing your pergola, opt for durable materials like cedar or pressure-treated lumber that resist weather and insects. For dimensions, a common size is around 10×10 feet, but customize based on your available space and needs. Include features such as angled rafters for better shade and cross beams to add stability and aesthetic appeal.
Measure and Mark Post Positions
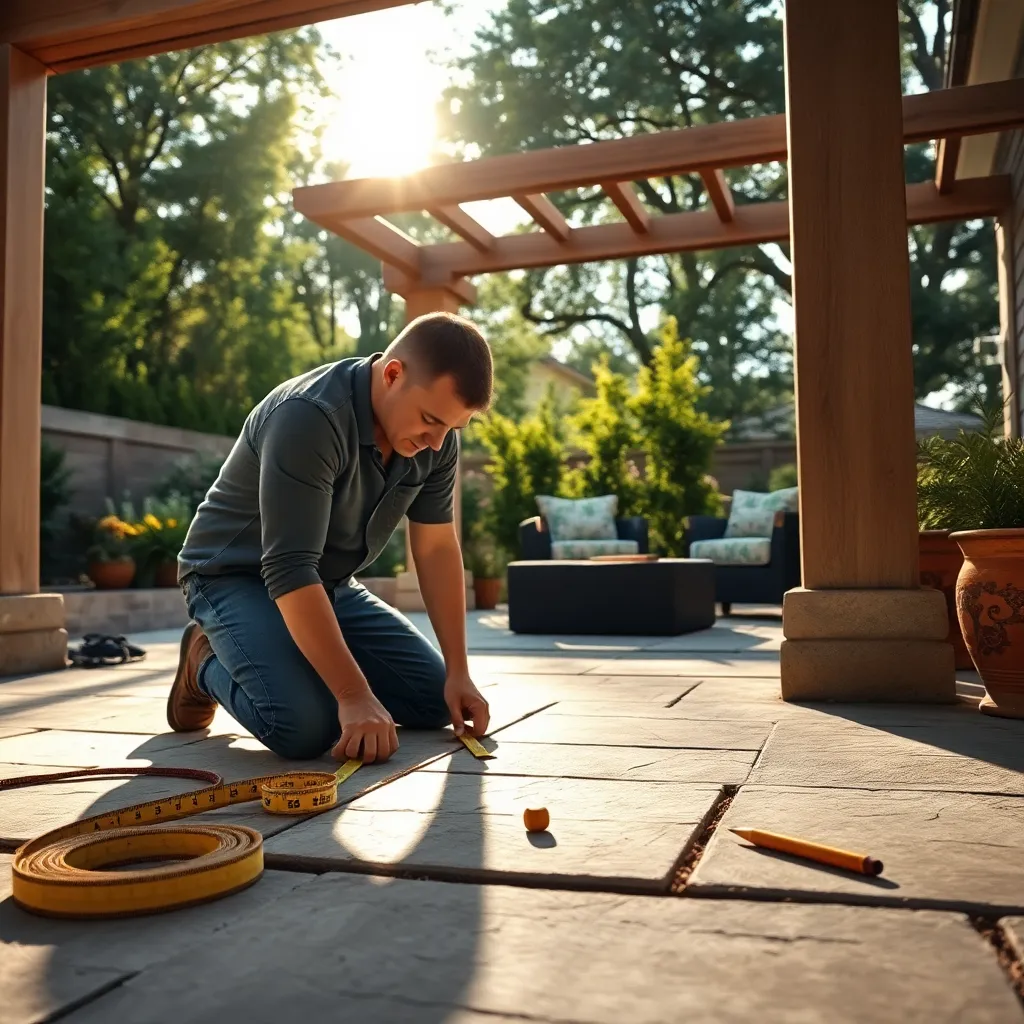

Start by measuring the exact footprint of your pergola using a tape measure, marking where each post will stand. For a typical pergola, posts are spaced anywhere from 8 to 12 feet apart, depending on your design and the size of the lumber you’re using; 6×6-inch posts are common for sturdy support. Use wooden stakes and a string line to outline the perimeter, ensuring the layout is perfectly square by checking the diagonals for equal length.
Once the perimeter is marked, precisely mark each post position with spray paint or chalk for clear visibility during installation. For advanced accuracy, consider using a laser level to confirm post height and alignment before digging; this helps avoid uneven posts and structural issues. Remember, solid, well-aligned posts are essential to support your pergola’s beams and rafters securely over time.
Install and Secure Pergola Posts
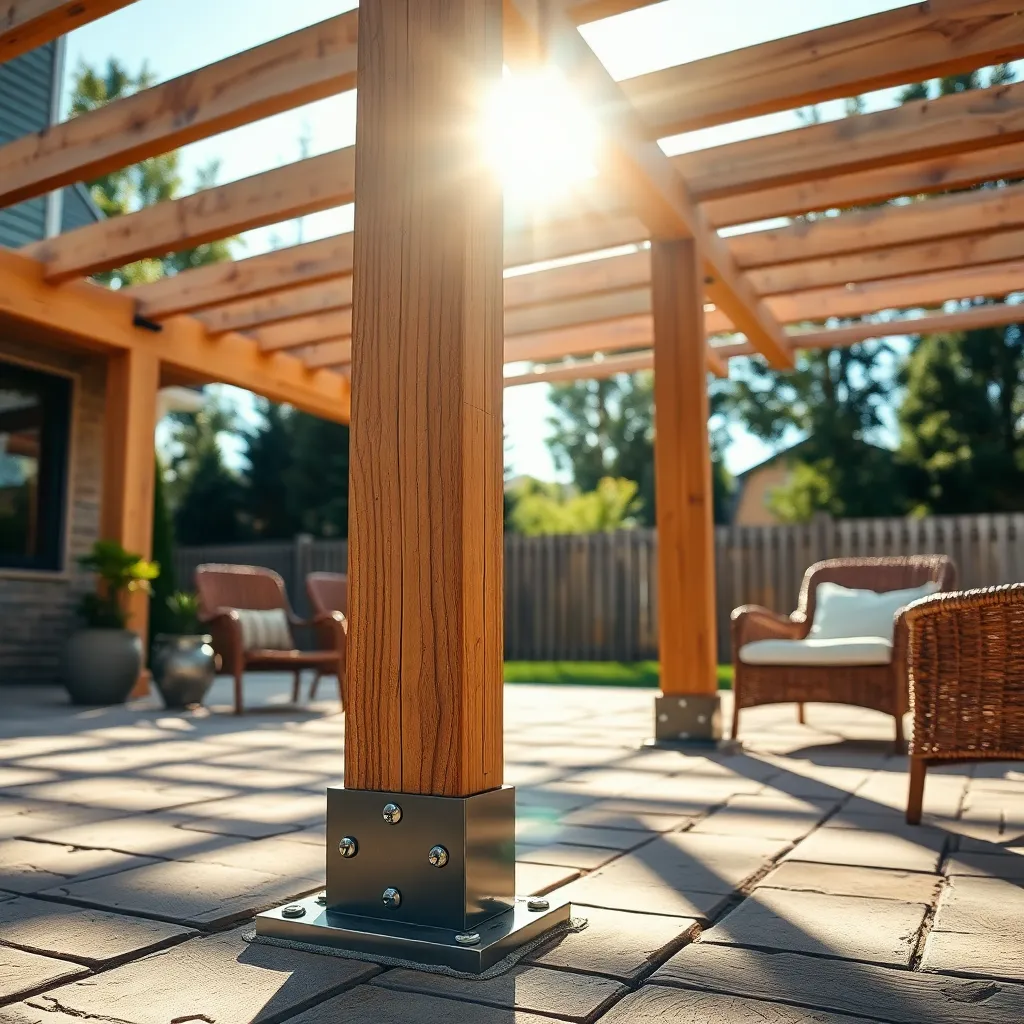
Start by digging post holes at the marked positions to a depth of at least 24 inches for stability, or below your local frost line if deeper. Use pressure-treated lumber or cedar posts sized 6×6 inches for durability, and set them in concrete to secure firmly; ensure each post is perfectly vertical using a level before the concrete sets.
For advanced stability, consider adding metal post anchors or brackets anchored to a concrete footing, which also helps prevent wood rot by keeping posts off direct soil contact. Additionally, double-check spacing between posts matches your pergola’s beam and rafter lengths for a seamless fit during the framing stage.

Attach Beams and Cross Rafters
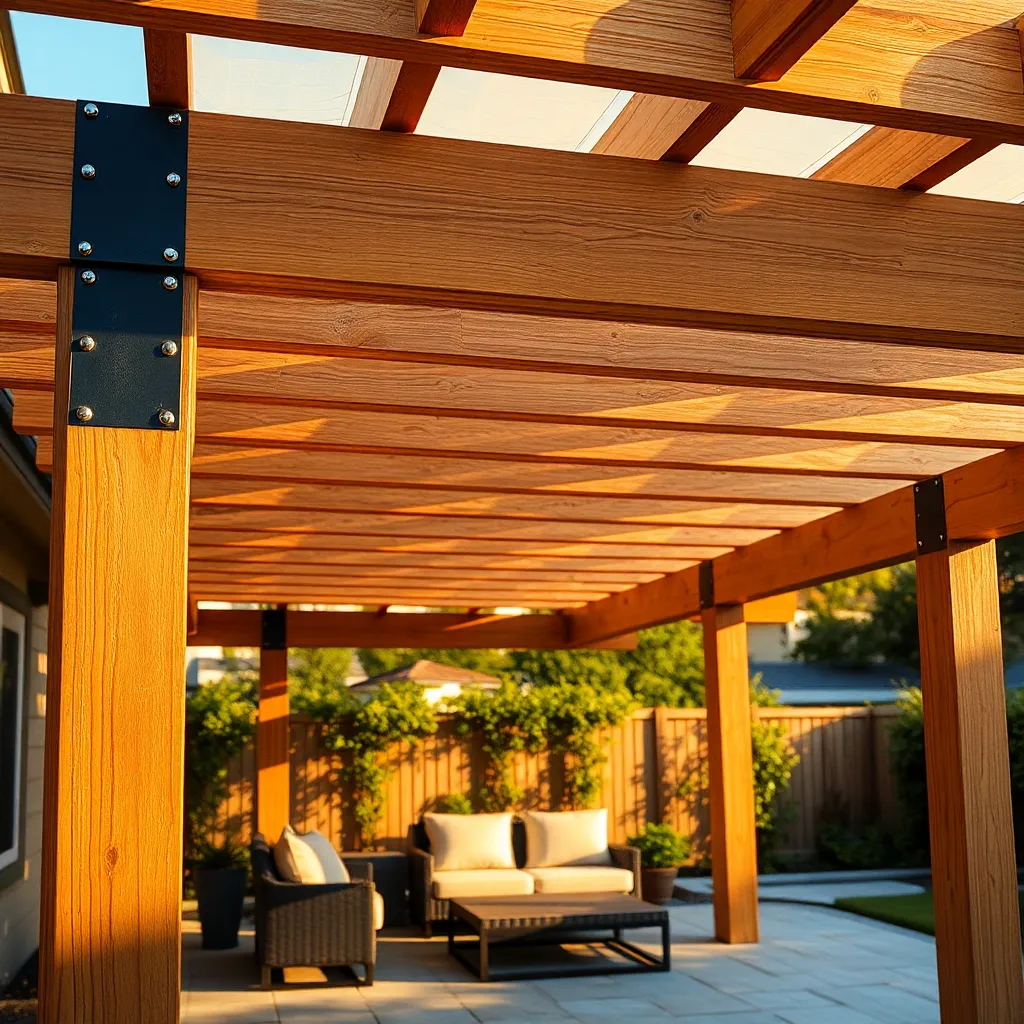
Begin by attaching the main horizontal beams to the tops of the pergola posts using galvanized metal brackets or heavy-duty lag bolts for maximum stability and weather resistance. Ensure the beams are level and spaced according to your pergola design—typically, leaving 16 to 24 inches between beams offers both structural support and an attractive shadow pattern. For a clean finish, consider using pressure-treated lumber or cedar beams, which resist rot and insect damage over time.
Next, install the cross rafters perpendicular to the main beams, spacing them evenly—usually about 12 to 18 inches apart—to create that classic pergola look. Secure rafters with corrosion-resistant screws or metal connectors, and for added style, you can notch the rafters where they meet the beams to create a flush, interlocking joint that enhances strength and visual appeal. Remember, precise measuring and pre-drilling holes will simplify assembly and ensure your pergola stands strong for years to come.
Finish with Stain or Sealant
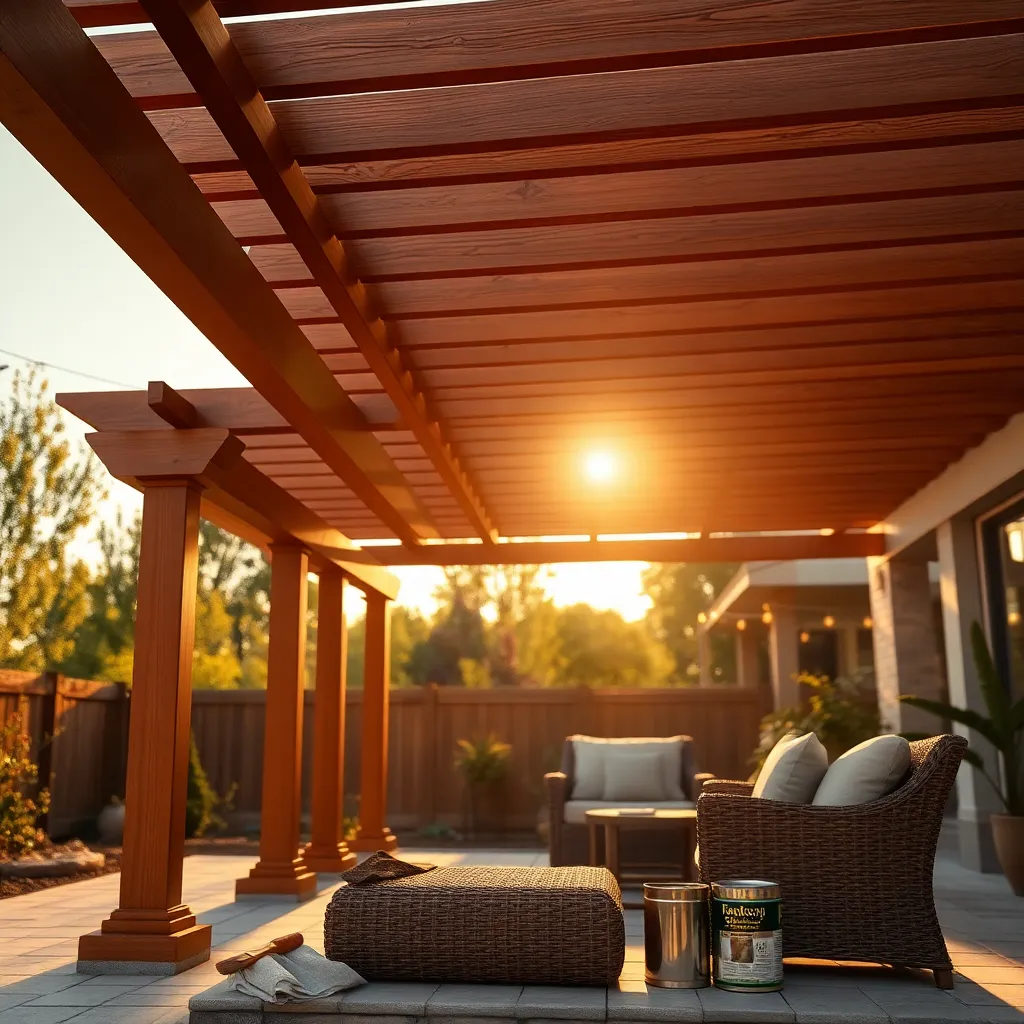
To protect your pergola and enhance its appearance, applying a high-quality stain or sealant is essential. Choose a product designed for exterior wood that offers UV protection and water resistance to prevent fading and weather damage. For a natural look, opt for a transparent or semi-transparent stain, while a solid stain can provide a painted finish and extra durability.
Before applying, ensure all surfaces are clean and dry, and use a brush or sprayer for even coverage, especially on hard-to-reach cross rafters. For best results, apply two coats spaced 24 hours apart, and consider reapplying every 2-3 years to maintain protection and beauty. Advanced tip: test your stain on a small, inconspicuous area to check the color and finish before committing fully.
Conclusion: Creating Beautiful Outdoor Spaces
Building a pergola, much like nurturing a strong relationship, thrives on a solid foundation and thoughtful steps. We explored five key concepts: laying a sturdy base, carefully selecting quality materials, precise measuring and cutting, assembling with patience and care, and finally, adding those finishing touches that bring beauty and function together. Each step reflects the importance of communication, trust, attention, teamwork, and celebration in relationships.
Your next step? Gather your tools and sketch out your pergola plan—just like outlining your relationship goals—to set yourself up for success. Don’t forget to save or bookmark this article so you can revisit these easy-to-follow steps anytime inspiration strikes.
Remember, building something meaningful takes time and commitment, but the joy and strength it brings are well worth it. With patience and love, you’re not just constructing a pergola—you’re creating a lasting space for connection and growth in your life and relationships. Embrace the process, and watch your efforts flourish beautifully.