Imagine sipping your morning coffee under the gentle shade of a beautifully crafted patio roof, feeling the fresh breeze brush against your face. Whether you’re a seasoned DIY enthusiast or just starting to explore the joys of outdoor projects, this guide is your ticket to transforming your patio into a charming, weather-proof retreat. With step-by-step tips tailored for all skill levels, you’ll soon discover that extending your patio with a roof is not just a project—it’s an invitation to enhance your outdoor living experience.
In this guide, you’ll uncover the practical magic behind covered patios, offering you more than just protection from the elements. From boosting your home’s aesthetic appeal to increasing its functionality, the benefits of this upgrade are endless. With enthusiasm and ease, we’ll guide you through each step so you feel confident and inspired to create a space where laughter, relaxation, and unforgettable memories flourish.
Select Durable Roofing Materials
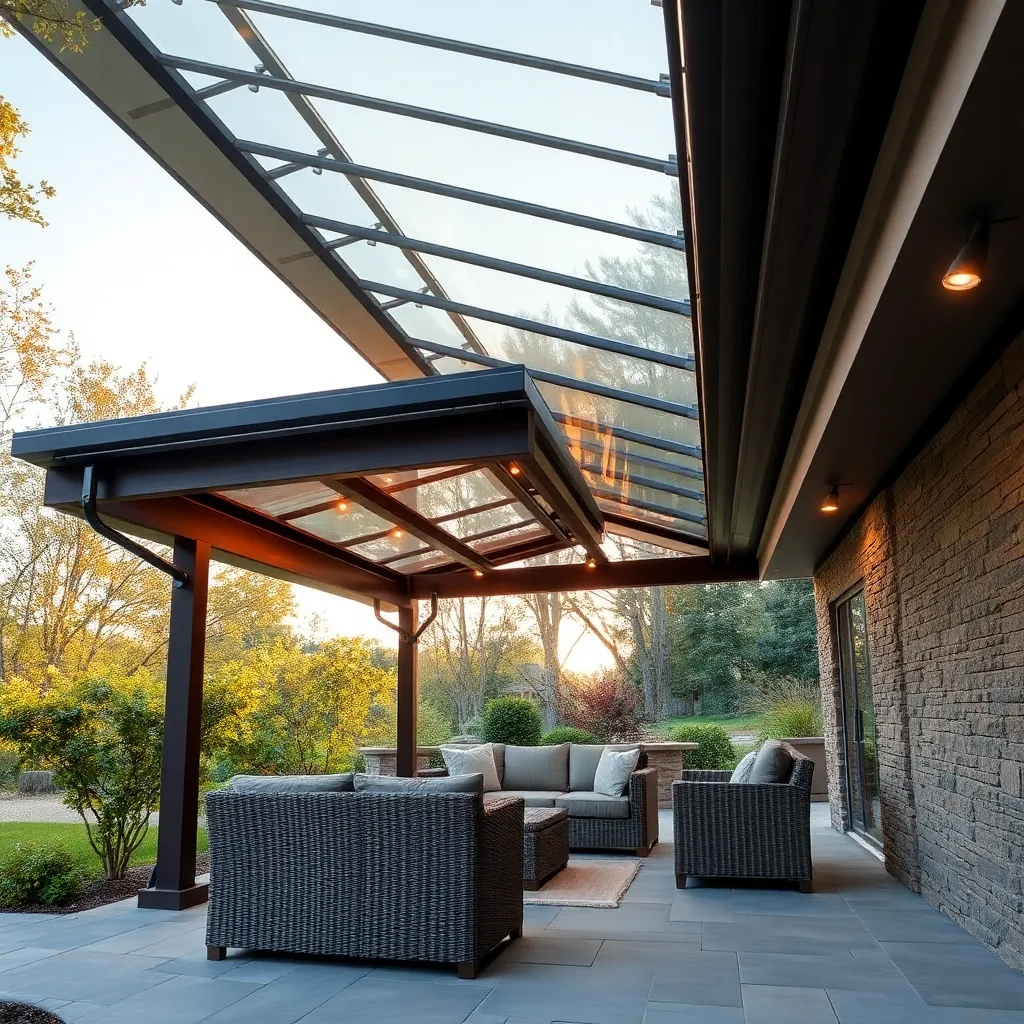
When selecting roofing materials for your patio extension, opt for durability and aesthetics to ensure long-lasting protection and visual appeal. Consider materials like metal, which offers excellent weather resistance and requires minimal maintenance, or polycarbonate panels that provide both durability and light filtration. For a more natural look, pressure-treated wood or cedar shakes can add warmth and character, but be prepared for regular maintenance to prevent weather damage.
To ensure a professional finish, pay attention to the installation process and the specific requirements for each material. Use a slight pitch of at least 1/4 inch per foot to facilitate water drainage and prevent pooling. Advanced DIYers might consider incorporating a rainwater collection system by adding gutters and downspouts, which not only protect the structure but also provide an eco-friendly way to water your garden. Always check local building codes and acquire necessary permits before starting construction.
Incorporate Sturdy Support Beams

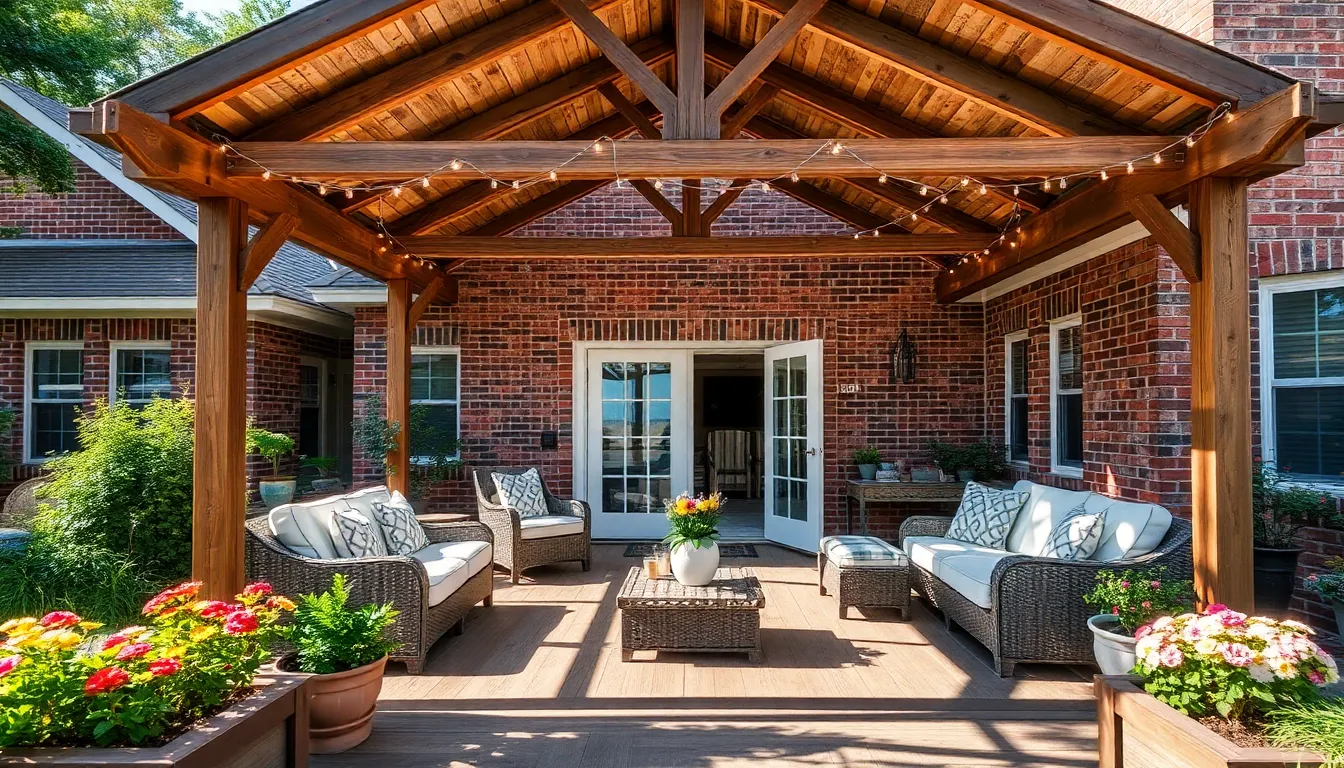
When extending your patio with a roof, incorporating sturdy support beams is essential for both safety and aesthetics. Opt for materials such as treated lumber or galvanized steel, which offer excellent durability against weather elements. For a standard patio size, consider using beams that are at least 4×4 inches in dimension to provide adequate support. Beginners should focus on ensuring beams are securely anchored into the ground or existing structure, using concrete footings or metal brackets for stability.
For those looking to add a decorative touch, consider using beams with decorative post caps or choosing a wood stain that complements your patio’s aesthetic. Advanced DIYers might experiment with mortise and tenon joints for a seamless look without visible hardware. Remember to check local building codes to ensure compliance, particularly in areas prone to heavy snow or winds. These steps will not only enhance the structural integrity of your patio roof but also elevate its visual appeal.
Attach Gutters for Water Management
Attaching gutters to your patio roof is an excellent way to manage rainwater effectively and protect your outdoor space. Start by selecting gutters made from durable materials like aluminum or vinyl, which are both rust-resistant and long-lasting. Ensure the gutters are the proper size for your patio—typically, 5-inch gutters suffice for most residential roofs, but larger areas might need 6-inch gutters for optimal water flow.
For a successful installation, slope the gutters slightly—about a quarter-inch for every 10 feet—toward the downspouts to facilitate water drainage. Secure the gutters with brackets spaced no more than 24 inches apart to prevent sagging. If you’re experienced, consider adding a rainwater collection system to your setup, using a rain barrel at the downspout to conserve water for your garden. This not only enhances water management but also supports sustainable gardening practices.
Use DIY-Friendly Roofing Kits

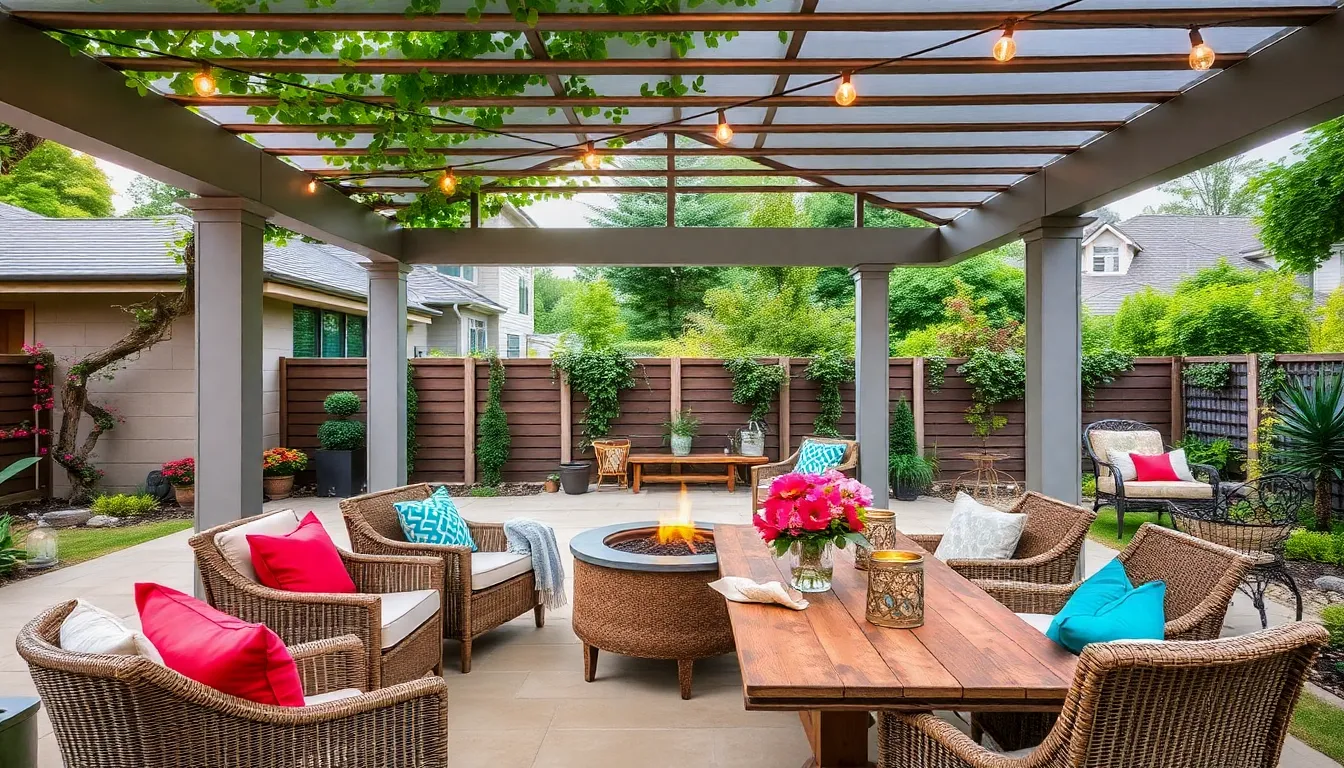
DIY-friendly roofing kits are a fantastic way to extend your patio with ease and efficiency. These kits typically come with pre-cut materials, clear instructions, and all necessary hardware, making the installation process straightforward even for beginners. Consider kits made from durable materials like polycarbonate or metal, which offer excellent weather resistance and longevity, ensuring your new patio roof stands up to the elements.
When selecting a roofing kit, pay attention to the pitch of the roof, as this affects water runoff and the overall aesthetic. A slope of at least 1:12 is recommended to facilitate drainage and prevent water pooling. For those with more DIY experience, customizing your kit by adding insulation or skylights can enhance both comfort and style.
- Look for kits that offer modular designs
- Consider additional features like UV protection or noise reduction panels
to tailor your outdoor space to your specific needs and climate.
Ensure Proper Roof Pitch Angle
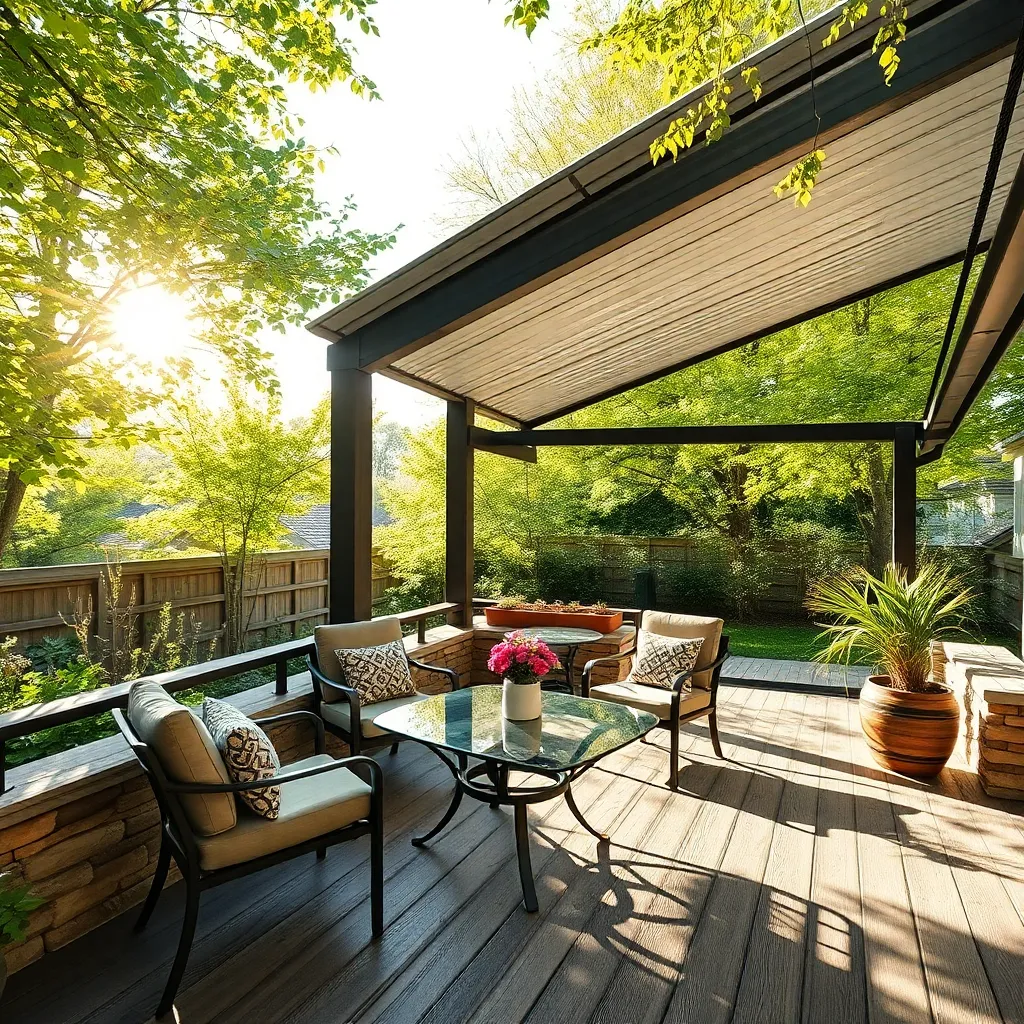
When planning the roof for your patio extension, ensuring the proper pitch angle is crucial for both functionality and aesthetics. A roof pitch of at least 15 degrees is recommended to effectively shed rain and prevent water pooling, which can cause damage over time. For regions with heavy snowfall, consider a steeper angle of around 30 degrees to facilitate better snow runoff and reduce load stress on the structure.
Choosing the right materials can further enhance the durability and appearance of your outdoor shelter. Opt for corrugated metal panels or asphalt shingles for a sturdy, weather-resistant roof. These materials not only provide excellent protection but also come in a variety of colors and styles to match your existing home design. For an advanced touch, incorporate a roof overhang of about 12-18 inches to protect walls from rain splatter and to add a finished, professional look to your patio extension.
Conclusion: Creating Beautiful Outdoor Spaces
As you embark on the journey of extending your patio with a roof, remember that this project can beautifully parallel strengthening your relationship. The five key concepts we’ve explored include the importance of communication in planning, teamwork in execution, patience when facing challenges, creativity in problem-solving, and celebrating milestones together. Each of these elements not only enhances your DIY project but also enriches your partnership.
To take immediate action, consider setting a date to discuss your patio extension, ensuring both partners have a voice in the vision and planning. This conversation can serve as an excellent opportunity to strengthen your communication and collaboration skills, laying a solid foundation for both your project and your relationship.
Make sure to save or bookmark this article for future reference. As you progress, revisiting these relationship insights can offer guidance and encouragement, ensuring you remain aligned and inspired.
Moving forward, let this project be a reminder that successful relationships are built with intention, effort, and shared dreams. Embrace the journey, and watch as both your patio and partnership flourish with every step you take together.