Transforming your backyard into a stunning outdoor oasis is more than just a home improvement project—it’s a journey to creating your personal paradise. Whether you’re a beginner just starting to dabble in outdoor design or a seasoned homeowner looking to elevate your space, “DIY Pavilion Layout Planning Tips” is your go-to guide. With this treasure trove of ideas, you’ll discover the joy of crafting a pavilion that perfectly complements your lifestyle, offering both beauty and functionality.
Dive into this guide and unlock the secrets to maximizing your outdoor space’s potential. You’ll find practical tips that promise to ignite your creativity and empower you to execute a layout that not only enhances your home’s aesthetic appeal but also boosts its value. Get ready to feel confident and inspired as you embark on this rewarding venture to create an inviting, beautiful outdoor haven that you and your guests will adore.
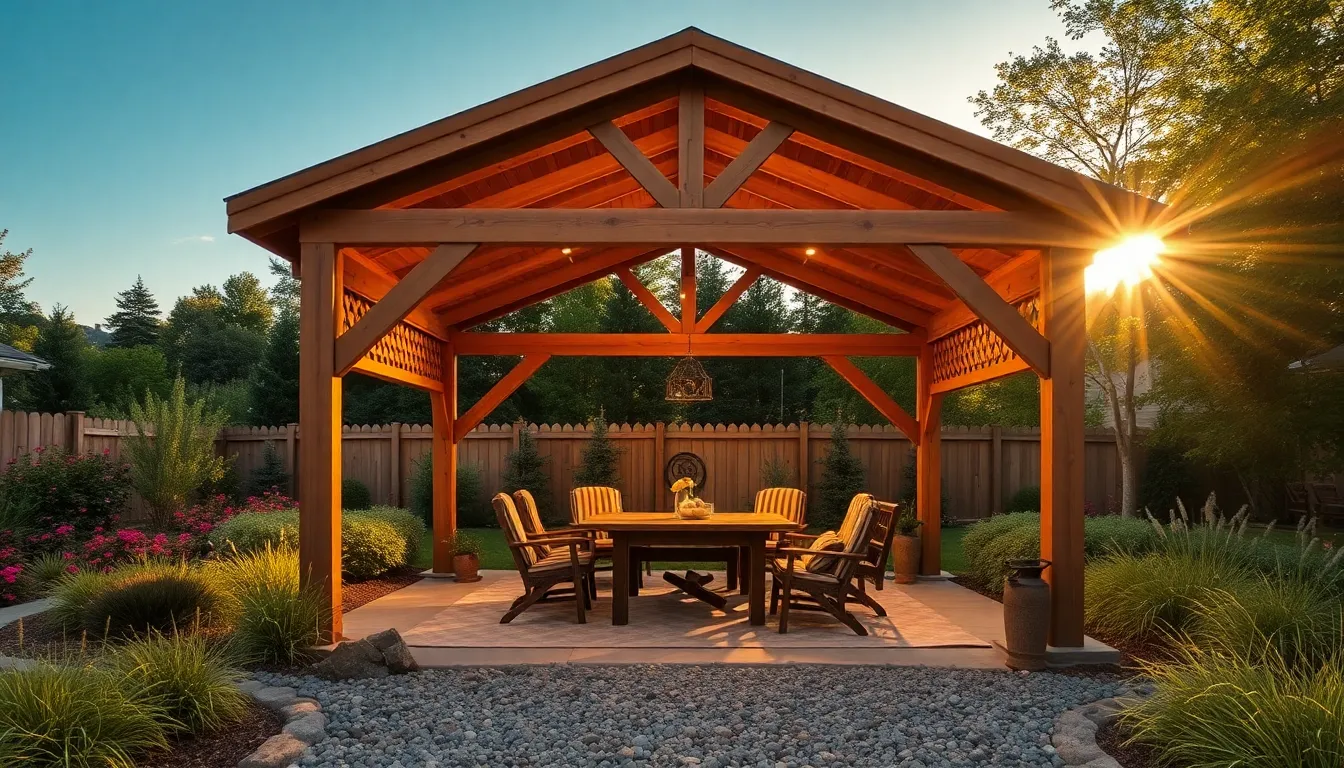
Identify Optimal Pavilion Location
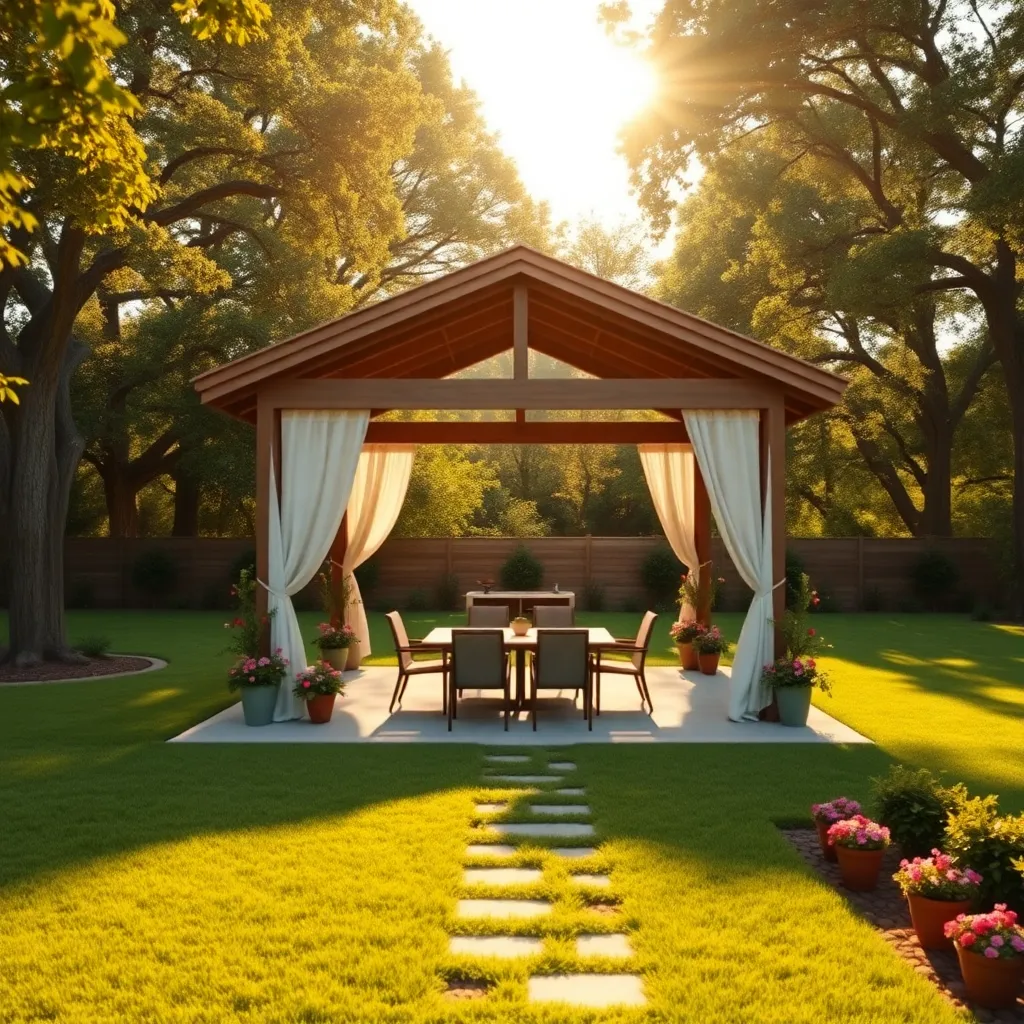
Choosing the right location for your pavilion is crucial for both functionality and aesthetics. Start by assessing the sunlight and shade patterns in your yard throughout the day, ensuring your pavilion will offer the desired ambiance at different times. Consider the proximity to your house for convenience, but also look for areas that naturally enhance privacy and create a cozy retreat, such as near a garden or a water feature. For beginners, a simple tip is to use stakes and string to outline the prospective pavilion area, helping visualize the space before committing to construction.
When planning your pavilion’s placement, pay attention to the ground conditions. Ensure the area is level and provides adequate drainage to prevent water pooling, which can damage the structure over time. Advanced DIYers might consider materials like pressure-treated wood or composite decking that withstands moisture and pests. Additionally, think about the pavilion’s orientation relative to prevailing winds and views, optimizing for comfort and scenery. A practical approach is to use gravel or pavers for the foundation, offering a stable base while being relatively easy to install for those with moderate DIY experience.
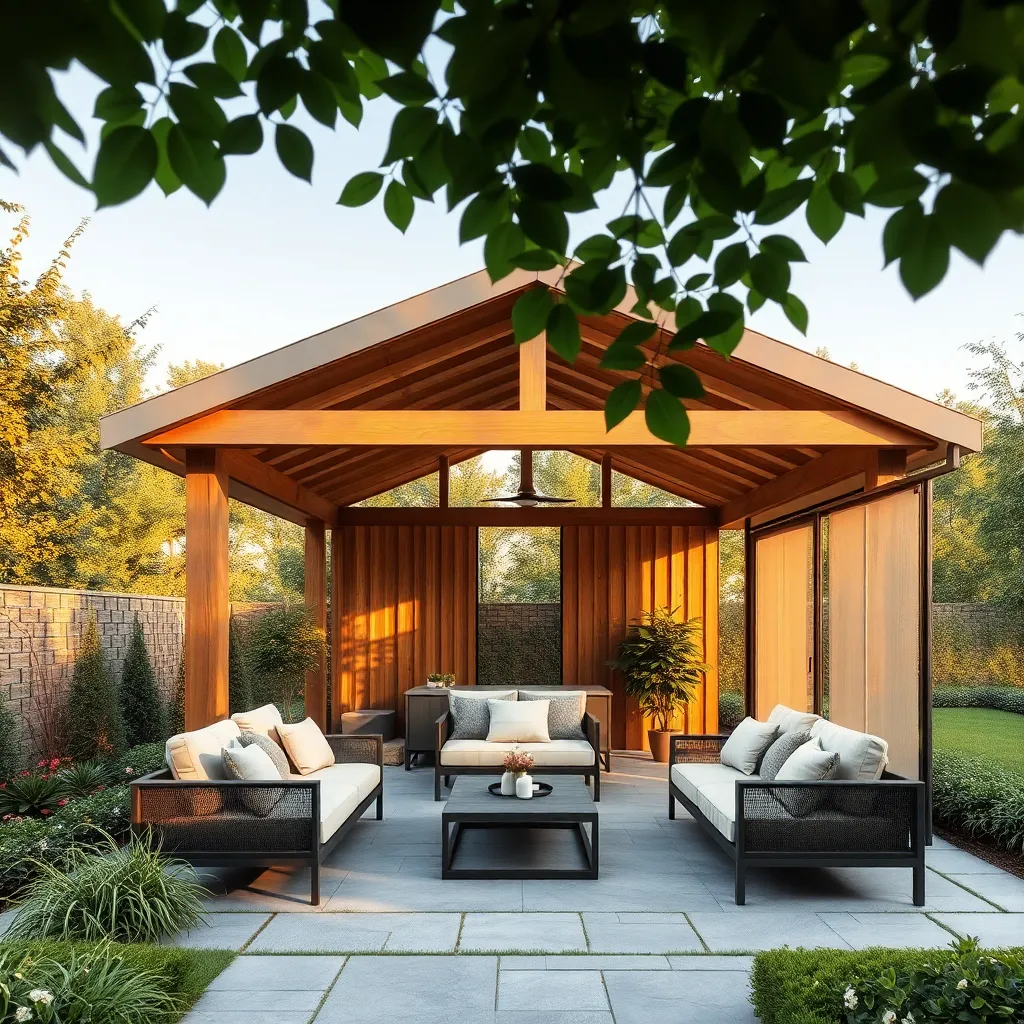
Incorporate Natural Wind Barriers
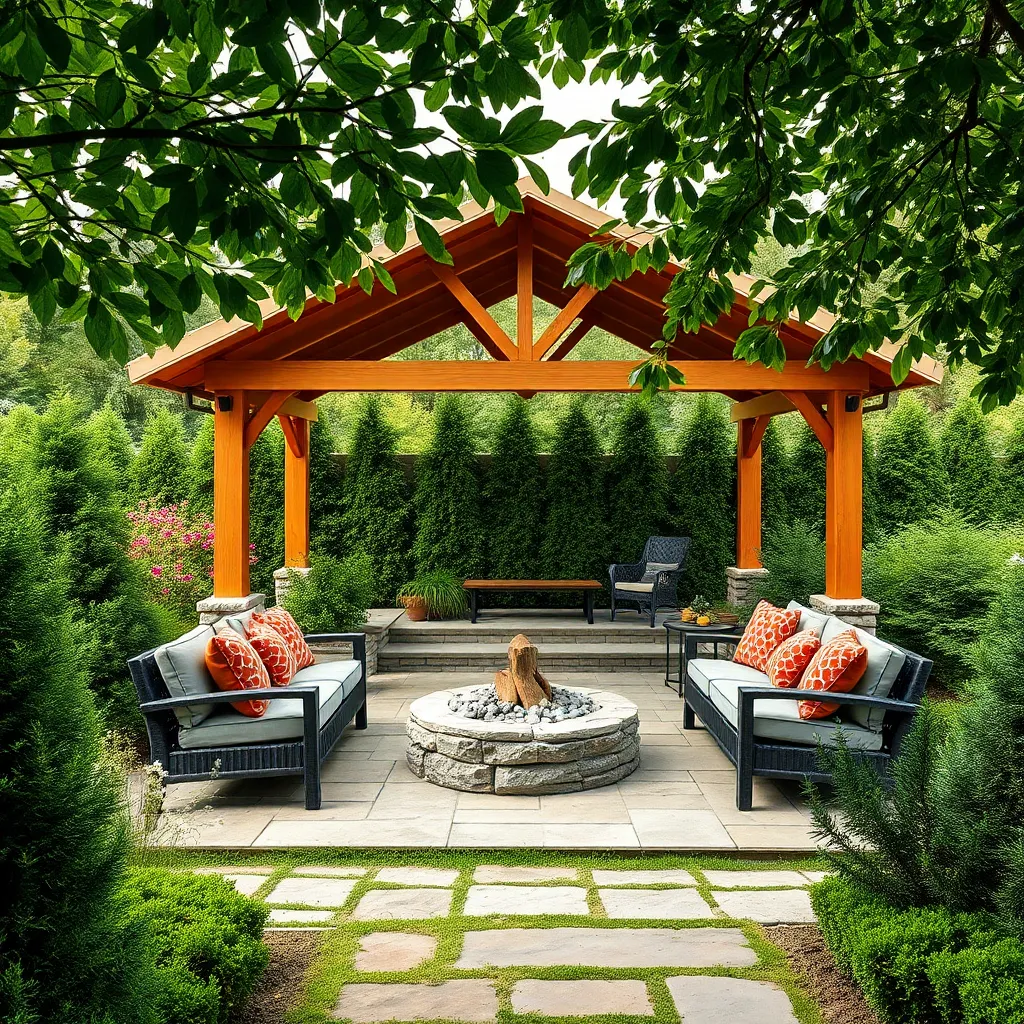
To enhance your pavilion’s comfort, consider incorporating natural wind barriers that not only shield but also beautify your space. Strategically planting rows of dense shrubs, such as boxwood or privet, can effectively block prevailing winds. For a more advanced touch, opt for a mixed planting of native trees and tall grasses, creating a layered effect that reduces wind speed while adding texture and color to your landscape.
For those with a more structural mindset, adding a lattice screen on the windward side of your pavilion can provide both wind protection and an opportunity for creative design. Choose materials like cedar or composite wood for durability, and consider embellishing the screen with climbing plants like clematis or ivy for a natural touch. Ensure the screen is at least 6 feet tall to effectively disrupt wind flow, and anchor it securely to withstand gusts, offering a perfect blend of functionality and style.
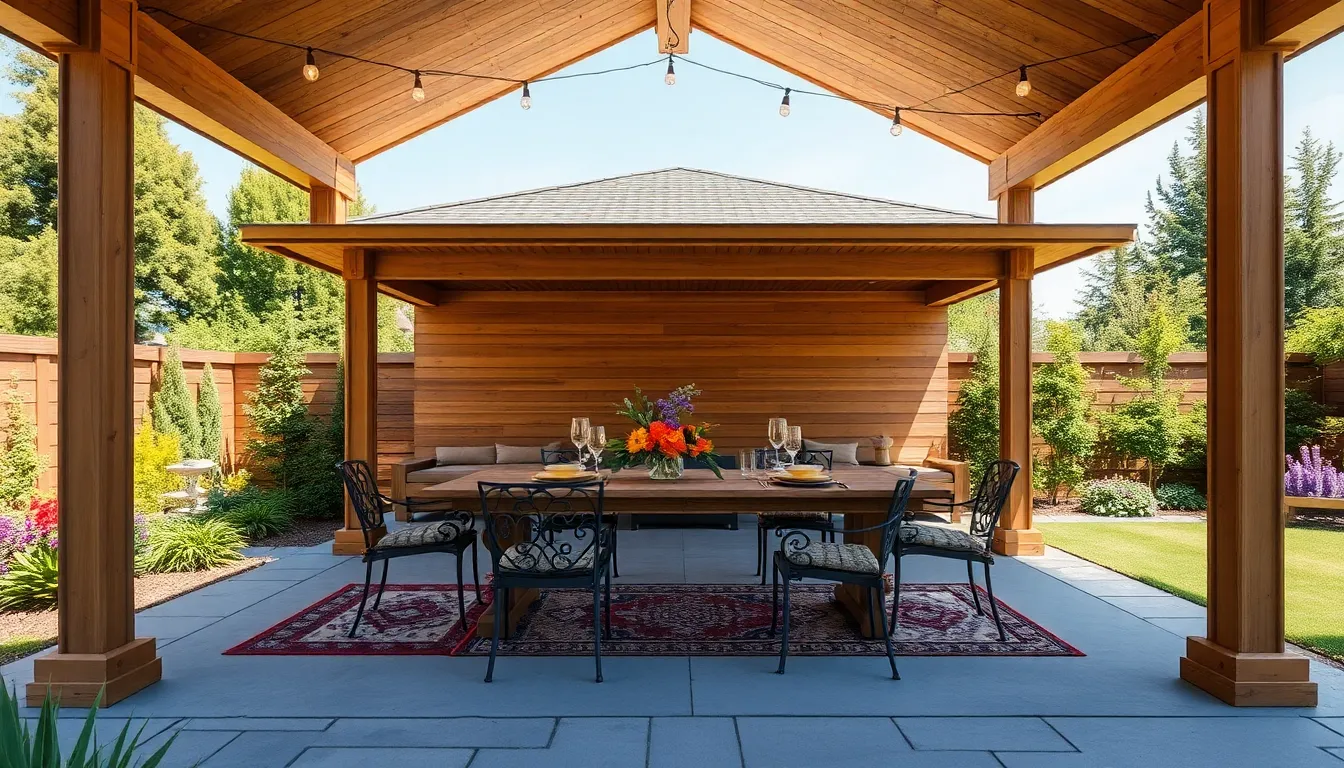
Utilize Modular Furniture Layouts
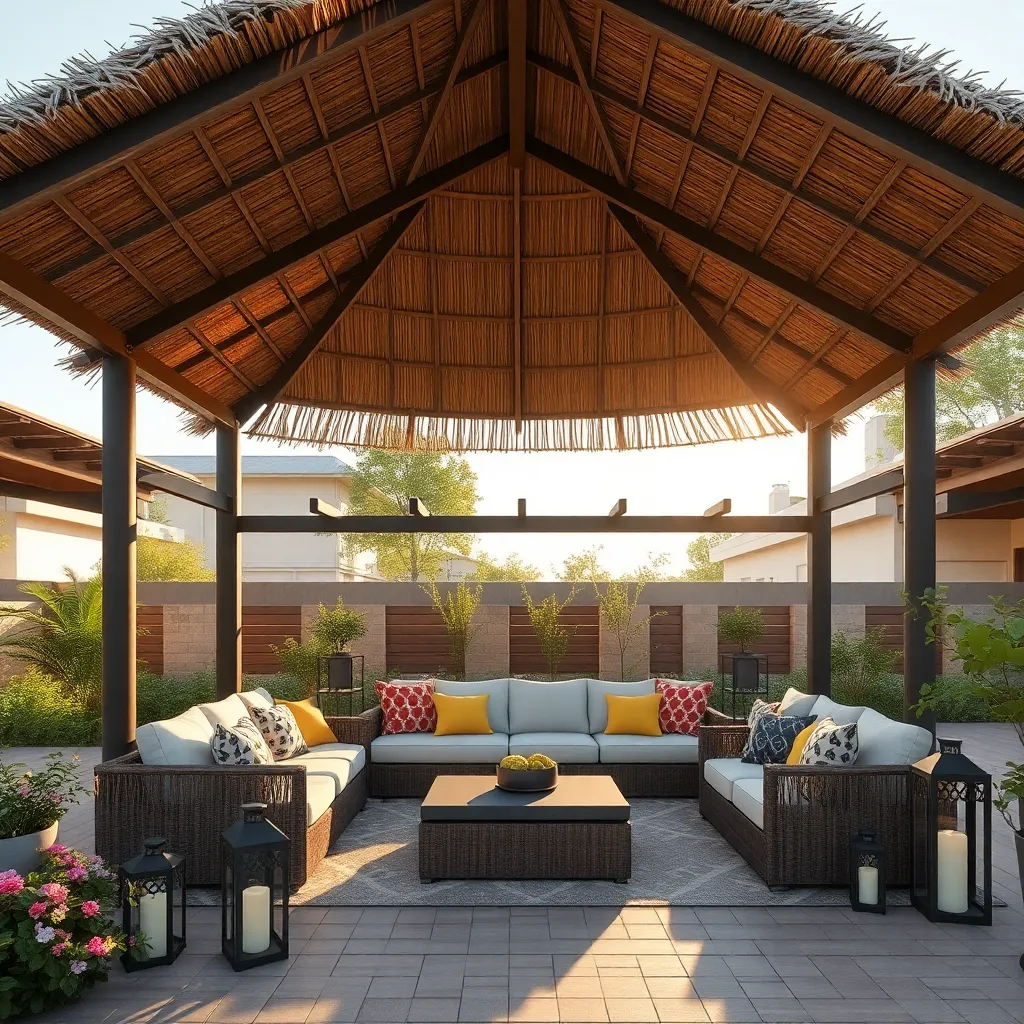
To maximize the functionality of your DIY pavilion, consider using modular furniture layouts that allow for flexibility and customization. Start with weather-resistant materials like teak, aluminum, or synthetic wicker to ensure durability against the elements. For a beginner-friendly setup, arrange modular seating to create a welcoming conversation area, while keeping pathways clear for easy movement.
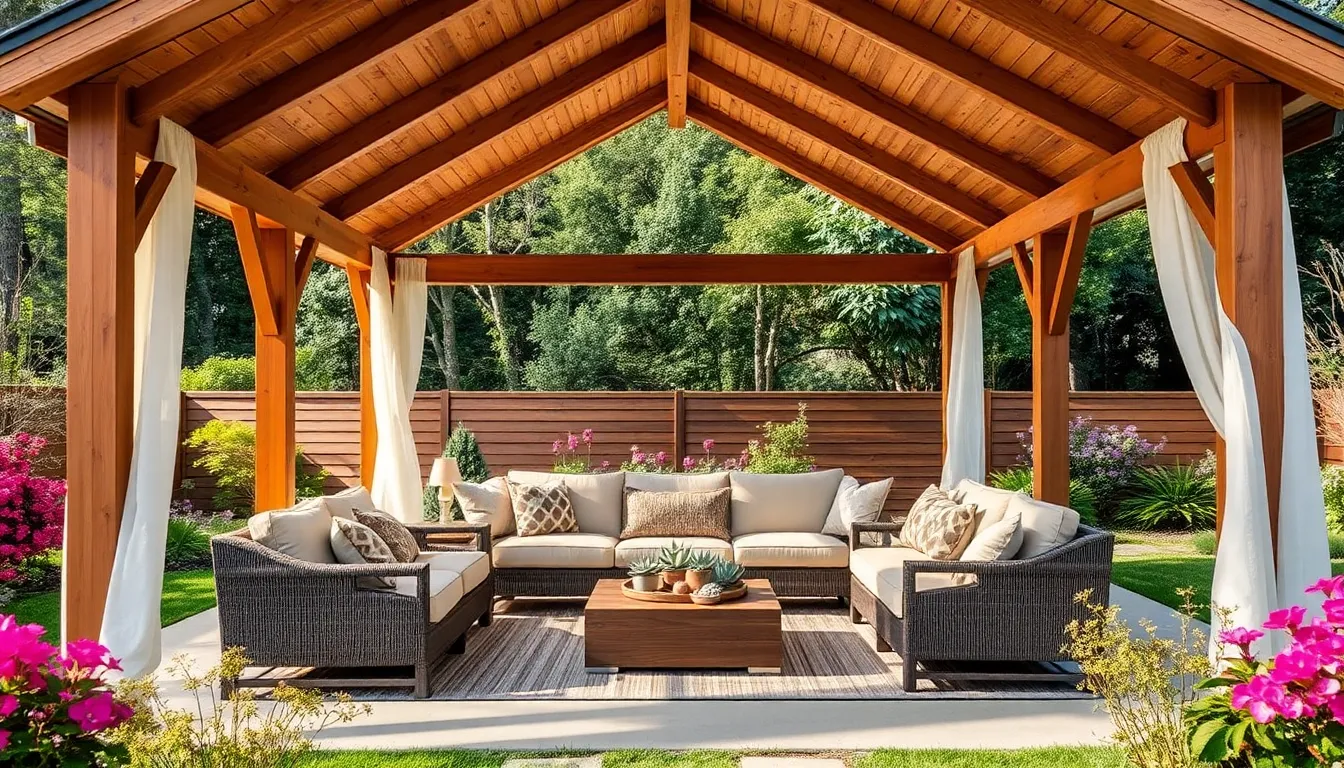
Experienced DIYers can elevate their pavilion with advanced techniques by incorporating multi-level modular setups. Use stackable or sectional pieces to adapt the space for different occasions, such as hosting guests or creating a cozy retreat. To enhance aesthetics and functionality, integrate outdoor cushions with waterproof fabrics and add a few side tables to hold drinks or decor. This approach not only offers versatility but also allows you to refresh the space effortlessly over time.
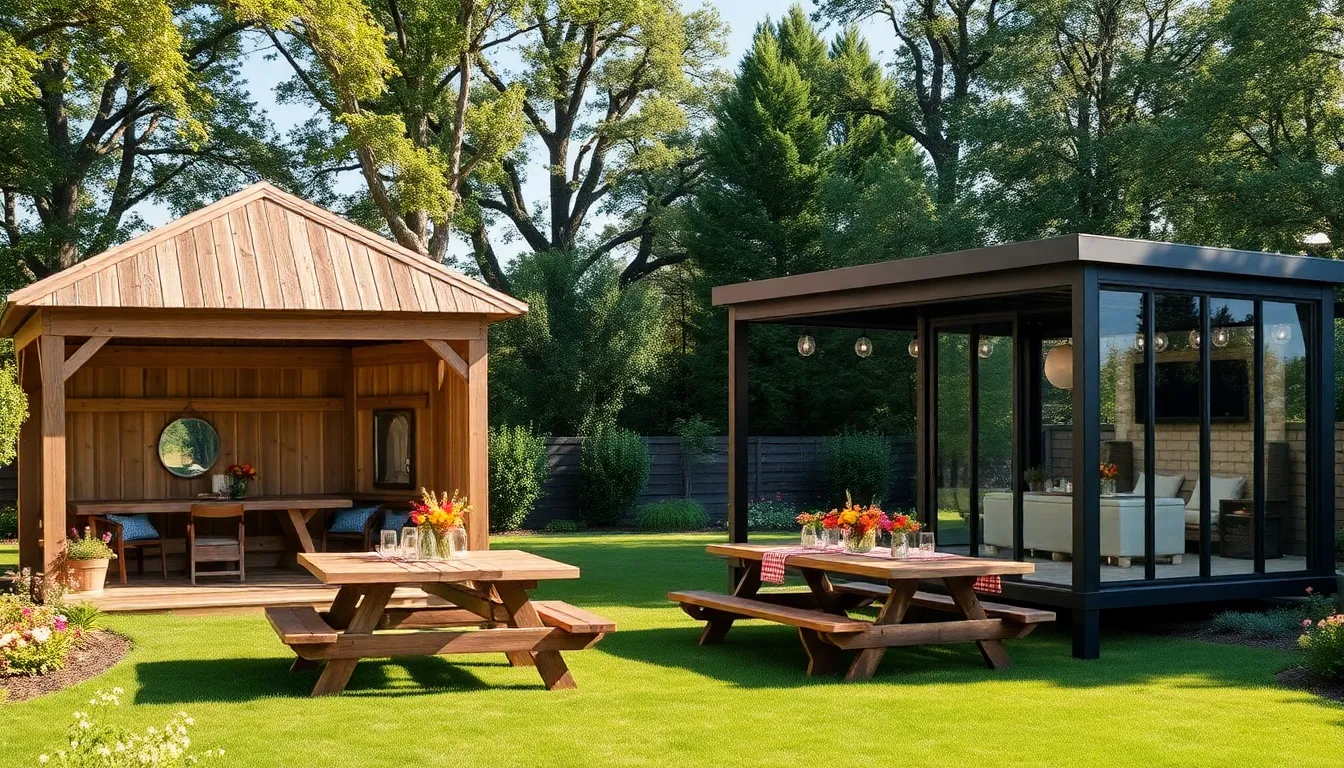
Include Multi-Functional Space Dividers
Incorporating multi-functional space dividers into your DIY pavilion can enhance both privacy and versatility. Consider using materials like bamboo screens, which are lightweight and easy to install, or opt for pergola-style wooden slats for a more permanent solution. These dividers can define specific areas within your pavilion, such as a dining space or a relaxation zone, without closing off the area entirely.
For added functionality, choose dividers that can also serve as vertical gardens or storage solutions. For instance, a lattice panel can double as a plant trellis, offering both a visual barrier and a lush backdrop. Be sure to measure your space accurately—dividers typically range from 4 to 7 feet in height—to ensure they fit seamlessly within your pavilion while maintaining an open, airy feel.
Plan For Efficient Foot Traffic Flow

Efficient foot traffic flow is crucial for a well-functioning pavilion. Begin by planning clear, unobstructed pathways that are at least 3-4 feet wide, ensuring comfortable movement for multiple people. Use durable materials like stone pavers or reinforced gravel for these paths to withstand foot traffic and weather conditions. Consider the placement of entrances and exits, aligning them with natural walking routes to minimize congestion.
For a seamless experience, integrate your pavilion’s layout with surrounding landscapes. Position seating areas and functional spaces like grills or bars strategically along these paths, using natural markers such as planters or low hedges to subtly guide guests. Advanced tip: incorporate lighting along pathways using solar-powered fixtures to enhance safety and ambiance during evening gatherings.
Conclusion: Creating Beautiful Outdoor Spaces
In wrapping up our exploration of ‘DIY Pavilion Layout Planning Tips,’ we’ve delved into five essential relationship concepts that can transform your space—and your connection. We began with the importance of communication, emphasizing open dialogue as the foundation for any shared endeavor. Next, we highlighted the value of compromise, recognizing the balance between individual desires and mutual satisfaction. The third concept, empathy, reminded us to step into our partner’s shoes, fostering deeper understanding. Fourth, we explored the power of creativity, encouraging innovative solutions to shared challenges. Lastly, we discussed the significance of quality time, underscoring the need for intentional connection within your space.
Now, take a moment to reflect on one area where you can apply these principles today. Whether it’s rearranging a cozy corner for shared conversations or planning a collaborative project, choose one actionable step to enhance your relationship.
Don’t let these insights slip away—bookmark this article to revisit these tips as you craft your ideal pavilion and nurture your bond. Remember, each small step you take today lays the groundwork for a future filled with joy and connection. Your relationship is a lifelong journey, and with dedication and warmth, success is always within reach.