Creating a sheltered outdoor space transforms your backyard into a year-round retreat, perfect for relaxing or entertaining. Whether you’re new to DIY projects or a seasoned homeowner, choosing the right covered patio kit can simplify the process and fit your unique style and budget.
In this article, you’ll discover a range of affordable, easy-to-install patio kits designed to meet different needs and skill levels. From material options to assembly tips, we’ll guide you through making your outdoor living dreams a practical reality.
Choosing the Right Patio Kit
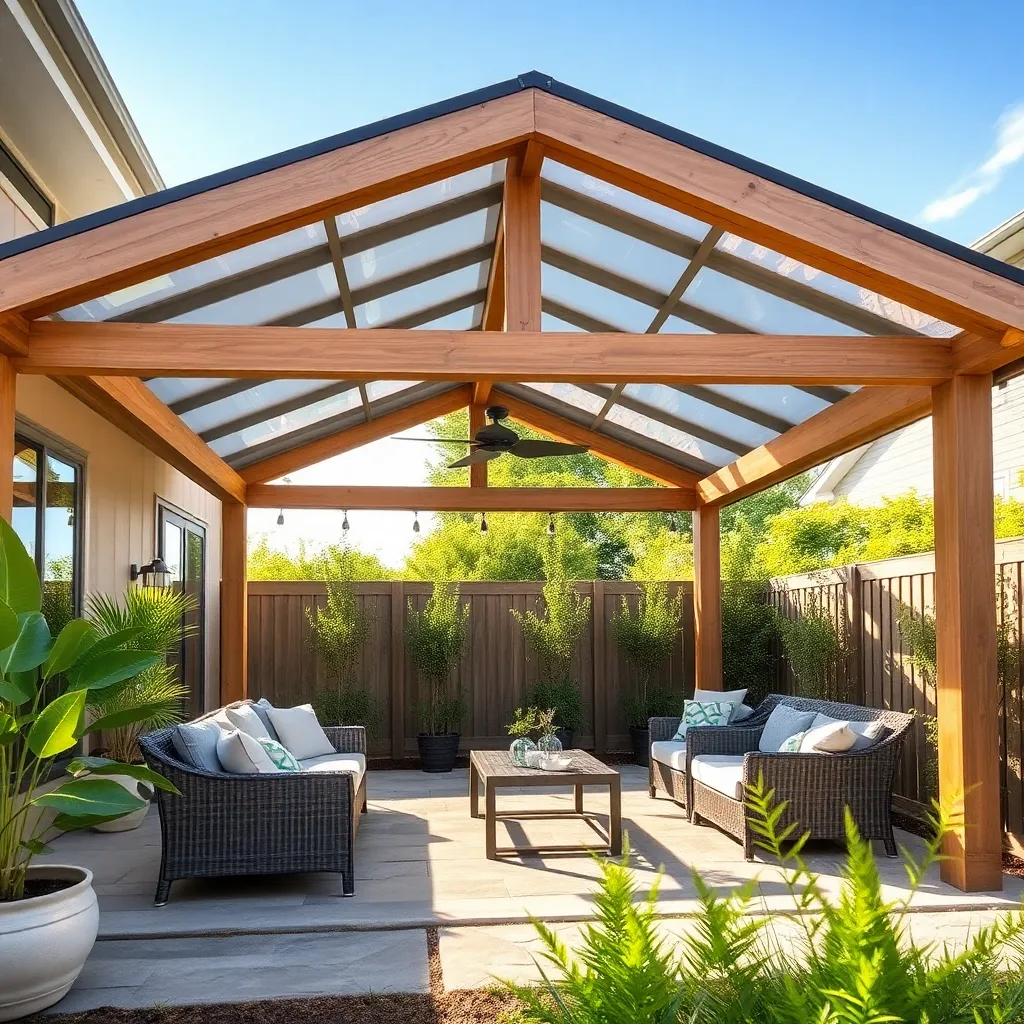
When choosing the right patio kit, consider the material carefully—wood, aluminum, and vinyl each offer distinct benefits. Wood provides a natural, warm aesthetic but requires regular maintenance, while aluminum is lightweight and rust-resistant, perfect for low upkeep. Make sure the dimensions fit your outdoor space comfortably, leaving room for furniture and walking paths; a common size to consider is around 12×12 feet for a balanced shelter.
Beyond materials, focus on design elements like roof style and support structure to match your home’s architecture and climate needs. Gable or hip roofs provide better rain runoff, while a flat roof offers a modern look but needs proper drainage. For advanced DIYers, consider integrating adjustable louvers or retractable canopies to control sunlight and airflow, enhancing comfort and usability throughout the year.
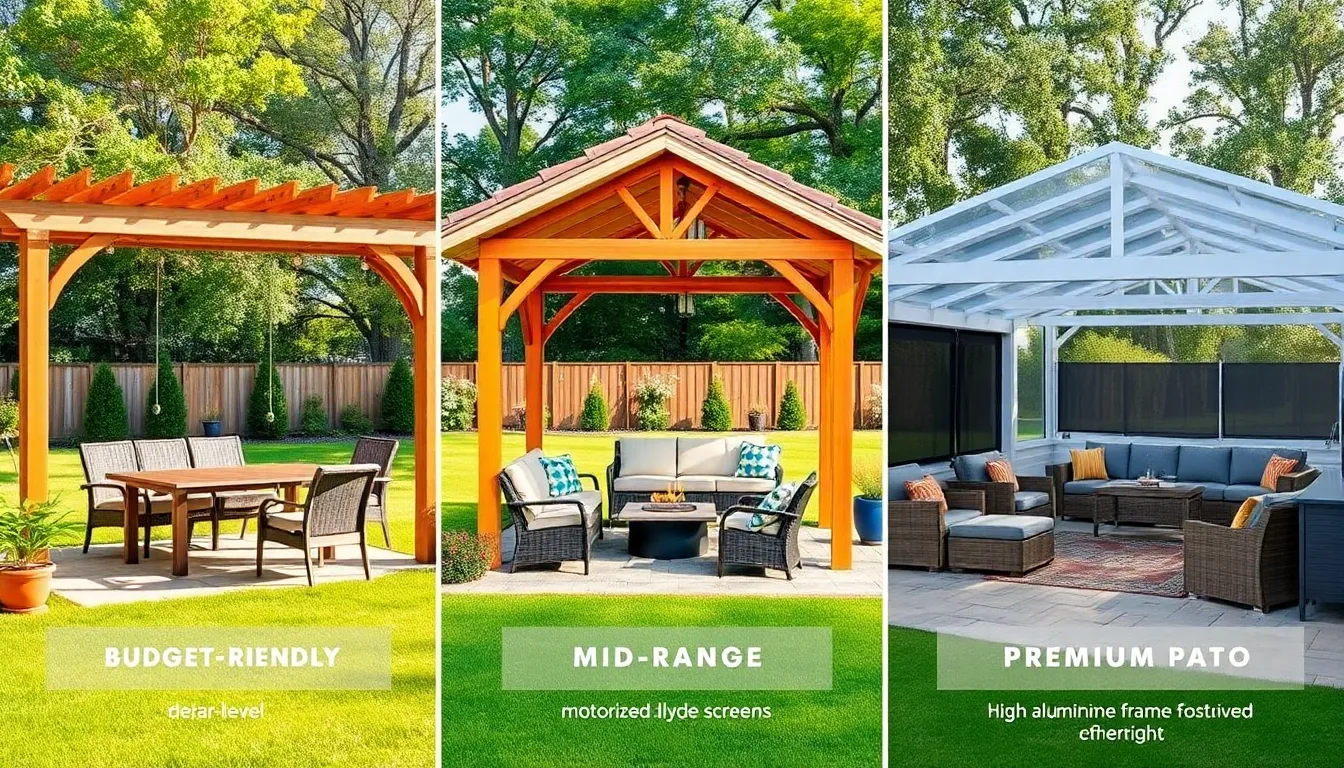
Budget-Friendly Material Options
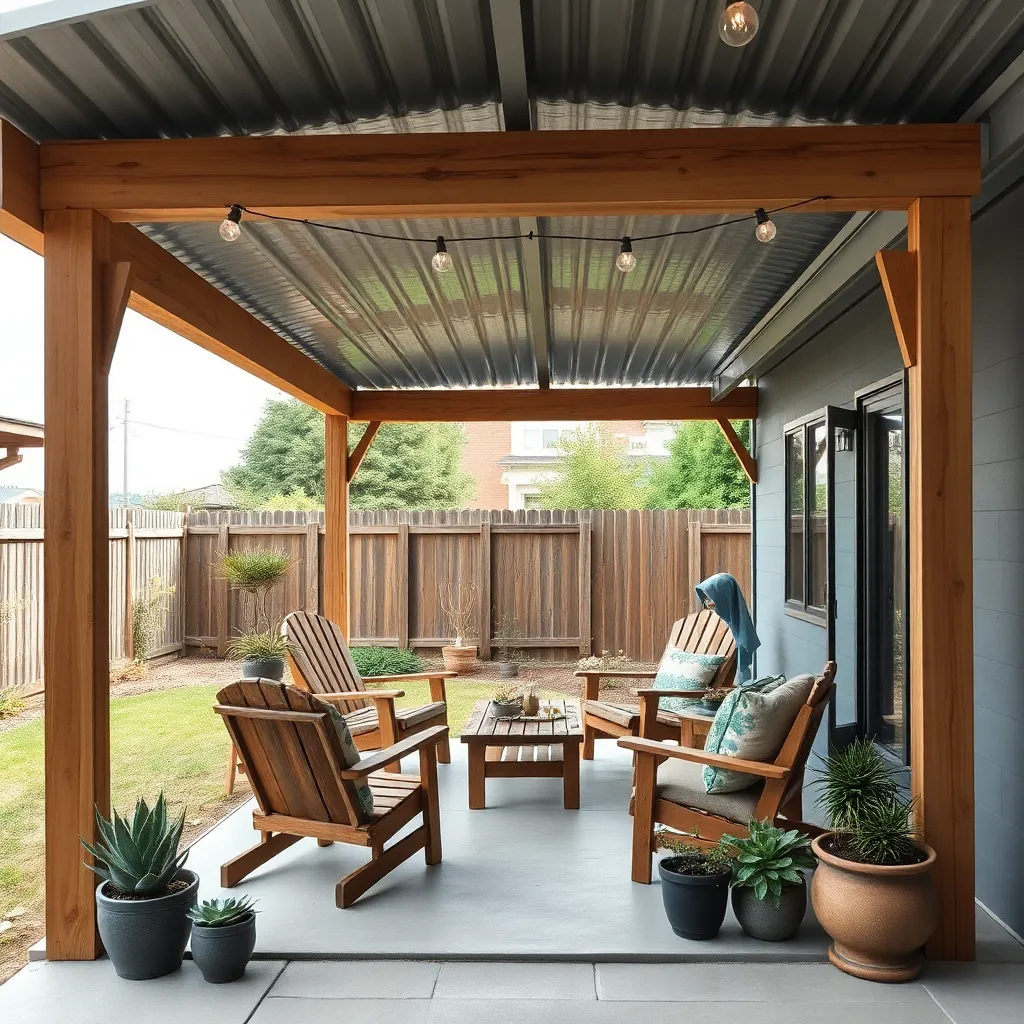
For a budget-friendly covered patio, consider using pressure-treated wood as your primary frame material. It offers durability against weather and pests without breaking the bank. Pair this with a simple polycarbonate or corrugated metal roof to provide reliable protection from sun and rain while keeping costs low.

To maximize value, focus on standard dimensions like 10×10 or 12×12 feet which help reduce waste and simplify construction. Advanced DIYers can improve stability by adding angled braces at each corner and sealing wood with a quality outdoor stain for longevity. These straightforward steps ensure your shelter is both affordable and built to last.
Step-by-Step Assembly Guide
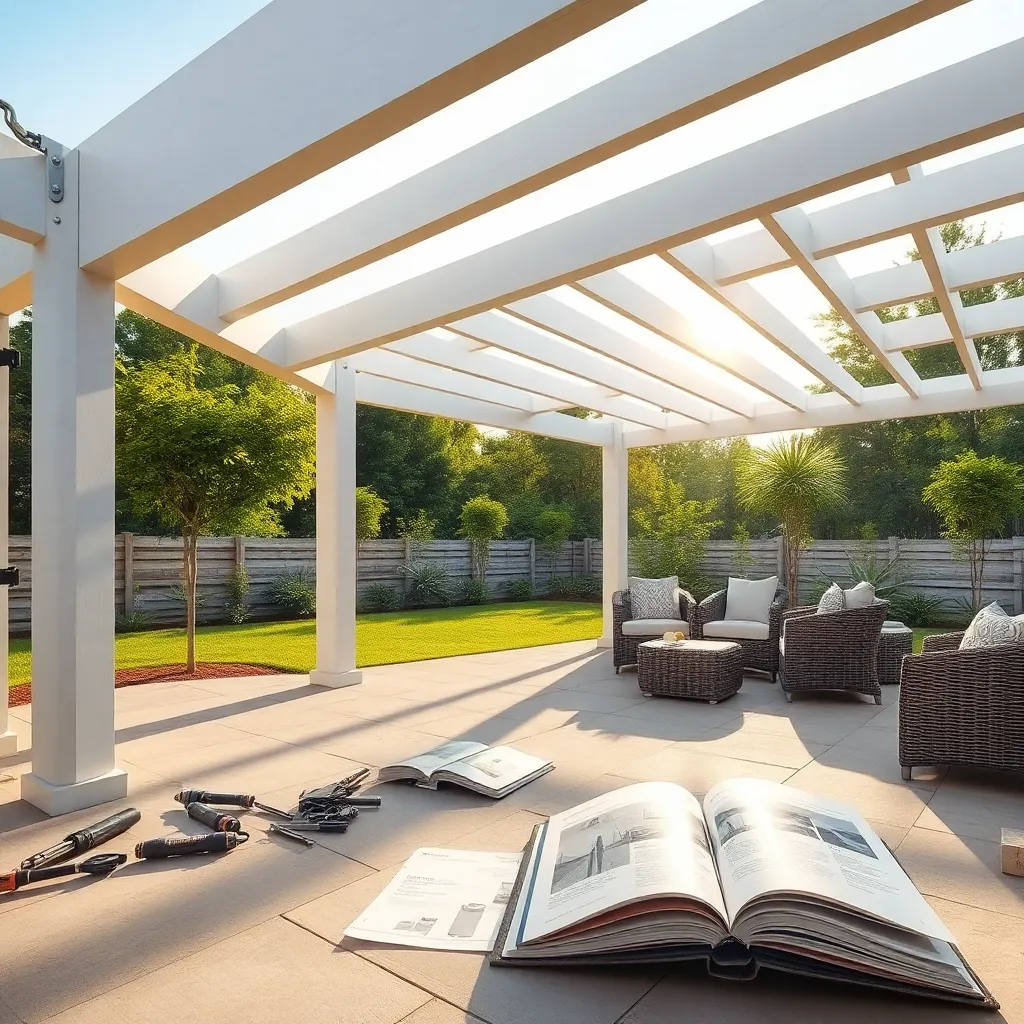
Begin your assembly by carefully reviewing the instruction manual and organizing all parts on a flat surface to ensure you have everything needed, including treated lumber or powder-coated steel frames for durability. Use a level and measuring tape throughout to maintain evenness and stability, aiming for standard dimensions like an 8×10 or 10×12-foot base to maximize usable space without overwhelming your yard.
Next, anchor the posts securely into concrete footings or use heavy-duty ground spikes to withstand wind and weather, especially if you live in a high-wind area. For advanced builders, consider adding cross beams or decorative braces to improve structural integrity and aesthetic appeal, and apply a weather-resistant sealant or paint to prolong the lifespan of your shelter.
Customizing Your Covered Patio
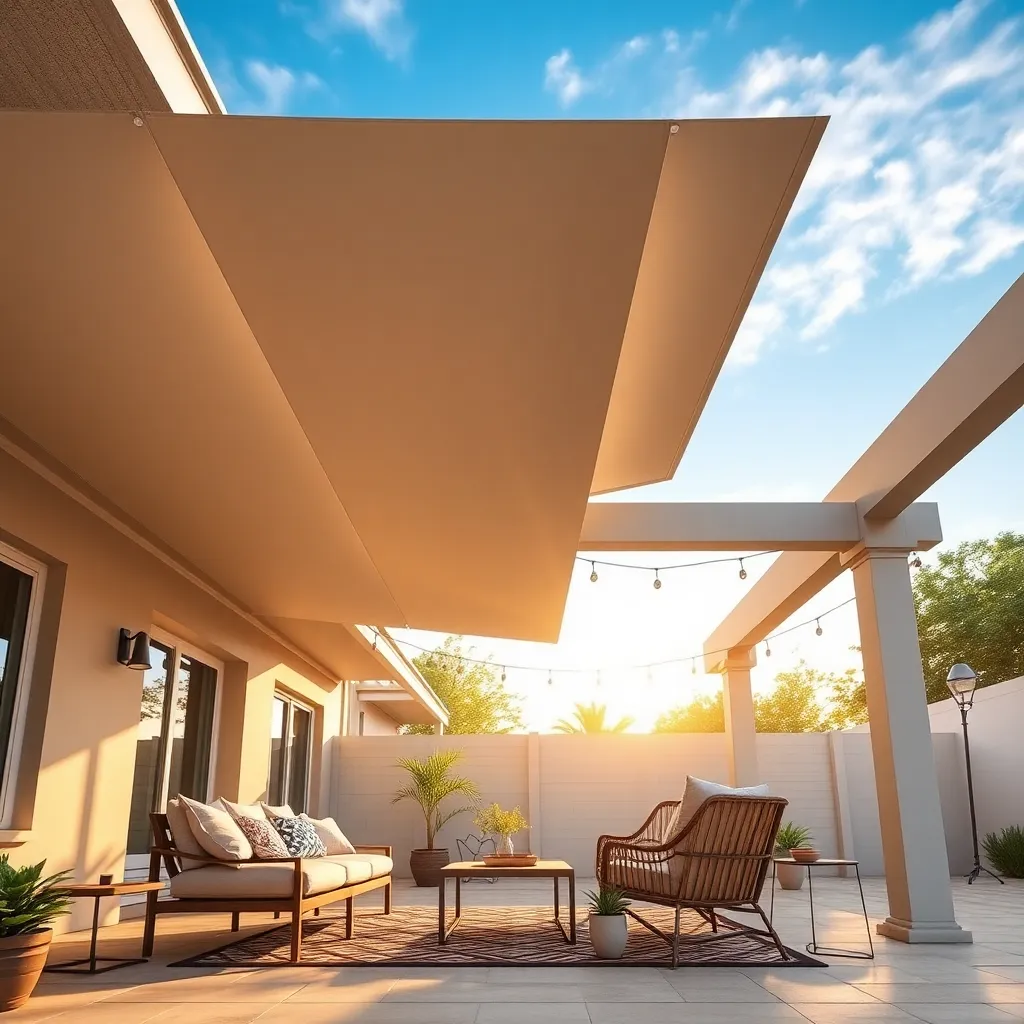

When customizing your covered patio, start by selecting durable materials like aluminum or cedar wood, which offer both weather resistance and aesthetic appeal. Consider adding adjustable features such as retractable awnings or side screens to control sunlight and enhance comfort throughout the day. For a balanced design, aim for a ceiling height of at least 8 feet to create a spacious feel, and incorporate built-in lighting or ceiling fans to improve usability during evenings and warmer months.
To elevate your patio further, integrate functional elements like stone or brick columns for added stability and style, or install a pergola extension for partial shade and plant support. Advanced tips include using weatherproof outdoor fabrics for cushions and curtains, and planning electrical wiring during assembly to accommodate heaters or sound systems. These thoughtful touches will transform your covered patio into a versatile, inviting outdoor living space perfect for year-round enjoyment.
Maintenance Tips for Longevity
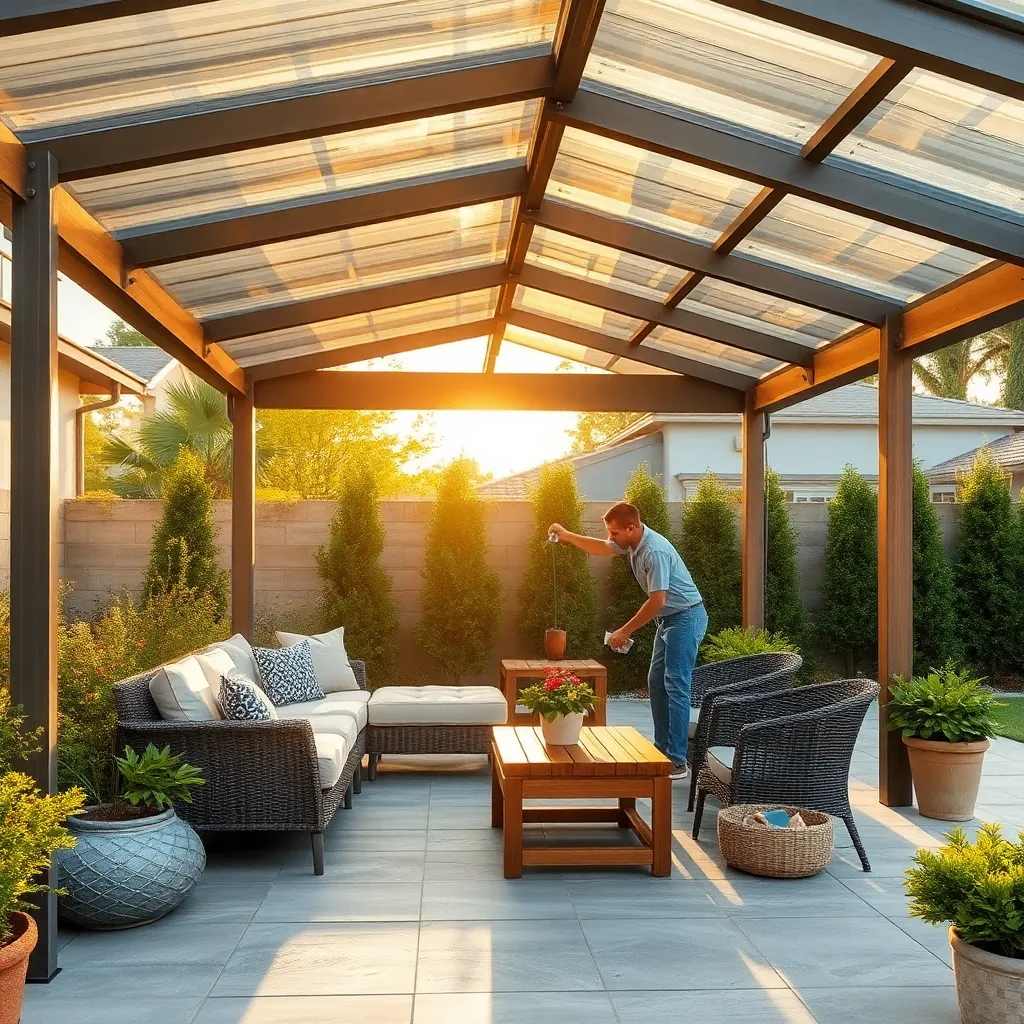
Regular upkeep is essential to extend the life of your covered patio. Inspect the structure seasonally for loose fasteners, damaged panels, or weather-related wear, especially focusing on joints and roof supports. Using galvanized or stainless steel hardware can reduce rust, while applying a weather-resistant sealant to wood components helps prevent rot and warping.
To keep your patio looking fresh and sturdy, consider these maintenance tips:
- Clean the roof panels and gutters quarterly to prevent debris buildup and water damage.
- Trim nearby trees to avoid falling branches and excessive leaf accumulation.
- Repaint or stain wood surfaces every 2-3 years with UV-protective finishes to maintain durability and appearance.
- For metal frames, touch up scratches promptly to avoid corrosion.
These small actions will ensure your DIY covered patio remains a welcoming retreat for years to come.

Conclusion: Creating Beautiful Outdoor Spaces
Creating a cozy, covered patio together isn’t just about enhancing your outdoor space—it’s a chance to build stronger connections through collaboration, communication, shared goals, creativity, and budgeting wisely. By embracing these five key concepts, you’re not only improving your home but also nurturing your relationship in meaningful ways.
Your next step? Sit down with your partner today and explore which DIY covered patio kit fits both your style and budget. Make it a fun, joint project by discussing preferences, setting a realistic budget, and planning your timeline.
Remember to bookmark this article so you can revisit tips and ideas whenever inspiration strikes or when you’re ready to start building.
Investing time and effort into projects like this lays a foundation for ongoing teamwork and joy in your relationship. Keep nurturing these skills, and you’ll create not just beautiful spaces, but lasting happiness together. You’ve got this—here’s to many memorable moments on your new patio!