Whether you’re just starting to dream about your perfect outdoor retreat or you’ve already crafted a space you love, covered patios open up a world of year-round enjoyment. This guide is packed with inspiring ideas that blend style, comfort, and function, helping you create a cozy haven rain or shine.
Discover practical tips and versatile designs that make your patio a go-to spot through every season, boosting your home’s value and your daily happiness. With these ideas, you’ll feel confident transforming your outdoor area into a beautiful, inviting escape that keeps you connected to nature all year long.
Install Retractable Weatherproof Awnings
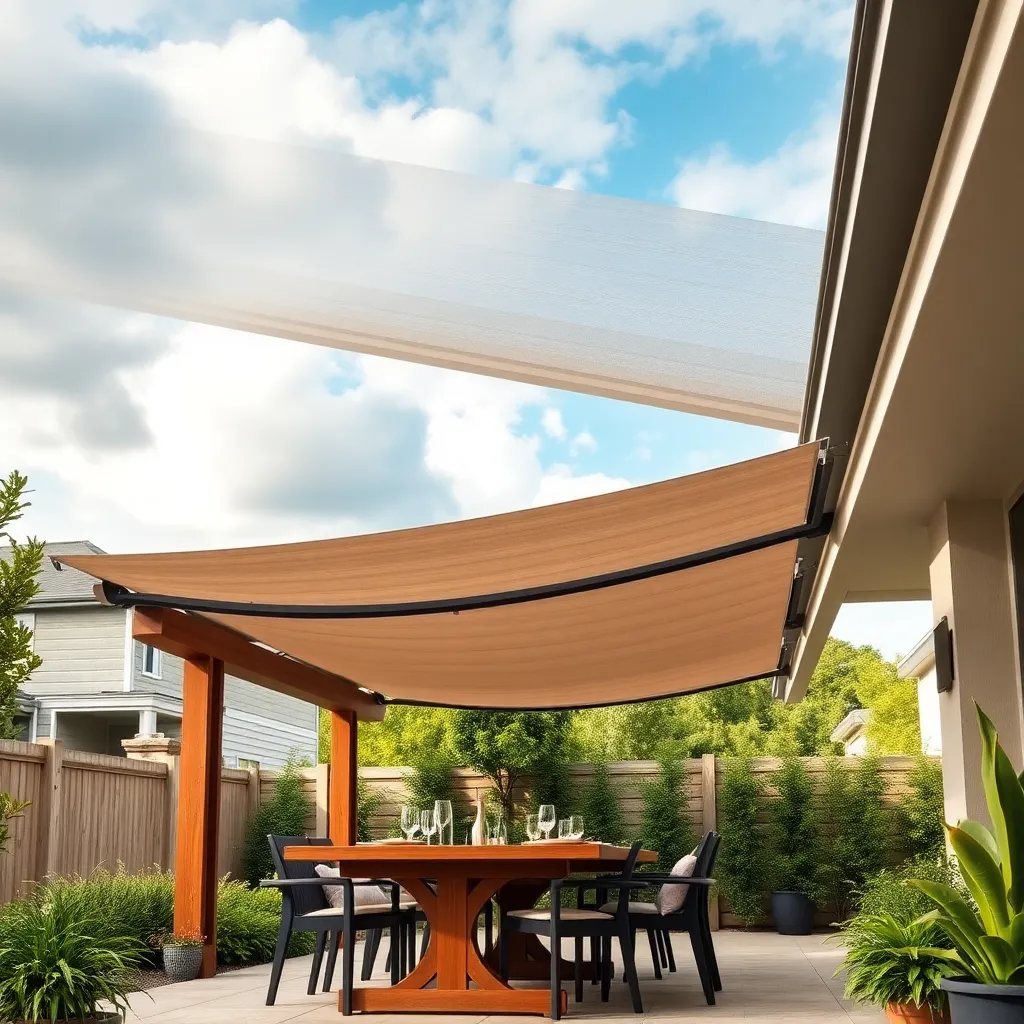
Retractable weatherproof awnings provide flexible shade and protection for your patio, adapting easily to changing weather. Choose durable materials like acrylic fabrics with UV and water resistance or aluminum frames for long-lasting performance. For best coverage, measure your patio width and opt for awnings extending 8 to 12 feet, ensuring ample shade without overpowering the space.
Installation is straightforward but precise; mount the awning securely to a sturdy wall or beam using heavy-duty brackets and anchors. Advanced tips include integrating a motorized retracting system for effortless operation and adding wind sensors to automatically retract during storms, protecting your investment and keeping your patio usable all year round.
Use Insulated Patio Roofing Panels
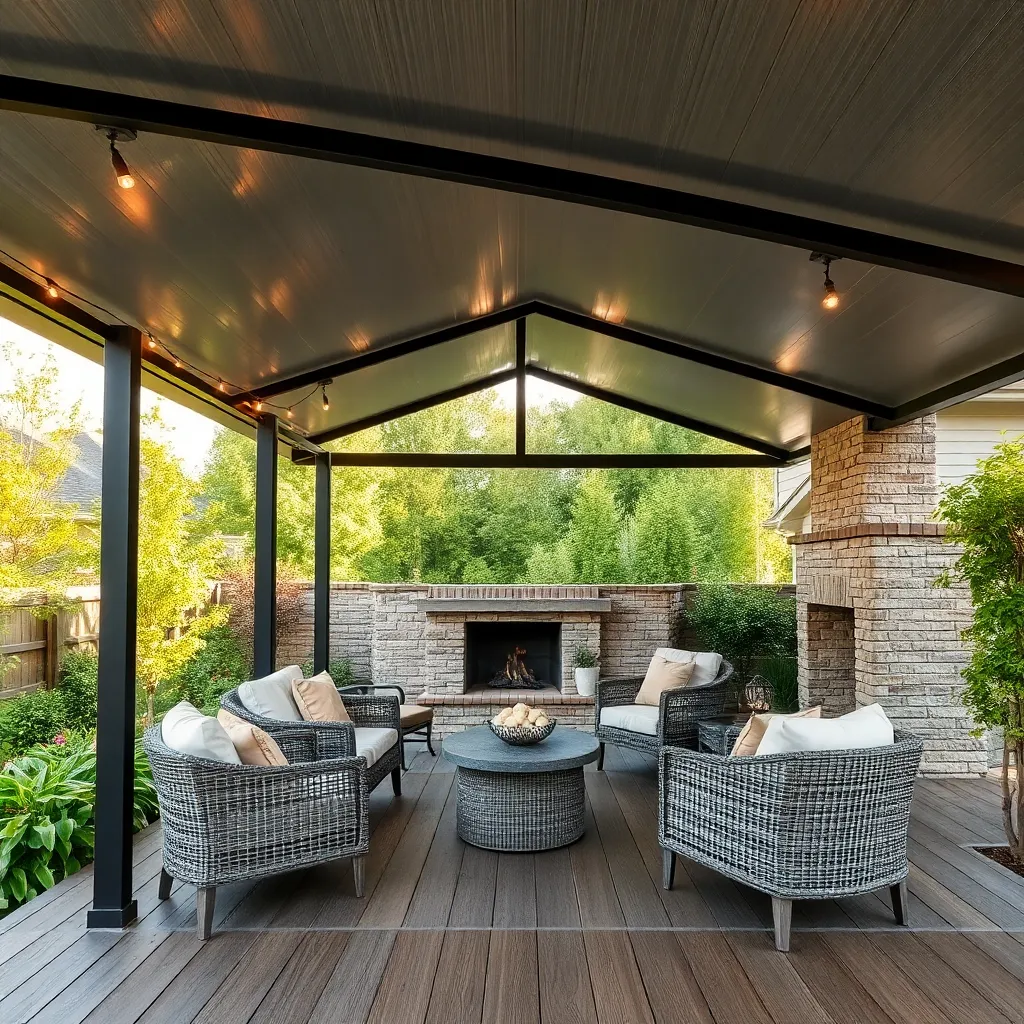
Using insulated patio roofing panels is a smart way to create a covered patio that stays comfortable year-round. Opt for panels made with a rigid foam core sandwiched between durable materials like aluminum or polycarbonate, which provide excellent thermal insulation and block UV rays. For best results, choose panels that are at least 1 to 2 inches thick to maximize energy efficiency and reduce heat transfer during hot summers and cold winters.
When installing these panels, ensure the structure has a slight slope of about 5 degrees to promote water runoff and prevent pooling. Additionally, sealing all joints with weatherproof tape or silicone will enhance insulation and prevent leaks. For a polished look, consider pairing insulated panels with aluminum framing systems, which are lightweight, rust-resistant, and easy to assemble for both beginners and experienced DIYers.
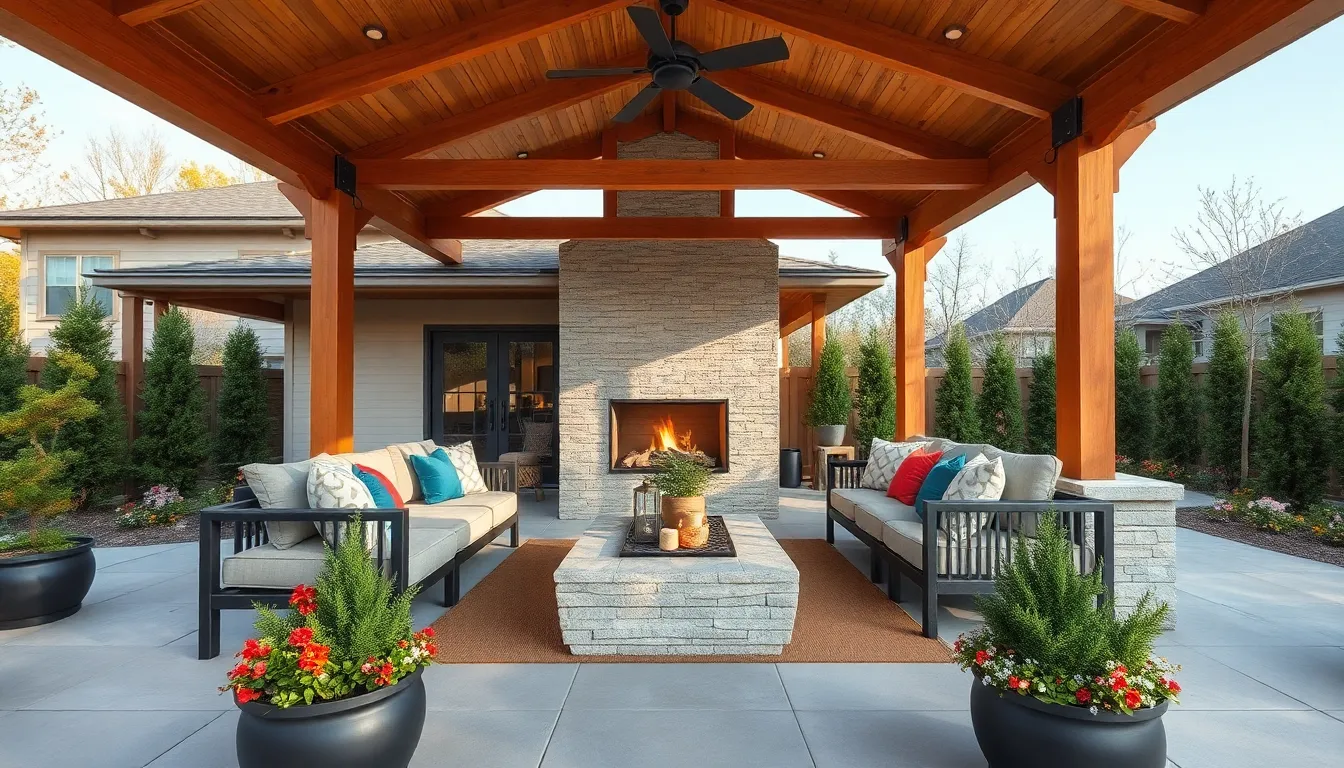
Incorporate Ceiling Fans for Ventilation
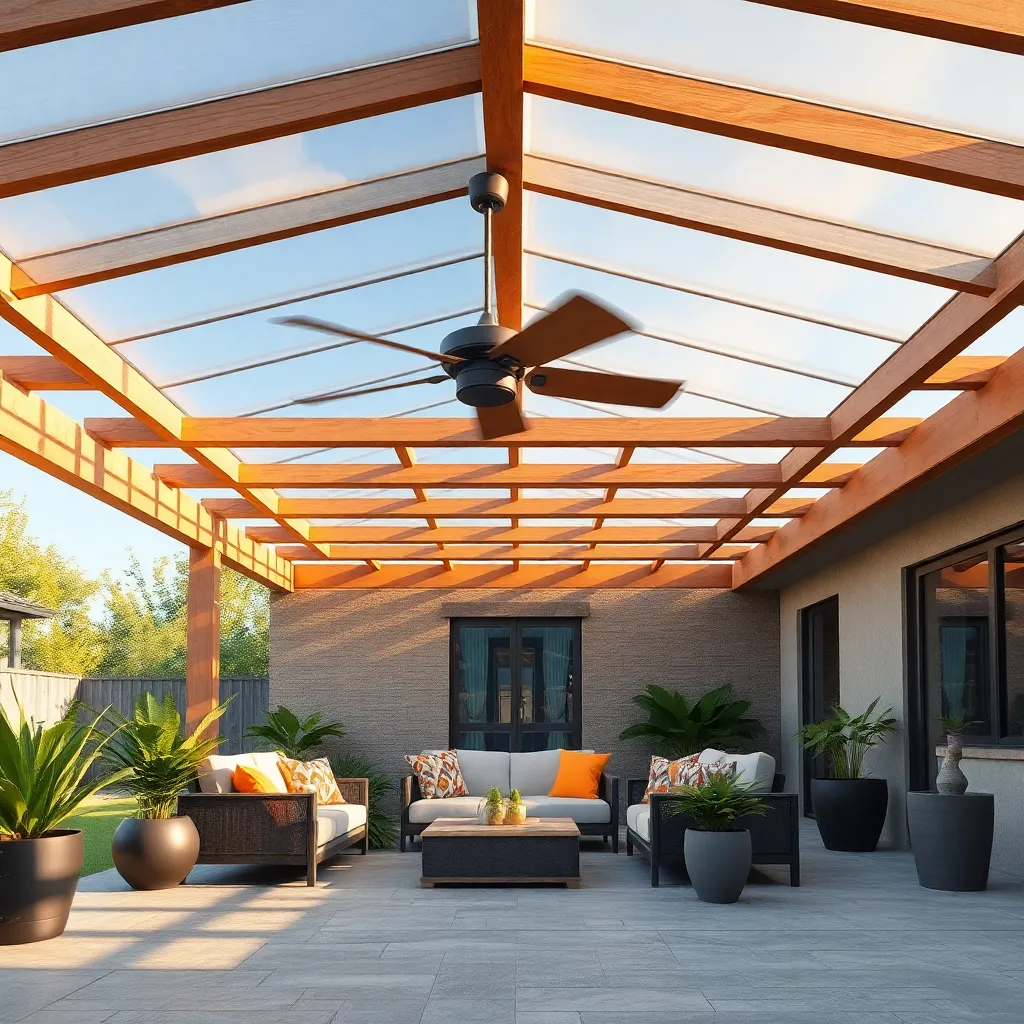
Adding ceiling fans to your covered patio is an effective way to boost ventilation and keep the space comfortable during warmer months. Opt for fans specifically rated for outdoor use, such as those with sealed motor housings and weather-resistant blades made from materials like ABS or teak. Install the fans at least 8 to 9 feet above the floor for optimal airflow and to maintain proper clearance.
To maximize cooling and air circulation, consider combining ceiling fans with adjustable louvers or vents in your patio roof design. For larger patios, multiple fans spaced evenly—about 8 to 10 feet apart—can prevent stagnant air pockets. Additionally, using fans with reversible motors enables year-round use by circulating warm air during cooler seasons, making your outdoor shelter comfortable in all weather conditions.
Add Outdoor Curtains for Privacy
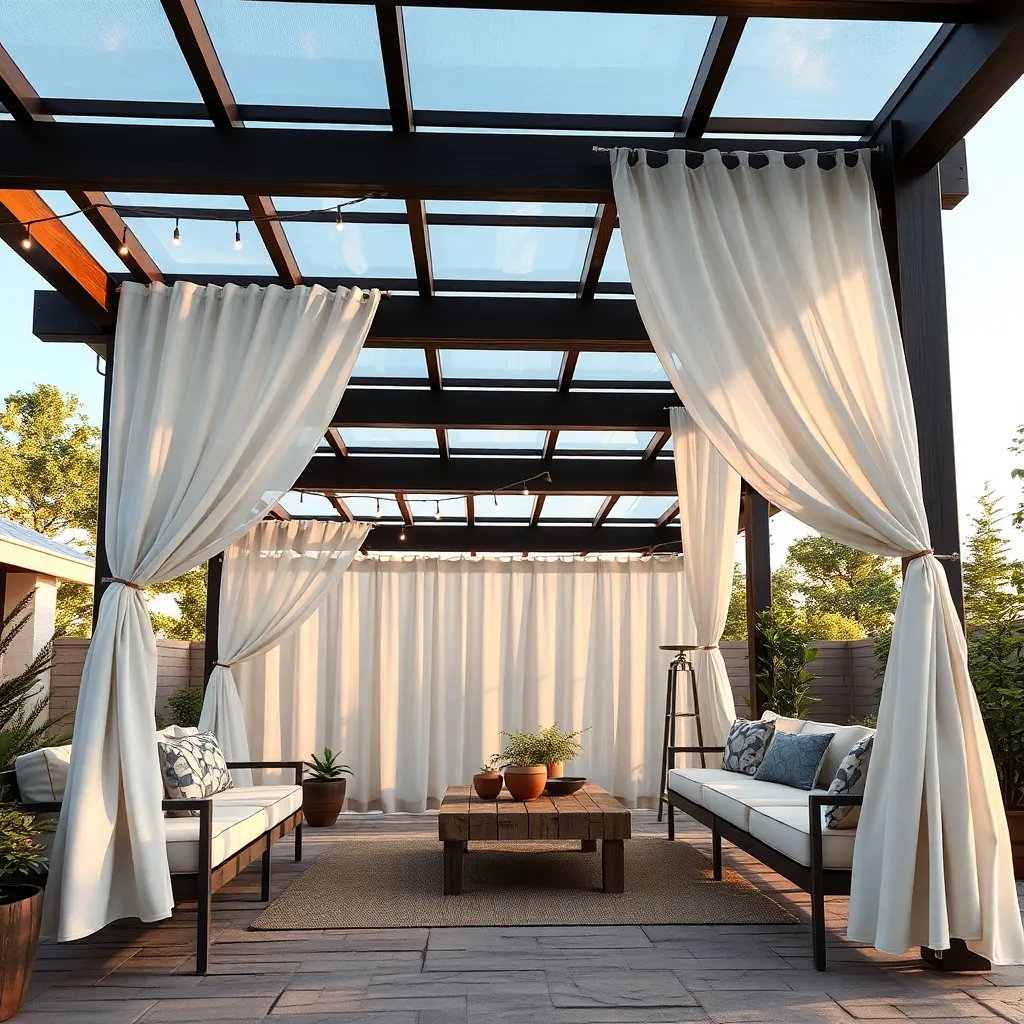
For enhanced privacy on your covered patio, install outdoor curtains made from weather-resistant fabrics like solution-dyed acrylic or polyester. These materials resist fading, mildew, and moisture, ensuring durability through all seasons. Mount sturdy curtain rods or tracks around the perimeter of your shelter, ideally with rust-proof finishes, to allow easy opening and closing whenever you want to adjust privacy or sunlight.
To maximize functionality, consider layering sheer curtains with heavier blackout panels for versatile light control and seclusion. For an elevated look, choose curtains that extend from ceiling to floor, ideally 84 to 96 inches long, to create a cozy, enclosed feel. Adding tiebacks or magnetic holdbacks will keep curtains neatly in place when not in use, making your patio both stylish and practical year-round.
Mount Adjustable Heater Fixtures
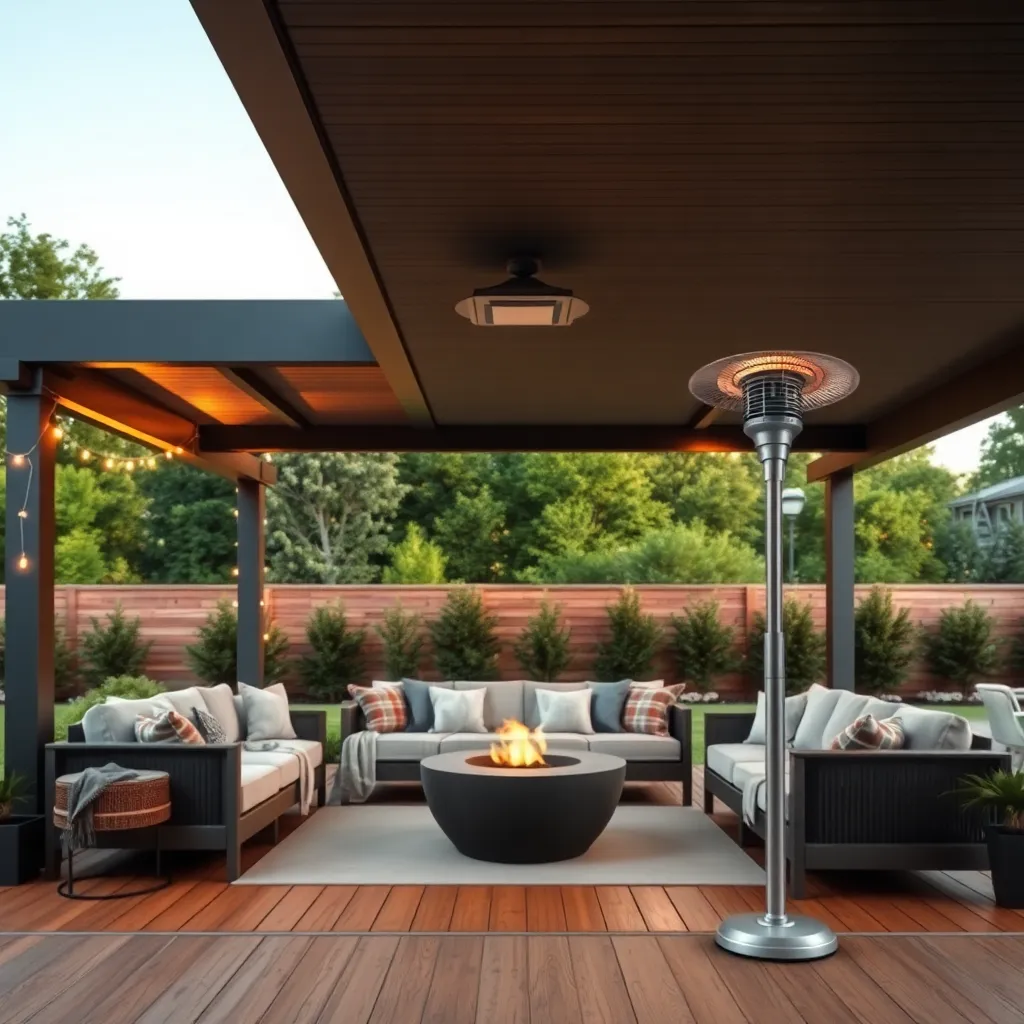
Mount adjustable heater fixtures on sturdy overhead beams or rafters using heavy-duty brackets designed for outdoor use to ensure safety and durability. Choose heaters with swivel or pivot features so you can direct warmth exactly where needed, enhancing comfort on chilly evenings without compromising space. For optimal placement, position heaters about 6 to 7 feet above the floor to maximize heat distribution while keeping them out of reach.
To protect your investment, select fixtures made from weather-resistant materials such as stainless steel or powder-coated aluminum to withstand rain and sun exposure. Advanced tip: integrate your heaters with a dimmer switch or smart controls for adjustable heat levels and energy efficiency. Remember to consult local electrical codes and consider professional installation to ensure your setup is both safe and effective.
Conclusion: Creating Beautiful Outdoor Spaces
Creating a covered patio that shines in every season isn’t just about design—it’s about nurturing your relationship through shared spaces and moments. We explored five key ideas: choosing versatile materials to withstand weather changes, incorporating cozy lighting to set the mood year-round, adding comfortable seating for connection, integrating nature with plants for tranquility, and personalizing the space to reflect your unique bond. Now, take a simple but powerful step: gather your partner and envision your ideal covered patio together, focusing on what makes you both feel most connected and relaxed.
Don’t forget to save or bookmark this article—it’s a handy guide to revisit whenever you’re ready to enhance your outdoor sanctuary. Remember, investing in your shared environment is investing in your relationship’s future. With thoughtful planning and love, your covered patio can become a year-round haven that strengthens your connection and creates lasting memories. Embrace this journey, and watch your relationship flourish through the seasons ahead!