Transforming your backyard into a cozy retreat doesn’t have to be complicated or costly. Whether you’re a first-time builder or a seasoned DIY enthusiast, affordable gazebo kits offer a straightforward way to add charm and shelter to your outdoor space without overwhelming your budget or skill set.
In this article, you’ll discover practical tips for selecting the right kit, step-by-step guidance to ensure a smooth build, and clever ideas to personalize your new gazebo. By the end, you’ll feel confident creating a beautiful outdoor haven that invites relaxation and gatherings all season long.
Understanding Basic Gazebo Kit Components
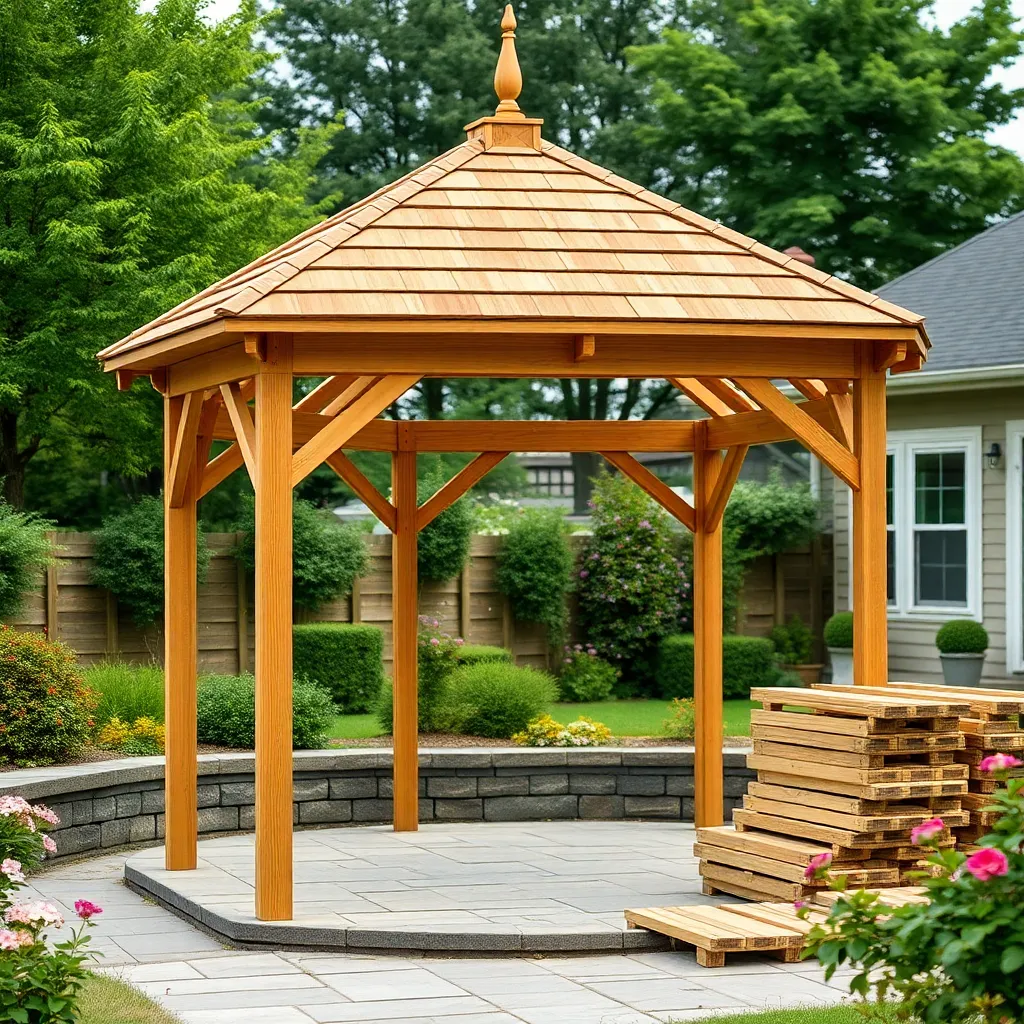
When exploring a basic gazebo kit, it’s important to familiarize yourself with its key components: the frame, roof, and fasteners. Most kits come with pre-cut, weather-resistant wood or powder-coated steel frames that ensure durability and ease of assembly. For beginners, choosing a kit with a straightforward design and clear instructions can save time and frustration, while more experienced DIYers might look for kits offering customizable features like adjustable roof pitches or optional side panels.
To optimize your outdoor space, consider the dimensions and materials carefully; a standard gazebo size ranges from 8×8 to 12×12 feet, providing ample space for seating or dining areas. Installing the frame on a leveled, solid foundation such as concrete or compacted gravel will enhance stability and longevity. For advanced durability, applying a UV-resistant sealant or paint to wooden parts protects against weather damage, ensuring your gazebo remains a charming and functional centerpiece all year round.
Budget-Friendly Materials for Beginners

Starting with affordable yet durable materials like pressure-treated lumber or cedar can keep costs low while ensuring your gazebo withstands outdoor conditions. Opt for standard 2×4 or 4×4 lumber sizes to simplify cutting and assembly, and consider adding a simple polycarbonate or corrugated metal roof for weather protection without a high price tag.
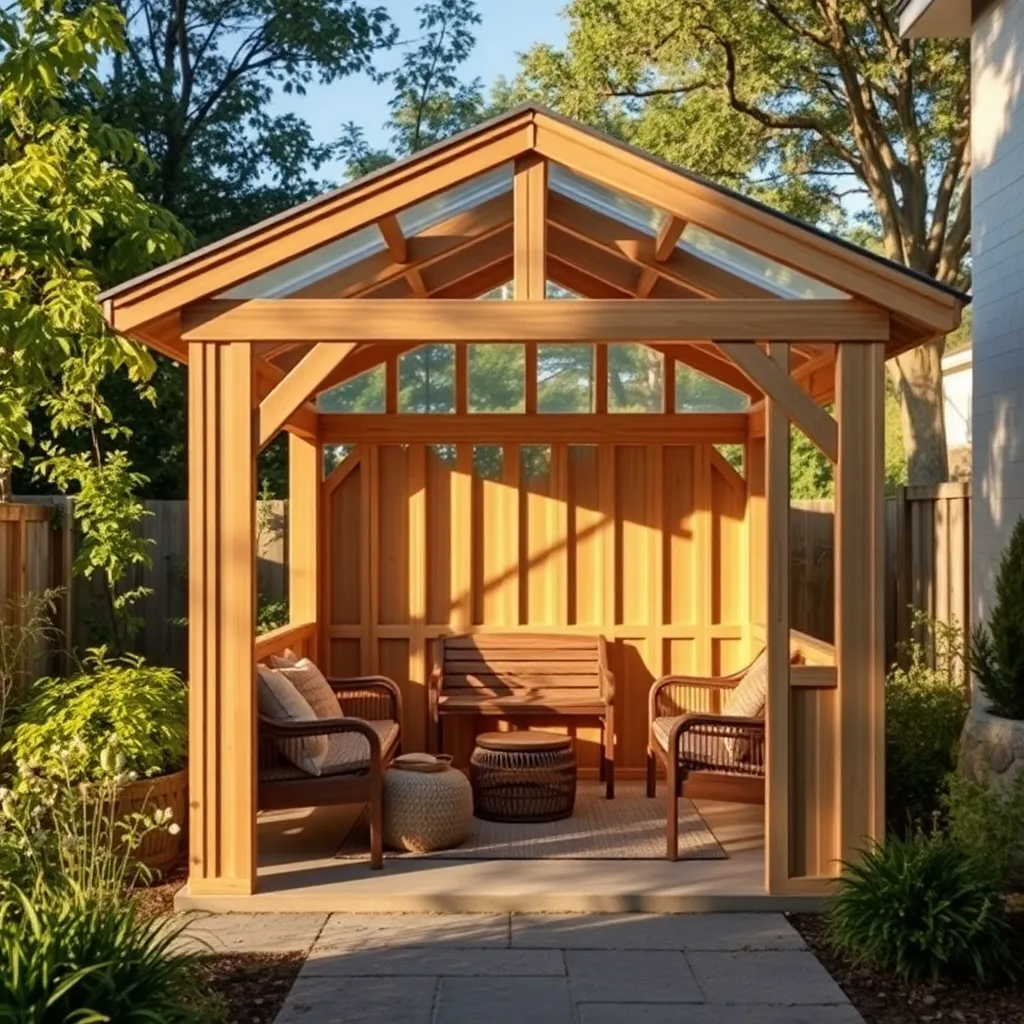
For a beginner-friendly build, focus on straightforward design elements such as a square or rectangular frame with open sides to ease construction and maximize airflow. To enhance stability, use metal post anchors and concrete footings, and don’t hesitate to pre-drill holes before screwing to avoid wood splitting—these small steps make your project more manageable and long-lasting.
Step-by-Step Assembly Tips
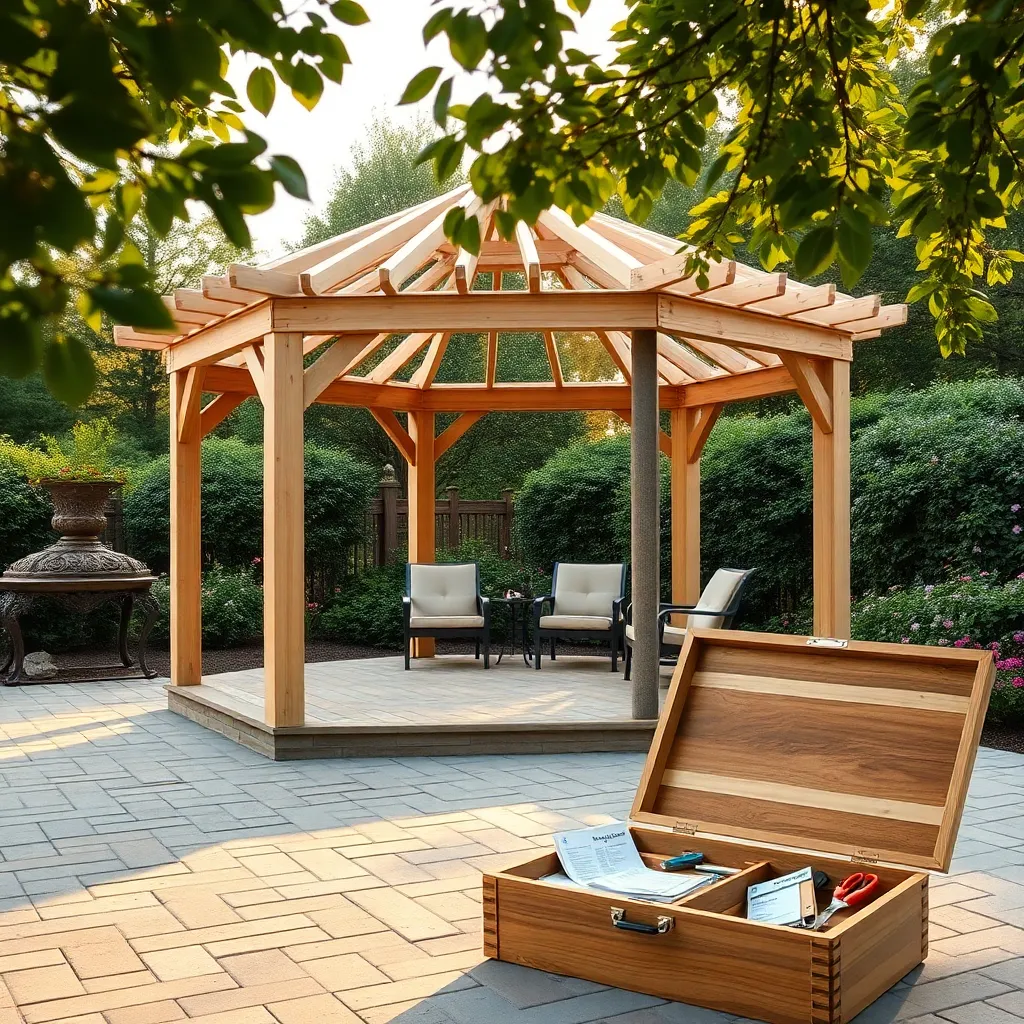
Start your gazebo assembly by thoroughly reading the instruction manual and organizing all parts on a flat surface to ensure nothing is missing. Use treated lumber or powder-coated steel frames for durability against weather, and consider a footprint of at least 10×10 feet for comfortable use. Begin with assembling the base and securing it with concrete anchors or ground spikes to provide a stable foundation, which is essential for safety and longevity.
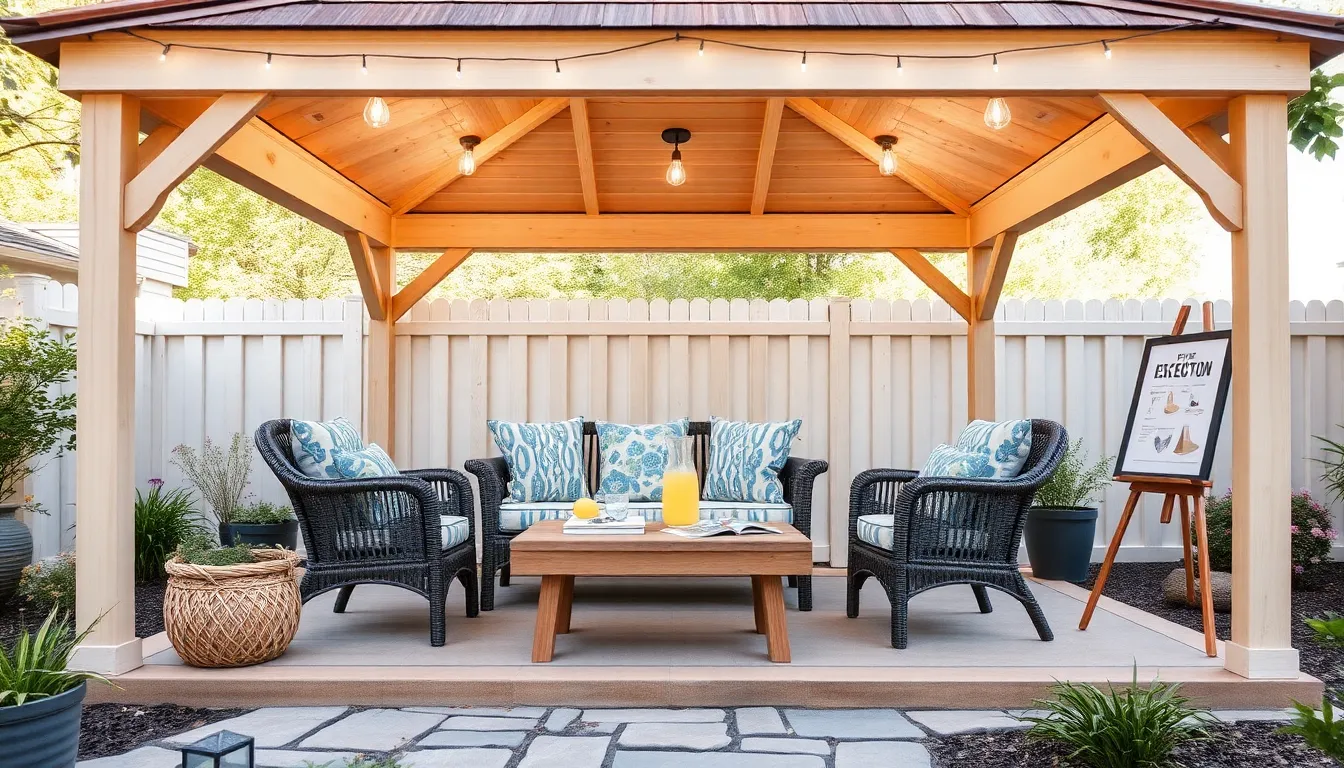
Next, carefully attach the roof components, making sure to use a water-resistant canopy or shingles depending on your kit type to protect against rain. For advanced stability, add cross braces or corner brackets to reinforce the structure, and check alignment regularly with a level. Finally, incorporate design elements like lattice side panels or built-in benches to enhance both function and style, creating a welcoming outdoor retreat.
Essential Tools for DIY Gazebos
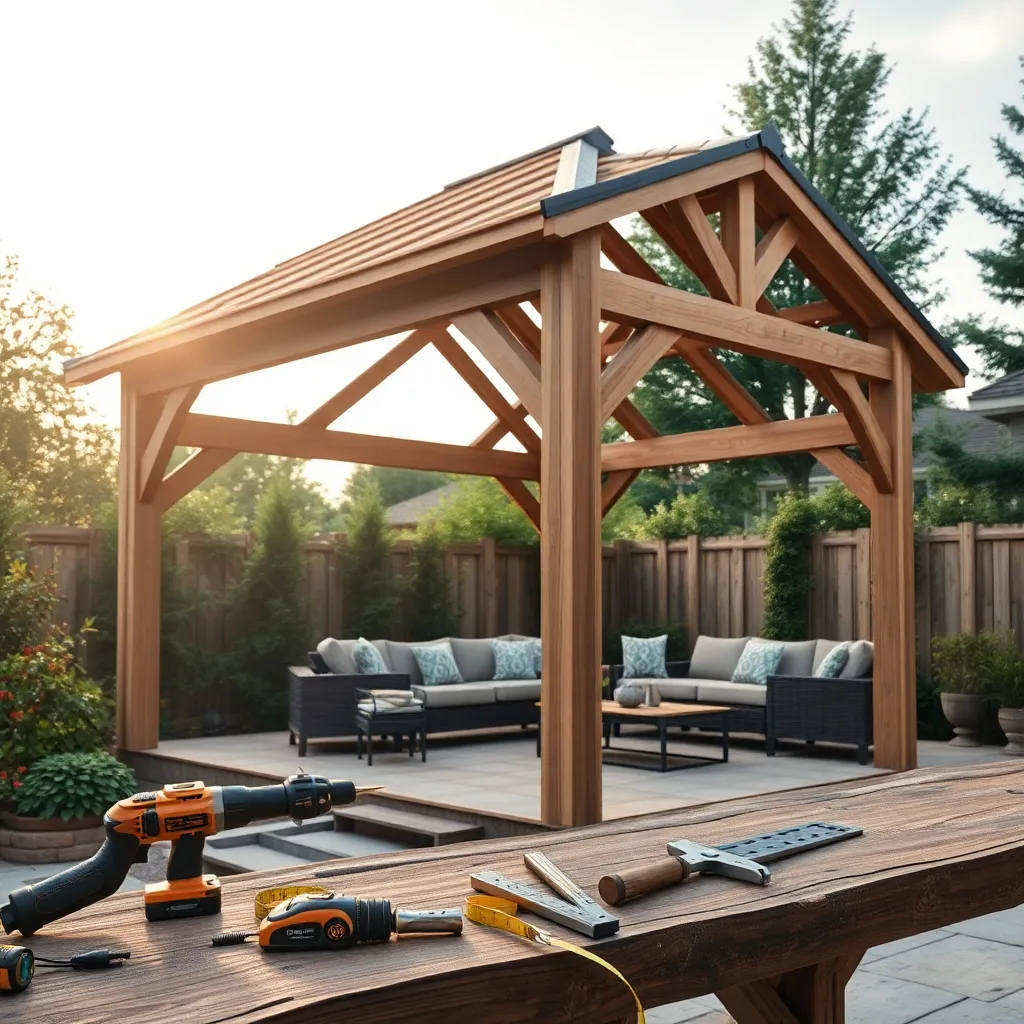
Starting your DIY gazebo project requires a few essential tools that make assembly smoother and safer. At minimum, have a cordless drill with assorted bits, a level to ensure even construction, and a circular saw for cutting lumber precisely. For beginners, pre-cut kits often simplify measurements, but having a measuring tape and carpenter’s square on hand helps confirm accuracy when adjusting or customizing dimensions.
Beyond basics, consider investing in a clamps set to hold pieces steady during assembly and a rubber mallet to gently fit parts without damage. Choosing durable materials like pressure-treated wood or cedar will enhance longevity, and applying a weather-resistant sealant after construction protects your gazebo from the elements. Don’t forget safety gear such as gloves and eye protection—these small steps save time and improve your overall building experience.
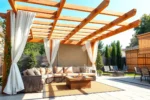
Enhancing Your Gazebo on a Budget
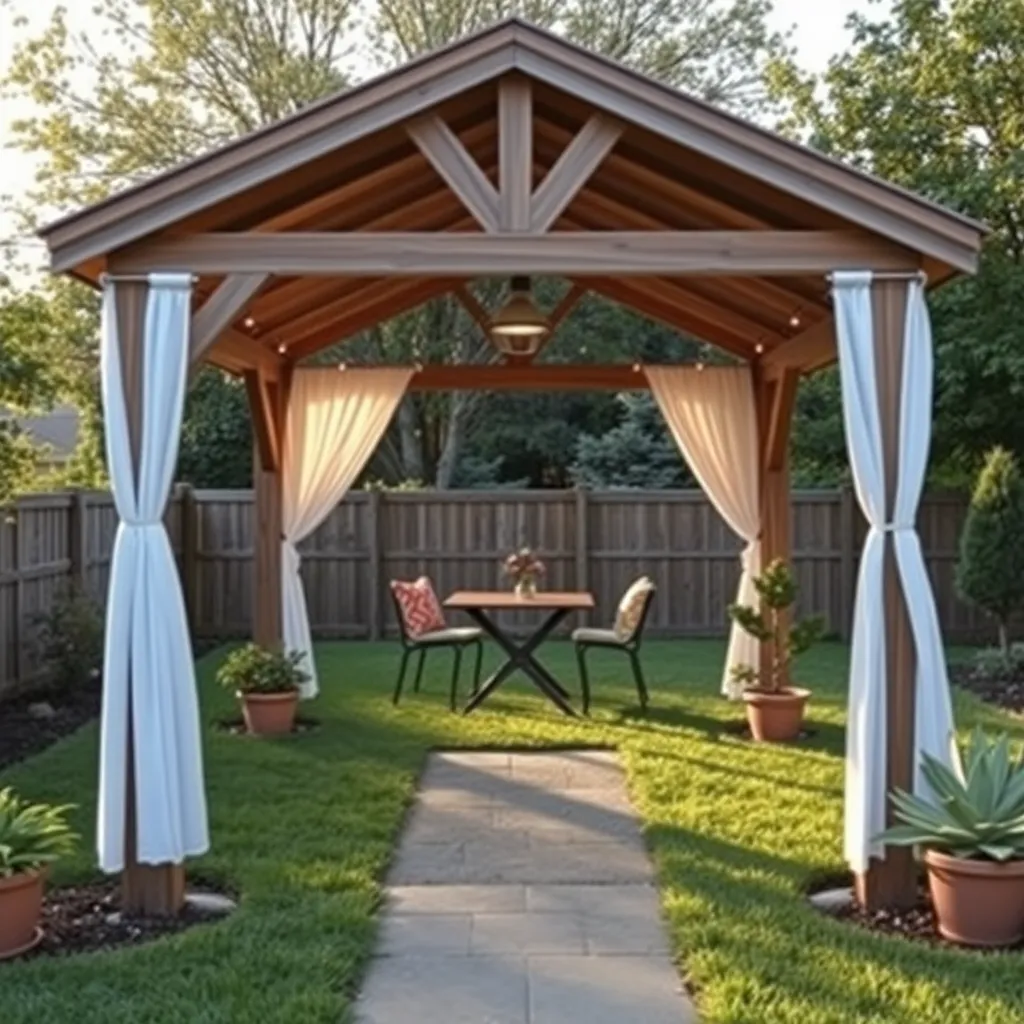
To enhance your gazebo without breaking the bank, start by adding affordable fabric panels or outdoor curtains. These not only provide shade and privacy but also add a cozy, inviting feel. Use weather-resistant materials like polyester or Sunbrella fabric, and install simple curtain rods or hooks along the gazebo frame for easy hanging and removal.
Another budget-friendly upgrade involves incorporating string lights or solar-powered lanterns to create ambiance for evening use. Opt for LED bulbs to save energy and ensure durability. Additionally, consider placing inexpensive potted plants or climbing vines around the posts to naturally soften the structure and blend it with your garden setting.
Conclusion: Creating Beautiful Outdoor Spaces
Building something meaningful together, just like assembling an affordable DIY gazebo kit, strengthens your relationship in five key ways: clear communication, teamwork, patience, shared goals, and celebrating progress. Each step you take side-by-side deepens your connection and creates lasting memories—whether you’re picking the right materials or adjusting the design to fit your space.
Ready to put these concepts into action? Start by setting aside a weekend to plan a simple project you both can enjoy, like building a small gazebo or another creative DIY endeavor. This hands-on experience will foster cooperation and spark joyful collaboration.
Don’t forget to bookmark this article—your go-to guide for easy, budget-friendly ideas that nurture your bond while enhancing your home. Keep it close so you can revisit these tips whenever you need a relationship boost or a new project to tackle together.
Remember, every small effort you make today builds a stronger, more connected tomorrow. Embrace the journey, and watch your relationship flourish with each shared accomplishment!