Creating a covered patio doesn’t have to mean breaking the bank or tackling a complex project alone. Whether you’re just starting out or have some DIY experience, thoughtful planning and smart material choices can transform your outdoor space into a cozy retreat without overspending.
In this article, you’ll discover practical, budget-friendly ideas tailored to different skill levels that will help you build shelter from sun and rain. From simple structures to clever upgrades, these projects make adding comfort and style to your patio both achievable and enjoyable.
Choosing Affordable Patio Cover Materials
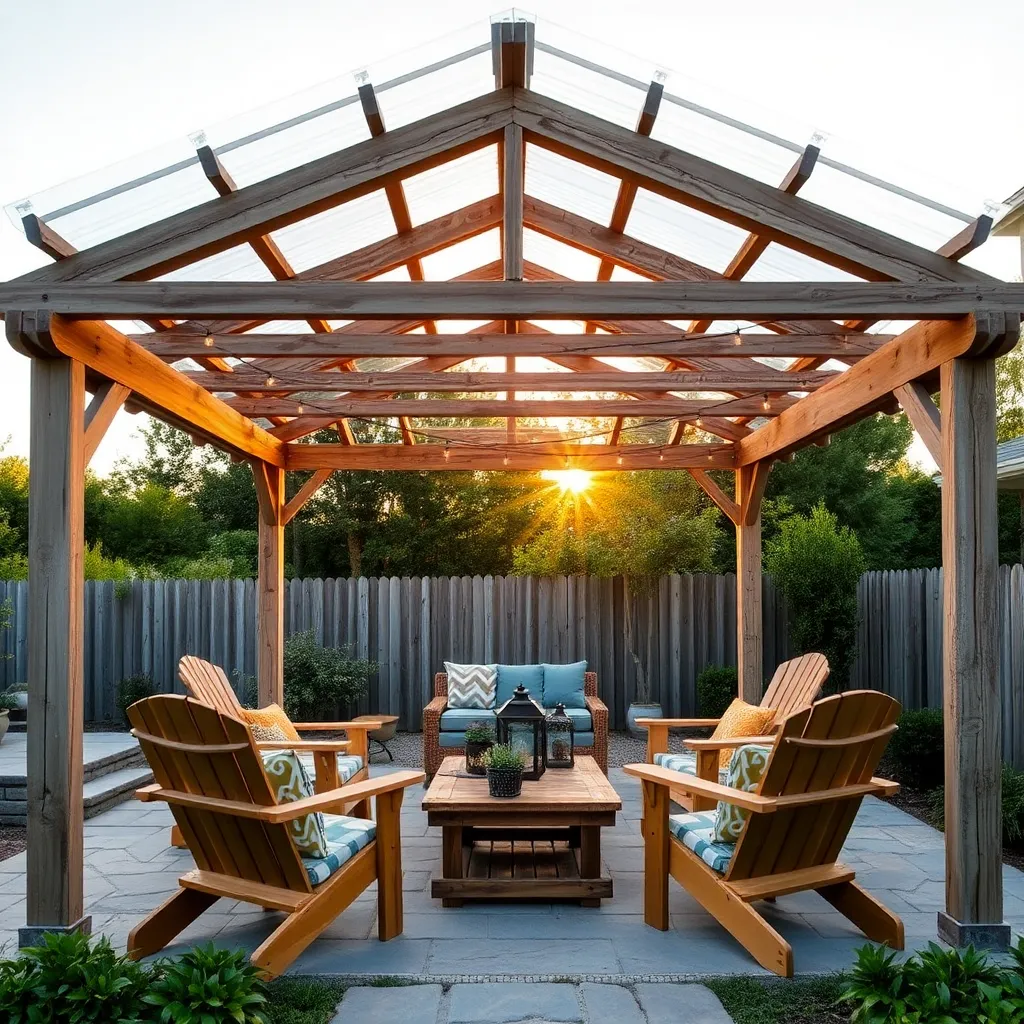
When selecting affordable patio cover materials, consider lightweight options like polycarbonate panels, aluminum, or treated wood. Polycarbonate sheets are budget-friendly, durable, and allow natural light, making them perfect for DIY projects. For a more natural look, choose pressure-treated lumber or cedar, which resist weather damage and are easy to work with using basic tools.
To maximize savings without sacrificing quality, focus on simple designs with standard dimensions and minimal framing complexity. For example, a basic 10×10-foot pergola built with 2×6 lumber and spaced slats offers shade while reducing material costs. Additionally, use readily available fasteners like galvanized screws and consider pre-cut kits if you want to streamline construction and avoid costly mistakes.
Step-by-Step Budget Installation Guide

Start your budget-friendly covered patio by selecting a simple frame design using
Next, install cross beams and roofing panels securely with galvanized screws to prevent rust, and add flashing to protect joints from water damage. For a polished look without overspending, paint or stain the wood and consider inexpensive shade elements like outdoor curtains or bamboo roll shades. Remember, careful measuring and using pre-cut materials can save both time and money, while advanced DIYers might opt to integrate solar-powered LED lighting for added functionality.
Creative DIY Covered Patio Ideas
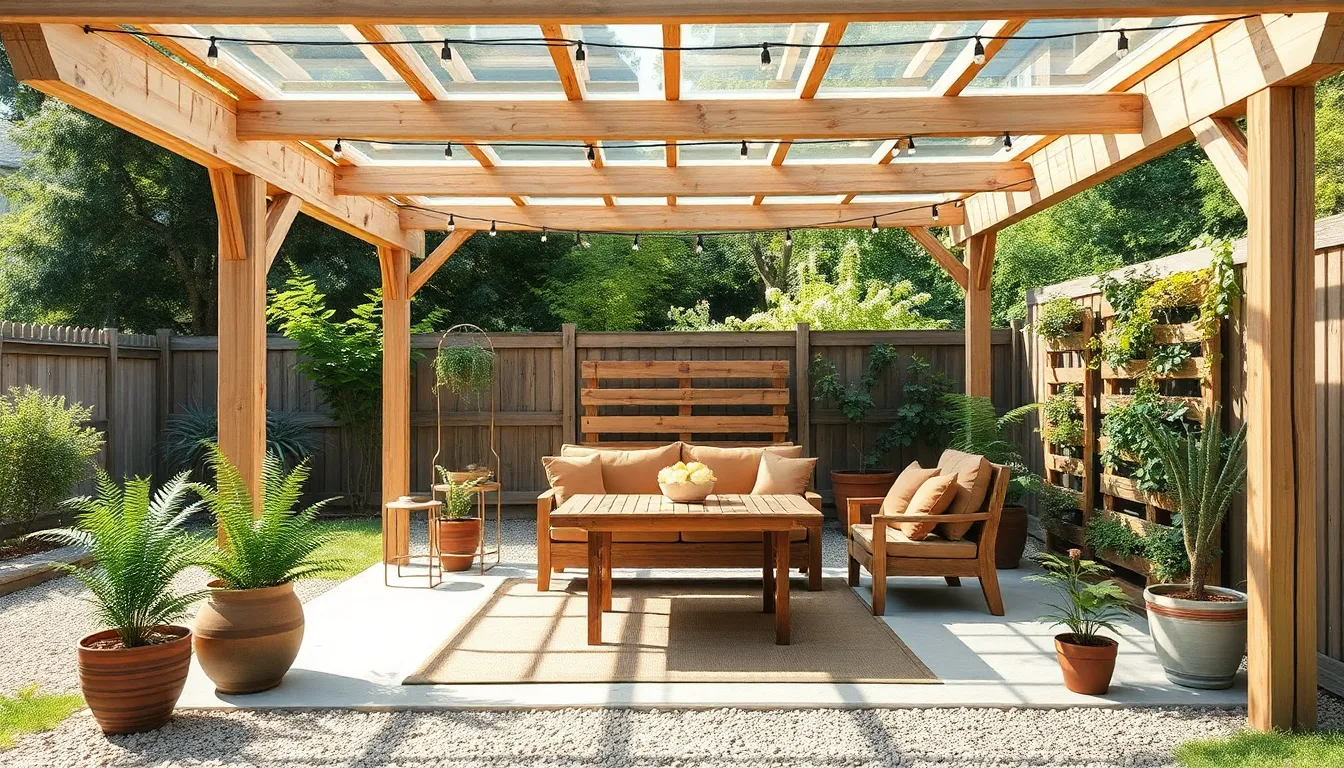
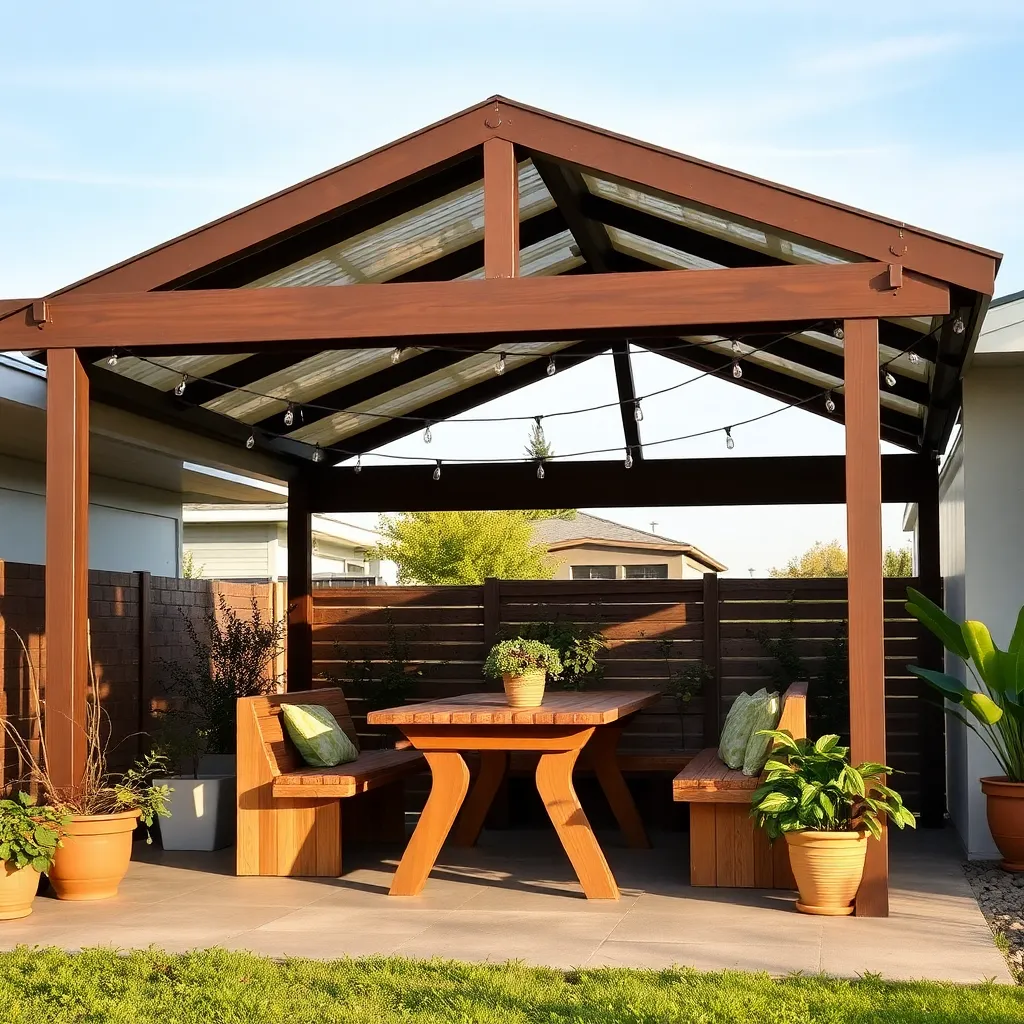
Transform your backyard with creative DIY covered patio ideas that blend style and function without breaking the bank. Start by using affordable materials like reclaimed wood or metal pipes for the frame, paired with clear corrugated polycarbonate sheets to let in natural light while providing weather protection. Incorporate simple design elements such as lattice panels for partial shade or hanging planters to add greenery and charm effortlessly.
For a more advanced touch, consider installing a retractable fabric canopy system that offers flexibility to adjust coverage based on weather or occasion. When planning your patio dimensions, aim for at least 10×12 feet to ensure enough space for seating and movement. Remember to anchor your structure securely with concrete footings to withstand wind and ensure longevity, and use weather-resistant finishes on all materials to keep your patio looking great year-round.

Maximizing Space With Cost-Effective Designs
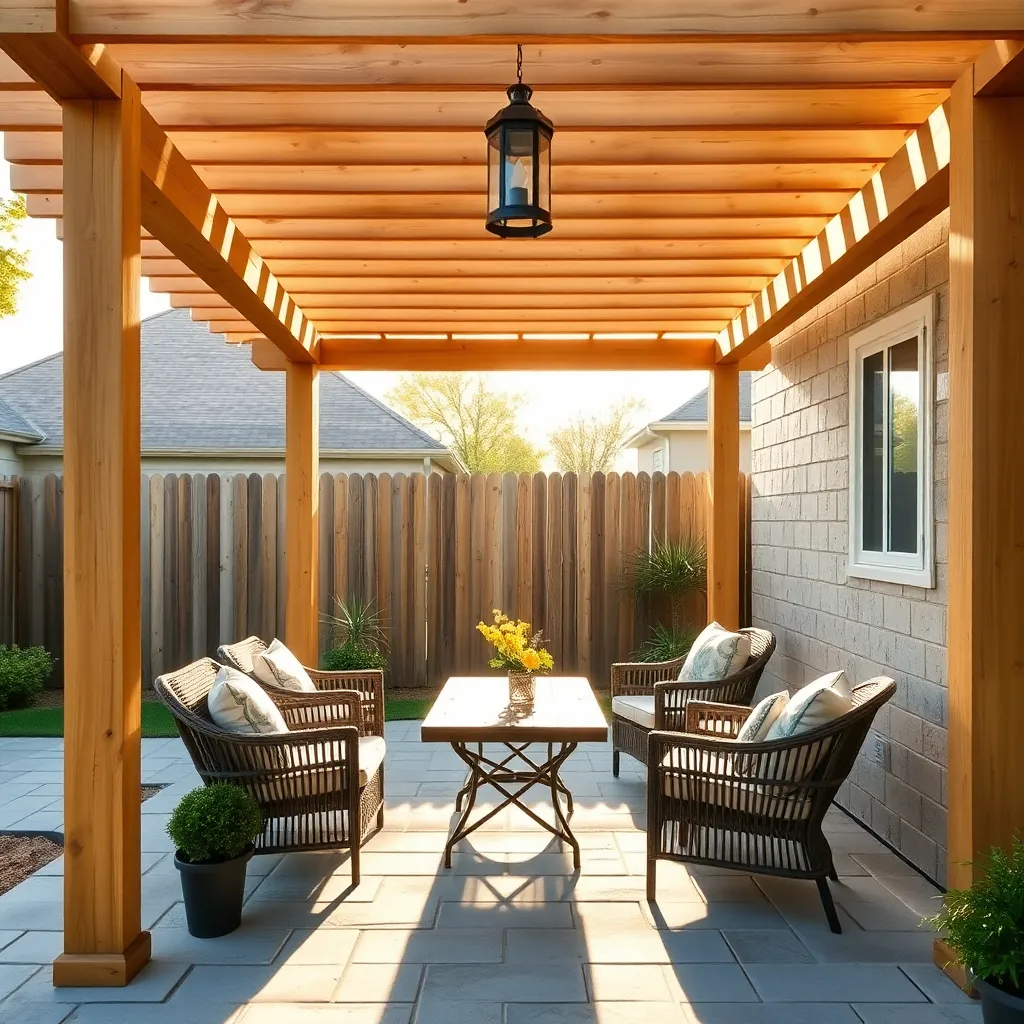
Maximizing your outdoor shelter’s space starts with choosing cost-effective, space-saving designs like lean-to or pergola styles that attach directly to your home’s exterior wall. Use durable yet affordable materials such as pressure-treated lumber or metal posts combined with polycarbonate roofing panels, which let in light while providing weather protection. For beginners, aim for a compact footprint around 8×10 feet to keep materials and labor costs low, while advanced DIYers can incorporate built-in seating or fold-down tables to further optimize the area.
Consider vertical storage and multifunctional elements to make the most of limited square footage. Installing wall-mounted hooks, shelves, and retractable awnings can keep the patio tidy and adaptable for different activities. To enhance usability without expanding the shelter’s size, add adjustable shade cloths or sliding screens that provide privacy and sun control, making your covered patio a versatile, inviting space year-round.
Maintaining Your Covered Patio Economically
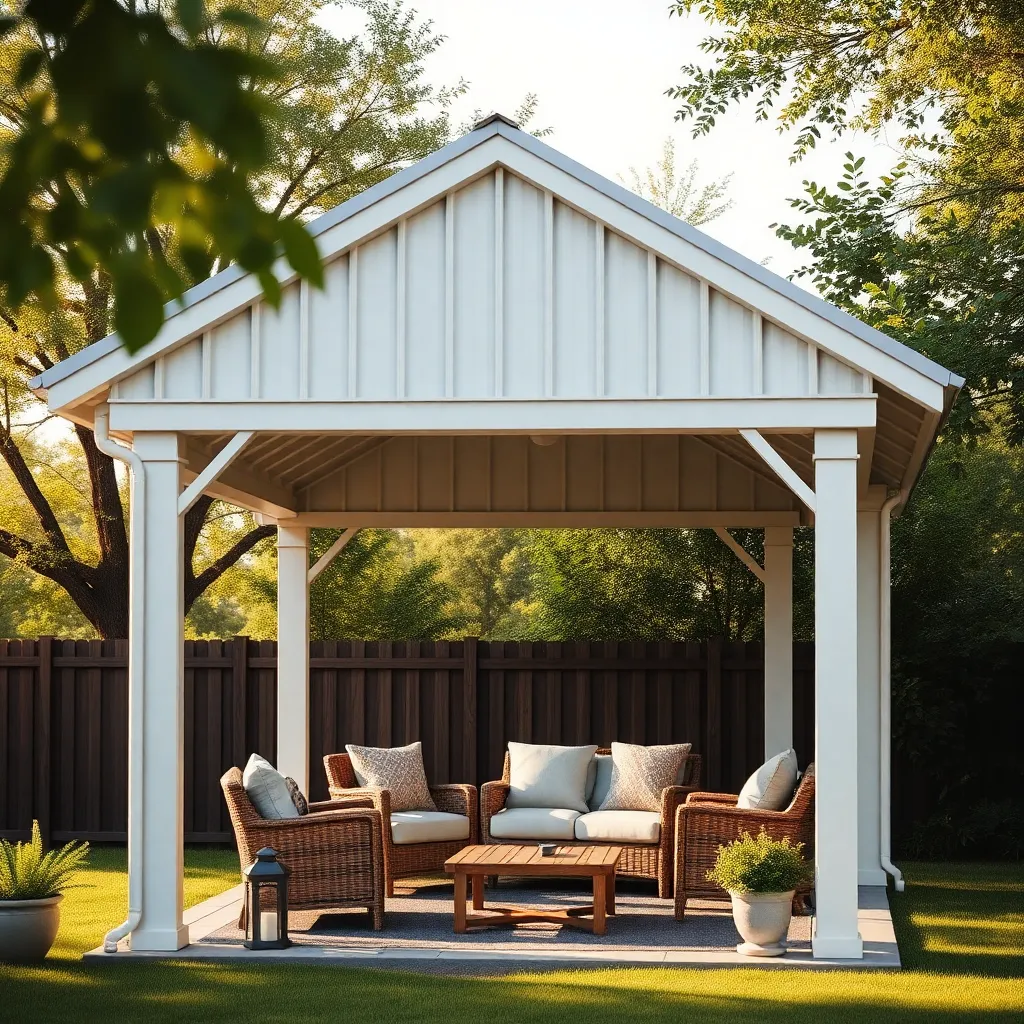
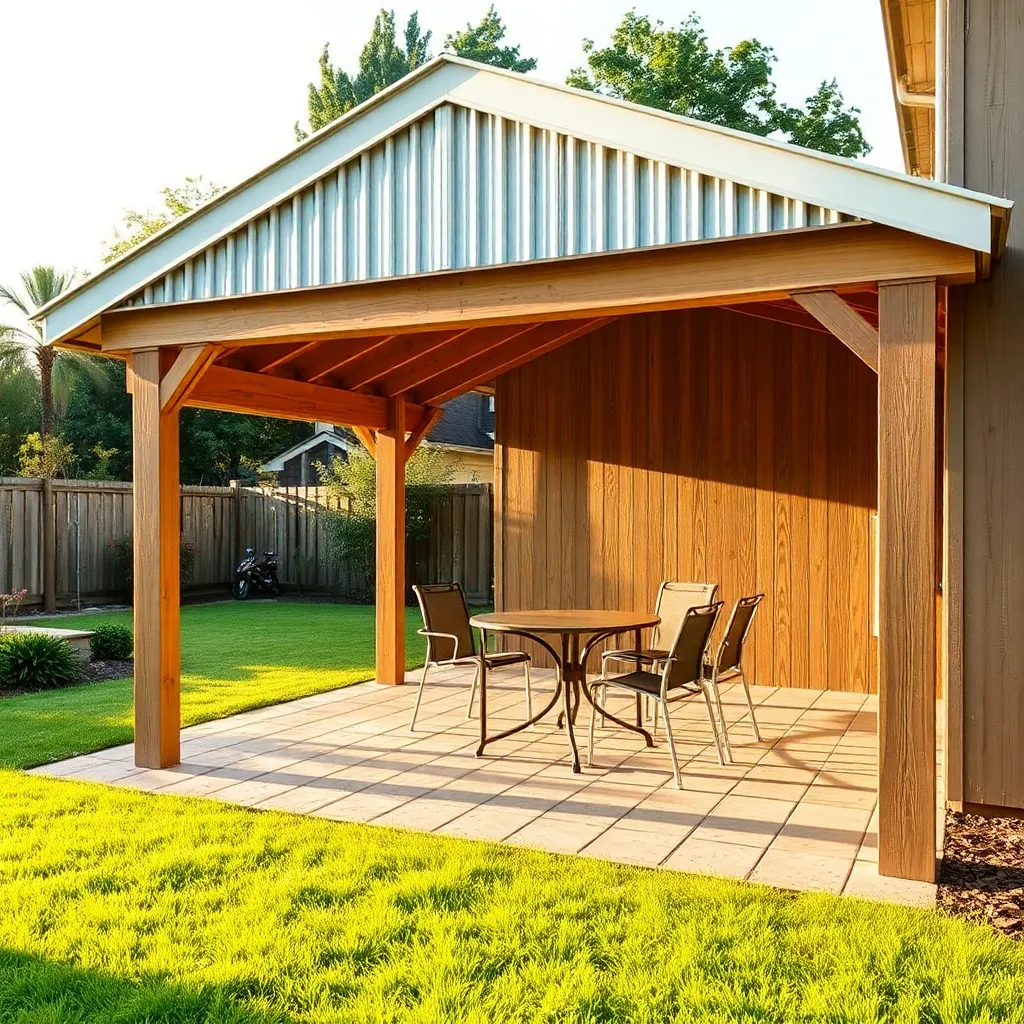
Keeping your covered patio in top shape doesn’t have to break the bank. Start by choosing durable, low-maintenance materials like treated wood or aluminum for framing, combined with polycarbonate roofing panels that resist UV damage and require minimal cleaning. Incorporating simple design features such as sloped roofs for water runoff and removable shade screens can prevent costly repairs and extend the life of your shelter.
To further reduce upkeep costs, implement a regular but easy maintenance routine:
- Clean gutters and roof panels seasonally to avoid clogs and leaks.
- Inspect fasteners and joints twice a year to tighten or replace as needed.
- Apply weatherproof sealant every few years to protect wooden elements.
These steps ensure your patio stays safe and inviting without expensive interventions, making your investment truly budget-friendly over time.
Conclusion: Creating Beautiful Outdoor Spaces
In creating your budget-friendly covered patio, remember that communication, teamwork, patience, creativity, and shared goals are the foundation not just for a beautiful outdoor space, but for a thriving relationship. By openly discussing ideas, dividing tasks fairly, embracing patience through challenges, thinking creatively about solutions, and aligning your vision, you build more than a patio—you build lasting connection.
Today, take a simple step: sit down with your partner and sketch out your dream patio together. That small act of collaboration will spark excitement and deepen your bond. Don’t forget to save or bookmark this article so you can revisit these tips anytime you need inspiration or guidance.
With each project you tackle as a team, you’re investing in a future filled with joy, trust, and shared accomplishment. Your budget-friendly patio journey is just the beginning of many beautiful chapters ahead—empowered by love and teamwork. Keep building, keep growing, and watch your relationship flourish alongside your outdoor oasis.