Creating an outdoor shelter in your garden can transform your space into a cozy retreat, whether you’re just starting out or looking to enhance your existing setup. This simple addition not only provides shade and protection but also extends the usability of your garden throughout the seasons.
In this guide, you’ll find clear, practical steps to design and build a shelter that fits your style and needs. From selecting materials to construction tips, we’ll help you confidently bring your vision to life and enjoy your outdoor space like never before.
Choose Site and Measure Space
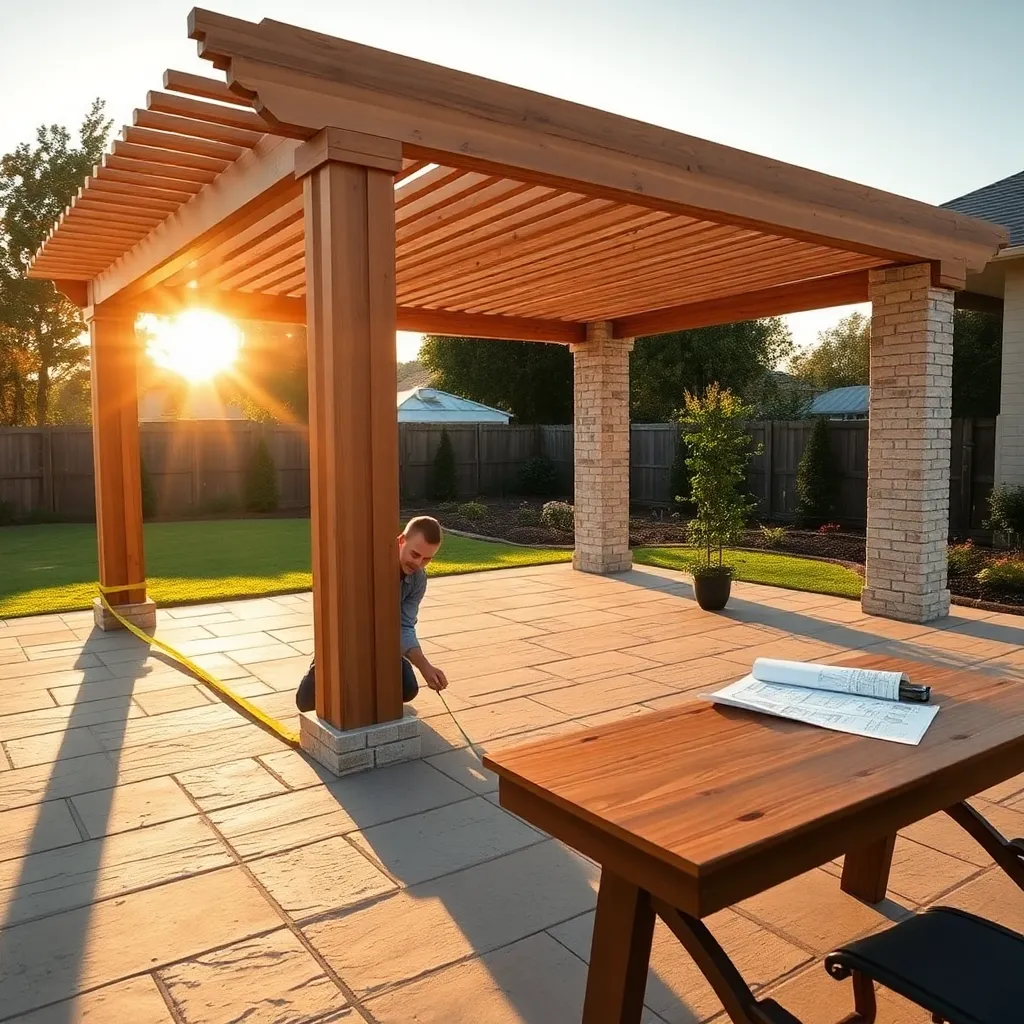
Begin by selecting a site with level ground and good drainage to prevent water pooling around your shelter. Ensure the location receives adequate sunlight and consider prevailing wind directions to maximize comfort and shelter stability. For measurement, start with a minimum footprint of 6×6 feet for a basic shelter, but scale up based on your garden’s needs and available space.
Use a tape measure and mark out your chosen area with stakes or spray paint for accuracy. For advanced planning, consider adding a concrete or gravel base to improve durability and reduce maintenance. Don’t forget to account for door swing clearance and any additional features like benches or storage when finalizing your dimensions.
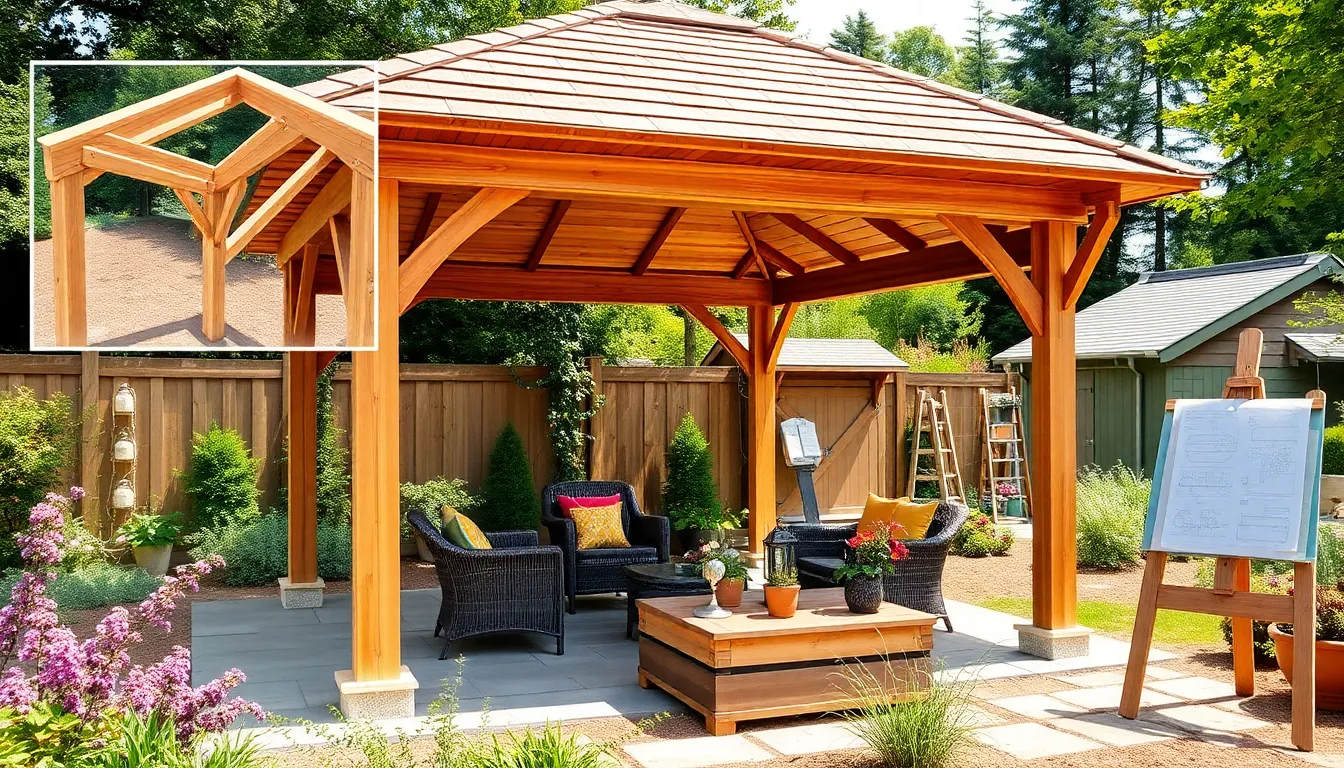
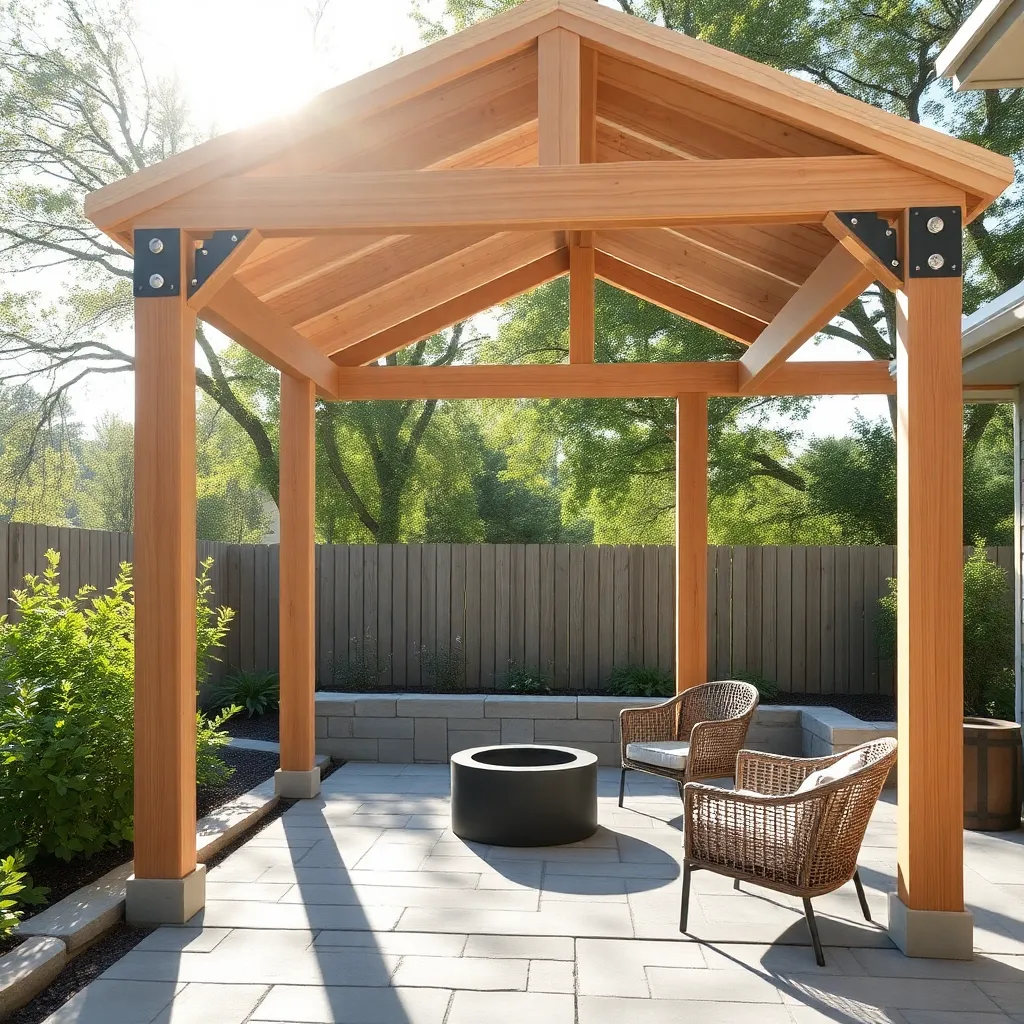
Design Shelter Frame and Layout

Start your shelter frame with durable, weather-resistant materials like pressure-treated lumber or galvanized steel for longevity. Plan a rectangular or square layout, typically between 6×8 to 10×12 feet, to ensure enough space for gardening tools and workspace. Consider adding angled supports or cross braces to enhance stability, especially in windy areas.
When laying out your frame, mark precise post positions using stakes and string to maintain straight lines and square corners. For advanced durability, use concrete footings for posts, setting them at least 2 feet deep to prevent shifting. Don’t forget to design the roof with a slight pitch—around 10 to 15 degrees—to allow rain runoff and protect your garden equipment effectively.
Gather Materials and Tools
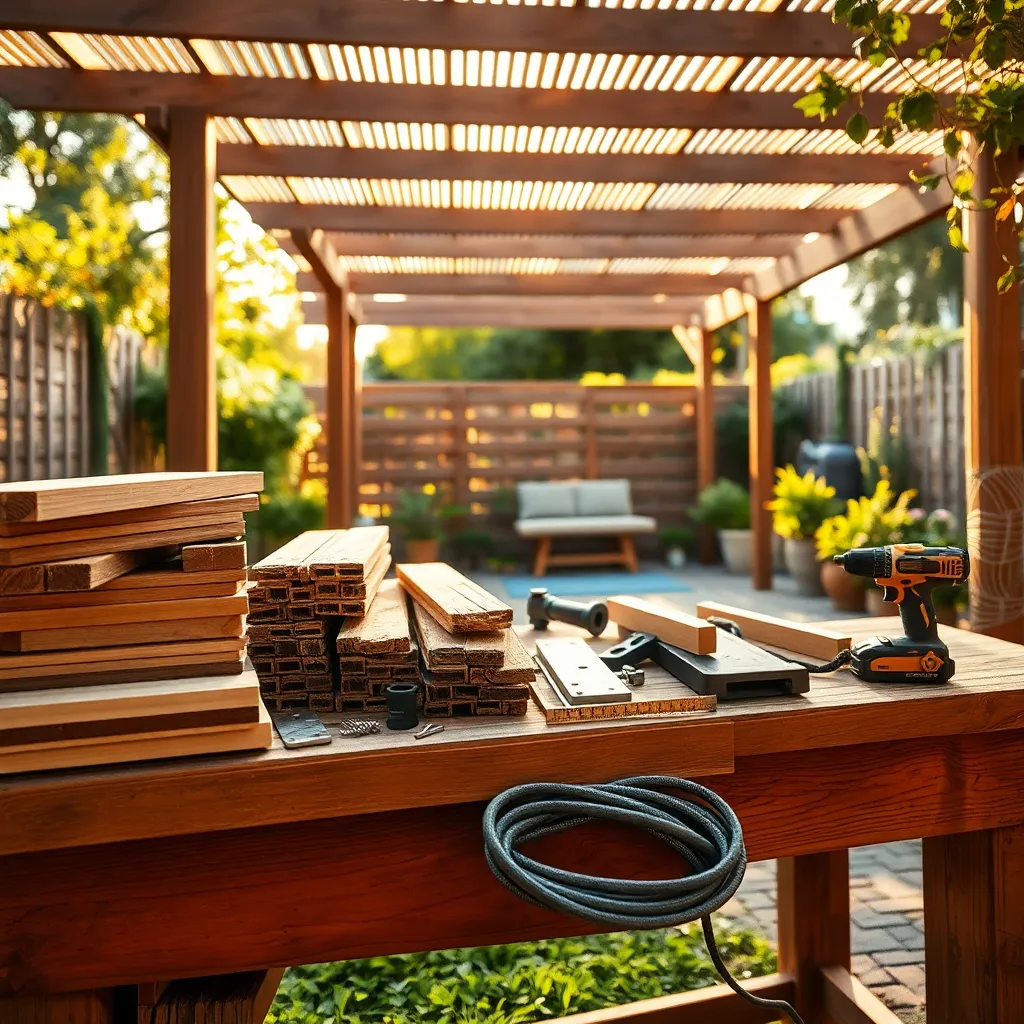
Start by gathering durable, weather-resistant materials suited for outdoor use, such as pressure-treated lumber or cedar for framing, and galvanized steel or polycarbonate panels for roofing. Make sure to select screws and fasteners that resist rust, like stainless steel or coated options, to ensure longevity. For a basic shelter, 4×4 posts and 2×6 beams are ideal dimensions, providing a sturdy structure without excessive weight.
Next, assemble the essential tools to streamline your build, including a power drill, circular saw, measuring tape, level, and safety gear like gloves and goggles. Advanced tips include having a post hole digger for secure footing and a carpenter’s square to maintain precise angles, which is crucial for a professional finish. Keeping your workspace organized with toolboxes or trays will help you work efficiently and reduce frustration during construction.

Construct Frame and Secure Supports
Start by laying out your frame components on a flat surface to ensure all pieces fit correctly before assembly. Use pressure-treated lumber such as 2x4s or 4x4s for durability and resistance to moisture. Secure the vertical supports firmly into the ground with concrete footings or sturdy post anchors to prevent shifting, especially in windy conditions.
Next, connect the horizontal beams and roof supports using galvanized screws or bolts for added strength and rust resistance. For advanced stability, consider adding diagonal braces at each corner to prevent sway. Remember to double-check that your frame is level and square before final tightening to ensure a solid, long-lasting structure.
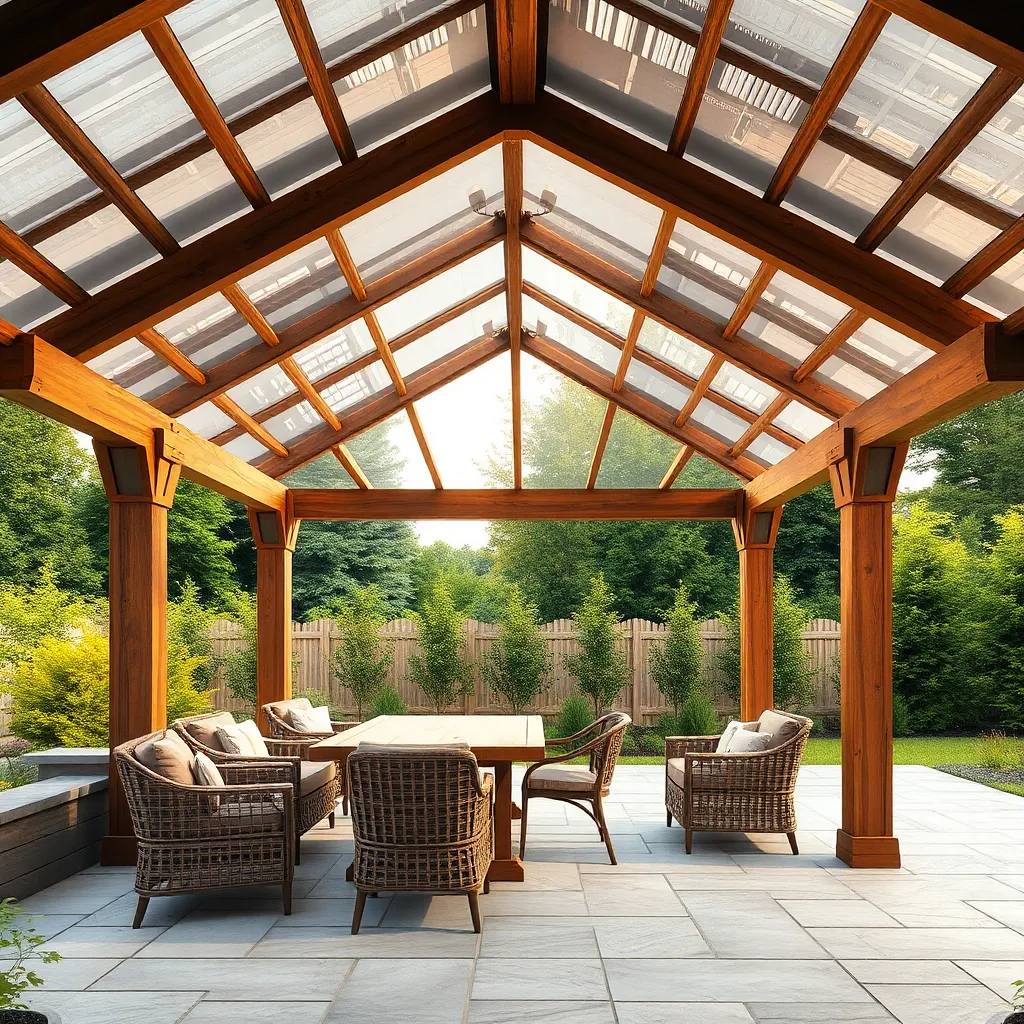
Install Roofing and Weatherproofing
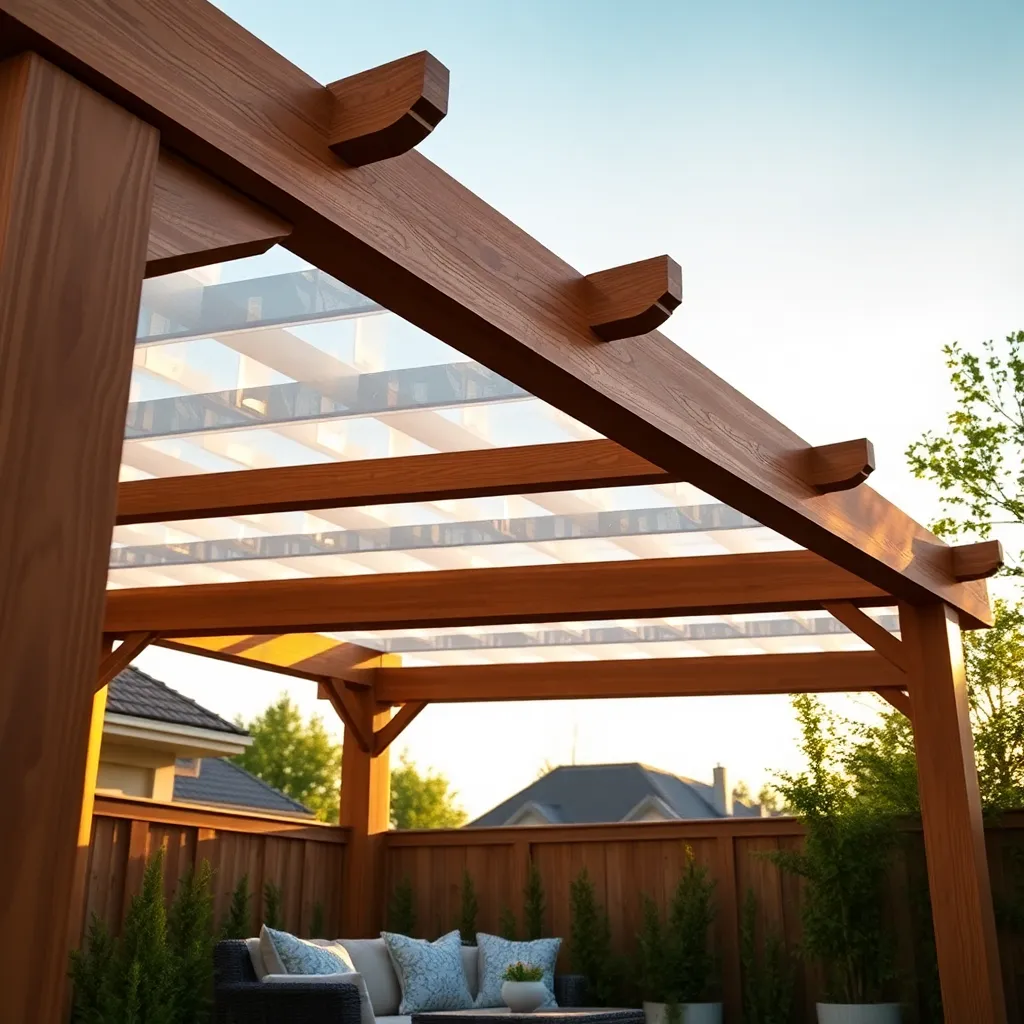
Start by selecting a durable roofing material suited to your climate and shelter style; popular options include corrugated metal sheets, polycarbonate panels, or asphalt shingles. Ensure the roof has a slight pitch of at least 10 degrees to promote water runoff, and fasten roofing securely to the frame using galvanized screws to prevent rust and enhance longevity.

Next, apply weatherproofing measures to protect your shelter from moisture and wind damage. Use a high-quality waterproof sealant or roofing tape on joints and edges, and consider adding guttering to direct rainwater away from the foundation. For advanced protection, install flashing around any openings or roof intersections to create a watertight seal that extends your shelter’s durability.
Conclusion: Creating Beautiful Outdoor Spaces
Building an outdoor shelter for your garden, much like nurturing a strong relationship, requires patience, communication, trust, commitment, and teamwork. By thoughtfully planning your shelter, communicating your vision, trusting your skills, committing to the process, and working alongside others, you create a safe, beautiful space that grows and thrives over time.
Your next step? Gather your materials and sketch a simple design today—small actions lead to meaningful progress. Remember, this article is a valuable guide you can revisit whenever you need inspiration or direction, so be sure to save or bookmark it now.
Just as a sturdy garden shelter protects your plants from the elements, these relationship principles shield and strengthen your connection through life’s challenges. Embrace these practices, and you’ll cultivate a partnership that flourishes season after season. You have everything it takes—start building both your garden and your relationship foundation today!