Creating a pergola in your garden is a wonderful way to add both charm and function to your outdoor space. Whether you’re a beginner eager to try your hand at a rewarding DIY project or an experienced homeowner looking to enhance your backyard retreat, this guide will walk you through the essential steps with clear, practical advice.
In this article, you’ll discover how to choose the right materials, plan your layout, and assemble a sturdy, simple pergola that complements your garden. By the end, you’ll have the confidence to build a beautiful structure that invites relaxation and gatherings, making your outdoor living area truly special.
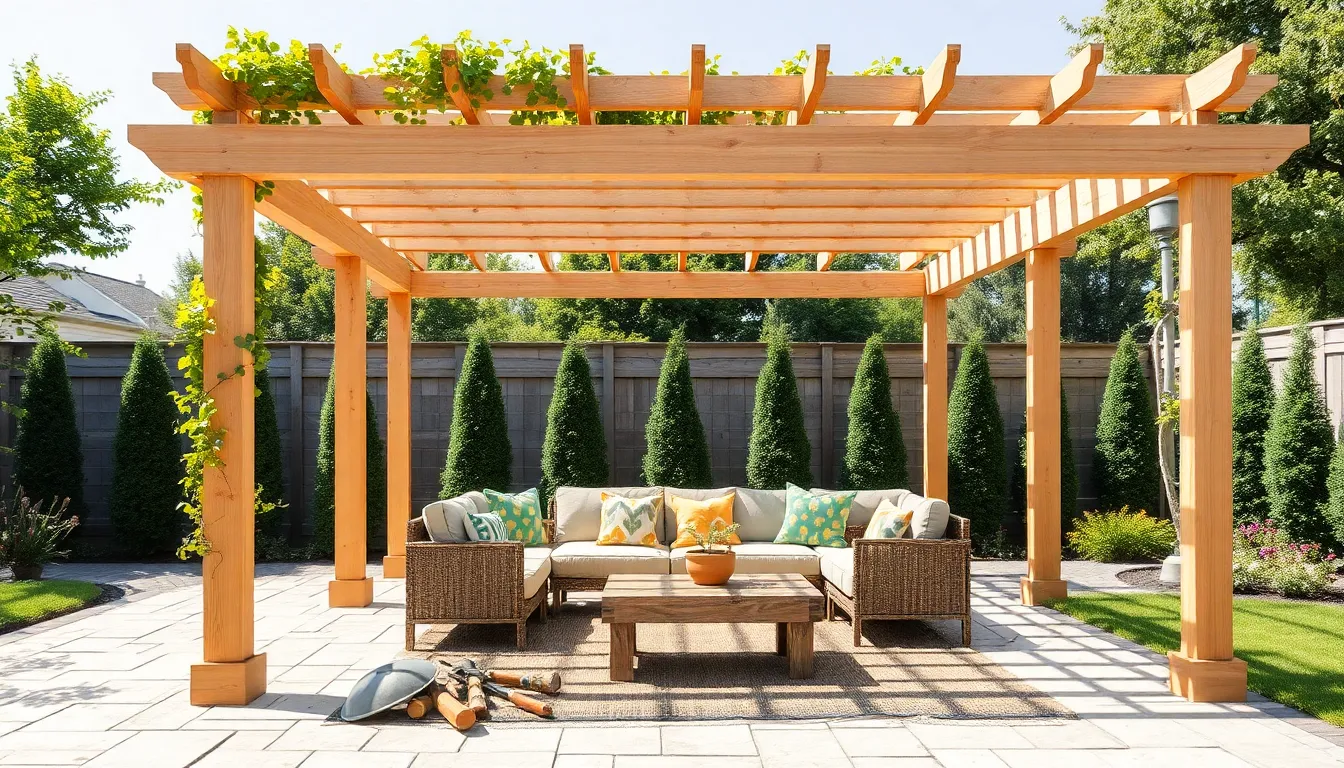
Choose Pergola Location and Dimensions
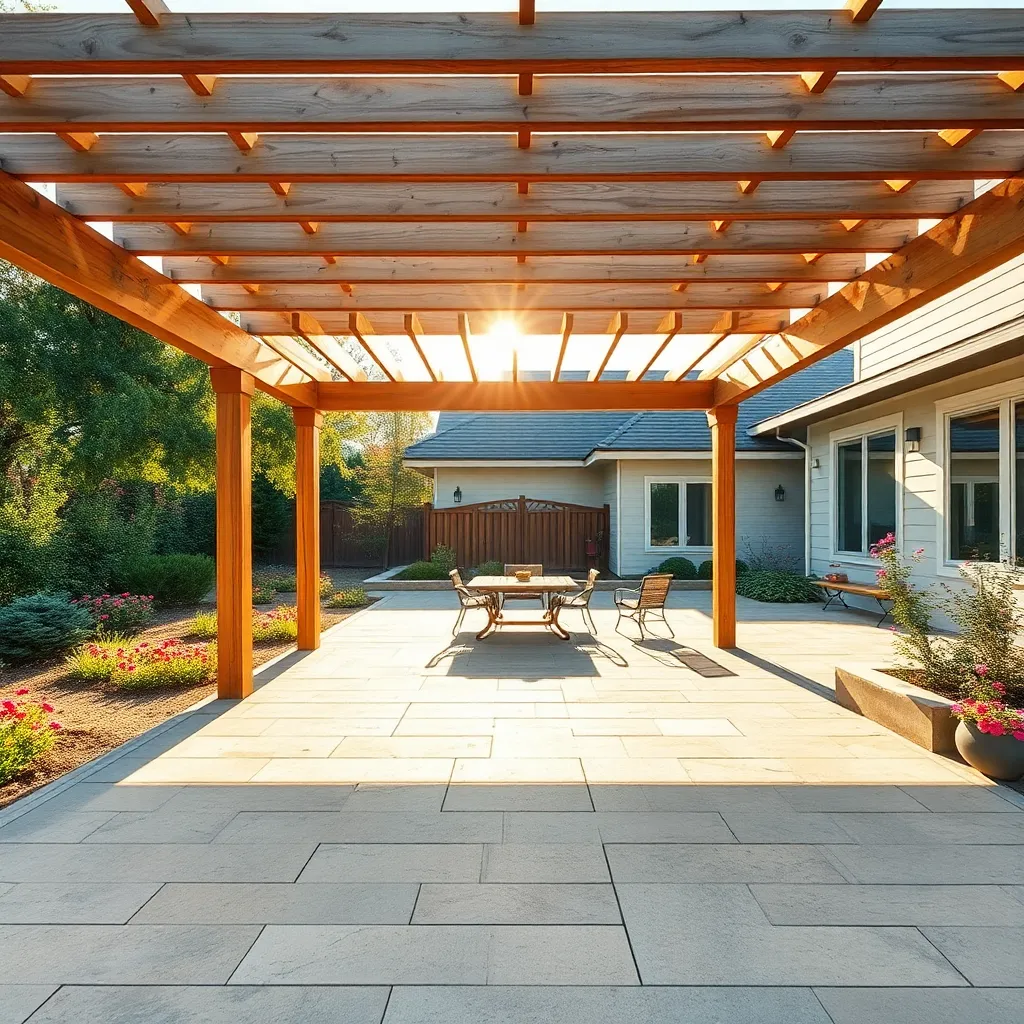
Start by selecting a location that balances sunlight and shade, ideally near your home for easy access and utility connections if needed. A common pergola size for beginners is around 10 feet by 10 feet, which fits most garden spaces and provides ample room for seating or dining. Remember to check for level ground or plan to level the site to ensure a stable foundation, especially if you’re using wooden posts or concrete footings.
When planning dimensions, consider the height carefully; a typical pergola roof stands about 8 to 10 feet tall to allow comfortable movement and airflow. For materials, cedar or pressure-treated lumber offers durability and weather resistance, while metal options provide a sleek, modern look. Advanced tip: include adjustable shade cloths or climbing plants on one side to enhance privacy and sun control without compromising the open-air feel.
Gather Materials and Tools
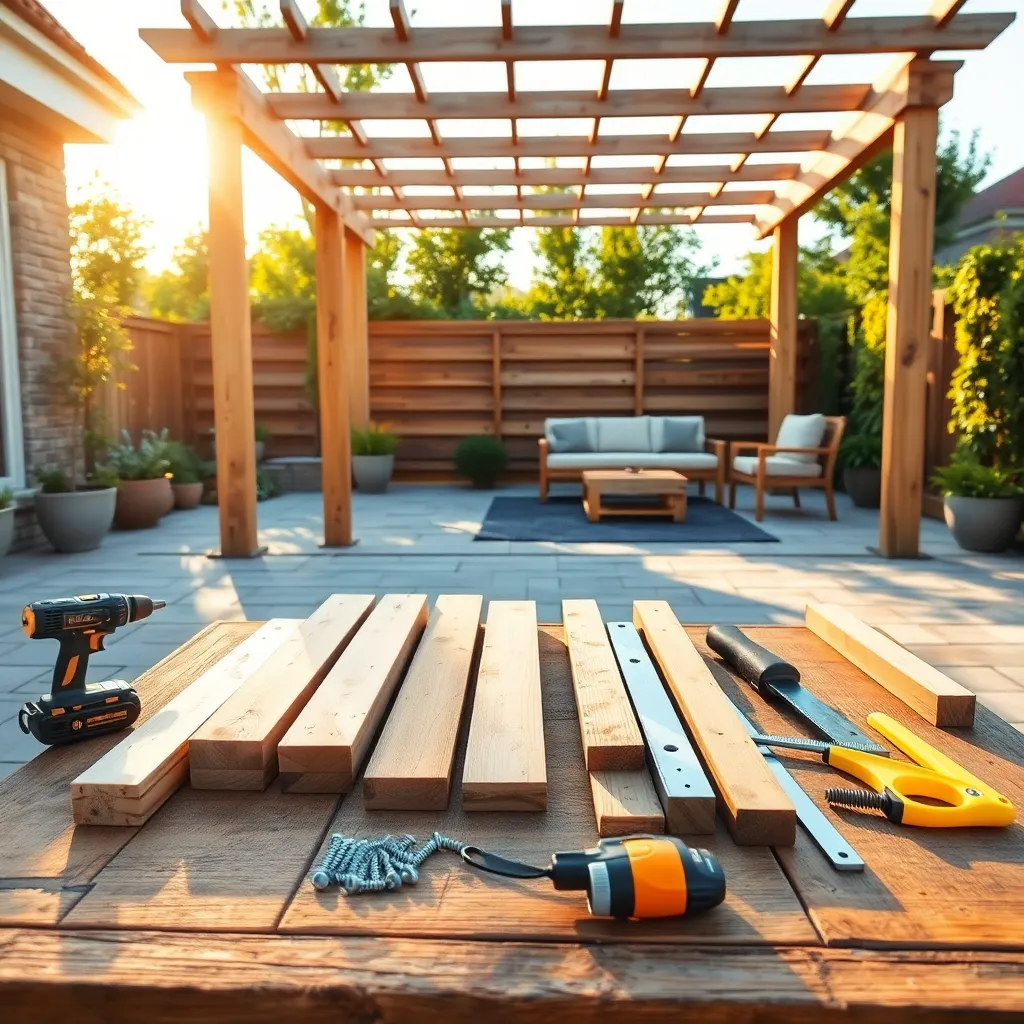

Start by gathering pressure-treated lumber or cedar for durability and resistance to outdoor elements; typical dimensions include 4×4 posts, 2×6 beams, and 2×2 or 2×4 slats for the top lattice. Along with wood, you’ll need galvanized screws, metal brackets, concrete mix for securing posts, and exterior wood stain or sealant to protect your pergola from weathering.
In addition to materials, ensure you have the right tools on hand: a power drill with various bits, a circular saw or miter saw for precise cuts, a level for accuracy, a tape measure, and safety gear like gloves and goggles. For an advanced touch, consider pre-drilling holes to prevent wood splitting and using adjustable post anchors for better stability on uneven ground.
Construct and Secure Support Posts
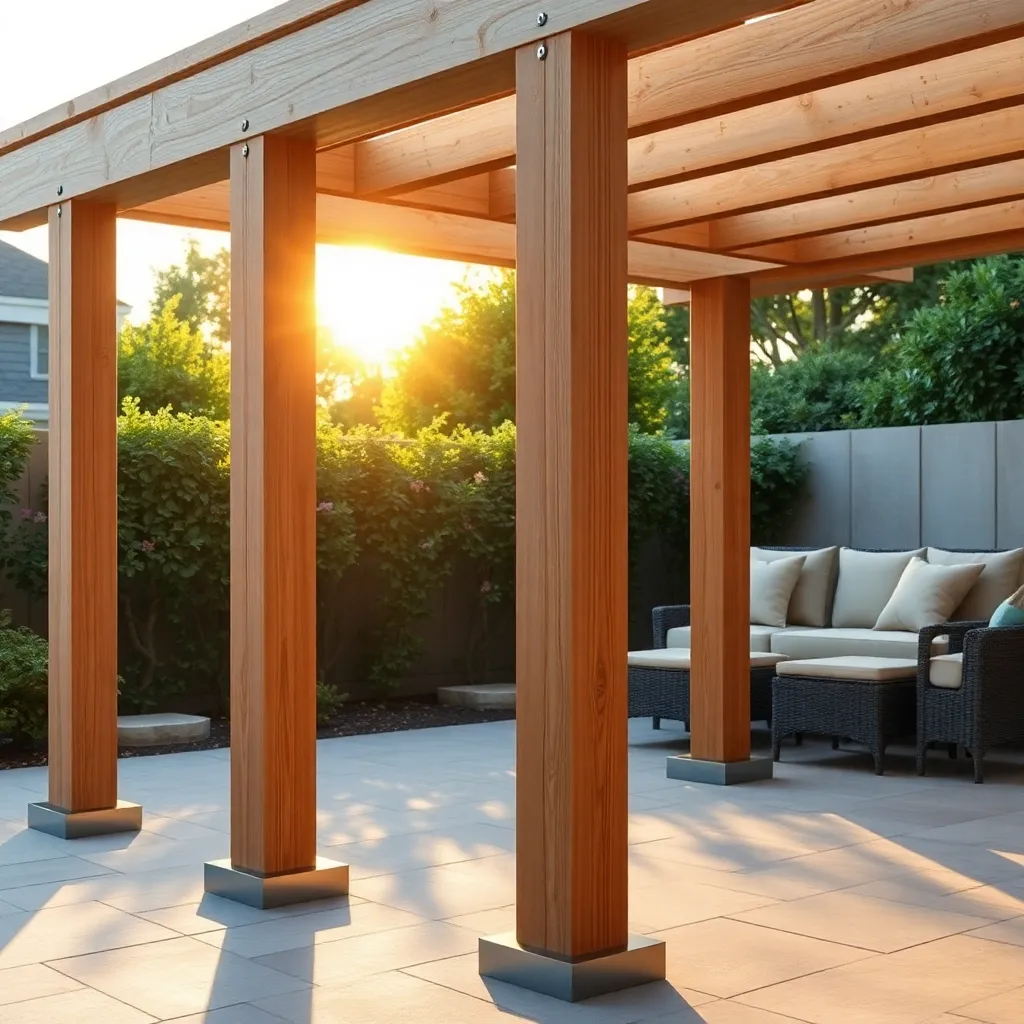
Start by selecting sturdy, weather-resistant wood such as cedar or pressure-treated pine for your pergola’s support posts. Aim for posts measuring at least 4×4 inches in cross-section to ensure stability, and set them at a depth of 2 to 3 feet to anchor firmly below the frost line, preventing shifting over time. Using a level during installation guarantees that each post stands perfectly vertical, which is crucial for a balanced and secure structure.
For added durability, secure your posts with concrete footings by digging holes wider than the post and pouring mixed concrete around the base. Consider installing metal post anchors to elevate the wood slightly off the ground, reducing moisture contact and extending the life of your pergola. Don’t forget to double-check spacing between posts, typically around 8 feet apart, to provide ample room for your crossbeams and climbing plants if desired.

Install Crossbeams and Rafters
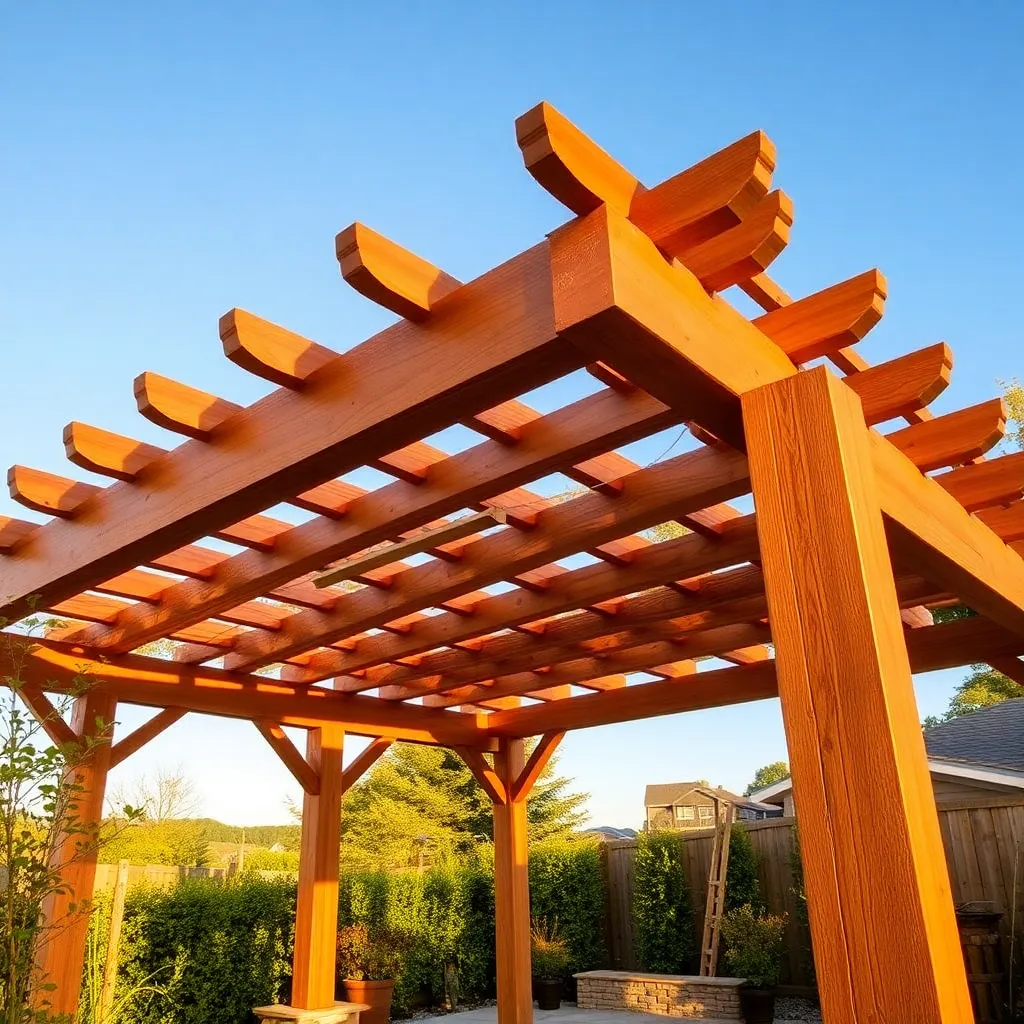
Begin by selecting sturdy, weather-resistant lumber such as cedar or pressure-treated pine for the crossbeams and rafters to ensure durability. Cut your crossbeams to span the distance between the support posts, typically 6 to 8 feet apart, and secure them horizontally on top of the posts using galvanized brackets or lag bolts for strong, lasting connections.
Next, install the rafters perpendicular to the crossbeams, spacing them evenly about 12 to 24 inches apart depending on the shade density you desire. For added stability and a polished look, consider notching the rafters where they meet the crossbeams or using decorative rafter tails; this enhances both the structural integrity and the classic pergola aesthetic.
Finish with Protective Sealant
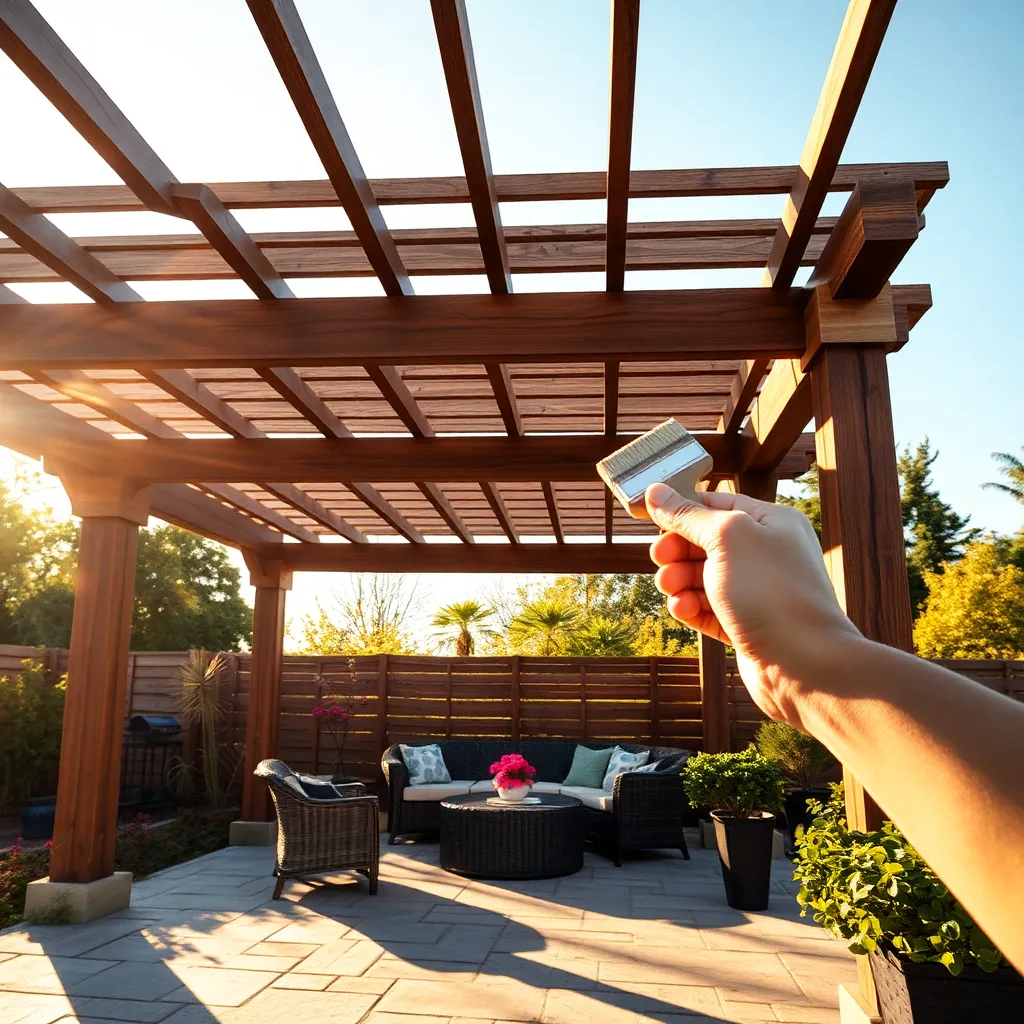
To protect your pergola from weather damage and extend its lifespan, apply a high-quality outdoor wood sealant after installation. Choose a sealant that offers UV protection and water resistance, such as a clear or lightly tinted acrylic or oil-based formula. Use a brush or sprayer to coat all surfaces evenly, paying special attention to end grains and joints where moisture can seep in.
For best results, apply at least two coats of sealant, allowing proper drying time between each layer—usually 24 hours. Advanced tip: consider adding a wood preservative treatment before sealing for extra defense against rot and insects, especially if your pergola uses untreated lumber like cedar or pine. This final step not only enhances durability but also keeps your pergola looking fresh and vibrant season after season.
Conclusion: Creating Beautiful Outdoor Spaces
Building a simple pergola in your garden isn’t just a DIY project—it’s a wonderful way to create a shared space that nurtures connection, trust, and collaboration. We explored five key concepts: clear communication throughout the process, teamwork in planning and building, patience as you navigate challenges, celebrating small wins together, and creating a beautiful environment that invites relaxation and meaningful conversations.
Your next step? Grab a notebook and sketch a rough design for your pergola, then discuss it with your partner or family—turn this project into a fun, bonding experience from the start.
Be sure to save or bookmark this article so you can revisit these tips anytime you need a reminder or inspiration for your garden and relationship journey.
Remember, just like a sturdy pergola grows stronger with care and attention, your relationship flourishes through shared effort and love. Embrace this project as a stepping stone toward deeper connection and many joyful moments ahead—you’ve got this!