Transforming your backyard garden with a rustic shelter is a rewarding project that welcomes both beginners and seasoned DIYers. Creating a cozy, natural retreat not only enhances your outdoor space but also provides a charming focal point where you can relax and connect with nature.
In this article, you’ll discover practical tips and step-by-step guidance to build sturdy, beautiful rustic shelters using accessible materials. Whether you’re aiming for a simple pergola or a more intricate gazebo, you’ll gain the confidence and know-how to bring your vision to life with ease and style.
Choosing Rustic Materials for Shelters
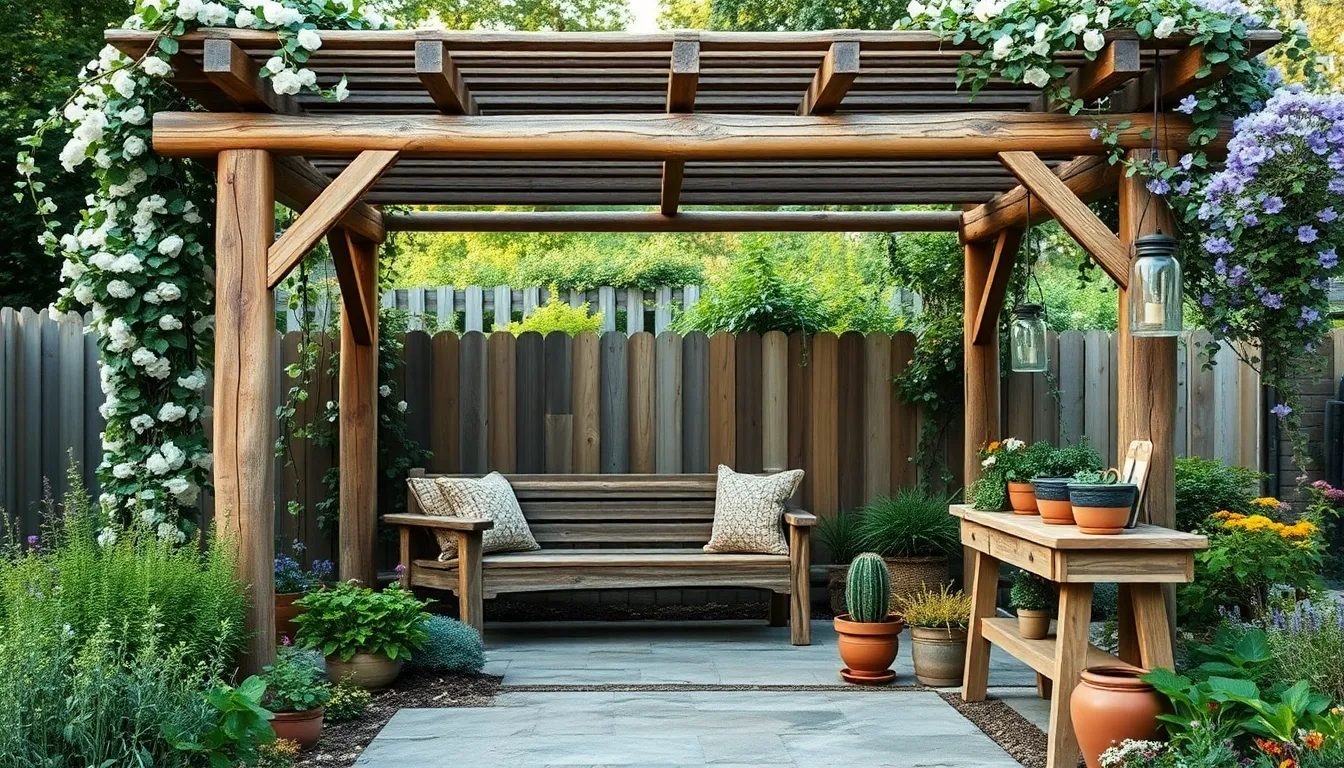
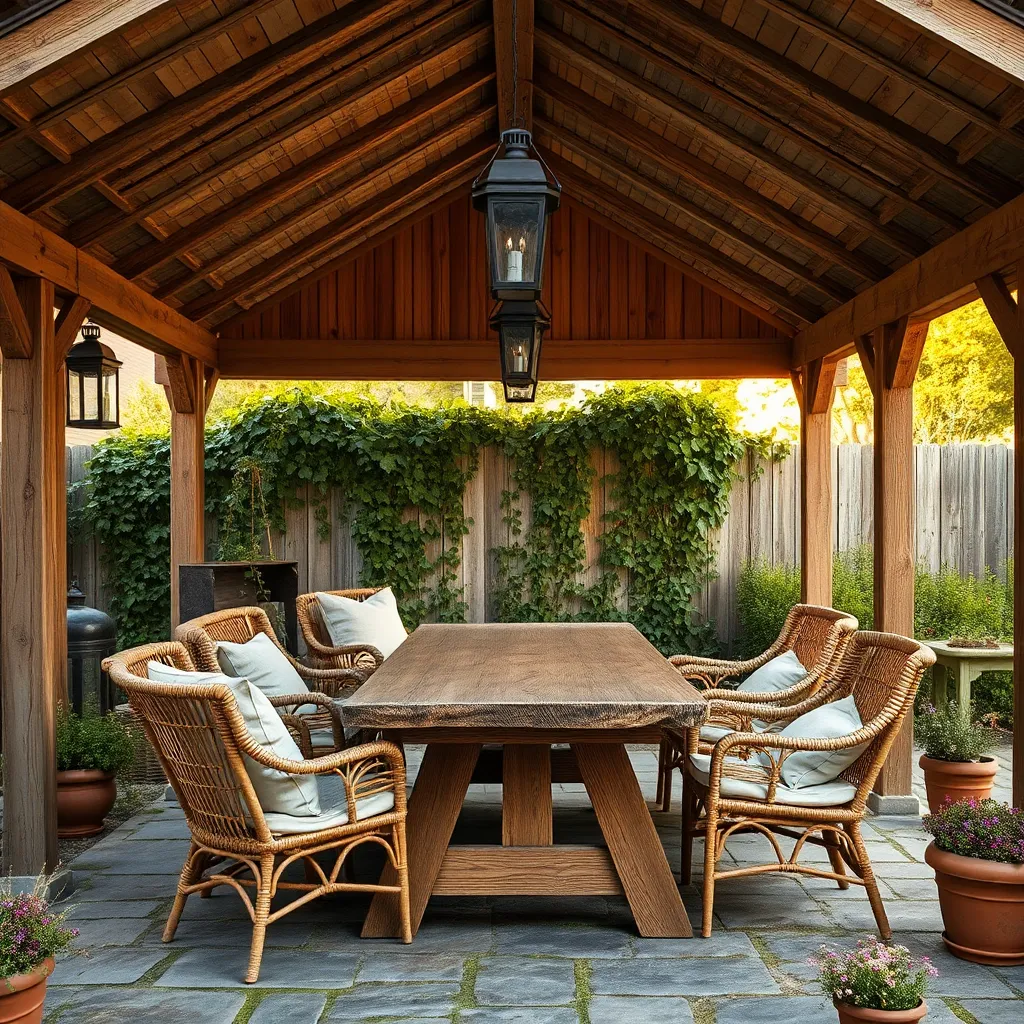
When selecting materials for a rustic backyard shelter, focus on natural, weather-resistant options like reclaimed wood, rough-hewn logs, or bamboo. These materials not only enhance the rustic charm but also offer durability; for example, cedar and redwood resist rot and insects naturally, making them excellent choices for posts and beams. Beginners should start with standard 4×4 or 6×6 posts for a sturdy frame, while more advanced builders can incorporate peeled logs or live-edge slabs to add authentic texture and character.
To ensure your shelter blends seamlessly with the garden, consider incorporating simple design elements such as open slatted walls, thatched or shingled roofing, and natural stone accents for the foundation or floor. For added longevity, treat wood surfaces with eco-friendly sealants or oils that protect without compromising the rustic look. Use these tips to create a shelter that’s both visually appealing and structurally sound, inviting you to enjoy your garden in all seasons.
Planning Your Backyard Shelter Layout

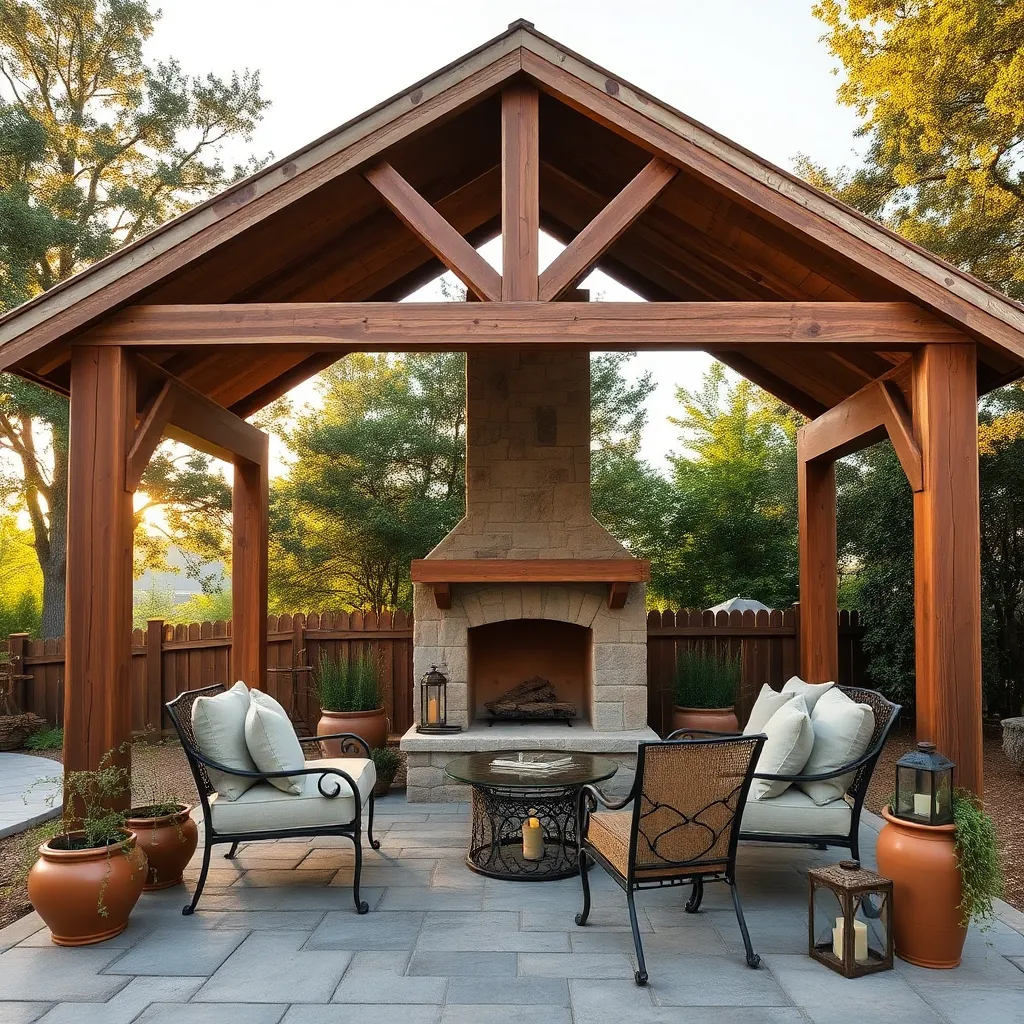
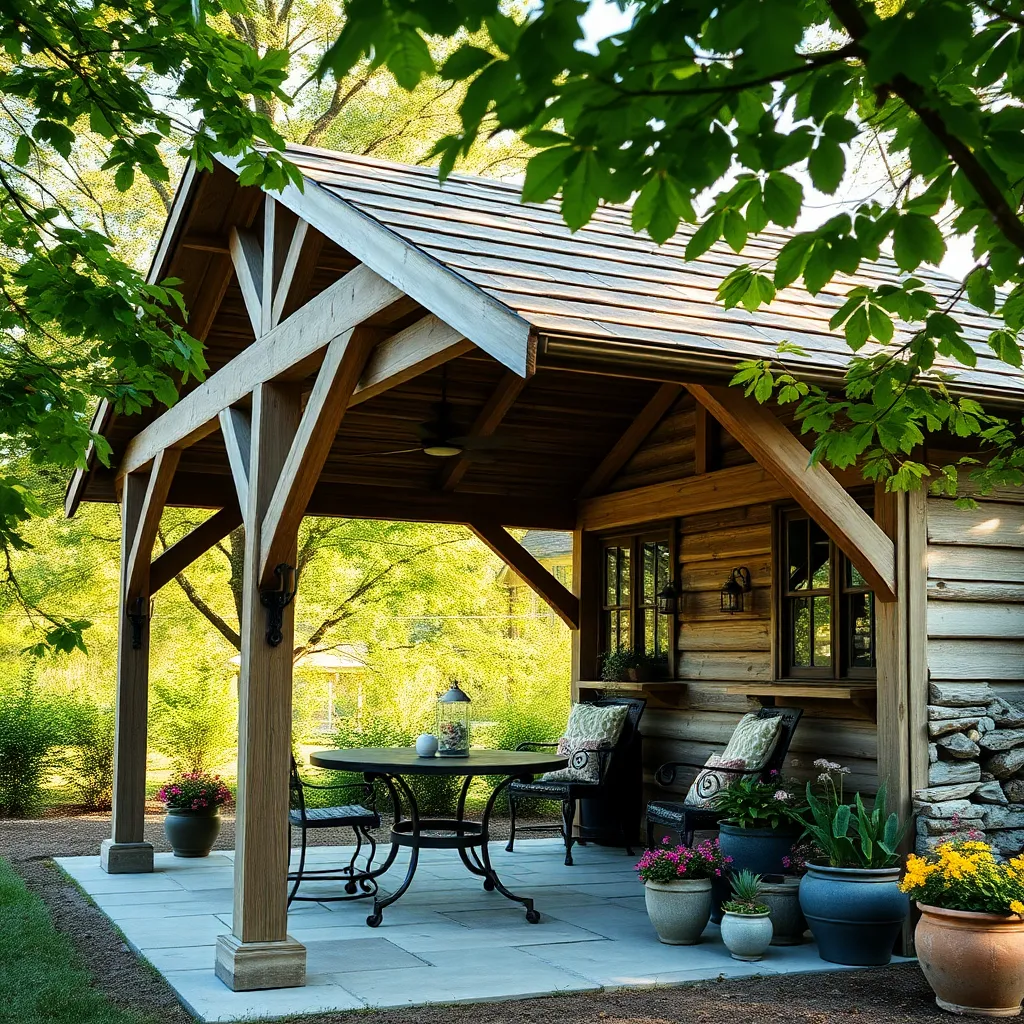
Start by selecting a flat, well-drained area in your backyard that receives balanced sunlight and shade throughout the day. Plan your shelter’s dimensions carefully, aiming for a footprint of at least 8×10 feet to provide ample space for seating or garden tools. Consider positioning the shelter near existing garden features or pathways to create a cohesive flow and easy access.
Use durable, weather-resistant materials like cedar or pressure-treated lumber for the frame to ensure longevity with minimal upkeep. Incorporate rustic design elements such as exposed beams, natural stone bases, or reclaimed wood siding to enhance the shelter’s charm. For advanced durability, apply a water-repellent sealant and include a sloped roof with gutters to protect against rain and extend the structure’s life.
Building Simple Wooden Frame Structures
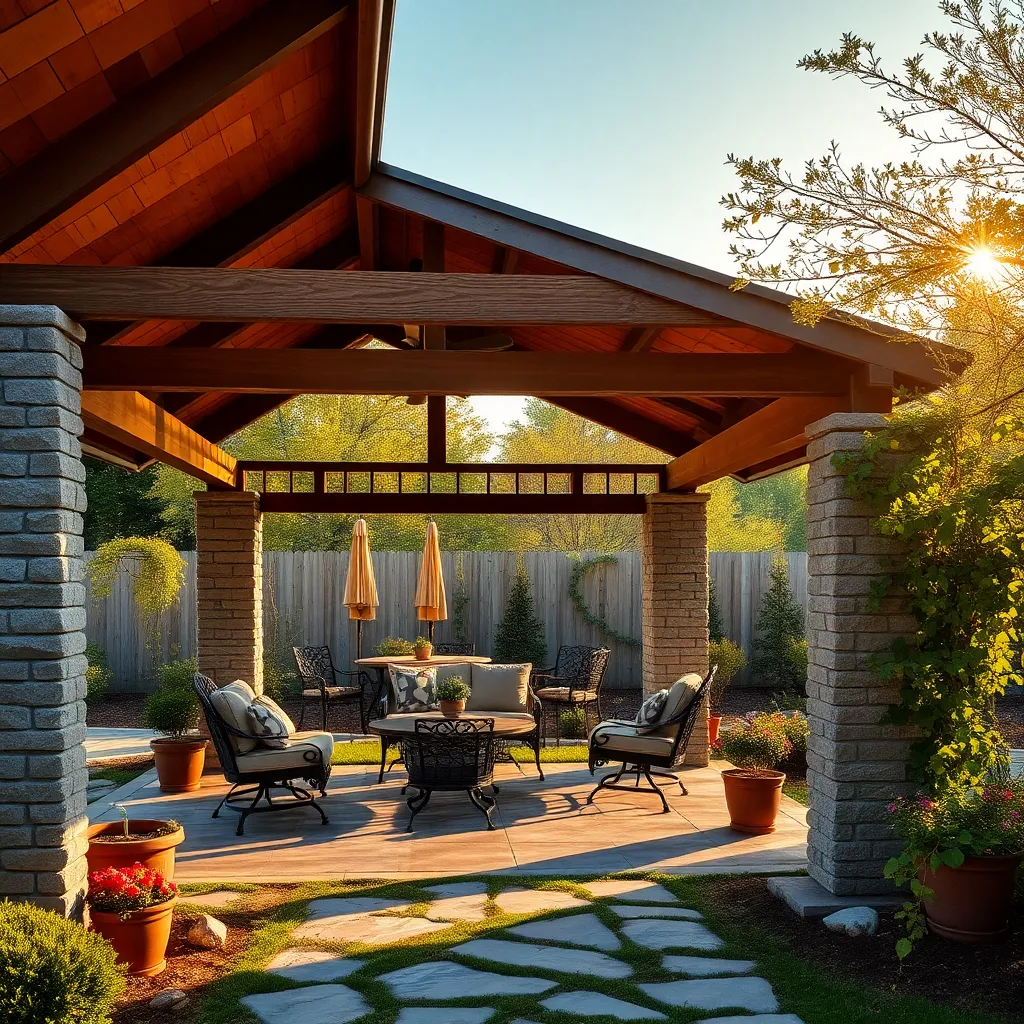
Starting your simple wooden frame structure begins with selecting durable, weather-resistant lumber such as cedar or pressure-treated pine, which provide longevity without heavy maintenance. For a basic design, use 4×4 posts spaced 6 to 8 feet apart to create a sturdy skeleton, and secure horizontal beams with galvanized screws or metal brackets for added strength.
Consider adding angled braces at each corner to improve stability and resist wind stress, especially in open backyard spaces. For an advanced touch, incorporate a sloped roof frame using 2×4 rafters spaced 16 inches apart to allow for easy attachment of roofing material like corrugated metal or polycarbonate panels, which provide both shelter and light.

Adding Natural Finishes and Details
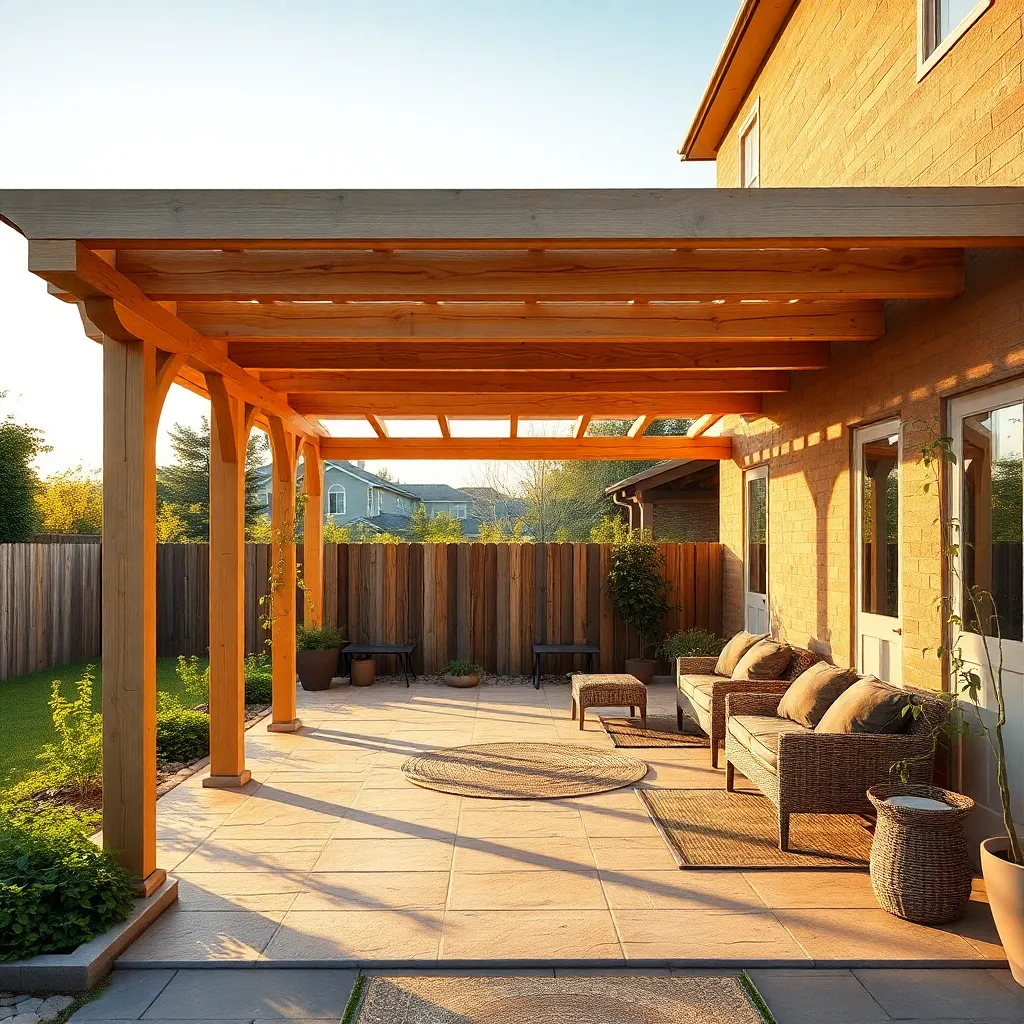
To enhance your rustic shelter with natural finishes, consider applying a clear, water-based wood sealant that preserves the wood’s texture while protecting it from moisture and UV damage. Incorporate reclaimed wood or bark accents on corners and beams for an authentic, weathered look. For a subtle yet effective detail, use natural fiber ropes or leather straps to bind joints or add decorative touches, which also reinforce structural elements without overpowering the rustic aesthetic.
Adding natural details can also involve integrating living elements like climbing vines or hanging planters to blend your shelter into the garden environment. When choosing materials for these, opt for untreated jute or hemp hangers that resist outdoor wear and complement the rustic style. For advanced customization, carve simple patterns or initials into exposed beams using hand tools, creating a unique, handcrafted feel that lasts for years.
Maintaining Rustic Shelters Year-Round
To keep your rustic shelter sturdy year-round, regularly inspect wooden components for signs of rot or insect damage, especially after harsh weather. Applying a high-quality exterior wood sealer or natural oil like tung or linseed oil every spring and fall protects against moisture and UV damage while preserving the wood’s natural texture. For advanced durability, consider using weather-resistant fasteners such as stainless steel or galvanized screws instead of nails, which hold better over time and reduce maintenance needs.
Proper drainage and ventilation are crucial for longevity; ensure the shelter’s roof has at least a 4:12 pitch to shed rain and snow effectively. Installing gravel or pavers beneath the shelter floor prevents water pooling and wood decay by improving ground drainage. For a rustic yet functional touch, add removable side panels or curtains made from breathable canvas to protect against wind and rain during colder months while allowing airflow in warmer seasons.
Conclusion: Creating Beautiful Outdoor Spaces
Building a strong relationship, much like crafting a DIY rustic shelter for your garden, requires intention, patience, and care. We explored five key concepts: open communication to nurture understanding, teamwork in constructing shared dreams, patience through challenges, celebrating small victories together, and creating a safe, supportive space for both partners to grow. As a simple next step, take a moment today to have an honest, heartfelt conversation with your partner—share your hopes and listen deeply. This small act can lay the foundation for deeper connection and collaboration. Be sure to save or bookmark this article so you can revisit these ideas whenever you need a reminder or fresh inspiration. Remember, every strong relationship is built one thoughtful action at a time, and with consistent care, your bond will flourish like a beautiful garden sheltering love and growth for years to come. You have the tools—now is the time to build a relationship that truly thrives.