Transforming your backyard into a welcoming retreat doesn’t have to be complicated or expensive. Whether you’re new to DIY projects or a seasoned homeowner, pavilion kits offer a straightforward way to add style and shelter to your outdoor space with minimal hassle.
In this article, you’ll discover how these ready-to-assemble kits simplify the building process, saving you time without sacrificing quality. From choosing the right design to step-by-step setup tips, we’ll guide you through making your outdoor living dreams a reality—confidently and comfortably.
Understanding DIY Pavilion Kit Components
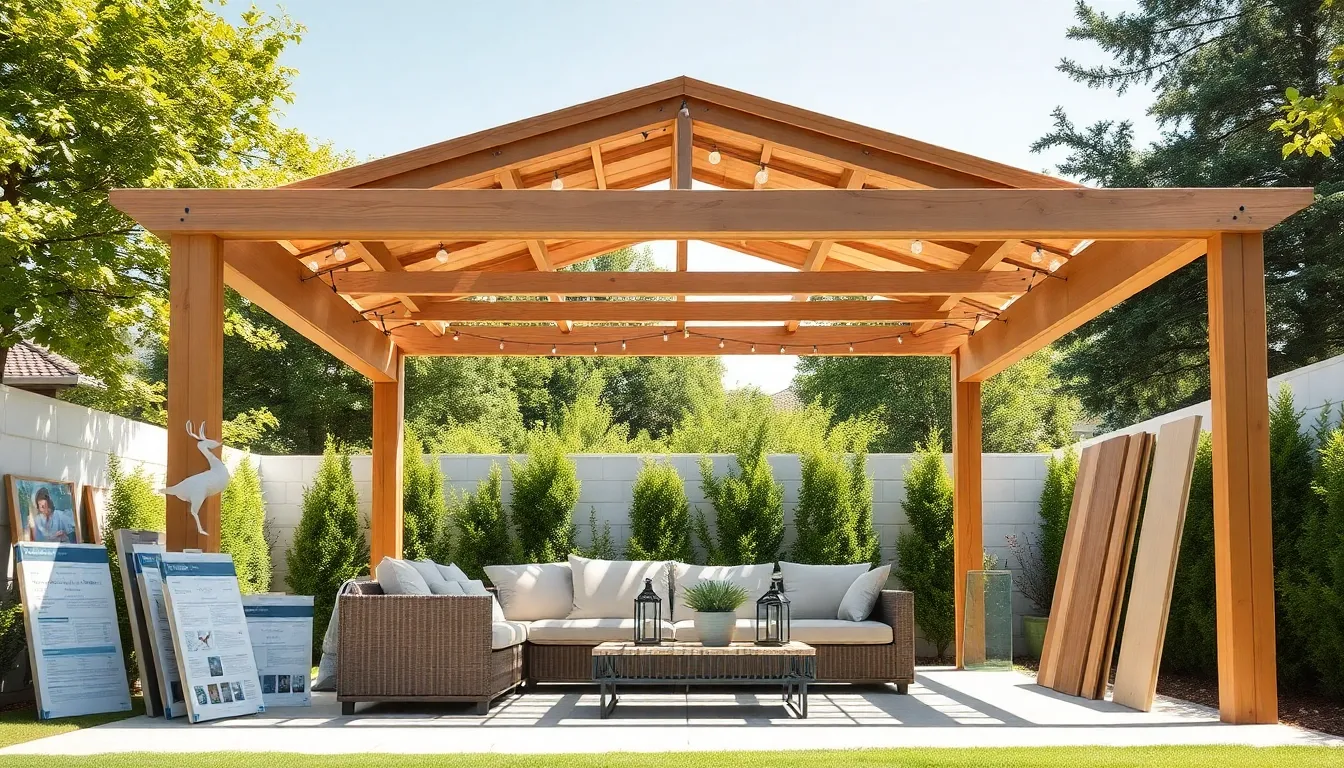
When exploring a DIY pavilion kit, it’s essential to understand the core components that make assembly straightforward. Most kits include
To ensure your pavilion fits perfectly in your outdoor space, start by measuring the area accurately and selecting a kit with dimensions that allow for comfortable movement around the structure—typically 10×10 feet or larger. Advanced tips include reinforcing corner posts with concrete footings for extra stability and using a sealant on wooden components to protect against moisture and pests. By focusing on these design and construction details, you’ll create a durable, attractive pavilion that enhances your backyard for years to come.
Choosing the Right Pavilion Size
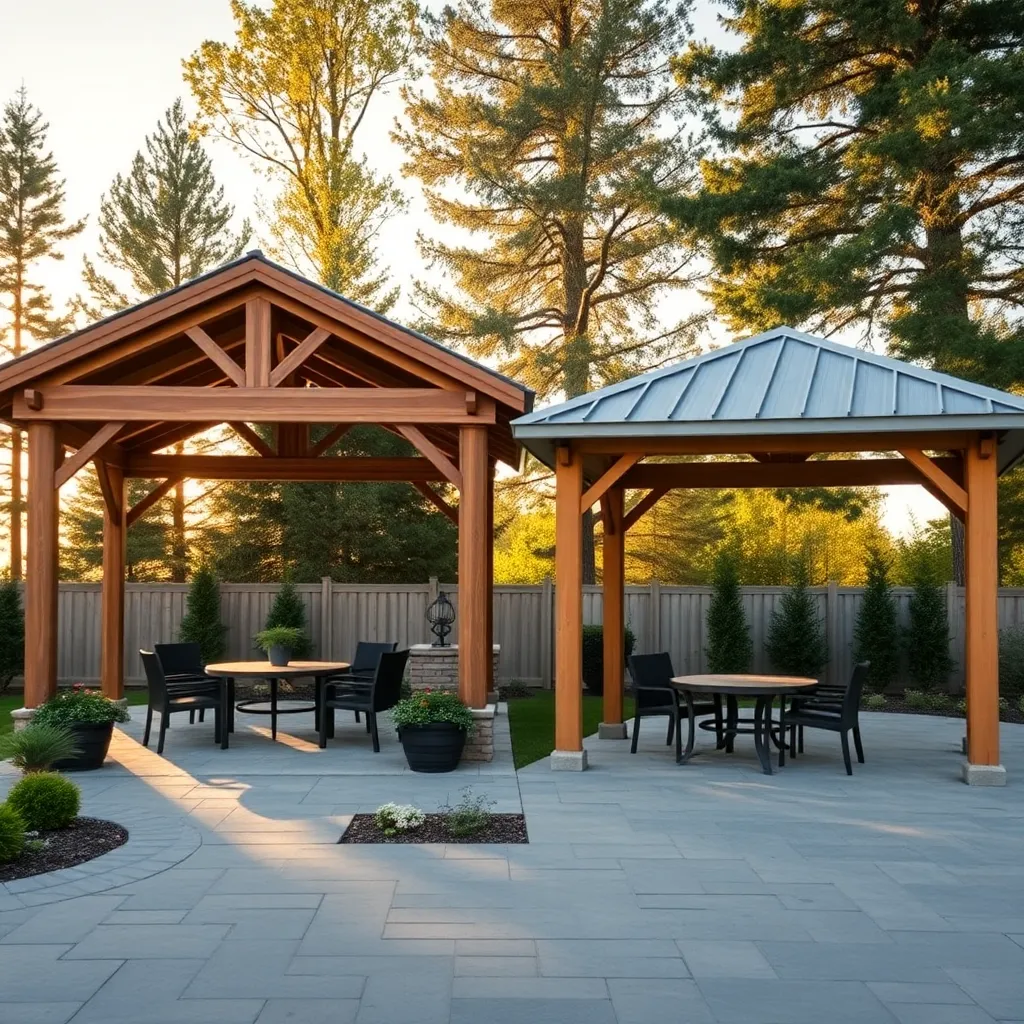

When selecting the right pavilion size, start by assessing the intended use and available yard space. A common recommendation is to allow at least 10×10 feet per small group for comfortable seating and movement. For larger gatherings, consider pavilions ranging from 12×16 feet to 20×20 feet, which provide ample room for furniture, grills, and outdoor activities without overcrowding.
Next, focus on construction details like roof pitch and material choices, as these affect both aesthetics and durability. For example, metal roofs with a 4:12 pitch offer excellent weather resistance and drainage, while wood beams create a warm, natural look. Additionally, modular DIY kits often allow for easy size customization—so take advantage of adjustable post placements and panel options to perfectly fit your space and lifestyle needs.
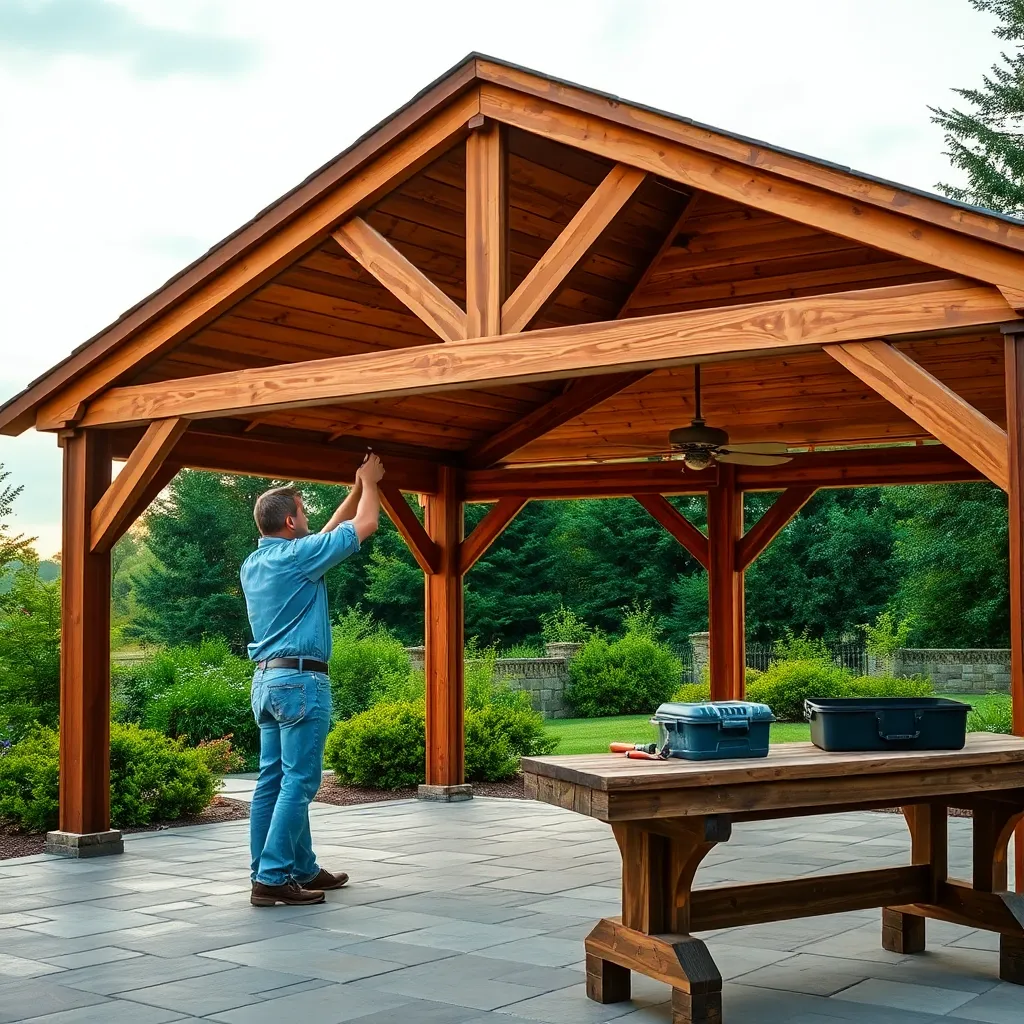
Step-by-Step Kit Assembly Guide
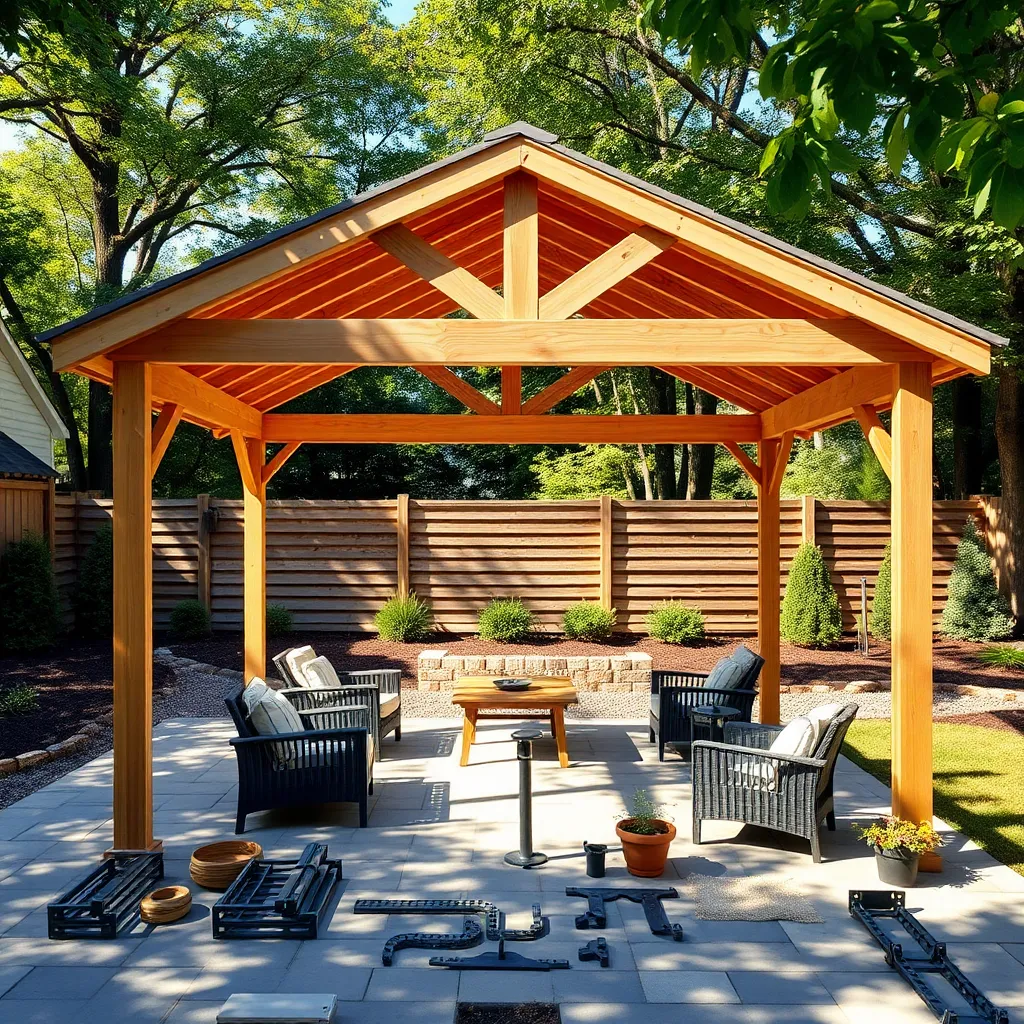
Begin your pavilion kit assembly by thoroughly reviewing the provided instructions and organizing all components, including beams, posts, and hardware. Use treated lumber or powder-coated steel parts for durability against weather, and ensure your foundation is level and stable, ideally a concrete slab or compacted gravel base. For beginners, pre-drilled holes and labeled parts simplify alignment, while advanced builders might double-check structural connections with a torque wrench to secure bolts tightly without damaging materials.
Next, focus on assembling the frame by connecting the vertical posts to the horizontal beams using the included brackets and fasteners. Pay close attention to squaring the structure during assembly to prevent warping, using a carpenter’s square and measuring diagonals for accuracy. Incorporate design features like decorative trim or integrated gutter systems as recommended in your kit to enhance both aesthetics and functionality, ensuring your pavilion not only stands strong but also complements your outdoor space beautifully.

Essential Tools for Easy Setup
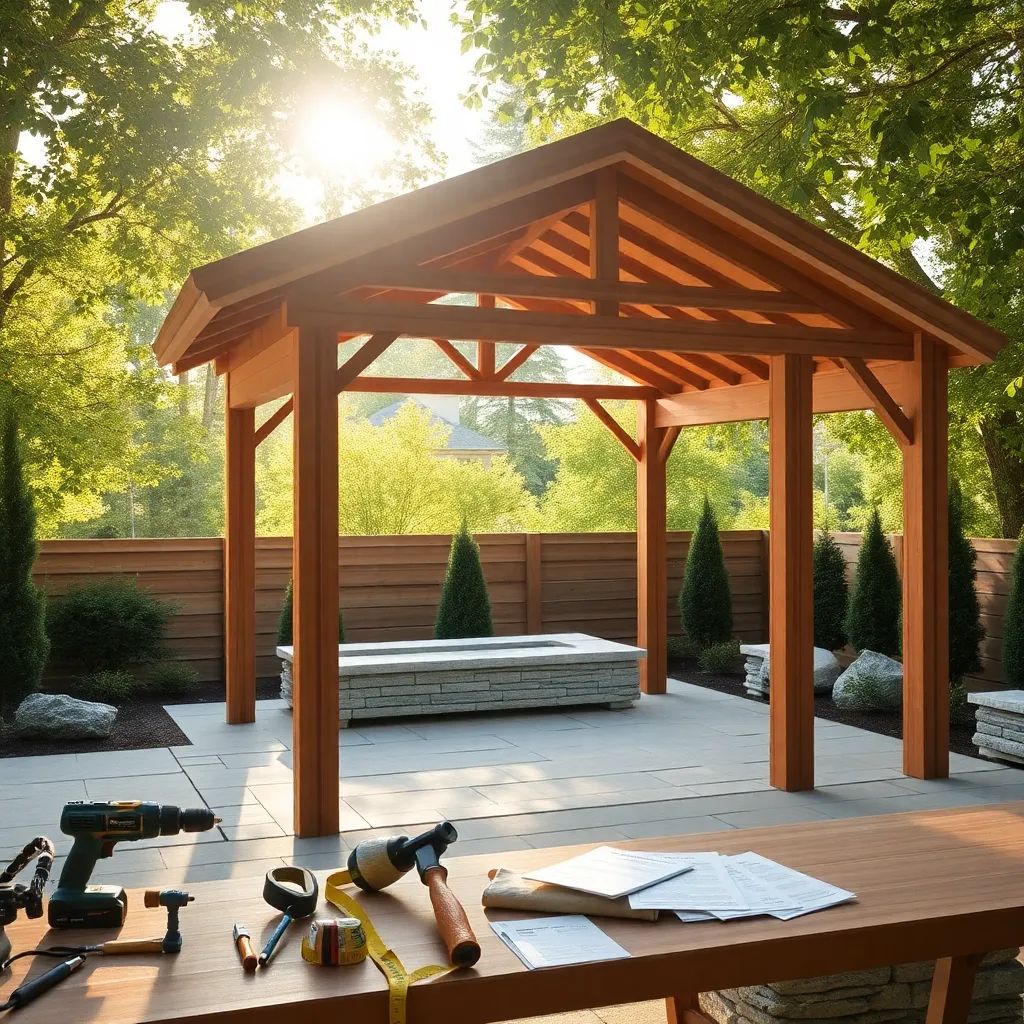
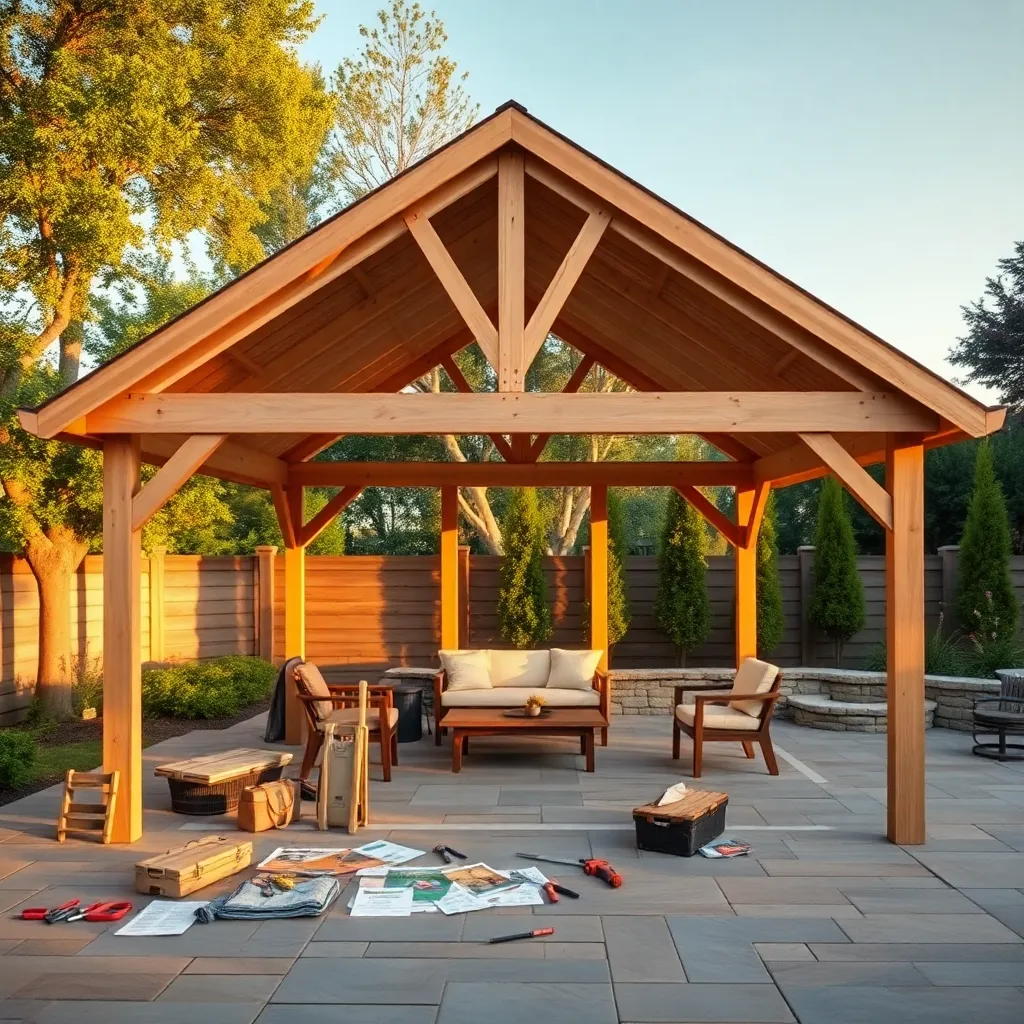
Getting your DIY pavilion kit set up quickly starts with having the right essential tools on hand. Basic tools include a cordless drill with multiple drill bits, a level for accurate alignment, a tape measure for precise dimensions, and a rubber mallet to gently position parts without damage. For more advanced stability, consider using a power screwdriver and a socket wrench set to tighten bolts securely, ensuring your pavilion withstands varying weather conditions.
Additionally, preparing your site with a flat, well-drained surface such as compacted gravel or concrete pads improves setup ease and longevity. When assembling, follow these tips:
- Lay out all components before starting to familiarize yourself with the parts.
- Use clamps or temporary supports to hold beams in place while securing fasteners.
- Double-check measurements as you go to avoid misalignment.
These steps, combined with the right tools, will make your pavilion assembly smoother and result in a sturdy, attractive outdoor shelter.
Maintaining Your DIY Pavilion Kit

Keeping your DIY pavilion kit in top shape starts with regular inspections of the frame and roofing materials. Check for any loose bolts or screws and tighten them to maintain structural integrity. For wood components, apply a high-quality outdoor sealant or stain every 1-2 years to protect against moisture and UV damage, ensuring your pavilion remains sturdy and visually appealing.
Advanced maintenance includes cleaning gutters if your pavilion has them, to prevent water buildup that can cause damage. Consider installing removable side panels or curtains for added protection during harsh weather, which also extends the lifespan of your pavilion’s interior finishes. Regularly clearing debris from the roof and surrounding area will keep drainage effective and help your pavilion last for many seasons.
Conclusion: Creating Beautiful Outdoor Spaces
In exploring DIY pavilion kits for easy setup, we’ve uncovered five key concepts to strengthen your relationship journey: teamwork in planning and building, clear communication to avoid misunderstandings, patience through challenges, celebrating small victories together, and creating a shared space that fosters connection. Now, take the next step by discussing your pavilion vision with your partner—outline your goals and assign simple tasks to get started today. Remember to bookmark this article as a go-to guide whenever you need inspiration or practical tips on building not just a pavilion, but a stronger, more connected relationship. By embracing these principles, you’re investing in a foundation that supports lasting happiness and growth together. Your relationship deserves this nurturing space—both physical and emotional—and with each step you take, you’re crafting a future filled with warmth, partnership, and joy. Keep this guide handy, and watch your relationship flourish as you build something beautiful side by side.