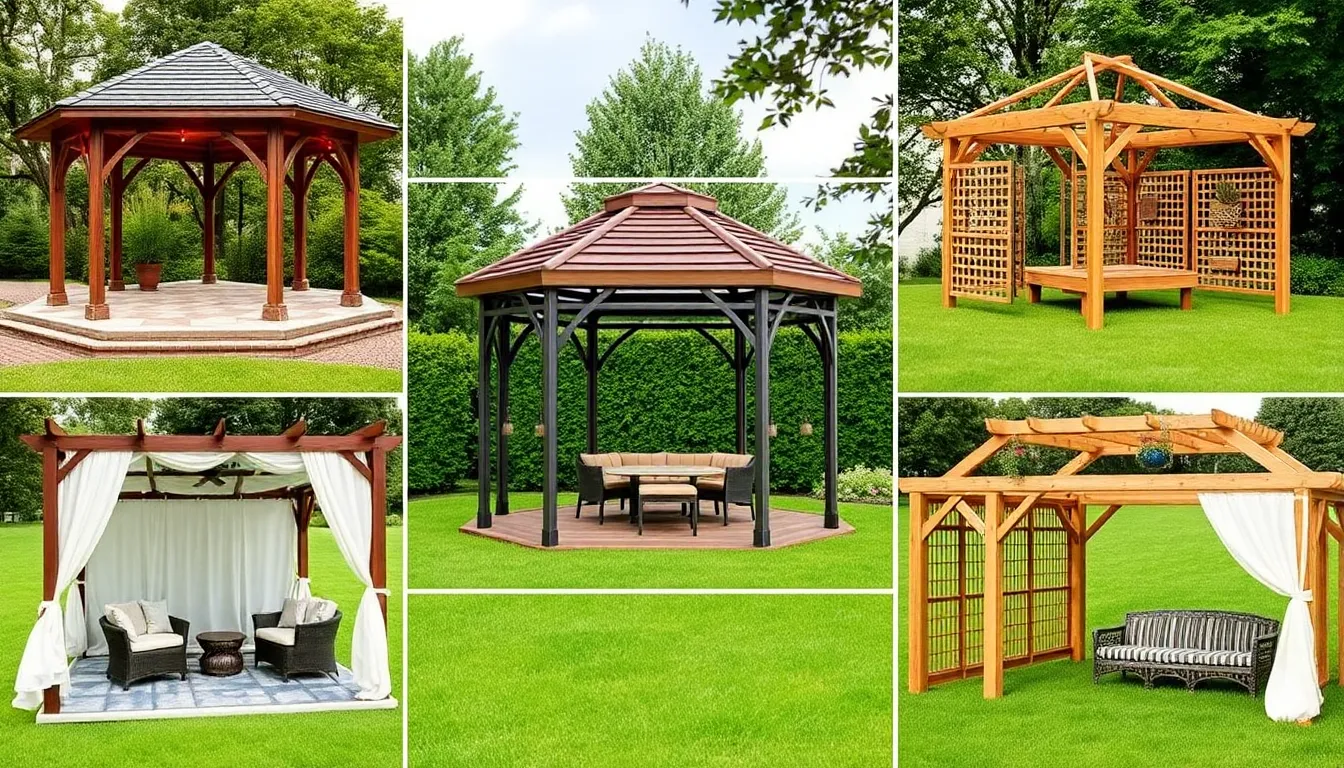
Transforming your backyard with a charming gazebo doesn’t have to break the bank or require expert carpentry skills. Whether you’re new to DIY projects or a seasoned builder, creating a cozy outdoor retreat is within reach with the right plans and guidance.
In this article, you’ll discover seven affordable gazebo designs that balance style, function, and simplicity. From straightforward frameworks to creative touches, these projects offer clear steps and practical tips to help you build a beautiful shelter tailored to your space and skill level.
Choosing Budget-Friendly Gazebo Materials
When choosing budget-friendly gazebo materials, opt for pressure-treated lumber or cedar, as both provide durability without breaking the bank. For a simple yet sturdy frame, 4×4 posts spaced about 6 to 8 feet apart offer solid support while keeping costs low. Consider using corrugated metal or polycarbonate panels for roofing; these materials are affordable, lightweight, and easy to install, making them ideal for DIY projects.
To further reduce expenses, repurpose materials like pallets or reclaimed wood for decorative elements such as railings or lattice work. Advanced builders can enhance stability by incorporating angled braces and galvanized screws, which improve longevity and resistance to weather. Remember, precise measurements and pre-cutting materials before assembly will save time and minimize waste, keeping your gazebo project both cost-effective and efficient.
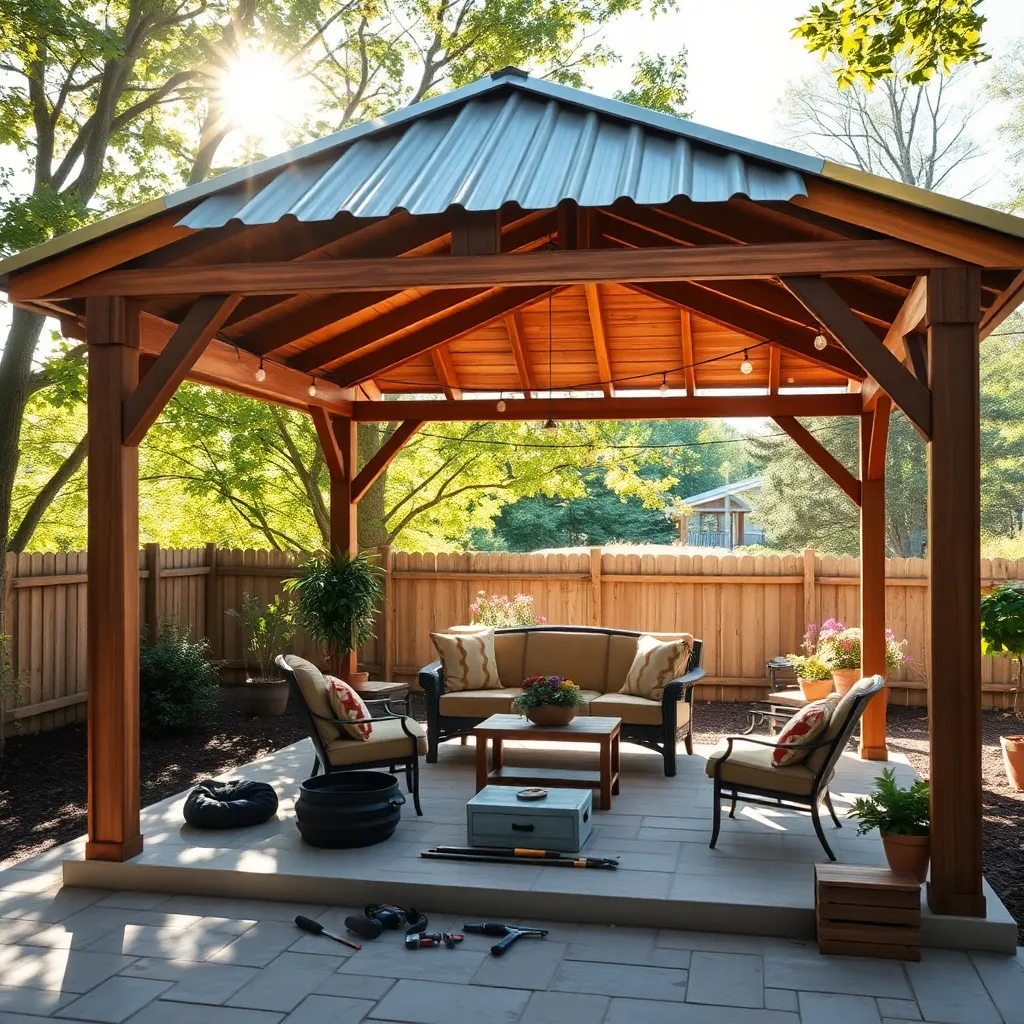
Simple Wooden Frame Gazebo Design
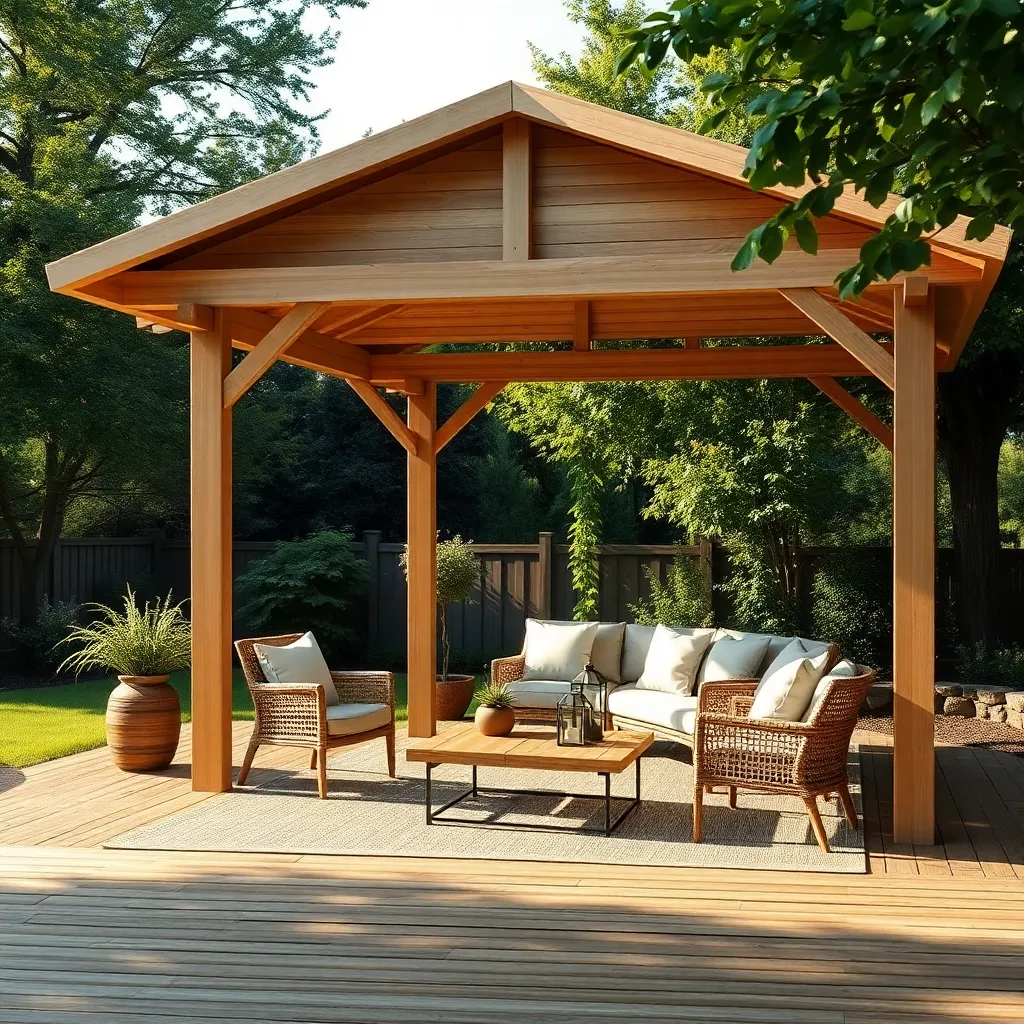
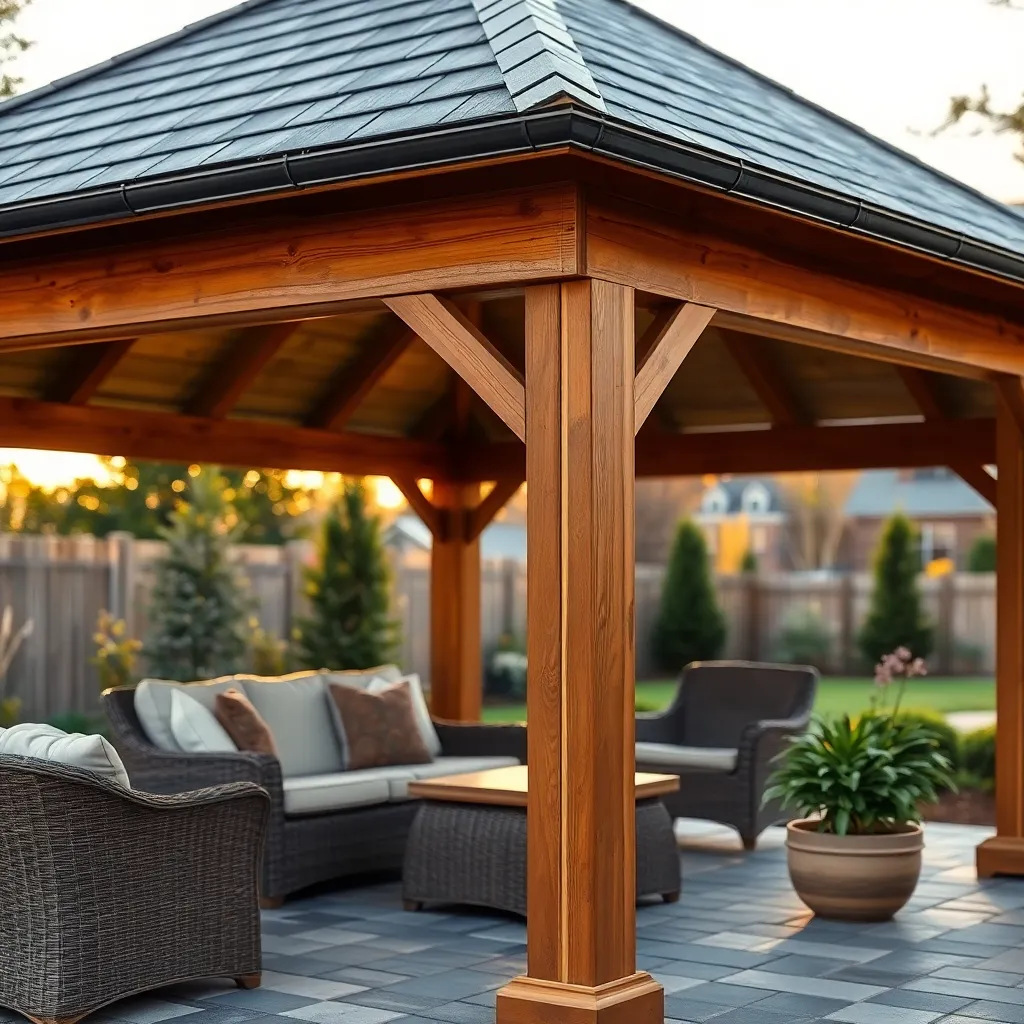
For a simple wooden frame gazebo design, start with pressure-treated lumber like 4×4 posts and 2×6 beams to ensure durability and resistance to outdoor elements. A basic square or rectangular footprint of about 10×10 feet offers ample space without overwhelming your yard, and attaching diagonal bracing will add essential stability to the frame. Using galvanized screws and metal brackets during assembly helps prevent rust and strengthens connections, making the structure last longer with minimal maintenance.
Enhance your gazebo by incorporating a pitched roof with plywood sheathing covered by asphalt shingles or corrugated metal sheets for affordable, weatherproof protection. You can customize the design by adding simple railings or lattice panels on the sides for privacy and style, while sealing all wood surfaces with a quality outdoor stain or paint improves longevity. For those comfortable with tools, pre-cut kits or detailed plans can streamline the build, saving time and ensuring precise cuts.

Building a Compact Metal Gazebo
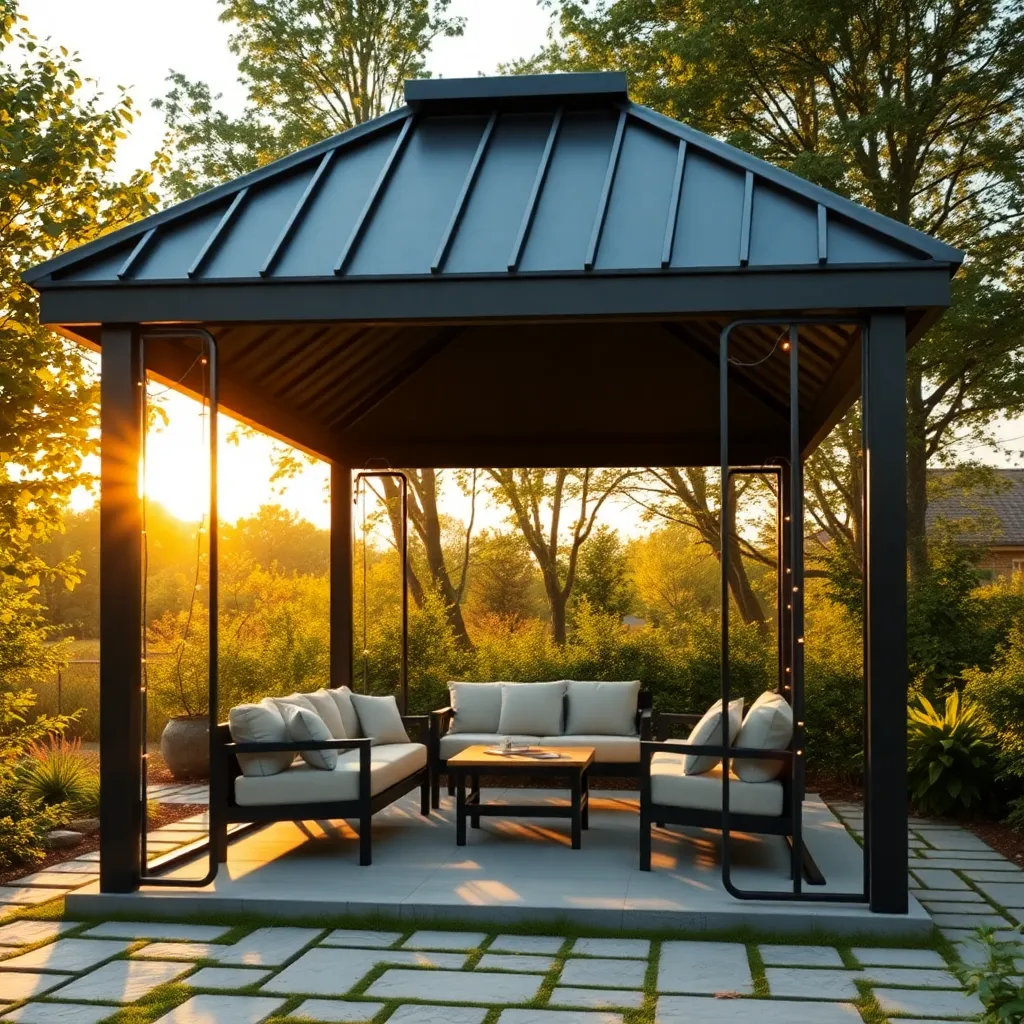
Starting with a compact metal gazebo is a smart choice for homeowners seeking durability and low maintenance. Use powder-coated steel or aluminum frames to resist rust and weather damage, and keep dimensions around 8×8 feet or smaller for easy placement in limited spaces. Incorporate a sloped roof design with waterproof panels to ensure efficient rain runoff, and anchor the structure securely with concrete footings to withstand wind.
For added functionality, consider attaching removable side curtains or mesh screens to protect against insects and provide shade. Beginners should focus on assembling pre-cut metal pieces with included bolts, while experienced builders can add custom features like integrated LED lighting or planter boxes. Remember to regularly check and tighten connections to maintain stability and extend the gazebo’s lifespan.
DIY PVC Pipe Gazebo Structure
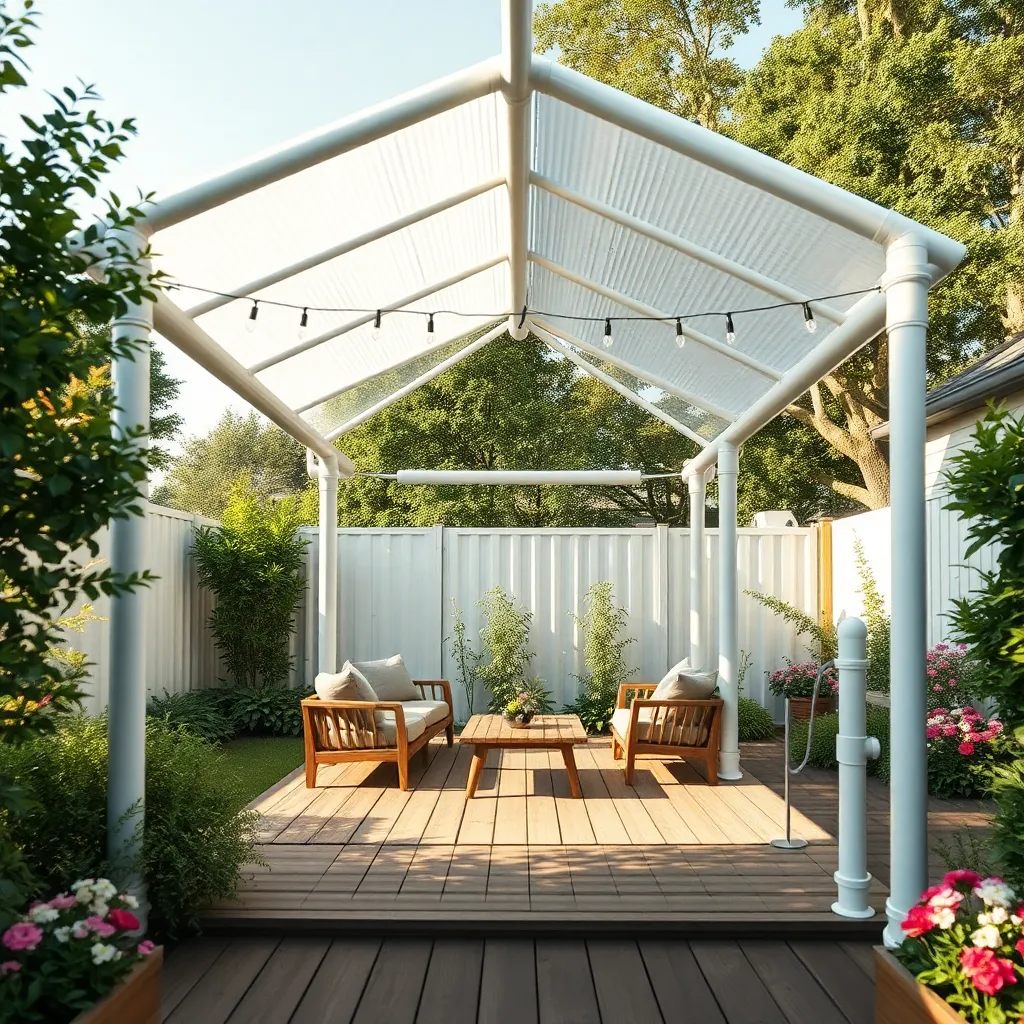
Constructing a DIY PVC Pipe Gazebo Structure is an affordable and lightweight option perfect for homeowners seeking a customizable outdoor shelter. Start with durable Schedule 40 PVC pipes, typically 1 to 1.5 inches in diameter, to ensure stability. Use PVC connectors like elbows and T-joints to create a simple rectangular or hexagonal frame, and consider anchoring the base with rebar or ground stakes for extra support.
To enhance your gazebo’s functionality, cover the frame with a heavy-duty outdoor tarp or shade cloth secured with bungee cords or zip ties. For a polished look, add decorative elements such as string lights or climbing plants trained along the pipes. Advanced builders can reinforce corners with PVC cement for added durability and incorporate removable side panels to protect against wind and rain.
Rustic Pallet Gazebo Blueprint
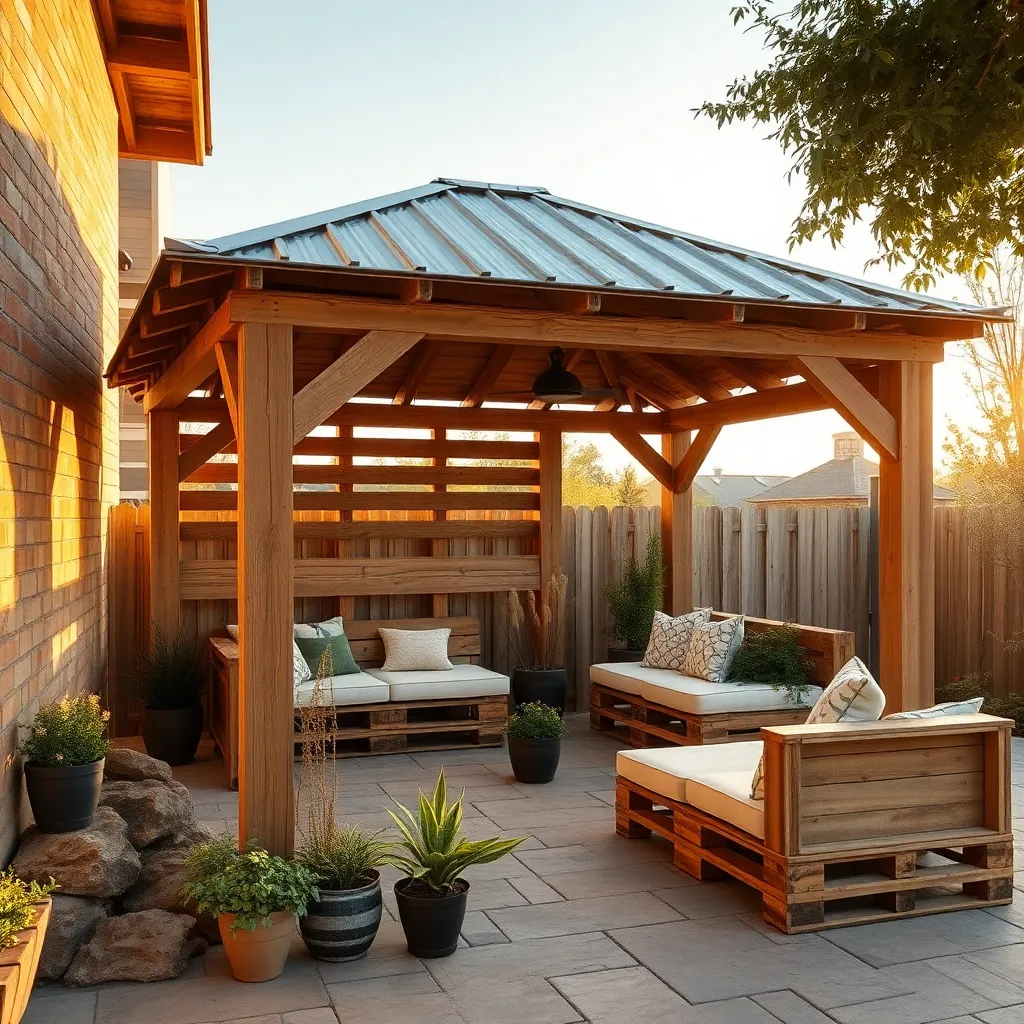
The Rustic Pallet Gazebo Blueprint offers an affordable and eco-friendly way to create a charming outdoor shelter using reclaimed wooden pallets. Start by selecting sturdy pallets—preferably heat-treated for safety—and disassemble them to access usable planks. Aim for a 10×10-foot frame for a cozy size, securing the base with pressure-treated lumber to resist ground moisture. Incorporate a simple gable roof design using corrugated metal or shingles for durability and a classic rustic look.
For added stability, reinforce corners with metal brackets and use galvanized screws to prevent rust over time. Beginners should focus on creating a level foundation with concrete blocks or gravel before assembly, while advanced builders can add decorative lattice panels or climbing plant supports to enhance aesthetics and shade. Remember to sand pallet wood thoroughly and apply a weather-resistant sealant to protect your gazebo through all seasons.
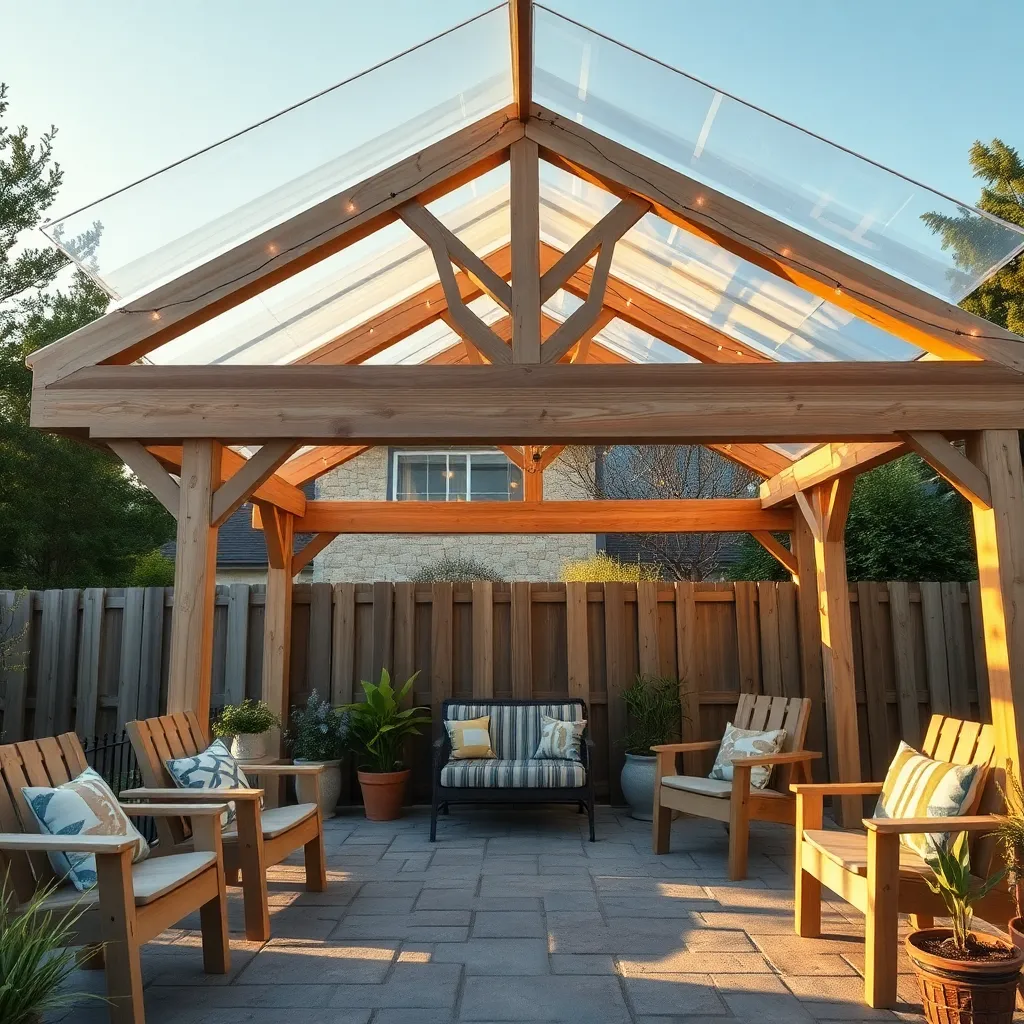
Installing Affordable Gazebo Roofing
Choosing the right roofing material is key to installing an affordable gazebo roof that lasts. Corrugated metal panels or polycarbonate sheets are excellent budget-friendly options that provide durability and weather resistance. For a basic setup, cut panels to fit your gazebo’s dimensions—typically 8×8 or 10×10 feet—and secure them with galvanized screws to a simple wooden frame for effective water runoff.
To enhance both function and style, consider adding a slight roof pitch of at least 15 degrees to allow rain and debris to slide off easily. Seal all edges with weatherproof tape or silicone caulk to prevent leaks, and reinforce corners with metal brackets for extra stability in windy conditions. These small but important details will ensure your gazebo stays protected without breaking the bank.
Finishing Touches for Lasting Durability
Sealing and weatherproofing are essential final steps to ensure your DIY gazebo withstands the elements year-round. Apply a high-quality exterior wood sealer or stain that offers UV protection and water resistance; reapply every 2-3 years for best results. For added durability, use galvanized or stainless steel fasteners to prevent rust and consider installing metal flashing along roof edges to divert rainwater away from vulnerable joints.
To enhance stability and longevity, secure your gazebo to a solid foundation such as concrete piers or anchored footings, especially in windy areas. Adding decorative yet functional trim like fascia boards not only improves aesthetics but also protects exposed wood edges from moisture. For advanced builders, integrating adjustable post bases allows for future leveling and reduces direct soil contact, significantly extending the structure’s lifespan.
Conclusion: Creating Beautiful Outdoor Spaces
Building a beautiful, affordable DIY gazebo isn’t just about construction—it mirrors the foundation of any strong relationship. From clear communication and thoughtful planning to teamwork and creative problem-solving, these 7 gazebo designs teach us valuable lessons about building together with intention and care. Whether you choose a classic hexagonal frame or a charming pergola-style shelter, each project highlights the importance of patience, collaboration, and celebrating small victories along the way.
Ready to take the next step? Gather your partner or loved ones, pick your favorite design, and start sketching your plans today. Even a simple conversation about your vision can spark meaningful connection and shared purpose.
Be sure to save or bookmark this article so you can revisit these inspiring ideas whenever you need a reminder of how building something together strengthens your bond. Remember, nurturing your relationship is an ongoing journey—just like crafting your perfect gazebo, the effort you put in now lays the groundwork for lasting joy and connection. You have everything it takes to create a space—and a relationship—that truly thrives.