Creating a covered patio transforms your outdoor space into a cozy retreat that extends your living area and invites year-round enjoyment. Whether you’re new to DIY projects or a seasoned homeowner, this guide breaks down the process into clear, manageable steps that empower you to build a shelter perfectly suited to your style and needs.
In the following sections, you’ll discover practical tips on planning, selecting materials, and safe construction techniques that ensure lasting quality and comfort. By the end, you’ll have the confidence and know-how to bring your ideal covered patio from concept to reality, making your backyard a welcoming haven for family and friends.
Choose Patio Location and Dimensions
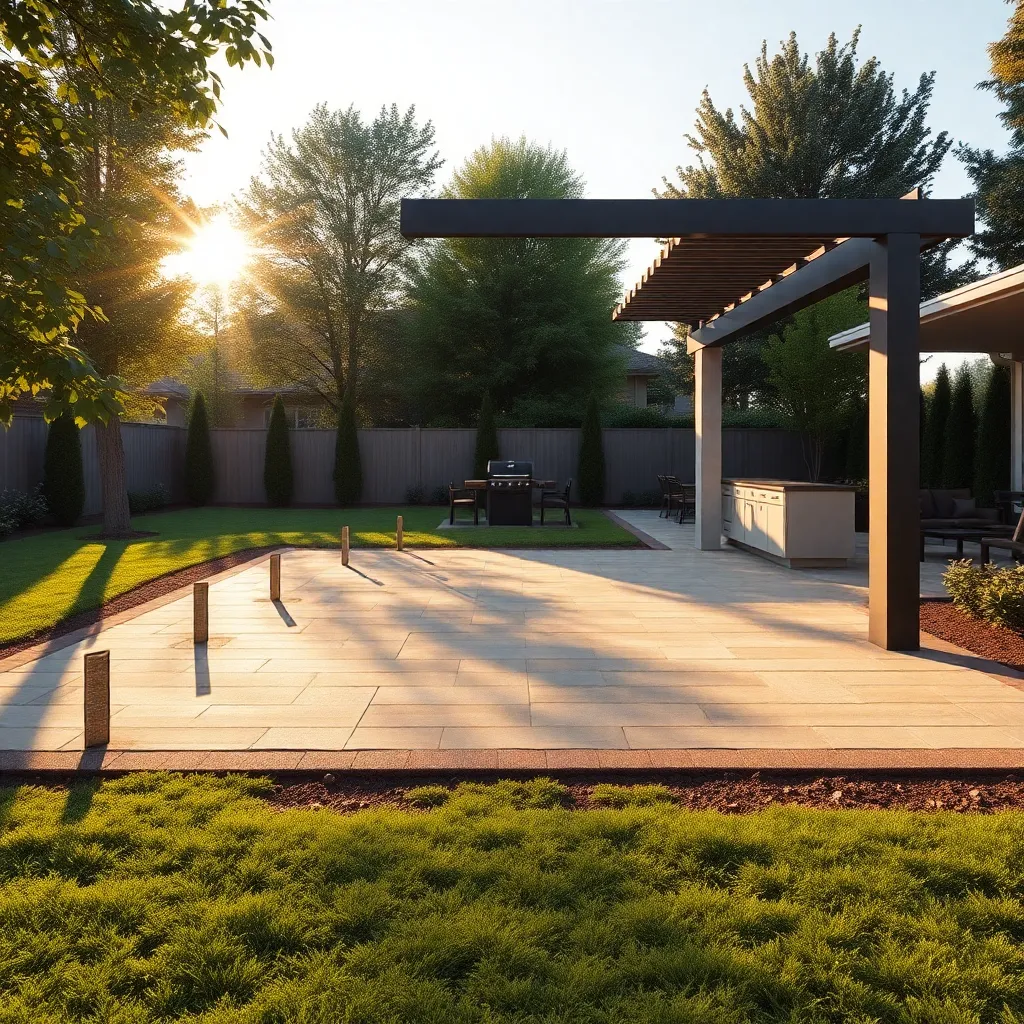
Start by selecting a patio location that maximizes both sun exposure and shade throughout the day, ideally near your home’s main living areas for easy access. Measure your available space carefully, aiming for dimensions that suit your typical outdoor activities—commonly, a 10×12 to 12×16 feet area works well for seating and dining. Consider ground conditions; a level, well-drained spot will simplify foundation work and prolong the structure’s durability.
When planning dimensions, think about the type of roof and materials you’ll use—wooden posts and beams require adequate spacing, typically around 6 to 8 feet apart for stability. Incorporate design elements like overhangs or gutters for rain protection and ensure enough clearance for furniture and foot traffic. For advanced planning, include electrical or lighting conduits within the initial build to avoid costly modifications later.
Design and Plan Structural Framework
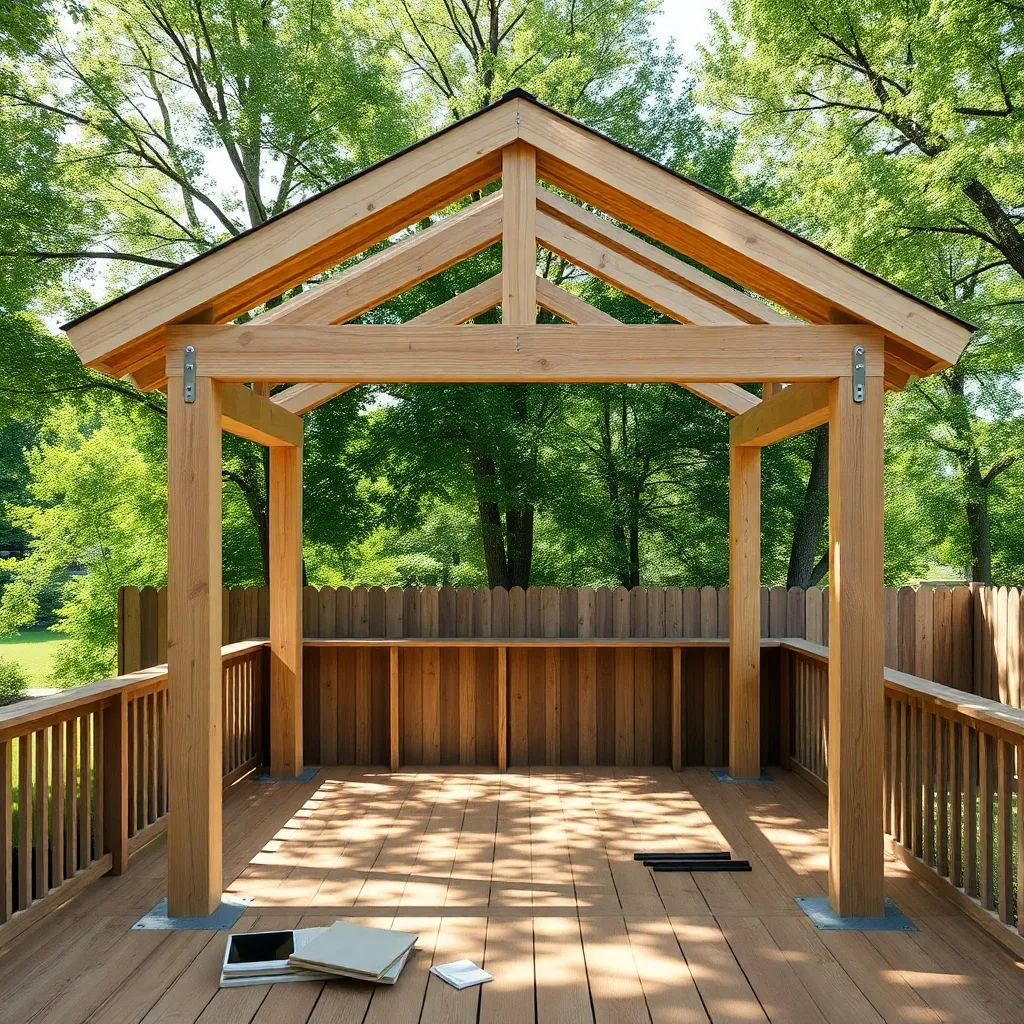

Start by selecting sturdy materials like pressure-treated lumber or steel posts to ensure your patio’s structural framework is both durable and weather-resistant. Plan your post spacing carefully—typically 6 to 8 feet apart—to balance support with an open, airy feel. Incorporate cross beams and rafters using galvanized connectors to enhance stability and prevent wood movement over time, especially in areas with heavy wind or snow loads.
Consider the roof style early on; a sloped or gabled roof helps with water runoff and adds visual appeal. For a more advanced touch, integrate adjustable brackets for the rafters to allow future modifications or add shade elements like retractable awnings. Don’t forget to check local building codes for height restrictions and anchoring requirements to ensure your covered patio framework is safe and compliant.
Install Foundation and Support Posts
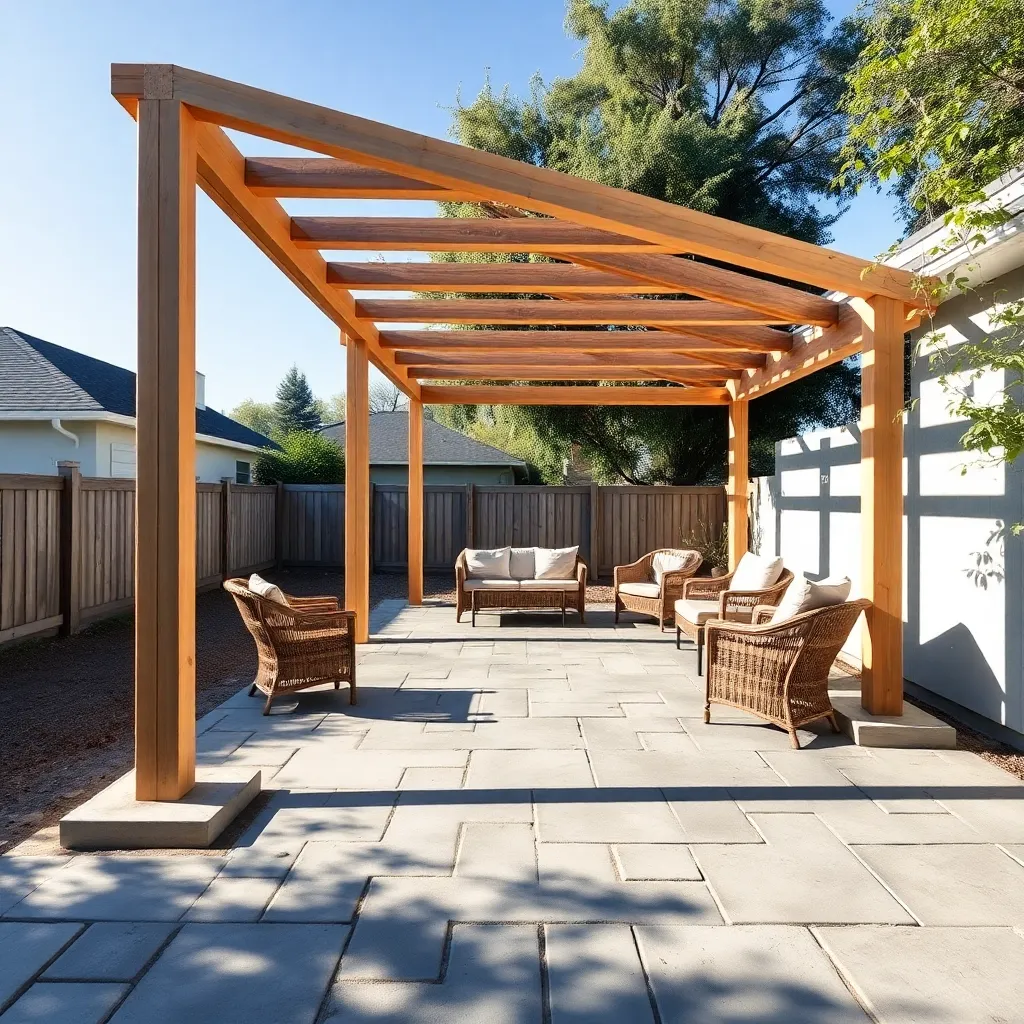
Begin by selecting sturdy materials for your foundation and support posts, such as pressure-treated lumber or galvanized steel, to ensure durability against weather elements. Dig post holes at least 2 feet deep and 12 inches wide, then fill them with concrete to create a solid anchor; this prevents shifting and guarantees long-term stability for your covered patio.
For precise alignment, use a level and string lines to position posts exactly where they support your planned roof structure, typically spaced 6 to 8 feet apart depending on beam size. Advanced tip: consider adding metal post anchors to elevate wood posts off the ground, which helps prevent rot and extends the life of your shelter’s framework.

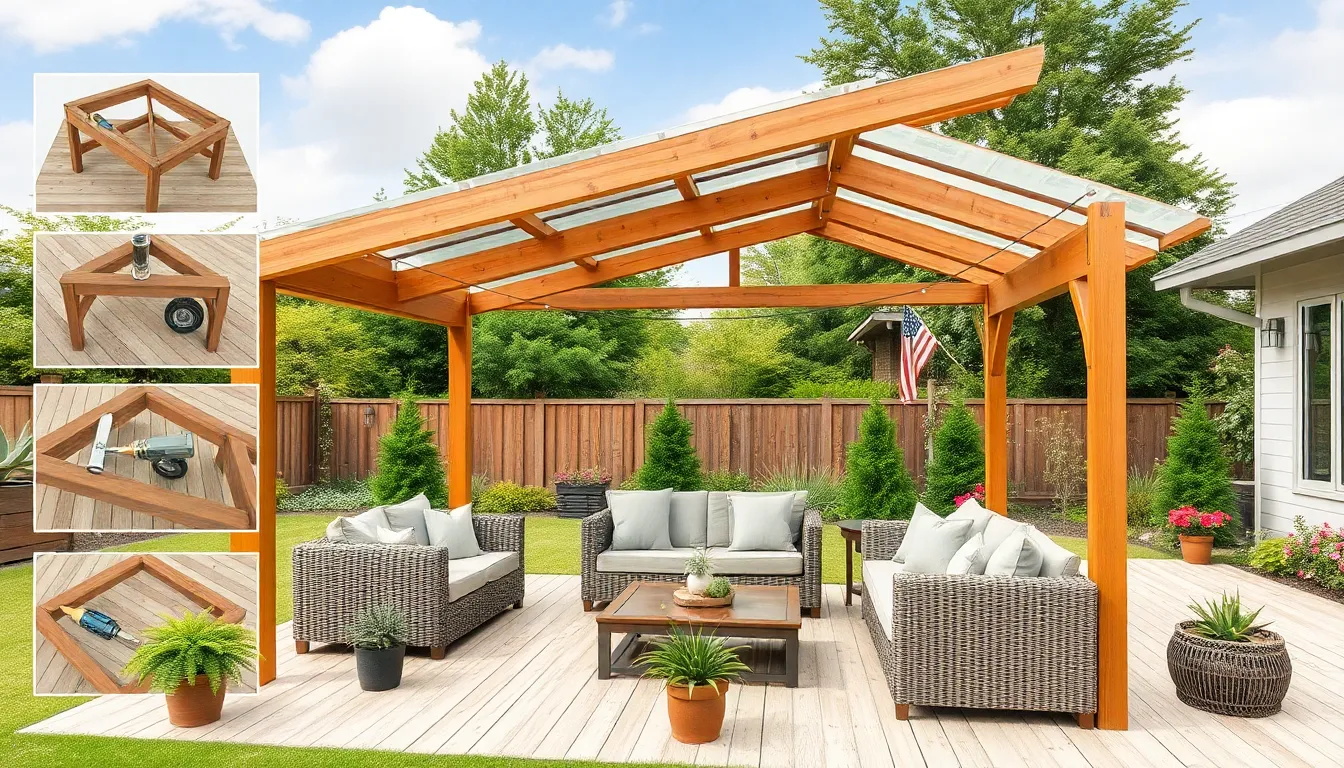
Construct Roof Frame and Covering
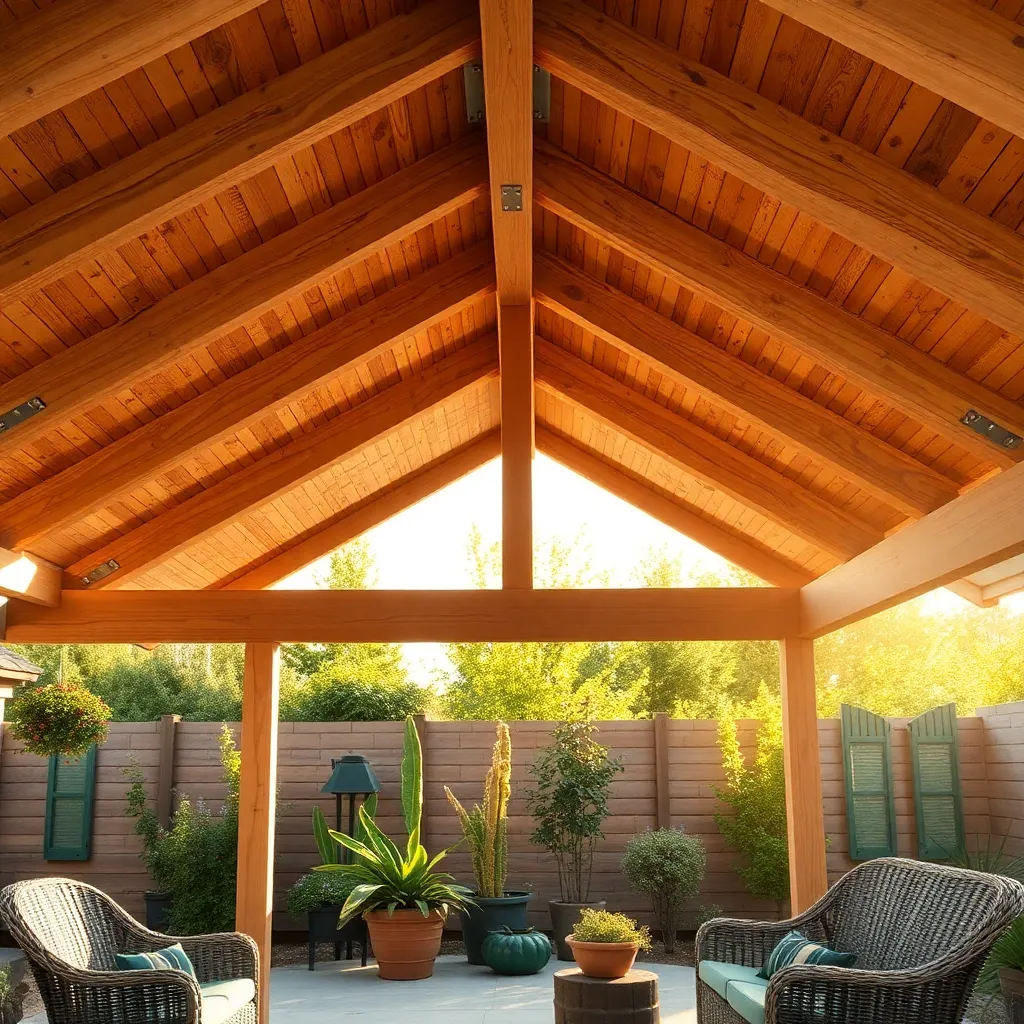
Begin by constructing the roof frame using sturdy, weather-resistant lumber such as pressure-treated pine or cedar. For a standard covered patio, install rafters spaced 16 to 24 inches apart, ensuring they extend beyond the support posts by at least 12 inches to provide proper overhang and protection from rain. Use galvanized metal connectors and screws to secure joints tightly, enhancing the frame’s stability and longevity.
Next, cover the roof frame with durable materials suited to your climate and style preferences. Popular options include corrugated metal panels, polycarbonate sheets, or asphalt shingles applied over a water-resistant underlayment. For better insulation and a polished look, consider adding a plywood or tongue-and-groove ceiling beneath the roofing material. Remember to slope the roof at a minimum pitch of 3:12 to ensure effective water runoff and prevent pooling.
Finish with Flooring and Accessories
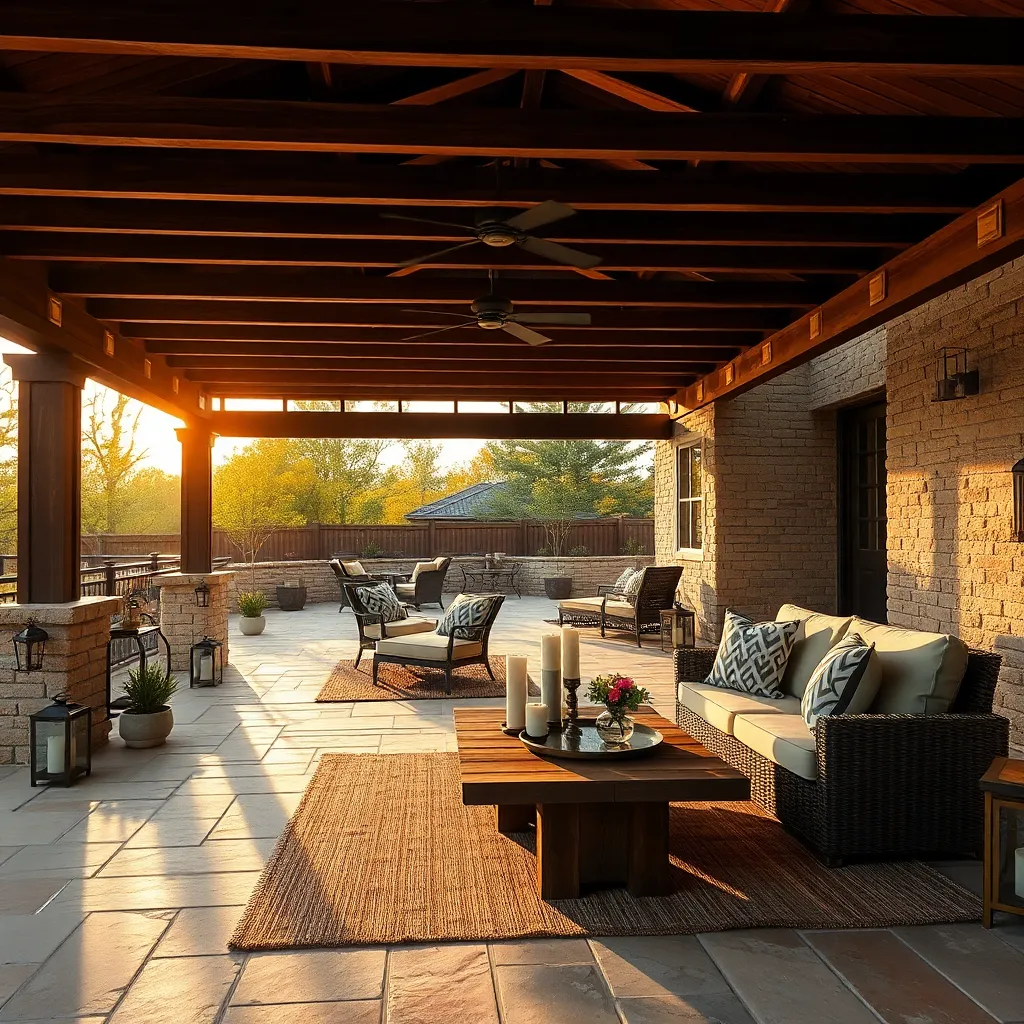
Start by selecting durable flooring materials that can withstand weather and foot traffic, such as stamped concrete, natural stone, or composite decking. Ensure the surface is level and properly drained to prevent water pooling, which can cause damage over time. For beginners, concrete slabs are a cost-effective and low-maintenance option, while experienced builders might consider interlocking pavers for easy repairs and aesthetic flexibility.
Next, enhance your covered patio’s comfort and style with thoughtful accessories like weather-resistant outdoor rugs, built-in seating, and strategically placed lighting. Incorporate ceiling fans or retractable shades to improve airflow and sun protection, especially in warmer climates. Remember to anchor furniture securely and use rust-proof hardware to maintain longevity and safety throughout the seasons.
Conclusion: Creating Beautiful Outdoor Spaces
Building a covered patio from scratch isn’t just a home improvement project—it’s a chance to strengthen your relationship through teamwork, communication, trust, shared vision, and patience. By collaborating on design ideas, dividing tasks, supporting each other through challenges, and celebrating each milestone, you create more than just a beautiful outdoor space—you build a deeper connection.
Ready to take the next step? Gather your partner, sketch out your patio plans together, and set a realistic timeline to bring your vision to life. Remember, every small effort counts and brings you closer both to your dream patio and to each other.
Save or bookmark this article now, so you can revisit these key concepts and practical tips whenever you need guidance or motivation. Your relationship and your home deserve that ongoing care.
With intention and teamwork, your covered patio project can become a lasting symbol of your shared commitment and joy—laying the foundation not only for your outdoor oasis but for a thriving, resilient relationship for years to come. You’ve got this!