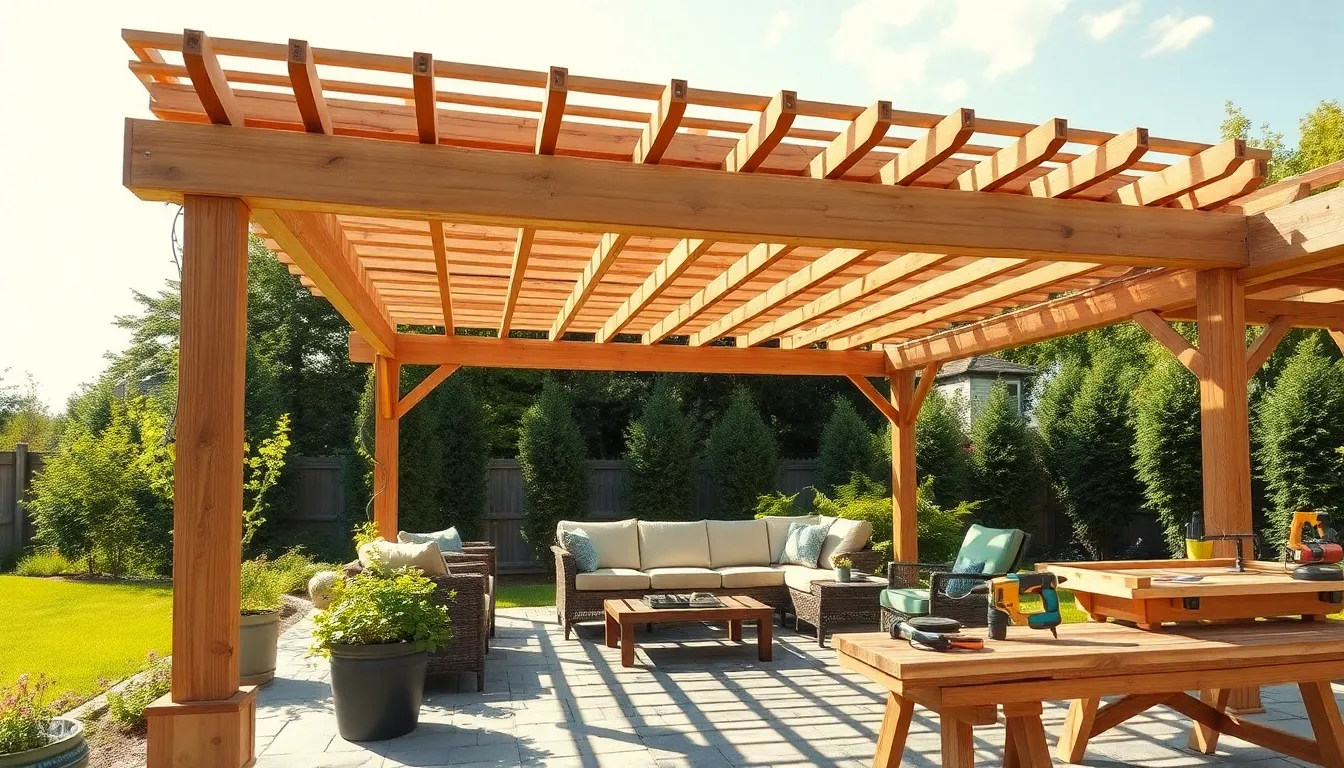
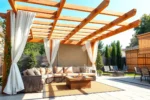
Transforming your backyard into a cozy retreat begins with thoughtful design, and building a wooden pergola is a perfect place to start. Whether you’re new to DIY projects or a seasoned homeowner looking to add charm and shade, this guide breaks down the process into clear, manageable steps.
You’ll learn how to choose the right materials, measure and cut wood precisely, and assemble a sturdy structure that complements your outdoor space. With practical tips and straightforward instructions, this article empowers you to create a beautiful pergola that enhances your home’s comfort and style.
Measure and Mark Pergola Layout
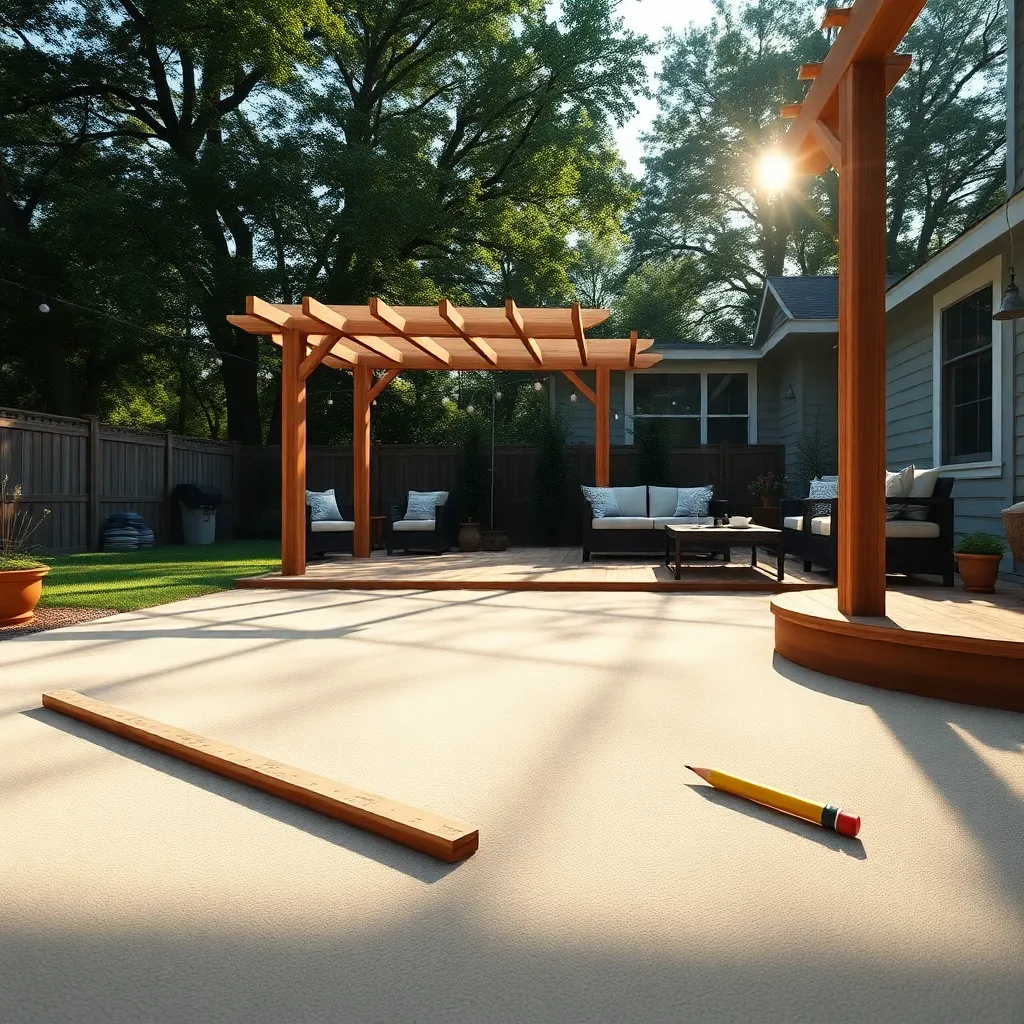
Begin by selecting a flat, stable area for your pergola and use stakes to mark the four corners of your desired layout. For a standard size, consider a 10×10 or 12×12-foot footprint, which offers ample shade and space. Use a tape measure and a carpenter’s square to ensure accurate right angles and equal side lengths, preventing structural issues later on.
Next, snap chalk lines between the stakes to outline the perimeter clearly on the ground. For advanced precision, double-check your diagonals are equal to confirm a perfect rectangle or square. Mark post locations along these lines, typically spaced 8 to 10 feet apart, and consider adding gravel bases under each post for better drainage and stability.
Cut and Assemble Support Posts
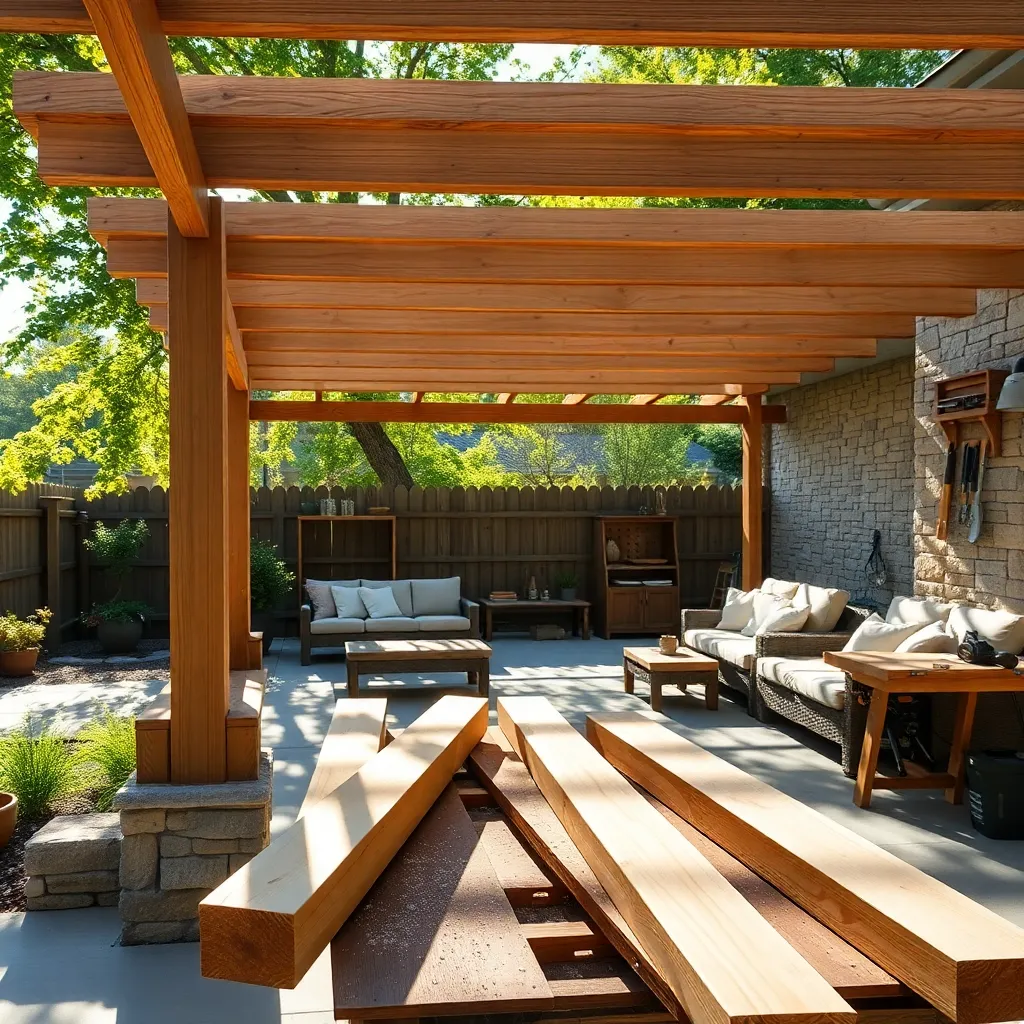

Start by selecting durable, weather-resistant wood such as cedar or pressure-treated pine for your pergola’s support posts. Cut each post to a height of about 8 feet to provide ample clearance and a balanced look; ensure cuts are precise by using a miter saw and that edges are smooth to prevent splinters. For added stability, consider sharpening the bottom ends slightly to help them anchor better in concrete footings or post anchors.
Next, assemble the posts by attaching any necessary braces or base plates before installation to streamline the build process. Use galvanized or stainless steel brackets and screws to resist rust, and double-check that each post is perfectly vertical with a level during assembly. For enhanced durability, apply a protective wood sealant or stain after assembly, which will safeguard your pergola against moisture and UV damage over time.
Secure Posts into Ground Anchors
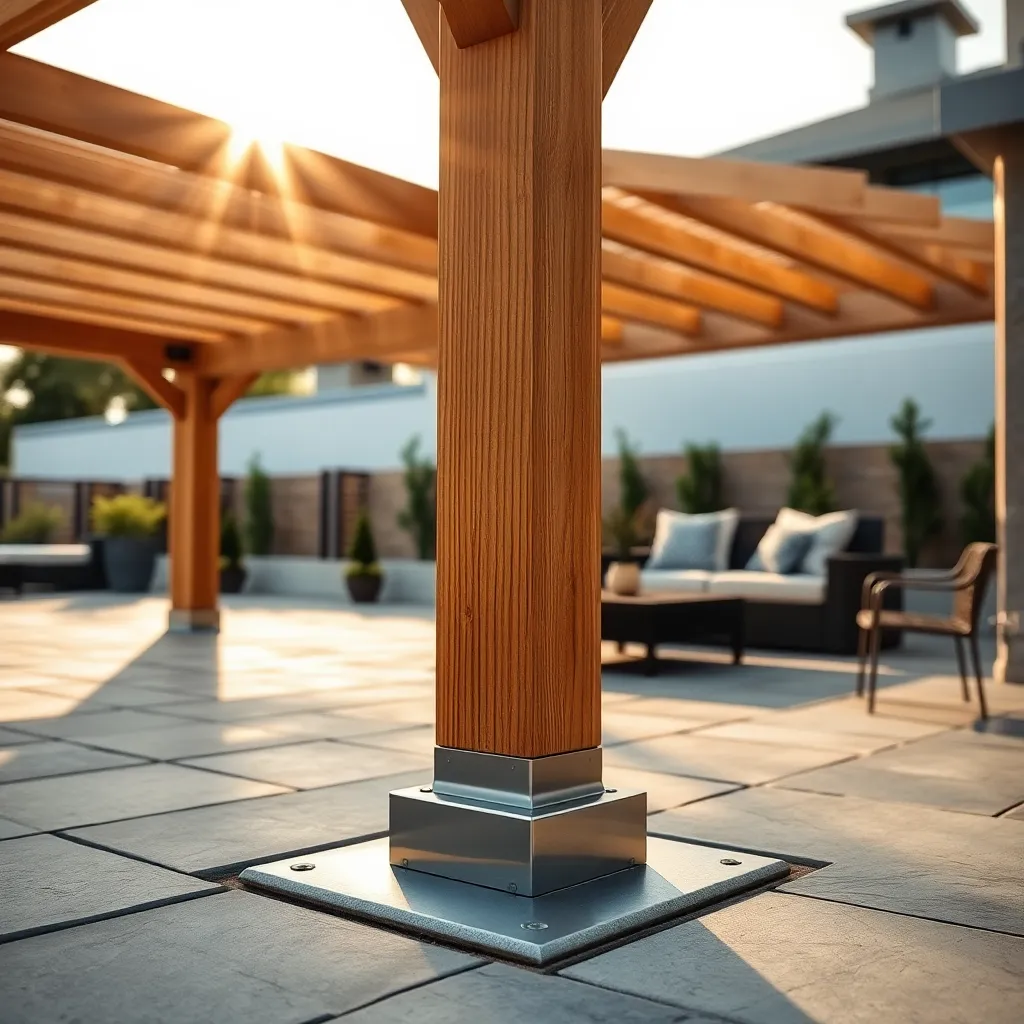
For a sturdy and long-lasting pergola, secure your support posts into galvanized steel ground anchors designed for outdoor use. These anchors prevent wood from direct soil contact, reducing rot and increasing stability. Choose anchors that fit your post dimensions—4×4 or 6×6 inches are common—and ensure you set them in concrete footings at least 12 inches deep for optimal support.
To install, position each anchor precisely where the posts will stand, then pour concrete to hold them firmly in place. For advanced durability, consider anchors with adjustable brackets to fine-tune post alignment during assembly. This method not only simplifies construction but also guarantees your pergola remains level and secure through varying weather conditions.
Attach Crossbeams and Rafters
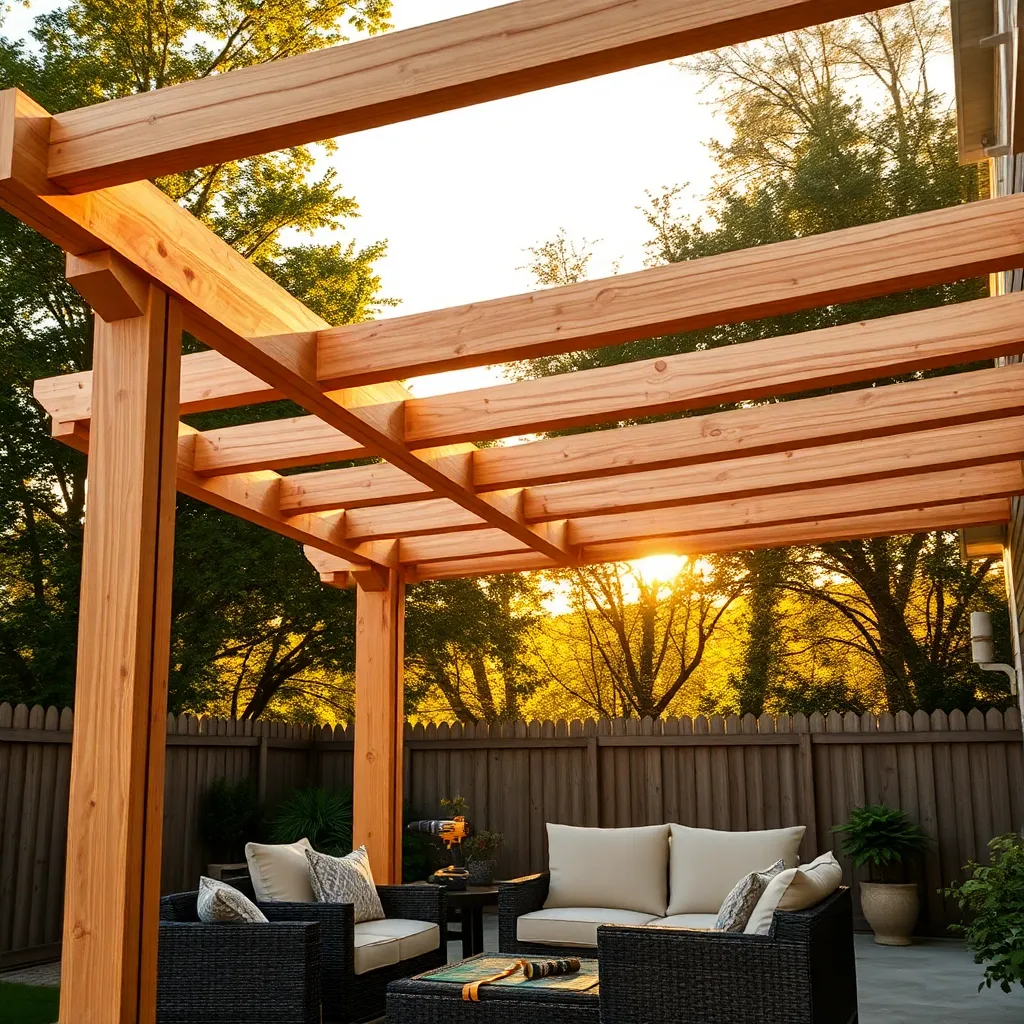
Begin by attaching the crossbeams horizontally between the secured posts, using durable exterior-grade wood like cedar or redwood for longevity. Ensure each crossbeam is level and spaced evenly—typically 16 to 24 inches apart—to create a balanced framework that supports the rafters and provides stable shade.
Next, fasten the rafters perpendicular to the crossbeams, extending beyond the pergola’s edges for a classic overhang look. Use galvanized or stainless steel screws for strong, weather-resistant connections, and consider adding decorative end cuts to the rafters for a polished, custom finish that enhances your outdoor space.
Sand, Stain, and Seal Wood
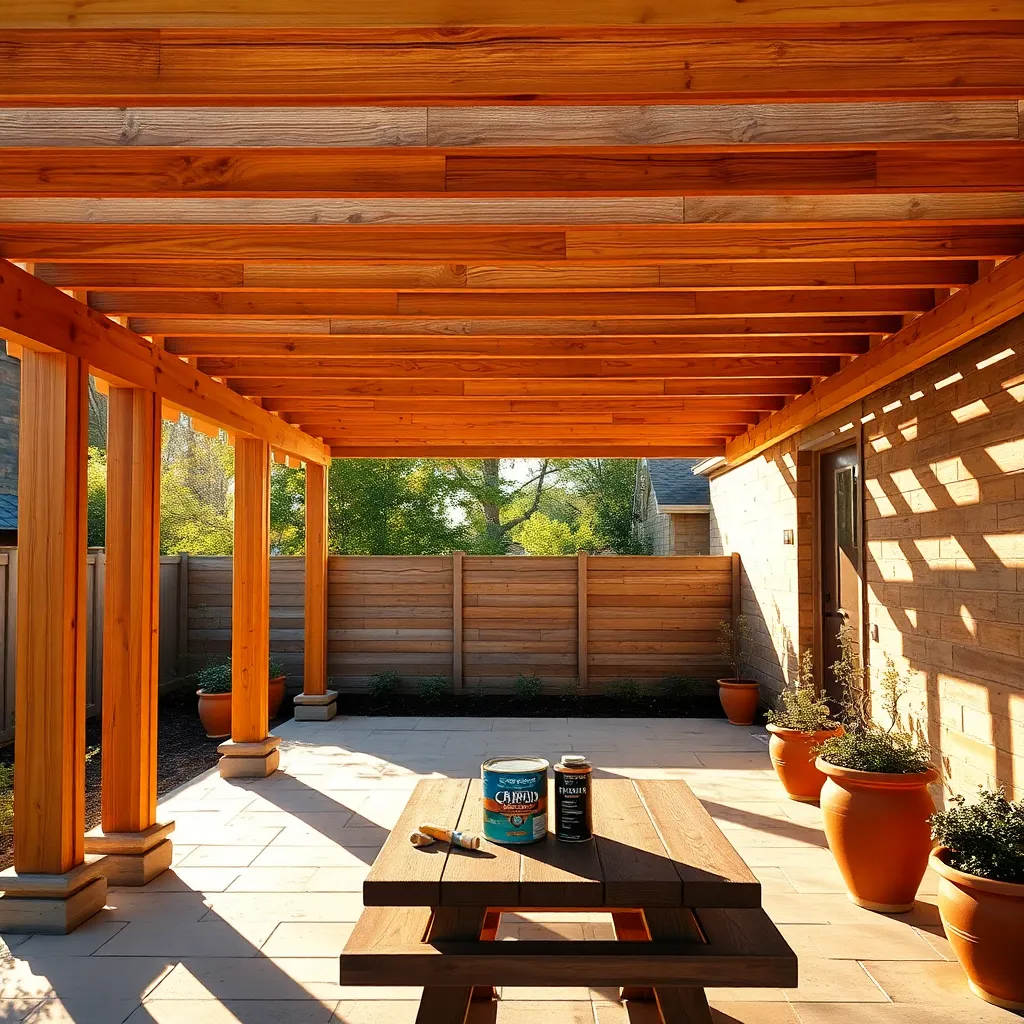
Start by thoroughly sanding all wooden surfaces of your pergola to create a smooth, splinter-free finish. Use a medium-grit sandpaper (around 120-150 grit) for initial sanding, followed by a fine-grit (220 grit) to refine the wood texture. This step not only improves the appearance but also helps the stain and sealant adhere better, ensuring long-lasting protection.
Next, apply a high-quality exterior wood stain that complements your outdoor design while enhancing the wood’s natural grain. Choose a stain with UV protection and water resistance, then follow with a clear sealer or waterproofing finish for added durability. For best results, use a brush or sprayer and apply at least two coats, allowing proper drying time between each to safeguard your pergola against weathering and moisture damage.
Conclusion: Creating Beautiful Outdoor Spaces
Building a DIY pergola with wood isn’t just about crafting a beautiful outdoor space — it’s a wonderful way to strengthen your relationship through teamwork, communication, patience, creativity, and shared accomplishment. We’ve explored how setting clear goals, dividing tasks, practicing open dialogue, embracing problem-solving, and celebrating progress together can turn a simple project into lasting memories.
Your next step? Gather your materials and invite your partner to plan the first build phase with you — even small conversations can spark connection and excitement. Don’t forget to save or bookmark this article so you can revisit these helpful tips as you go, ensuring your pergola and your relationship grow stronger, hand in hand.
Remember, every plank you place is more than just wood — it’s a foundation for trust and joy. With dedication and love, your shared space will become a symbol of your commitment and creativity, setting the stage for many happy moments ahead. You’ve got this!