Transforming your patio into a welcoming retreat doesn’t have to pause when the skies open up. Whether you’re just starting to explore outdoor living or looking to enhance an established space, covered patio designs offer both shelter and style to keep you enjoying fresh air come rain or shine.
In this article, you’ll discover 15 practical and inspiring covered patio ideas that blend function with beauty. From simple awnings to custom pergolas, each design provides actionable tips to help you create a cozy, protected outdoor space that fits your lifestyle and budget.
Choosing Durable Roofing Options
When selecting roofing materials for an outdoor shelter, prioritize durability and weather resistance. Popular options include polycarbonate panels, metal roofing, and treated wood shingles—each offering strong protection against rain and UV rays. For beginners, polycarbonate sheets are lightweight, easy to install, and allow natural light, while experienced homeowners might consider standing seam metal roofs for longevity and sleek design.
To enhance the shelter’s lifespan, ensure the roof has a sufficient pitch of at least 3:12 to facilitate water runoff and prevent pooling. Incorporate gutters and downspouts to direct rainwater away from the patio foundation, reducing erosion and damage. Additionally, using rust-resistant fasteners and sealing joints with waterproof sealant will keep your shelter sturdy for years of rainy-day enjoyment.
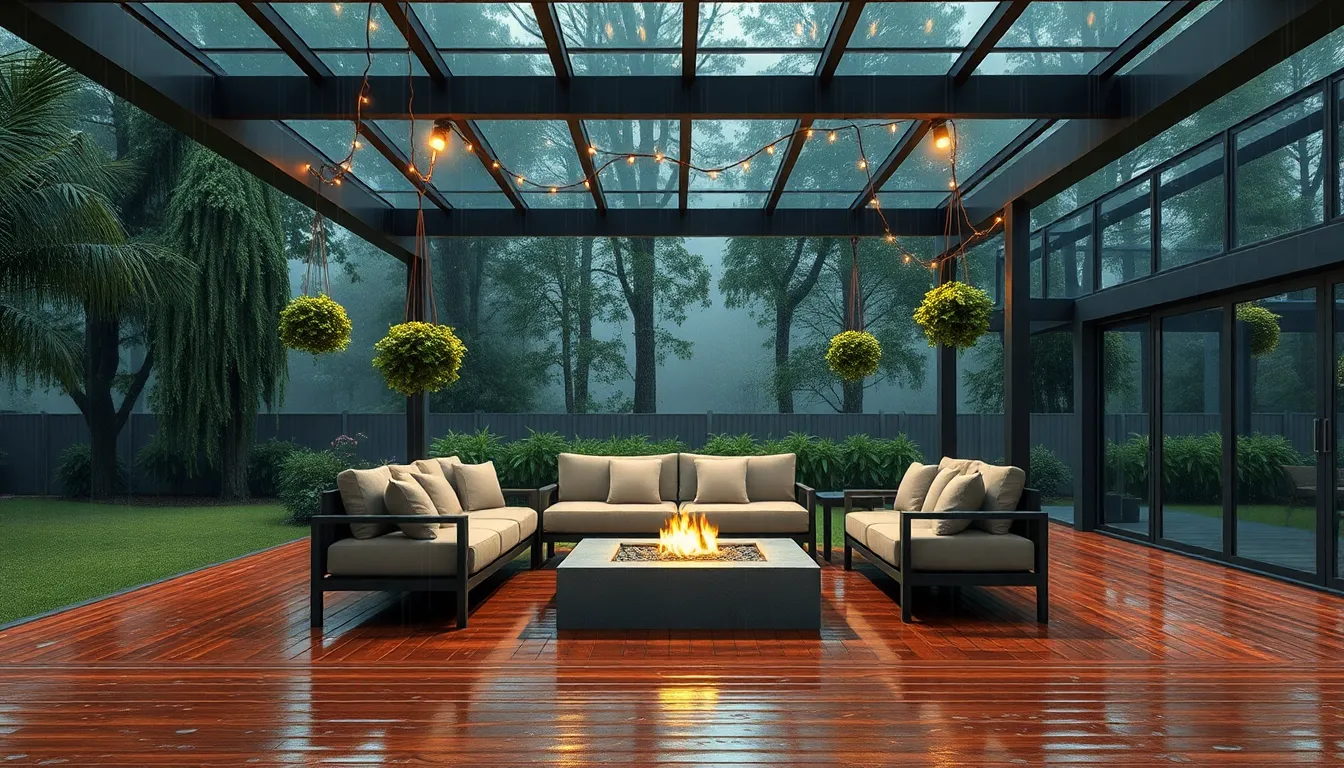
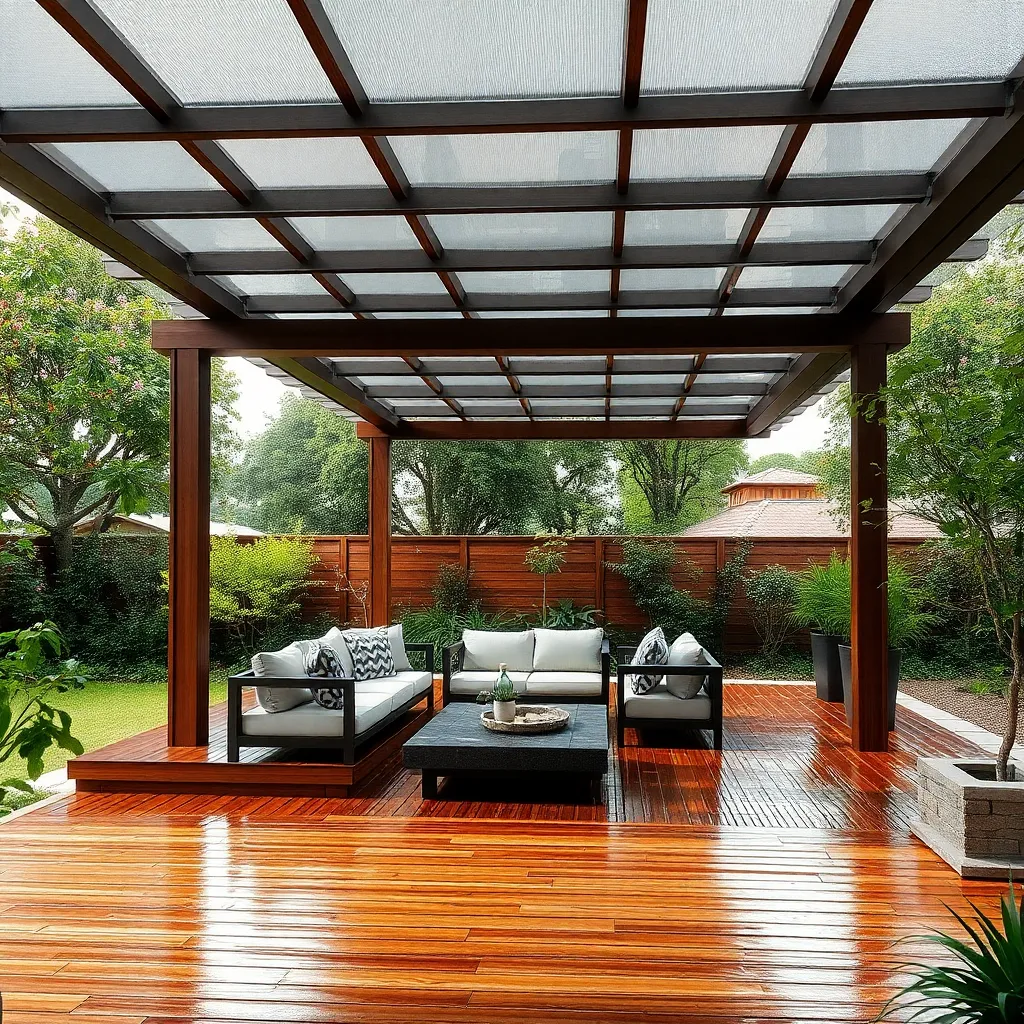
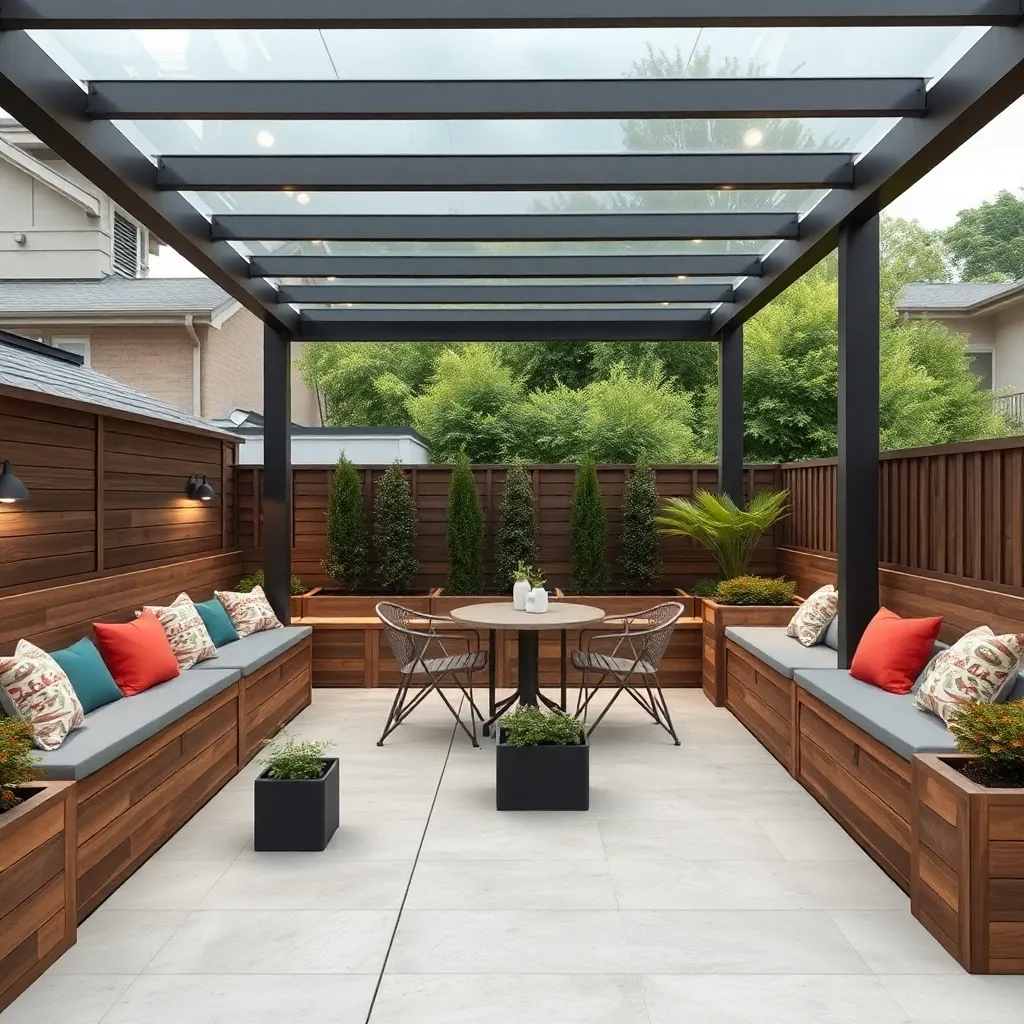
Incorporating Transparent Patio Covers

Incorporating transparent patio covers is a smart way to enjoy natural light while staying protected from rain. Opt for materials like polycarbonate panels or tempered glass, which offer durability and excellent weather resistance. When designing, ensure the cover has a slight slope—typically around 5-10 degrees—to facilitate water runoff and prevent pooling.
For a seamless look, consider framing the cover with aluminum or powder-coated steel supports that resist rust and require minimal maintenance. Advanced tips include integrating UV-resistant coatings on panels to reduce heat buildup, and installing retractable options for flexibility on sunny days. Always verify load ratings and local building codes before installation to ensure safety and longevity.
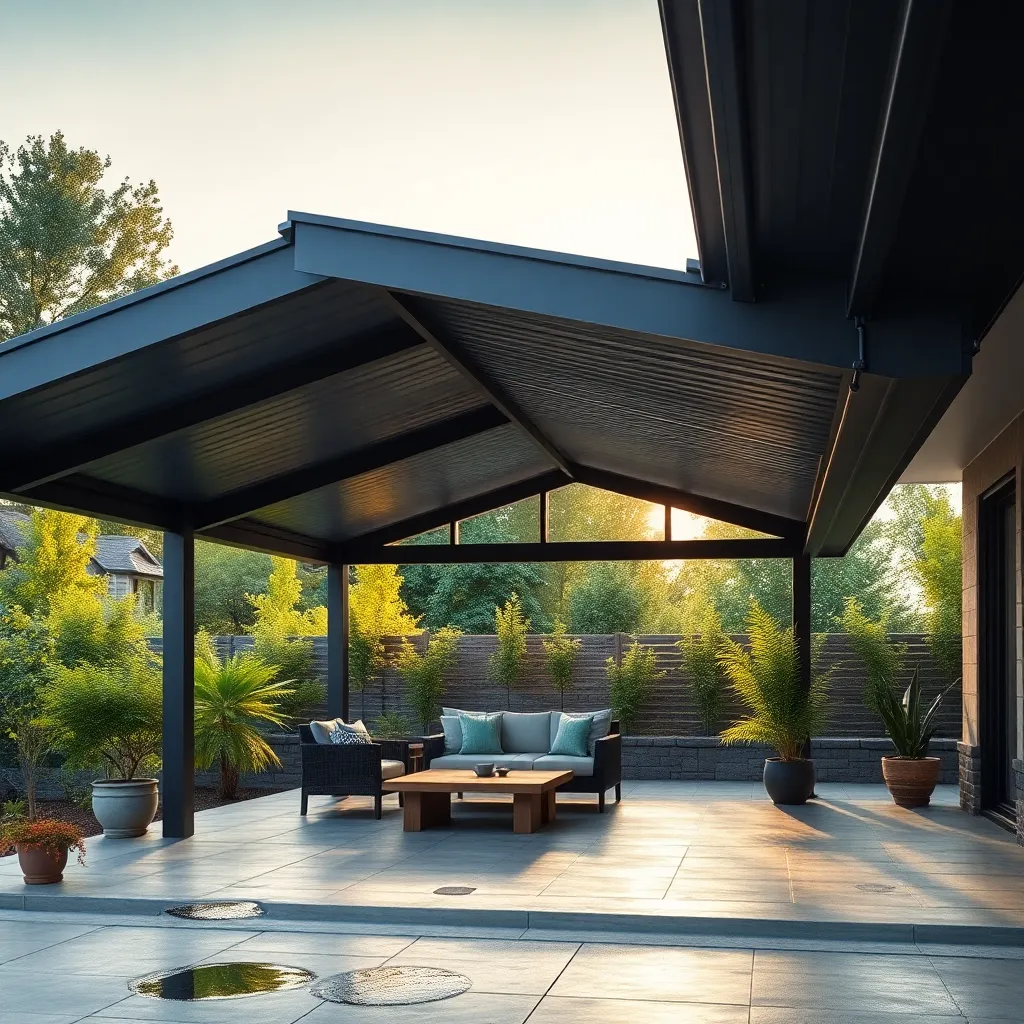
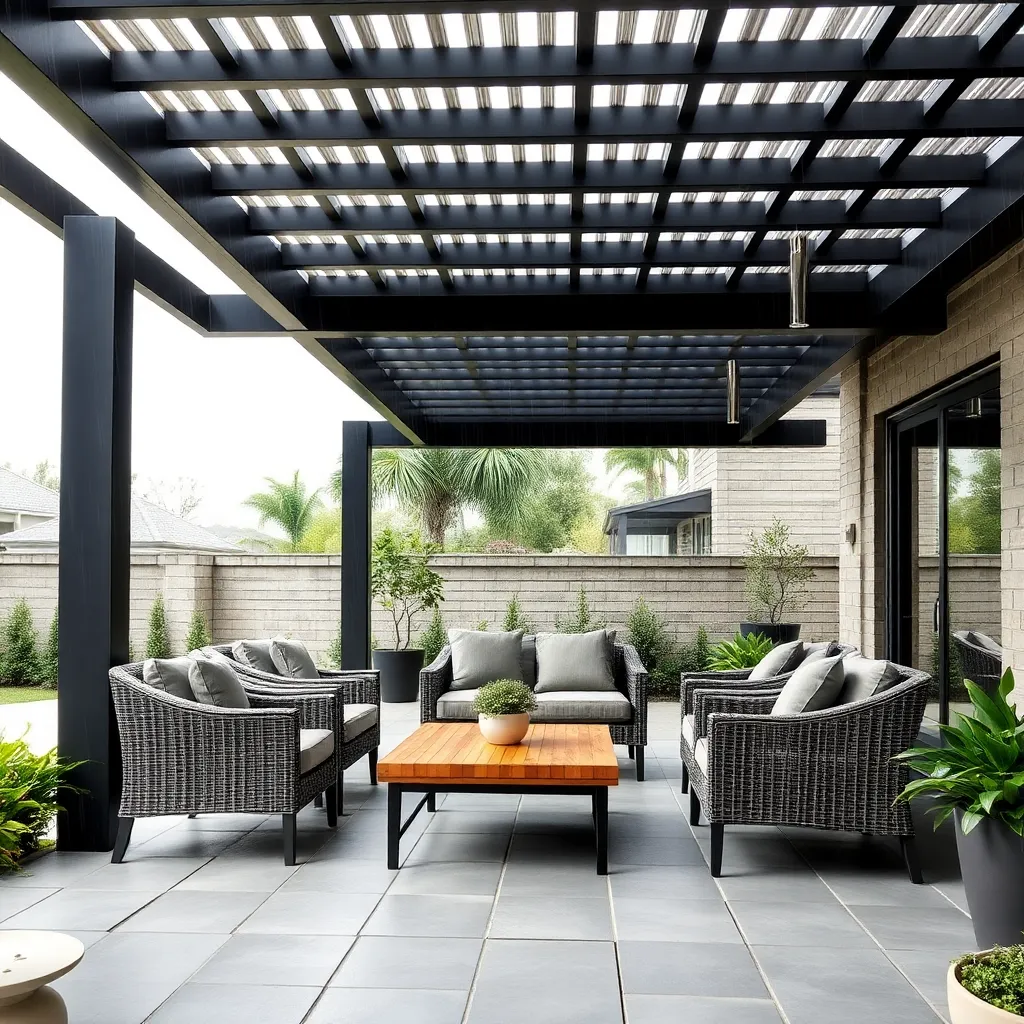
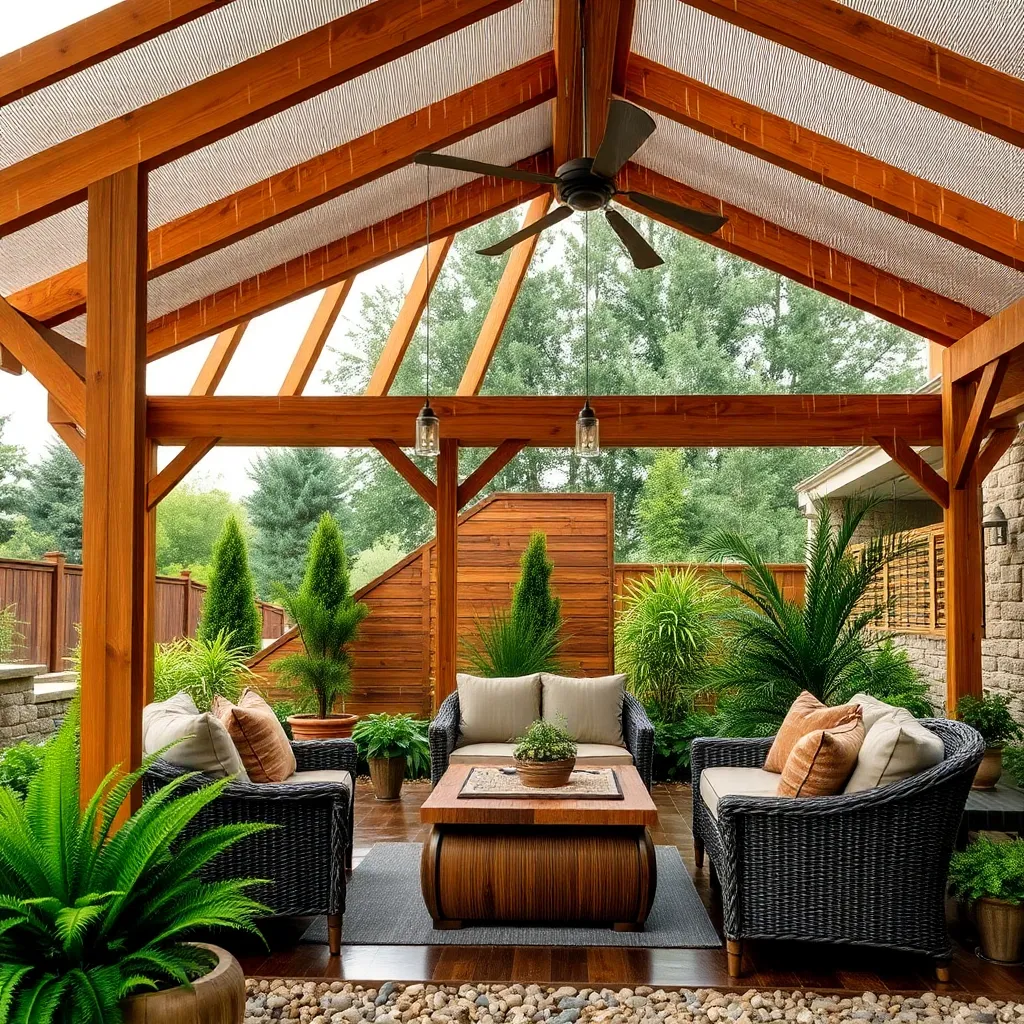
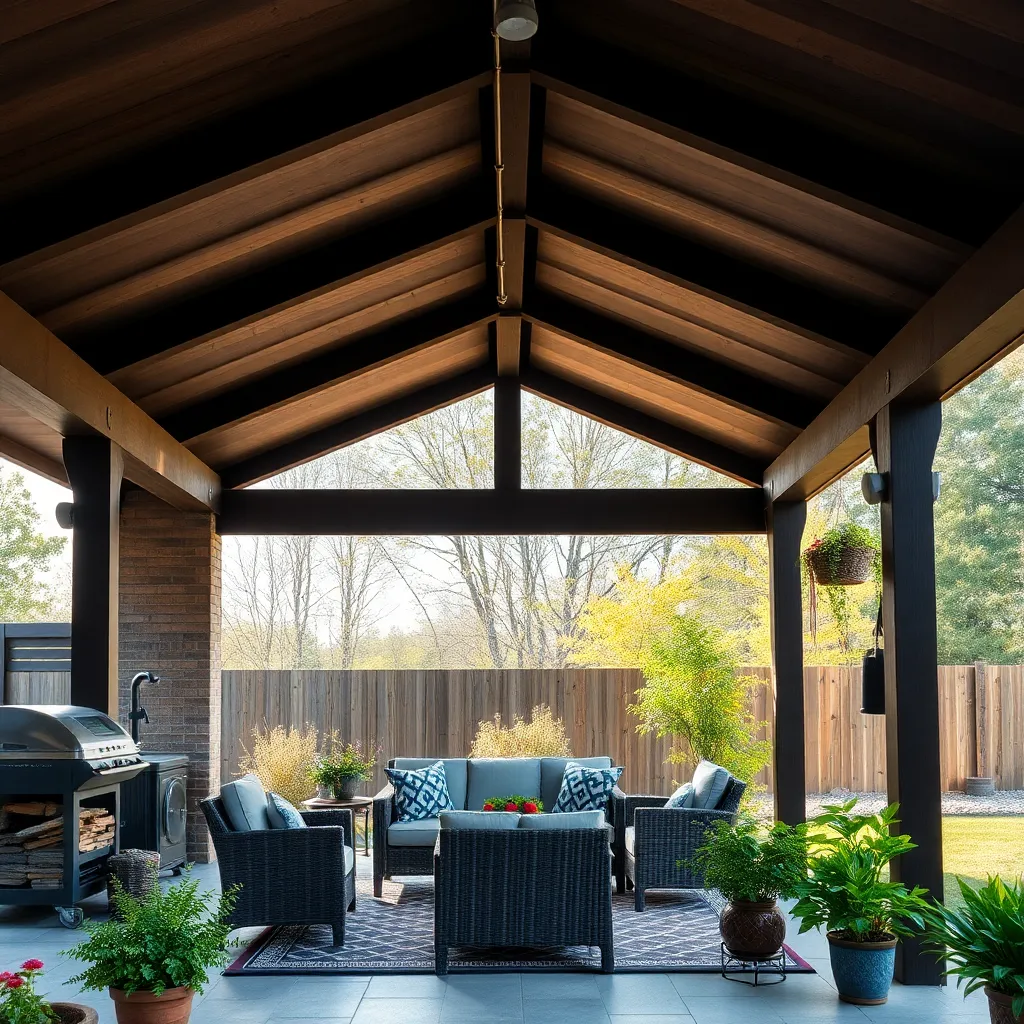
Designing Sloped Roof Structures

When designing sloped roof structures for your covered patio, consider the roof pitch carefully—a slope of at least 3:12 (3 inches of rise for every 12 inches of run) ensures efficient rainwater runoff. Use durable materials like metal panels or treated wood shingles that withstand moisture and provide long-lasting protection. Additionally, incorporating gutters along the lower edge of the slope helps channel rainwater away from your patio and foundation.
To enhance both function and aesthetics, opt for a single-slope or shed roof design that maximizes water drainage and offers a modern look. For advanced builders, integrating exposed rafters or beams adds architectural interest while allowing for ventilation beneath the roof. Remember to use weather-resistant fasteners and sealants during construction to prevent leaks and extend the life of your outdoor shelter.
Using Waterproof Patio Curtains
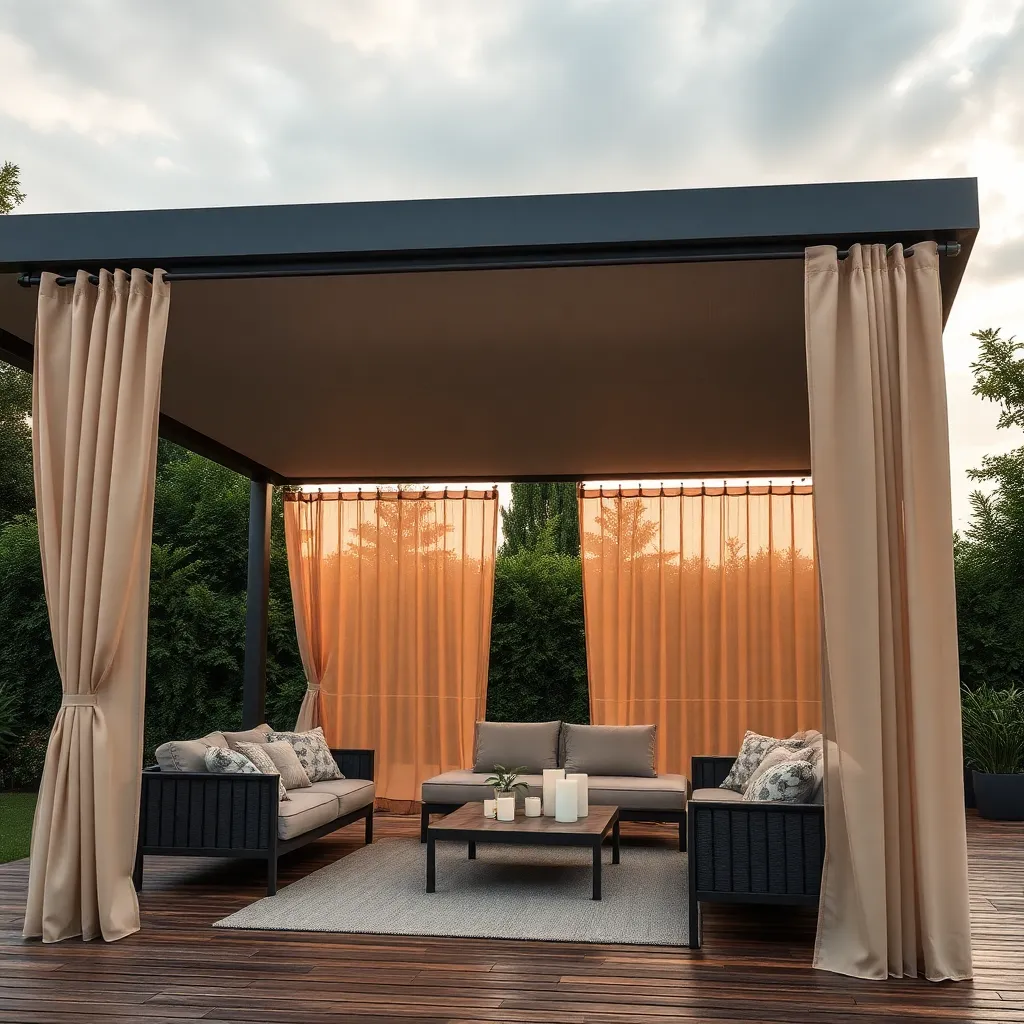
Waterproof patio curtains are an excellent way to enhance your covered patio by adding both style and protection from rain and wind. Choose curtains made from high-quality, UV-resistant polyester or acrylic fabrics with waterproof coatings to ensure durability and quick drying. For optimal installation, use heavy-duty stainless steel grommets and rust-resistant curtain rods or tracks mounted securely to your patio frame, allowing easy opening and closing based on weather conditions.
To maximize functionality, consider floor-length curtains with weighted hems to prevent flapping during windy weather, and use tiebacks or magnetic holdbacks to neatly secure curtains when not in use. For an advanced touch, install motorized curtain systems controlled by remote or smartphone apps, offering seamless weather protection and added convenience. Remember to measure your patio dimensions carefully, allowing extra width for full coverage and overlap between panels to block rain effectively.

Integrating Gutter Systems Effectively
Incorporating a gutter system into your covered patio design is essential for managing rainwater efficiently and protecting both your structure and surrounding landscaping. Use durable materials like aluminum or copper gutters, which resist rust and require minimal maintenance. When installing, ensure gutters have a slight slope of about 1/4 inch per 10 feet to promote steady water flow toward downspouts, preventing standing water and overflow.
For a seamless look, consider integrated gutters that fit neatly into the patio roofline, preserving aesthetics while maximizing function. Advanced tips include adding leaf guards to reduce debris buildup and using larger downspouts (at least 3 inches in diameter) if your patio roof is extensive, to handle heavy rainfall without backups. Remember to regularly inspect and clean gutters to keep your outdoor shelter dry and inviting all year round.
Selecting Weatherproof Outdoor Furniture
Choosing the right weatherproof outdoor furniture starts with selecting durable materials like teak, aluminum, or synthetic wicker, which resist moisture and decay effectively. Incorporate cushions made from quick-drying, UV-resistant fabrics such as solution-dyed acrylic to ensure comfort without sacrificing durability. For a covered patio, prioritize furniture with elevated legs and rust-resistant hardware to prevent water damage and maintain longevity even in heavy rain.
To maximize both style and function, consider modular pieces that can be easily rearranged or stored during severe weather, allowing flexibility in small or large spaces. Adding sloped surfaces or drainage holes in furniture design helps water runoff, reducing pooling and potential mold buildup. For advanced protection, apply a clear, outdoor-rated sealant periodically to wooden items and use covers tailored to your furniture’s dimensions for added defense against the elements.
Adding Elevated Flooring Solutions
Elevating your patio flooring not only improves drainage but also protects your shelter from moisture damage. For a durable and weather-resistant solution, consider using composite decking boards or pressure-treated lumber, both of which resist rot and insect damage. Installing the floor on adjustable pedestals or concrete piers ensures proper leveling and air circulation beneath, which prolongs the lifespan of your flooring.
To enhance both function and style, design the elevated floor with a slight slope—about 1/4 inch per foot—to direct rainwater away from the structure. Beginners should start with a simple 4×4 or 6×6 post framework spaced 16 to 24 inches apart for sturdy support, while advanced gardeners might incorporate hidden fasteners and UV-resistant finishes for a seamless, polished look. Don’t forget to seal all cut edges to maintain water resistance over time.
Utilizing Retractable Awning Designs
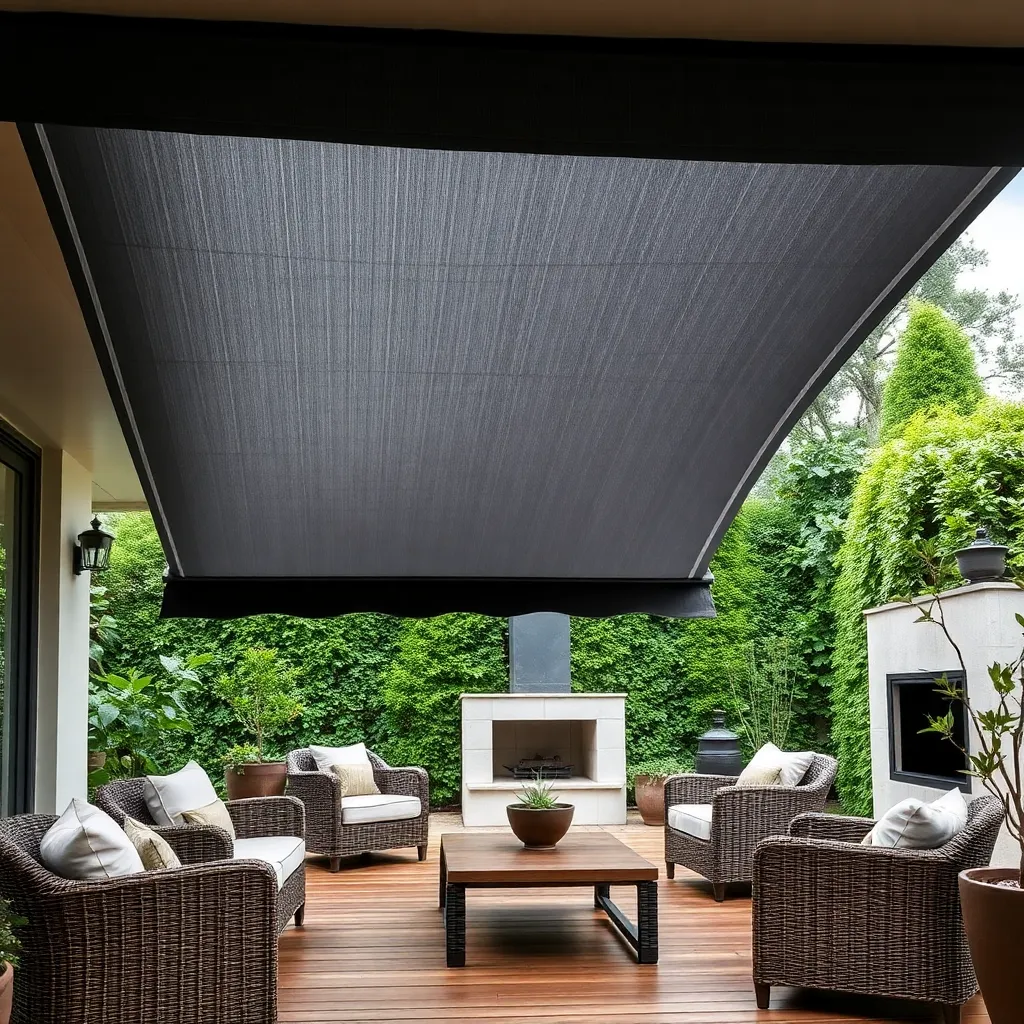
Retractable awnings offer flexible coverage that adapts to changing weather, making them ideal for rainy days. Choose durable materials like acrylic or solution-dyed polyester fabric, which resist water and UV damage. For optimal protection, ensure the awning extends at least 8 to 10 feet from the house, covering your seating area without blocking natural light. Installing waterproof side panels or wind guards can enhance shelter during heavy rain and keep the space cozy.
To maximize longevity, mount your awning on a sturdy frame made from powder-coated aluminum or galvanized steel, which withstands outdoor elements with minimal maintenance. Consider motorized options with remote controls for easy operation, especially if your patio is large or difficult to access. For advanced customization, integrate LED lighting or rain sensors that automatically retract the awning when wet conditions improve, combining convenience with smart outdoor living.

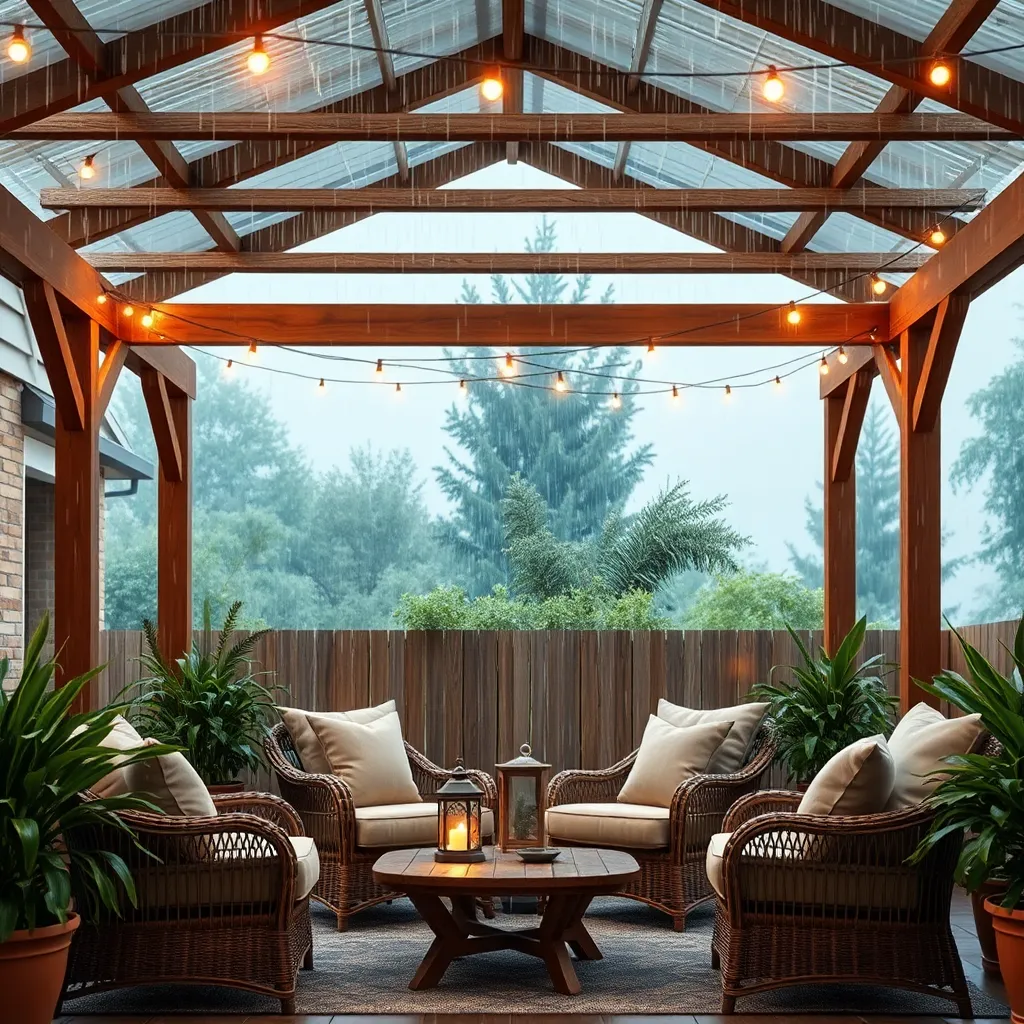
Installing Outdoor Heaters and Lighting
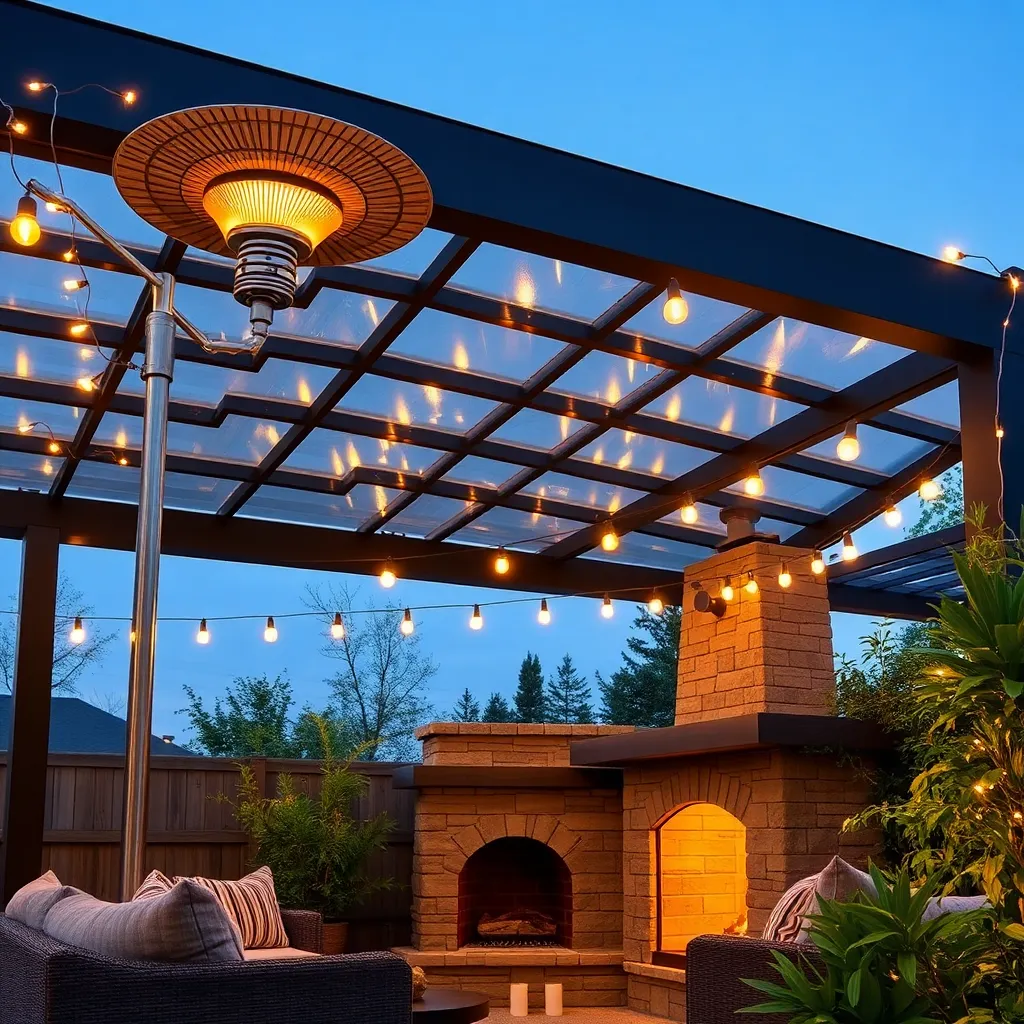
When installing outdoor heaters and lighting in your covered patio, start by selecting weather-resistant fixtures made from rust-proof materials like stainless steel or aluminum. Position heaters strategically to maximize warmth without obstructing walkways—mounting infrared heaters on beams or walls at about 6 to 7 feet high is ideal. For lighting, consider LED string lights or recessed fixtures with waterproof ratings (IP65 or higher) to ensure durability and energy efficiency.
To enhance both safety and ambiance, plan your wiring carefully by using outdoor-rated cables and GFCI-protected outlets. If your shelter has a solid roof, recessing lights into the ceiling can create a sleek look, while pendant lights work well with open beam designs. For advanced setup, integrate dimmers or smart controls to adjust lighting and heater settings remotely, making your patio comfortable and inviting no matter the weather.
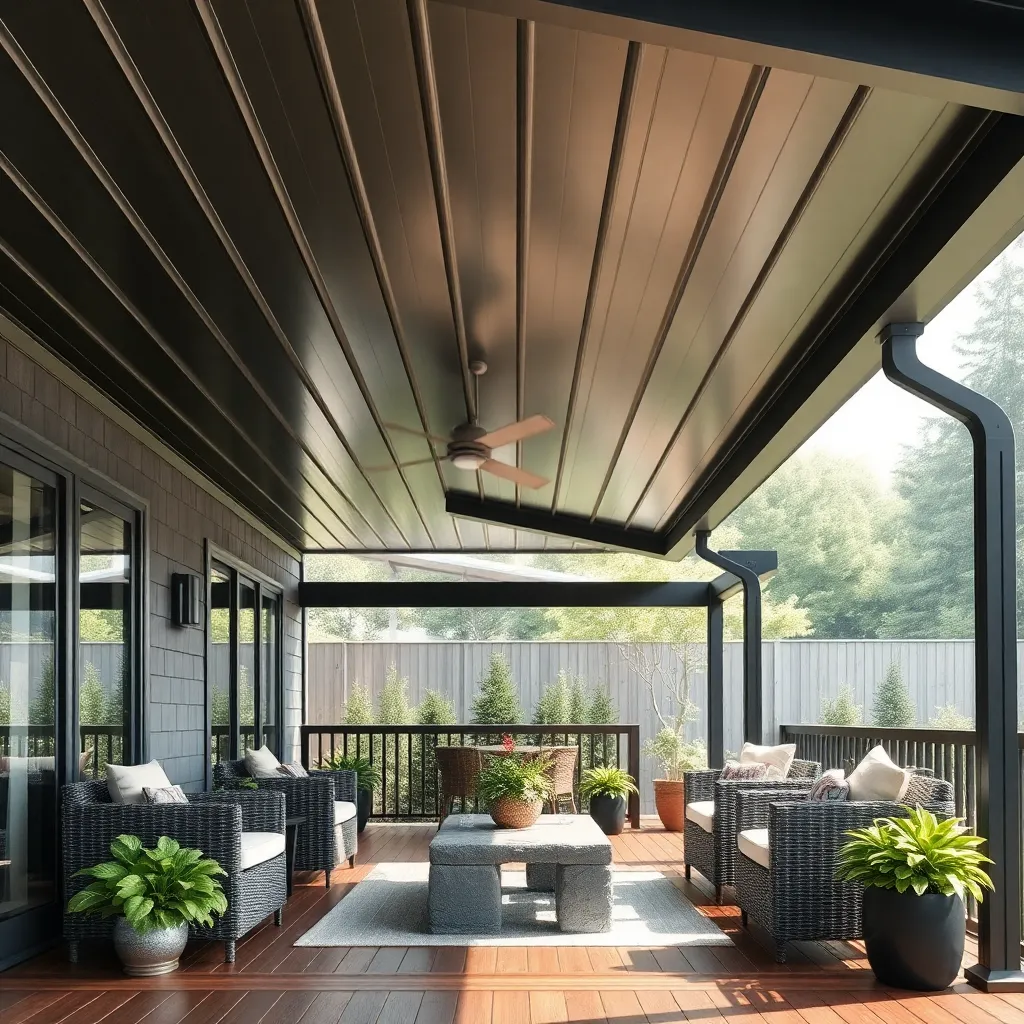
Enhancing Ventilation Under Covers
Proper ventilation is essential for maintaining comfort and preventing moisture buildup under covered patios. To enhance airflow, consider installing adjustable vents or louvered panels on the sides of your shelter; these allow you to control the breeze while keeping rain out. For DIY installations, lightweight materials like aluminum or treated wood work well and can be sized around 12 to 18 inches wide to promote sufficient air exchange without compromising shelter integrity.
Incorporating design elements such as raised rooflines or open ridge vents can significantly improve natural airflow by allowing hot air to escape upwards. For more advanced setups, installing solar-powered exhaust fans discreetly within the roof structure helps circulate air continuously without extra energy costs. Remember, combining both passive and active ventilation methods ensures your covered patio remains fresh and inviting, even on humid or rainy days.
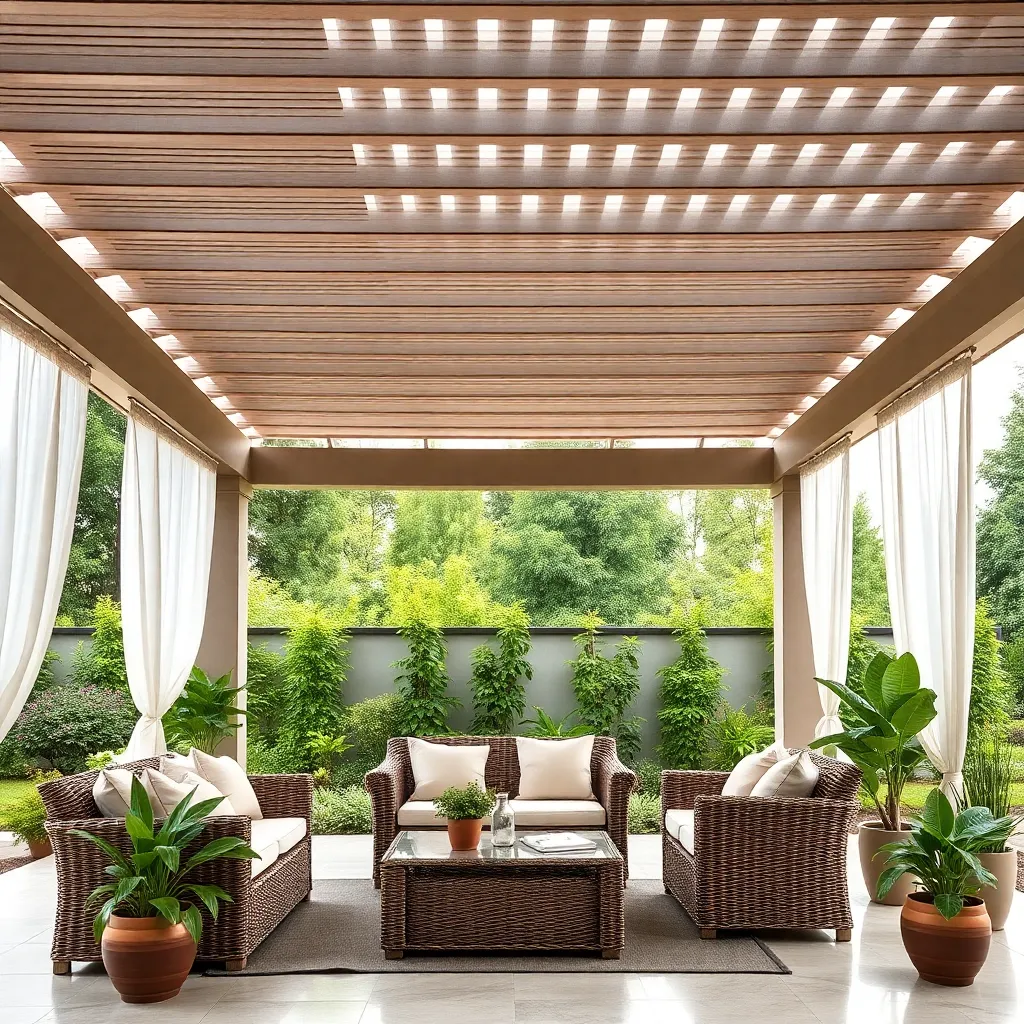
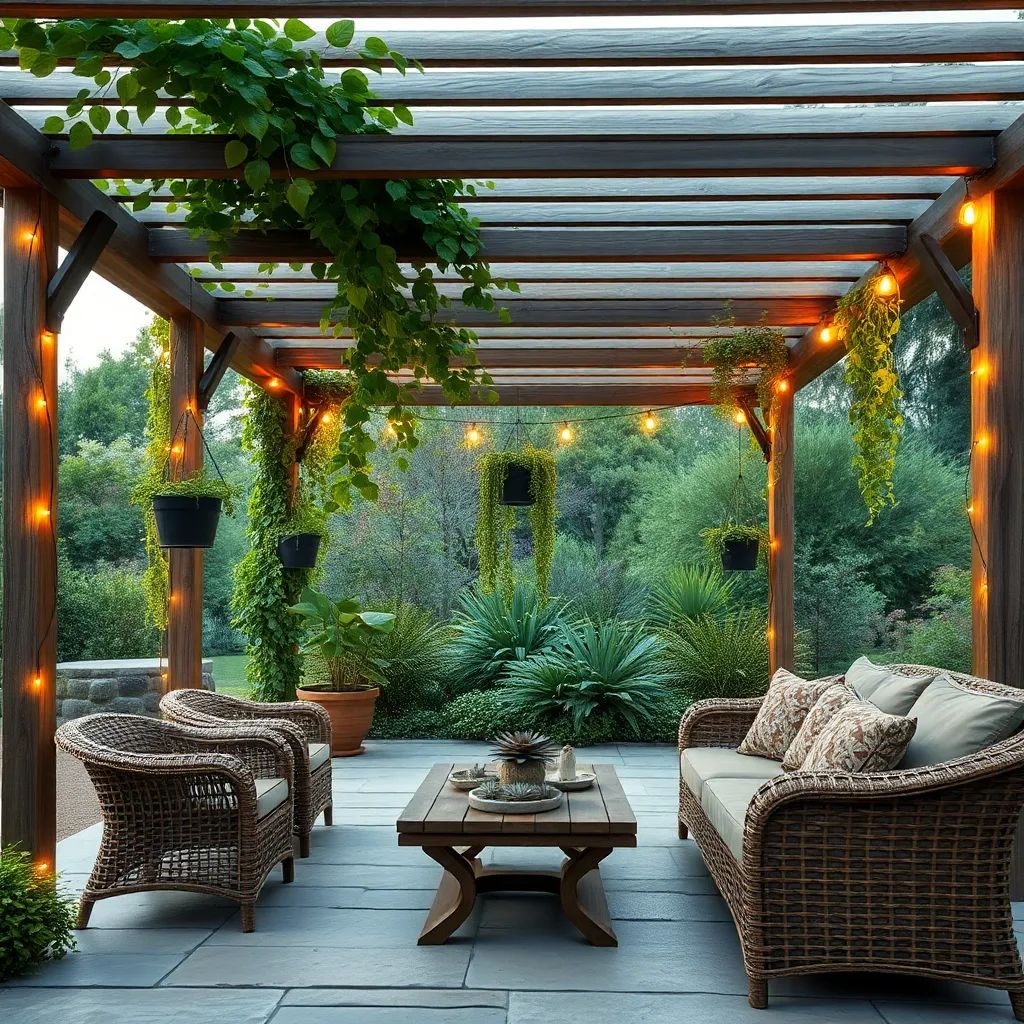
Blending Natural Elements and Shelter
Integrating natural elements like wood, stone, and greenery into your covered patio can create a seamless connection between shelter and landscape. Consider using durable, weather-resistant materials such as cedar or teak for framing, paired with stone or brick flooring to enhance both aesthetics and longevity. Adding vertical planters or climbing vines around the shelter not only softens hard edges but also improves airflow and provides additional shade.
To elevate your design, focus on proportions and layering natural textures within the shelter space. For example, a pergola with retractable fabric panels allows flexible protection from rain while maintaining an open, airy feel. Incorporate built-in seating with natural wood finishes and use earth-toned cushions to complement the surroundings. Remember to seal wooden elements properly to withstand moisture and extend the life of your outdoor shelter.
Maximizing Space With Built-In Storage
Incorporating built-in storage into your covered patio design is an excellent way to maximize space while keeping your outdoor area tidy. Consider installing weather-resistant cabinets or benches with storage compartments made from materials like cedar, teak, or composite wood, which withstand moisture and temperature changes. For a streamlined look, build storage beneath seating or along the perimeter walls, ensuring dimensions suit your most-used items—typically, 18-24 inches deep shelves work well for storing cushions, gardening tools, or outdoor games.
To elevate your design further, add multifunctional elements such as fold-down tables with hidden drawers or overhead shelves with water-resistant finishes. Use stainless steel or powder-coated hardware to prevent rust and maintain durability. For those comfortable with DIY projects, framing storage nooks into existing patio pillars or using modular cubbies can customize space without sacrificing style. These thoughtful touches create a clutter-free environment, allowing you to fully enjoy your covered patio on rainy days and beyond.
Creating Cozy Seating Areas

To create cozy seating areas on your covered patio, start by choosing weather-resistant materials like teak, cedar, or powder-coated aluminum for your furniture. Incorporate plush, quick-dry cushions in fabrics such as Sunbrella to ensure comfort and durability during rainy days. Consider arranging seating in a U-shape or around a central fire pit or coffee table to encourage conversation and maximize space.
Enhance the ambiance with layered lighting—install dimmable LED fixtures or string lights under the shelter’s roof for a warm glow. Adding elements like outdoor rugs with non-slip backing and side tables made from water-resistant materials can complete the setup. For advanced customization, build in sectional benches with storage underneath to keep cushions dry and tools handy, combining practicality with style.
Incorporating Greenery for Ambiance
Incorporating greenery into your covered patio instantly boosts ambiance and creates a refreshing, natural feel. Consider using
To elevate your design, mix in climbing vines on trellises or pergola beams—wisteria and clematis are excellent choices that add both color and fragrance. Installing drip irrigation beneath your greenery ensures consistent watering, promoting healthy growth without extra effort. Finally, position potted evergreens or ornamental grasses around seating areas to create natural partitions and enhance privacy while maintaining an inviting atmosphere.
Maintaining Covered Patios Year-Round
To keep your covered patio functional and attractive year-round, regularly inspect and clean the roofing materials, whether it’s polycarbonate panels, metal sheets, or cedar shingles. Clear debris like leaves and dirt every few months to prevent water buildup and potential damage, and check for any signs of wear or leaks, especially after heavy storms. For wooden structures, apply a weather-resistant sealant annually to protect against moisture and UV damage.
Enhance durability by incorporating proper drainage and ventilation into your design. Ensure gutters and downspouts are clear and positioned to direct water away from the patio foundation to avoid pooling. Advanced tips include installing retractable side screens or roll-down shades to shield against wind and rain while maintaining airflow, and using rust-resistant hardware such as stainless steel or galvanized fasteners for long-lasting stability.
Conclusion: Creating Beautiful Outdoor Spaces
Creating a cozy, covered patio for rainy days isn’t just about weatherproofing—it’s about crafting a special space where connection thrives, no matter the forecast. In this article, we explored 15 inspiring patio designs that combine shelter, comfort, and style to nurture meaningful moments with loved ones. From cozy seating arrangements and ambient lighting to rain-friendly materials and thoughtful décor, each idea encourages you to build an inviting retreat that fosters togetherness and relaxation.
Your next step? Choose one design element that resonates with you and start envisioning how it could enhance your outdoor space and your relationship. Whether it’s adding a warm fire pit or installing a sturdy pergola, small changes create big opportunities for shared memories.
Be sure to save or bookmark this article so you can return whenever you’re ready to transform your patio into a sanctuary of connection. Remember, nurturing your relationship is an ongoing journey—creating spaces that invite closeness even on rainy days sets the foundation for lasting happiness together. Here’s to many cozy, rain-kissed moments ahead!