Transforming your backyard into a serene oasis begins with the right structure, and building a pavilion from scratch can be a rewarding project for any homeowner. Whether you’re just dipping your toes into the world of DIY or you’re a seasoned builder looking for your next challenge, crafting a pavilion offers a perfect blend of functionality and style to elevate your outdoor living space. This guide will walk you through every step, ensuring you feel confident and capable as you embark on this exciting journey.
In this article, you’ll discover practical tips and step-by-step instructions tailored to both beginners and experienced enthusiasts, demystifying the construction process. From selecting the right materials to understanding foundational techniques, we’ll equip you with all the knowledge you need to bring your vision to life. Get ready to enjoy a versatile and inviting outdoor retreat that reflects your personal touch and enhances your home’s charm.
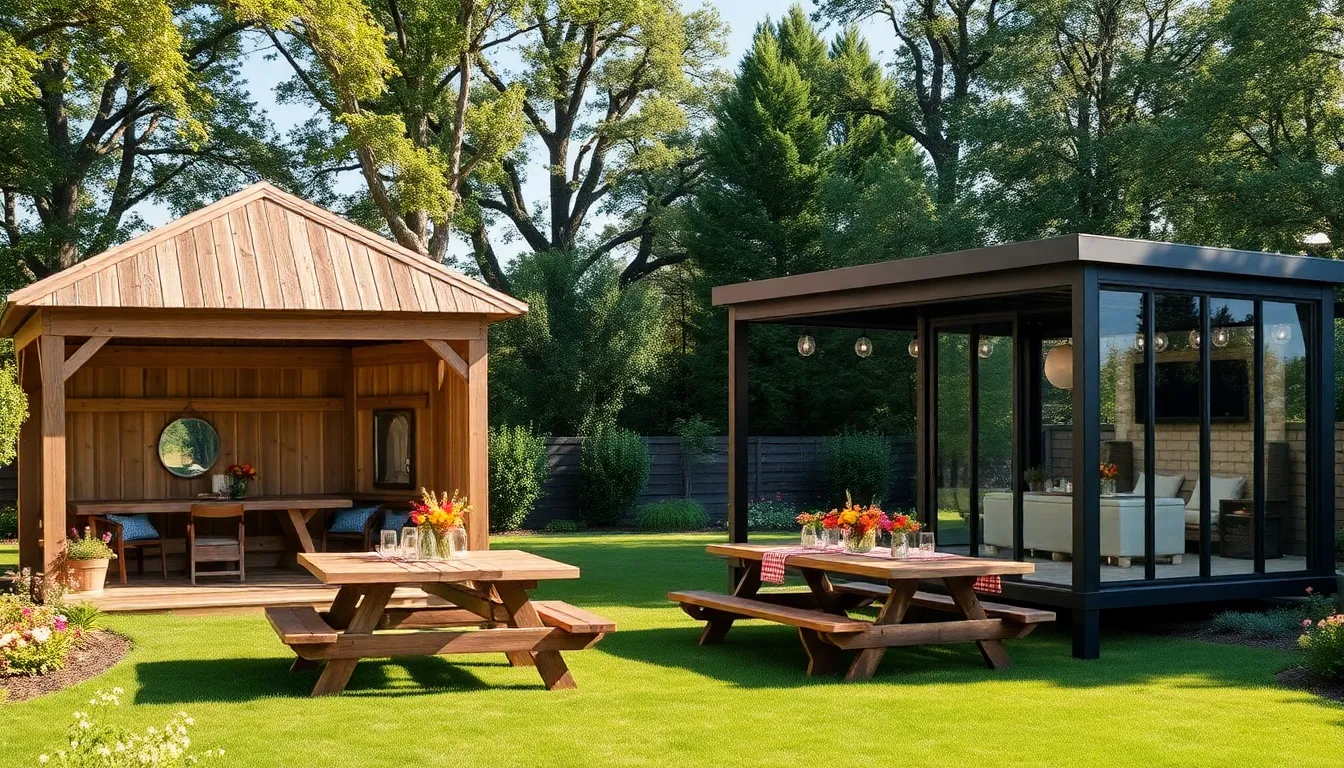
Choose Pavilion Location and Size
When choosing the location for your pavilion, consider the purpose and how it will integrate with your surrounding landscape. Ensure it complements existing garden features like patios or pathways, and provides adequate shade or sun exposure based on your intended use. It’s vital to check the ground for levelness to avoid complications during construction. For a more advanced tip, position your pavilion to take advantage of natural breezes for cooling or to frame a picturesque view.
Determining the right size for your pavilion involves balancing functionality with aesthetics. A basic guideline is to allow at least 8-10 square feet per person for seating areas, while dining setups might require more space. Consider the materials you’ll use: durable options like cedar or pressure-treated lumber are excellent for longevity. For larger structures, incorporating support beams or arches can add both stability and style. Advanced builders might explore using metal roofing for a modern touch or adding electrical wiring for lighting and fans.
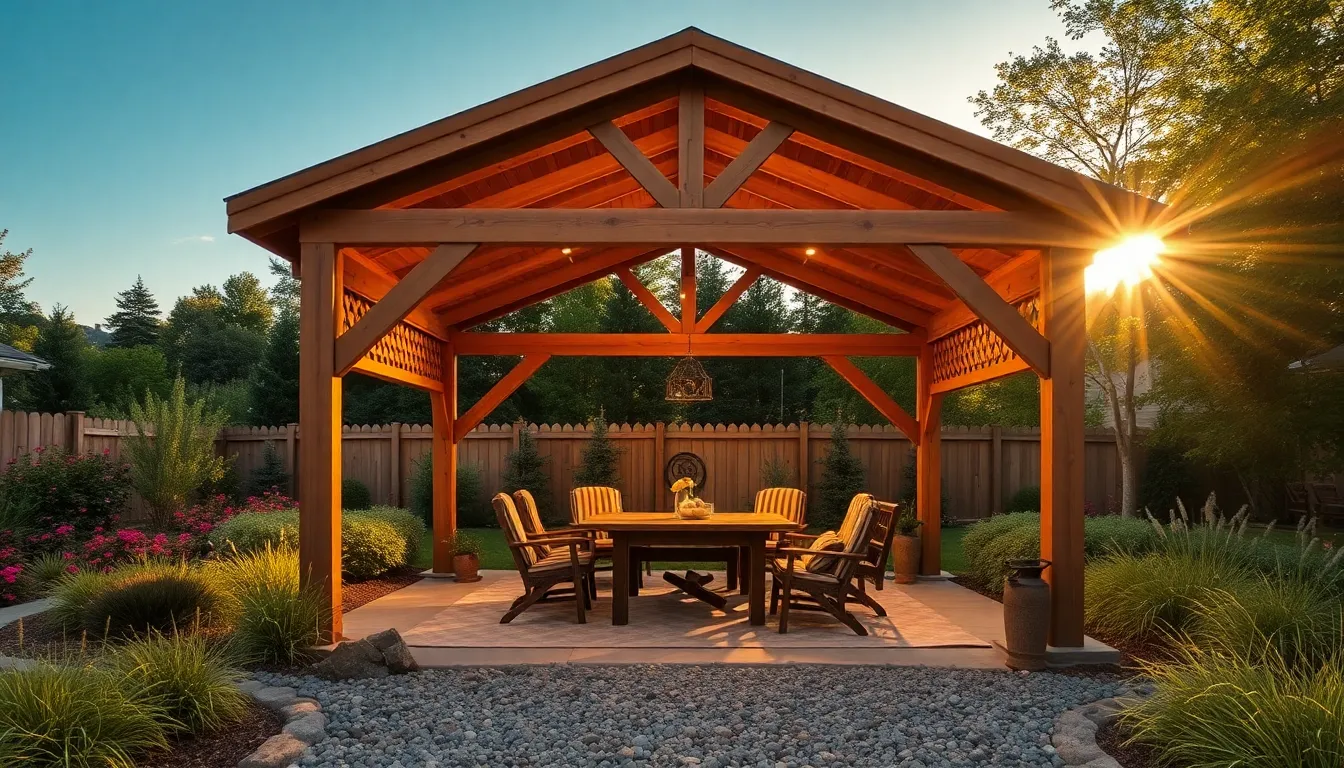
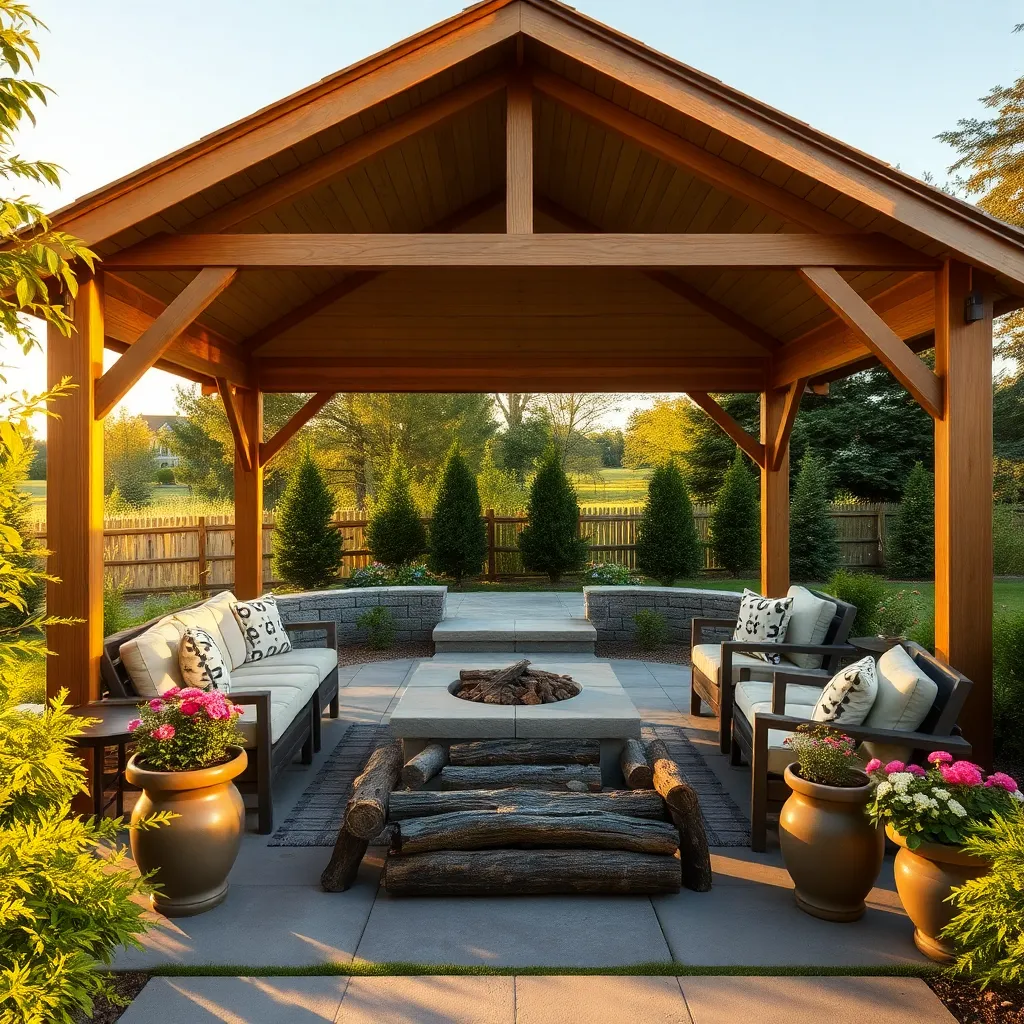
Design the Pavilion Framework
After determining the ideal location and size for your pavilion, it’s time to focus on designing a sturdy framework. Begin by selecting durable materials such as pressure-treated wood or steel, which offer excellent support and longevity. For a basic setup, consider using 4×4 or 6×6 posts for the main supports, spaced about 8 feet apart. Ensure that these posts are deeply anchored into the ground with concrete footings to withstand weather conditions. Accurate measurements and precise leveling during this stage will set the foundation for a successful build.
Consider incorporating advanced design elements to enhance the pavilion’s aesthetic and functionality. Adding cross-bracing between the posts can provide extra stability, especially in windy areas. For a more refined look, you might opt for decorative brackets or corbels. If you have experience with carpentry, integrating a gabled or hipped roof design can add character and improve rainwater runoff. Choose roofing materials like metal or composite shingles for durability and a polished finish. With thoughtful planning and the right materials, your pavilion framework will not only be robust but also a beautiful addition to your outdoor space.
Gather Necessary Building Materials
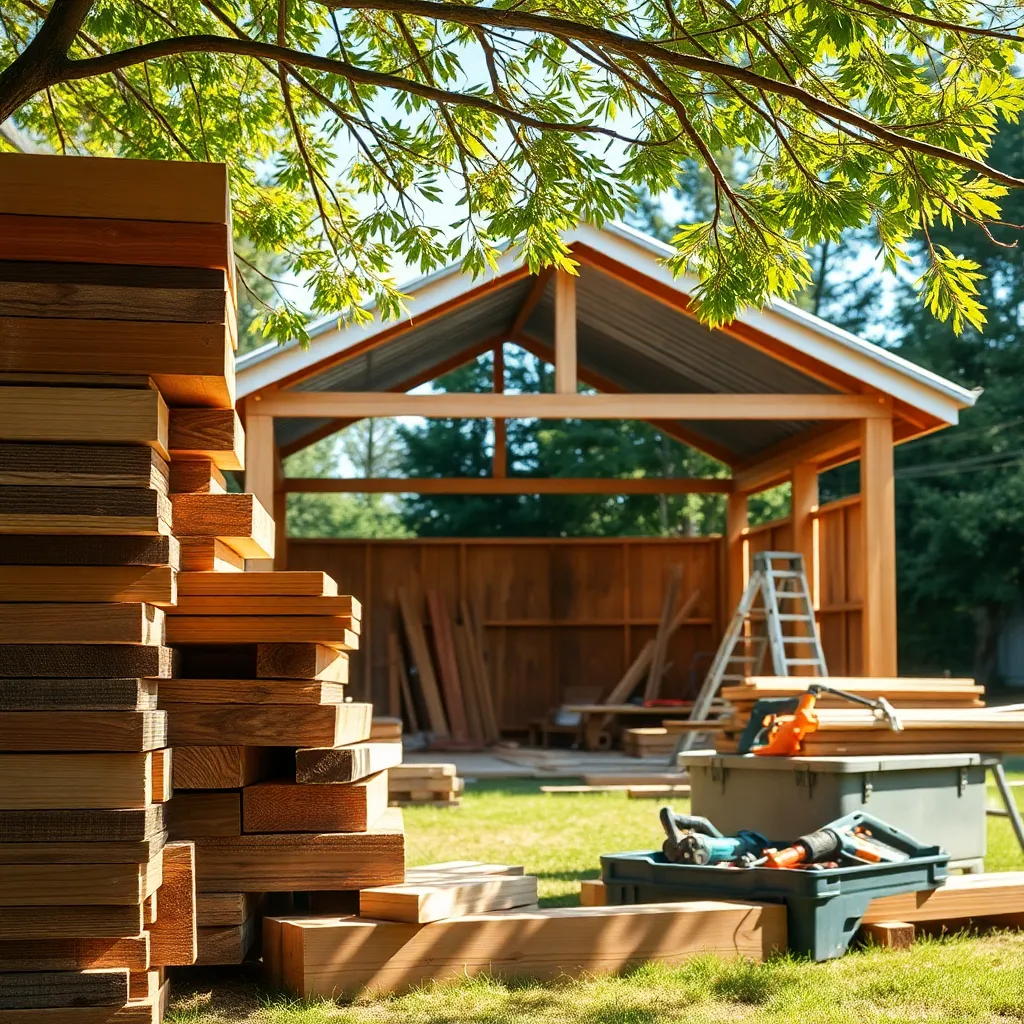
Once your pavilion design is finalized, it’s time to gather all the necessary building materials. To ensure the structure is sturdy and long-lasting, you’ll need high-quality lumber, such as pressure-treated wood or cedar, which are both resistant to rot and insects. For the roof, consider materials like corrugated metal or asphalt shingles, which offer durability and weather resistance. Don’t forget essentials like concrete for securing the posts, galvanized screws and nails for assembly, and waterproof sealant to protect the wood.
For a polished and professional look, consider adding decorative elements like post caps or trim. If you’re aiming for an open-air feel, opt for lattice panels or railings on the sides, which can also support climbing plants for added greenery. Advanced builders might want to include electrical wiring for lights or ceiling fans to enhance functionality. Always double-check measurements and quantities before purchasing to avoid multiple trips to the store, and remember that investing in quality materials upfront can save on maintenance and repairs later.
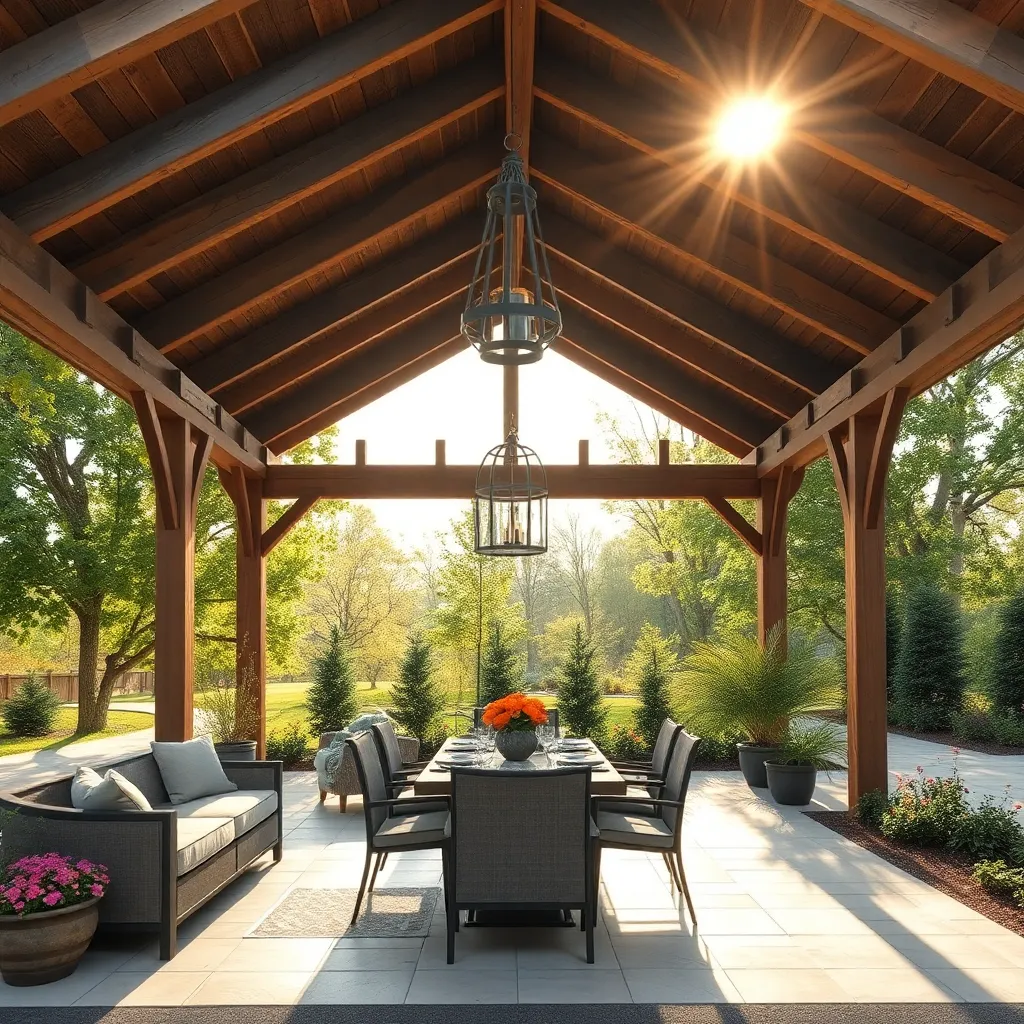
Construct the Pavilion Structure
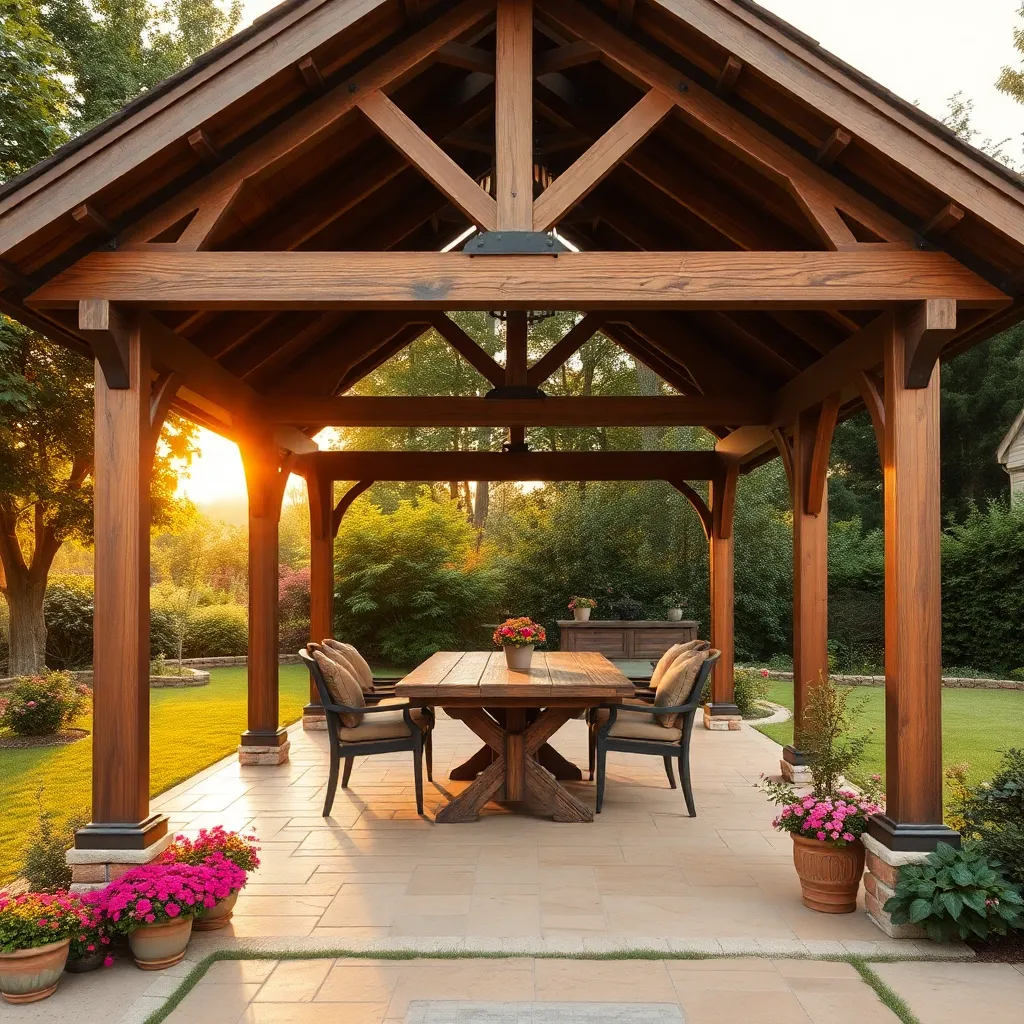
Begin constructing the pavilion structure by laying a solid foundation, which is crucial for stability. Use pressure-treated wood or concrete for the posts, ensuring they are at least 4×4 inches in size for optimal strength. Mark your site with string and stakes to outline the pavilion’s footprint, typically a recommended size of 12×12 feet for a standard pavilion. For a more advanced touch, consider incorporating concrete footings below the frost line to prevent shifting.
As you erect the frame, ensure the beams and rafters are securely attached using galvanized steel brackets. This will help withstand weather elements and enhance durability. Opt for cedar or redwood for the beams if you desire a natural look that also resists decay. Beginners should focus on ensuring all connections are square and level, while experienced builders might experiment with decorative elements like corbel brackets to add character. Always double-check measurements and angles throughout the process to maintain precision and safety.
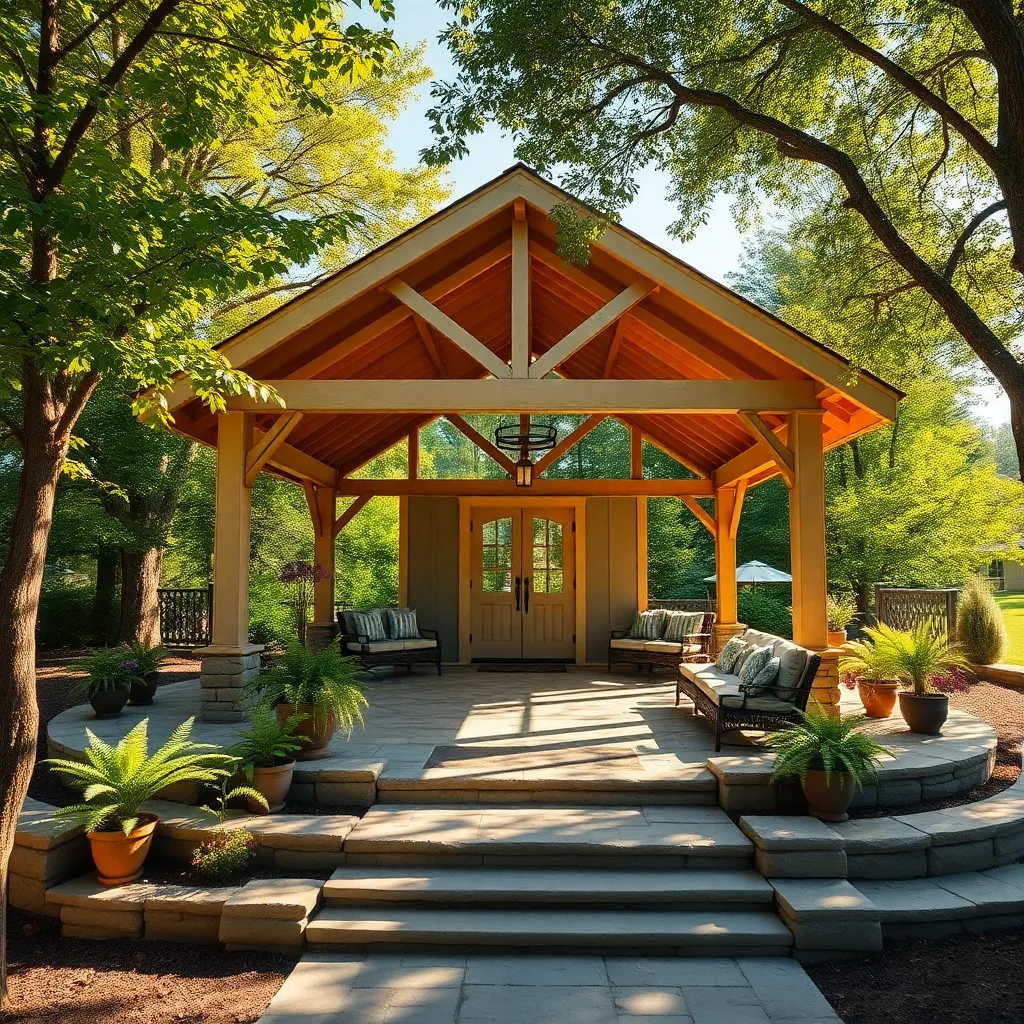
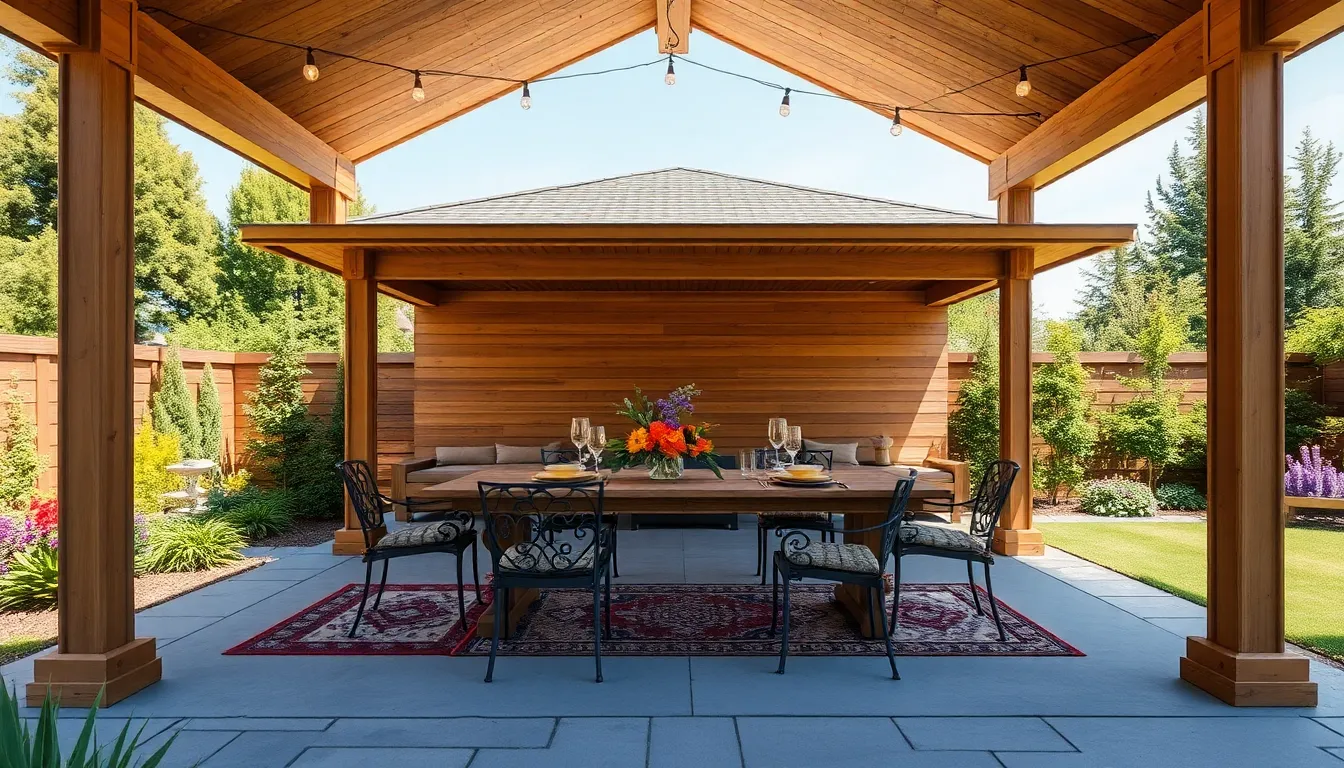
Install Roofing and Final Touches
With the pavilion structure in place, it’s time to install the roofing. Choose a material that complements your home’s style and withstands local weather conditions. Popular options include metal, shingles, or polycarbonate panels, each offering a unique aesthetic and durability. Metal roofs are highly durable and ideal for areas with heavy snowfall, while shingles provide a classic look and work well in moderate climates. Ensure the roof pitch is at least 30 degrees to facilitate water runoff and prevent pooling.
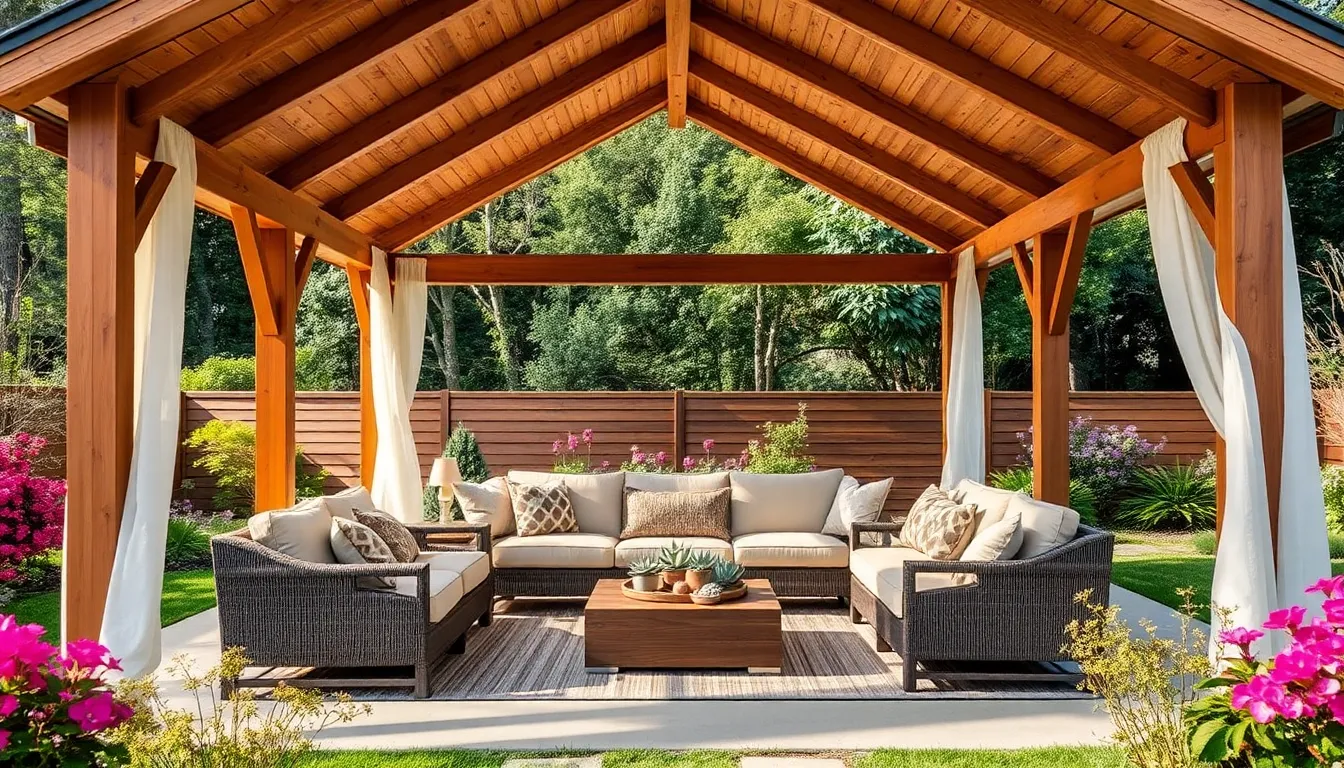
Next, add the final touches to personalize your pavilion and enhance its functionality. Consider incorporating lighting for evening use—solar-powered LED lights are an eco-friendly choice. For added comfort, install curtains or roll-down shades to block wind and sun, creating a cozy retreat. Advanced gardeners might integrate a green roof by planting low-maintenance succulents on top, providing insulation and blending the pavilion with its natural surroundings. Remember, the details you select will make your pavilion a unique extension of your outdoor living space.
Conclusion: Creating Beautiful Outdoor Spaces
Building a pavilion from scratch might seem like a daunting task, much like fostering a flourishing relationship. This article unraveled five key concepts: communication, trust, teamwork, adaptability, and shared goals. Just as clear communication is crucial in setting the foundation for your pavilion, open conversations lay the groundwork for understanding in relationships. Trust acts as the sturdy beams holding everything together, while teamwork ensures every piece fits harmoniously. Adaptability helps you navigate unexpected challenges, and shared goals keep both partners aligned toward a common vision.
Your actionable next step is to identify one relationship area where you can apply these principles today. Perhaps it’s a heartfelt conversation you’ve been putting off or a joint activity you’ve been meaning to plan.
Remember, relationships are built over time, much like a pavilion, needing care and attention. Bookmark this article to revisit these foundational concepts whenever your relationship needs a boost. As you apply these insights, know that your efforts are the seeds of future success. With dedication, you can construct a relationship as enduring and beautiful as any well-crafted pavilion. Take action now, and witness the transformative power of intentional connection in your life.