Transform your backyard into a personal oasis this weekend with our guide to seven DIY pavilion projects. Whether you’re just starting on your outdoor living journey or you’re a seasoned home improvement enthusiast, creating a pavilion can offer a perfect blend of comfort and style, enhancing your outdoor experience in ways you never imagined.
In this article, you’ll discover practical tips and step-by-step instructions that cater to both novices and skilled DIYers. We’ll explore a variety of designs that not only provide shelter but also elevate your outdoor space, making it more inviting and functional. Get ready to roll up your sleeves and see how simple it can be to craft a beautiful, personalized retreat right in your own backyard.
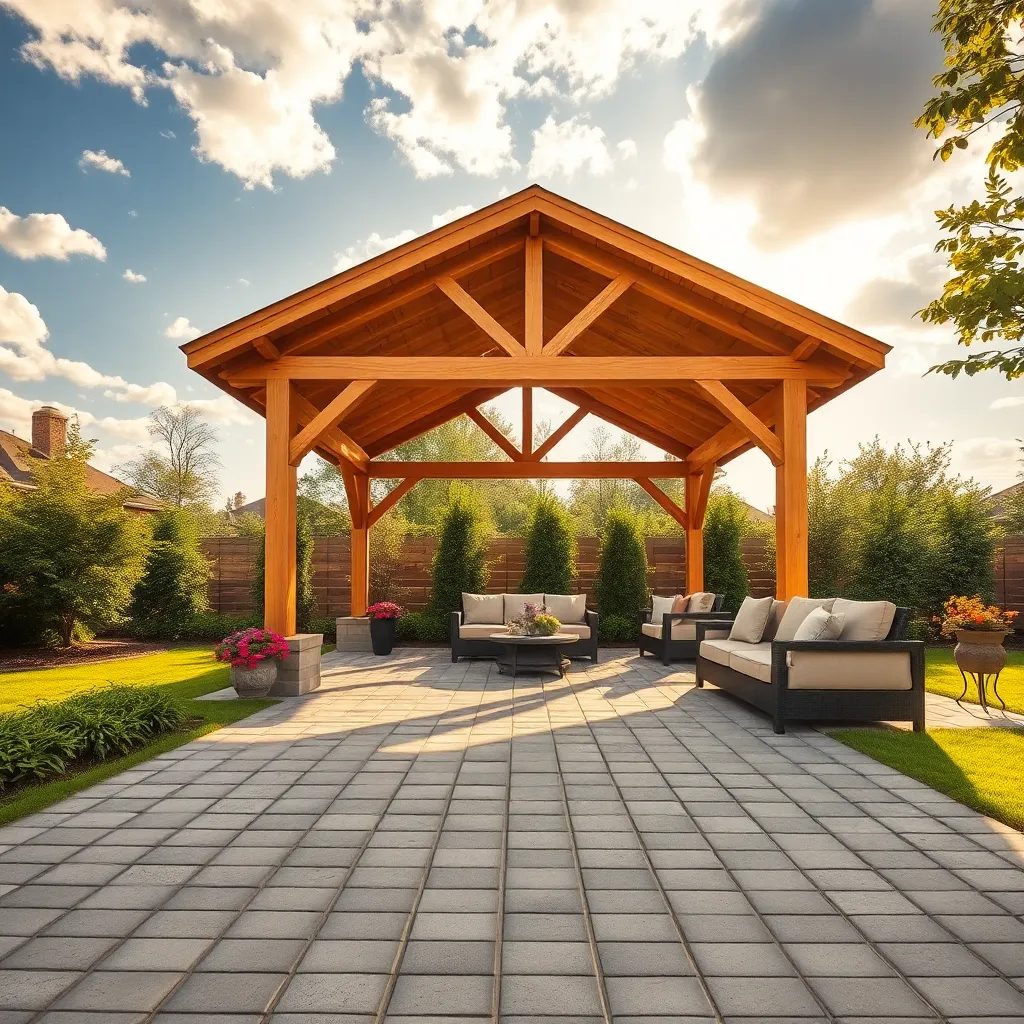
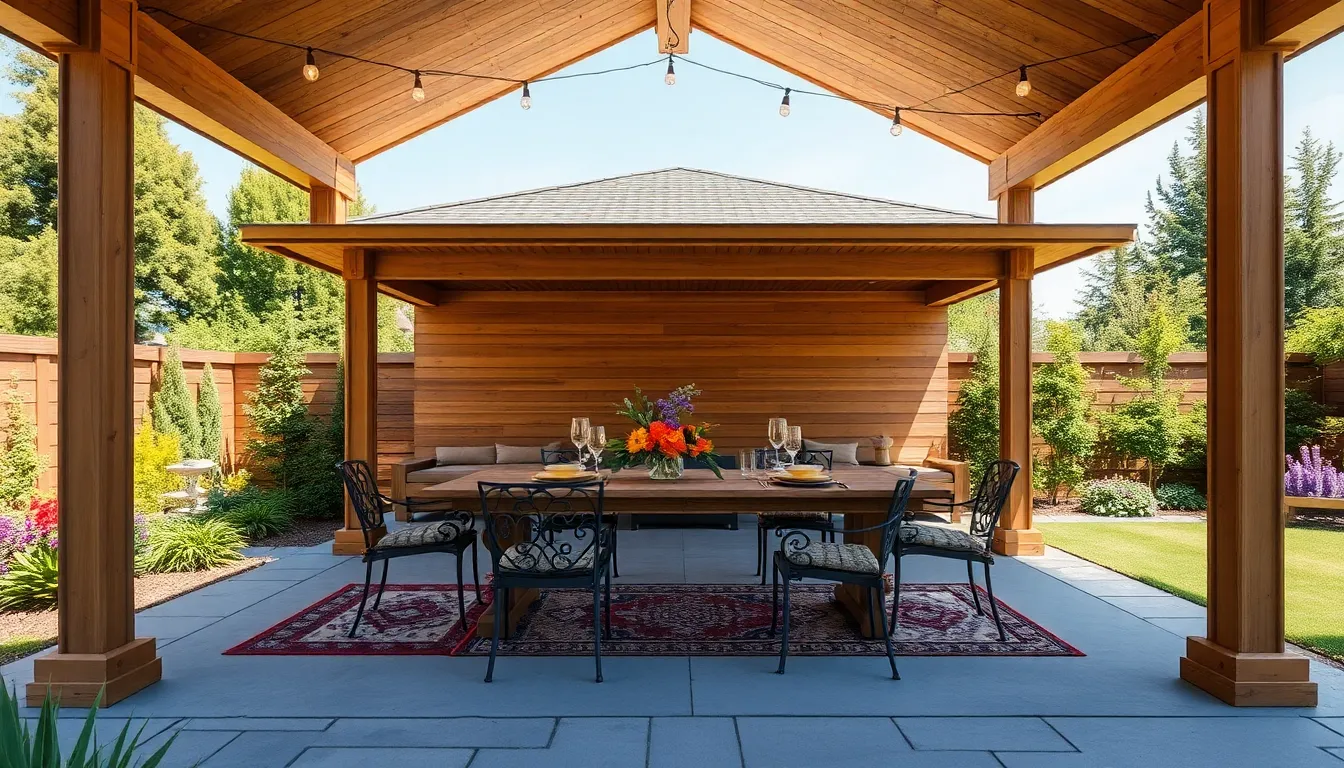
Planning Your Pavilion Design Blueprint
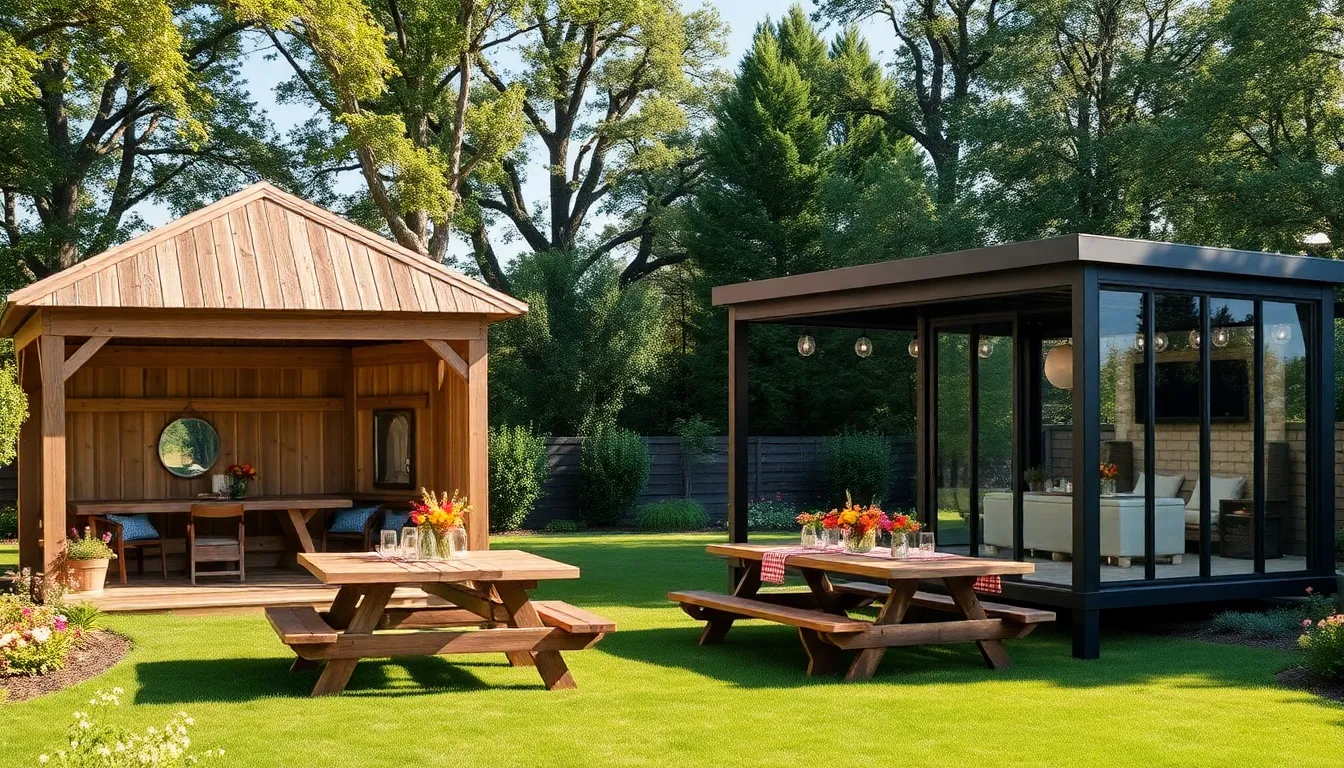
When planning your pavilion design blueprint, start by considering the intended use and location of your structure. Will it serve as a dining area, a relaxation nook, or a garden focal point? Choose a spot that offers both accessibility and aesthetic appeal. For materials, opt for durable options like pressure-treated wood or metal, which can withstand various weather conditions. Beginners should stick to simple rectangular designs, while those with more experience might explore octagonal or hexagonal shapes for added visual interest.
The dimensions of your pavilion are crucial, so make sure to measure your space accurately. A common size for a small pavilion is around 10×12 feet, but adjust according to your needs and available space. Incorporate design elements such as decorative beams or a solid roof for a professional look. Advanced builders might consider adding features like built-in seating or a pergola-style roof to enhance functionality and style. Always remember to check local building codes and obtain necessary permits before you start construction.
Gathering Essential Building Materials
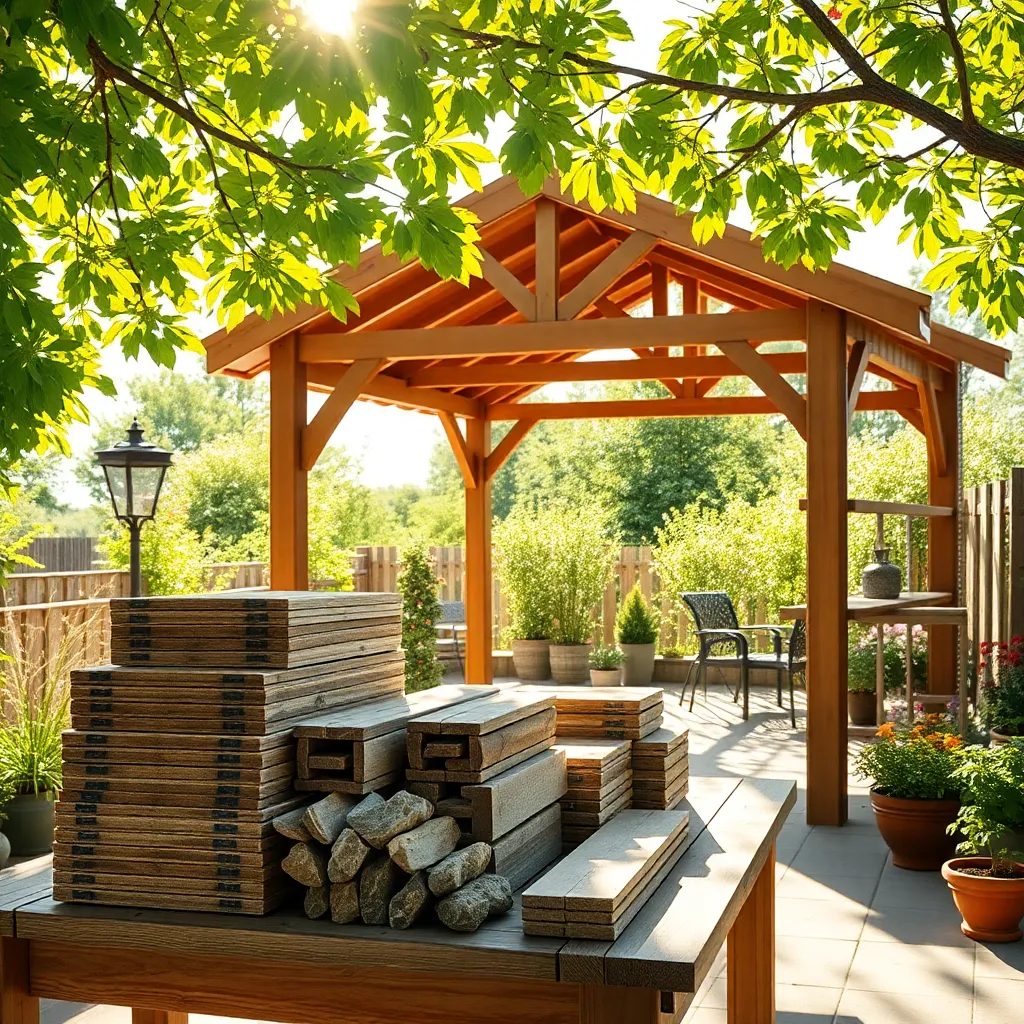
When it comes to gathering essential building materials for your DIY pavilion, start by determining the type of wood and fasteners you’ll need. Pressure-treated lumber is a great choice for outdoor structures due to its durability and resistance to rot. For the frame, consider 4×4 or 6×6 posts, ensuring they are at least 8 feet in length for adequate height and stability. Galvanized screws and bolts are recommended to prevent rust, ensuring your pavilion remains secure and safe over time.
Additionally, think about the roofing materials that will best suit your design and climate. Options like corrugated metal panels or polycarbonate sheets provide excellent protection from the elements while allowing some natural light to filter through. For those interested in a more upscale look, cedar shingles can add a touch of elegance. Remember to measure your space accurately and acquire extra supplies to account for any mistakes or adjustments. By selecting the right materials, you’ll set a solid foundation for a pavilion that’s both functional and visually appealing.
Constructing a Solid Foundation Base
To ensure your pavilion stands strong for years, the first step is constructing a solid foundation base. Begin by selecting a location that is level and has good drainage, preventing water accumulation that could damage the structure over time. Use pressure-treated lumber or concrete blocks to create a stable base; these materials are durable and resistant to weather conditions. For a basic setup, consider a foundation size of at least 10×10 feet, which accommodates most standard pavilion designs and provides ample space for comfortable use.
Once your location and materials are set, it’s time to lay out the foundation. Mark the perimeter with stakes and string to guide your construction, ensuring the corners are square using the 3-4-5 triangle method for accuracy. For those seeking a more advanced foundation, consider pouring a concrete slab for maximum durability; this involves framing the area with wooden forms and ensuring the surface is level before the concrete sets. Remember to embed anchor bolts in the wet concrete for securing the pavilion posts, providing extra stability against wind and weather. With careful planning and attention to detail, your foundation will be a strong starting point for your DIY pavilion project.
Assembling the Pavilion Framework
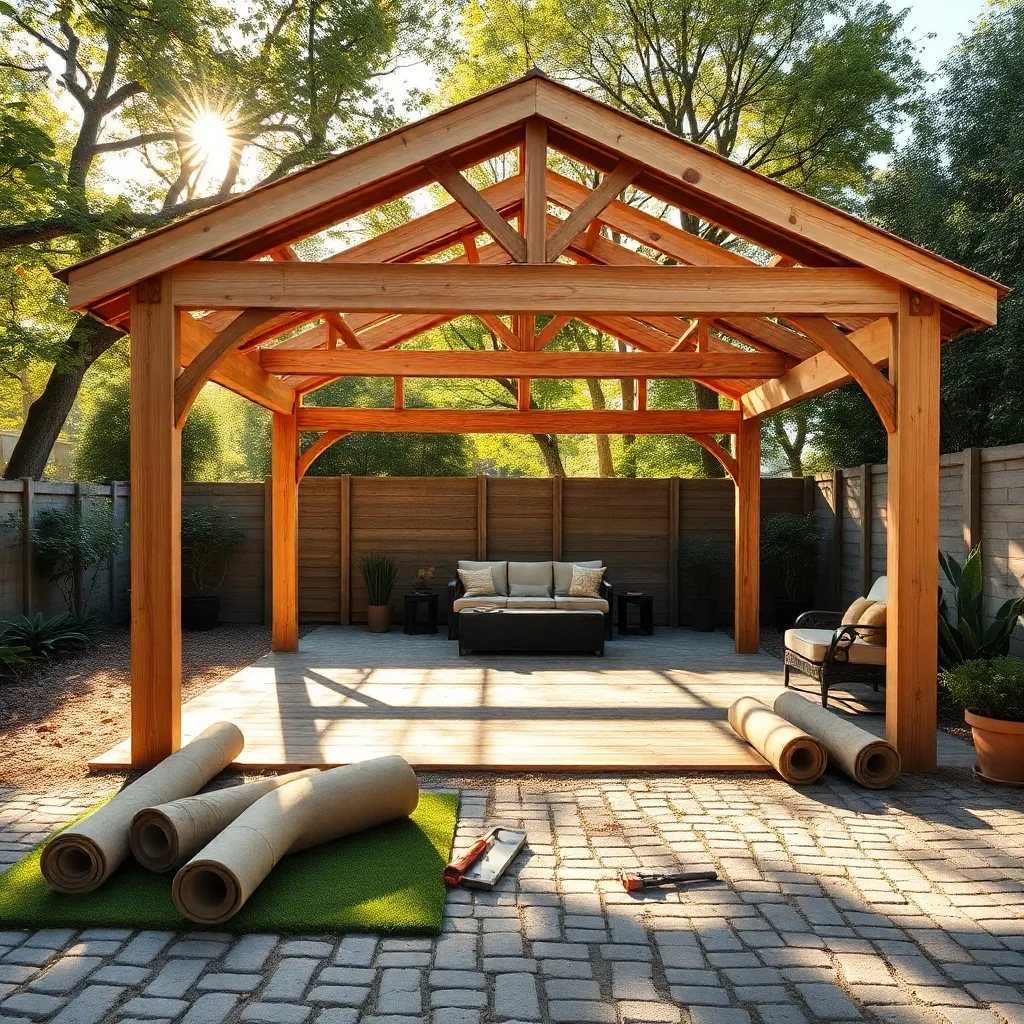
Once your foundation is ready, it’s time to assemble the pavilion framework, which forms the backbone of your structure. Start by selecting durable materials such as pressure-treated wood or galvanized steel to ensure longevity. For beginners, pre-cut kits with labeled parts can simplify the process, while experienced builders might prefer customizing their design with unique angles or additional support beams. Ensure each joint is securely fastened using stainless steel bolts to withstand various weather conditions.
Next, pay attention to the layout and measurements to avoid common pitfalls. Begin with the corner posts, making sure they are perfectly vertical using a spirit level before securing them in place.
- Tip: A string line can help keep everything aligned as you work.
- Advanced advice: Consider adding decorative elements such as lattice panels or carved brackets for a personalized touch.
With careful assembly, your pavilion will not only be structurally sound but also an inviting outdoor centerpiece.
Installing Durable Roofing Solutions
Now that your pavilion framework is in place, it’s time to focus on installing a durable roofing solution to protect it from the elements. Consider using materials like polycarbonate panels or corrugated metal sheets, both of which are known for their resilience and weather resistance. For a more natural look, opt for cedar shingles, which offer excellent insulation properties and can last for decades with proper maintenance. Ensure your roof design includes a slight pitch to facilitate water runoff, preventing potential damage from pooling rainwater.
For those seeking an advanced touch, incorporate a vented ridge or skylights to improve airflow and natural light within the pavilion. This can enhance comfort during warmer months and reduce mildew growth by increasing ventilation. When cutting and installing roofing materials, precision is key—measure twice and cut once to avoid costly mistakes. Use galvanized screws and rubber washers to secure the panels or shingles, ensuring a tight, weatherproof seal. By following these steps, you’ll create a sturdy, long-lasting roof that complements your pavilion’s design.
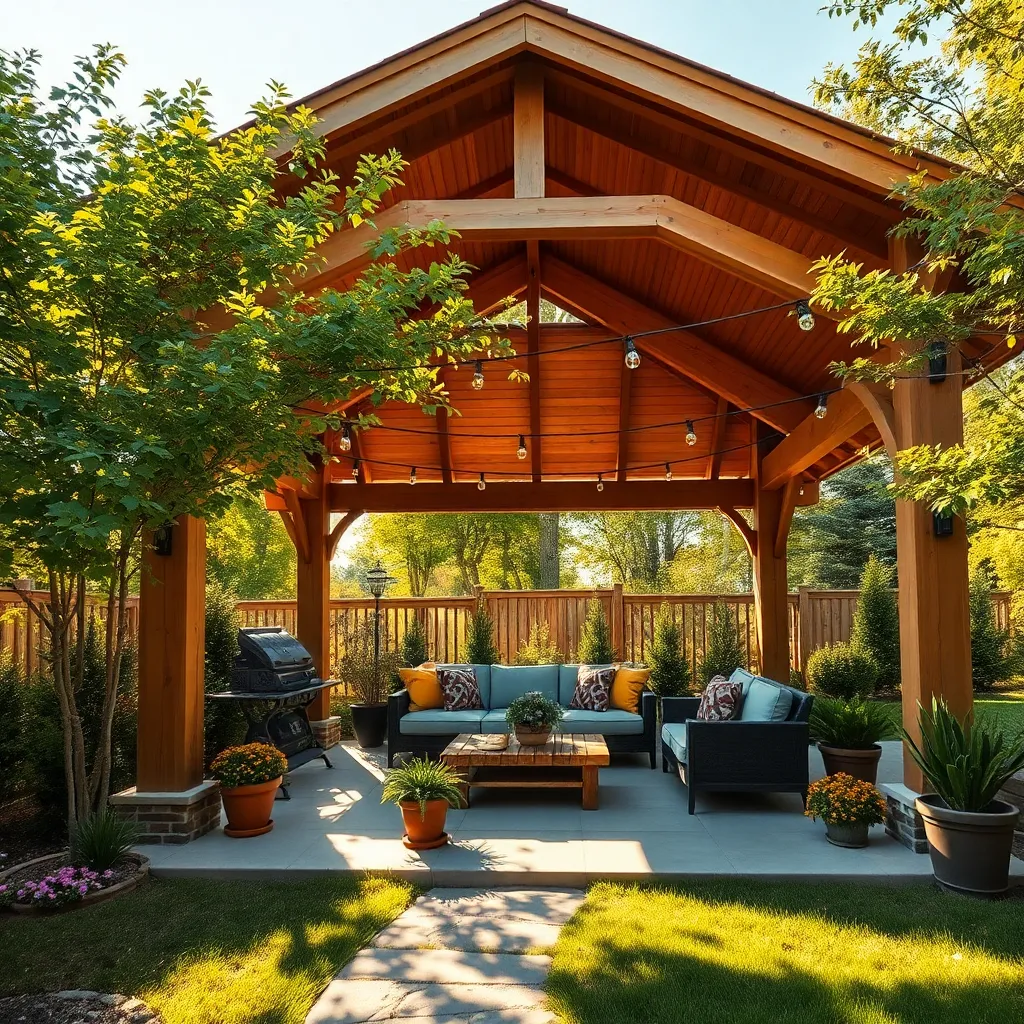
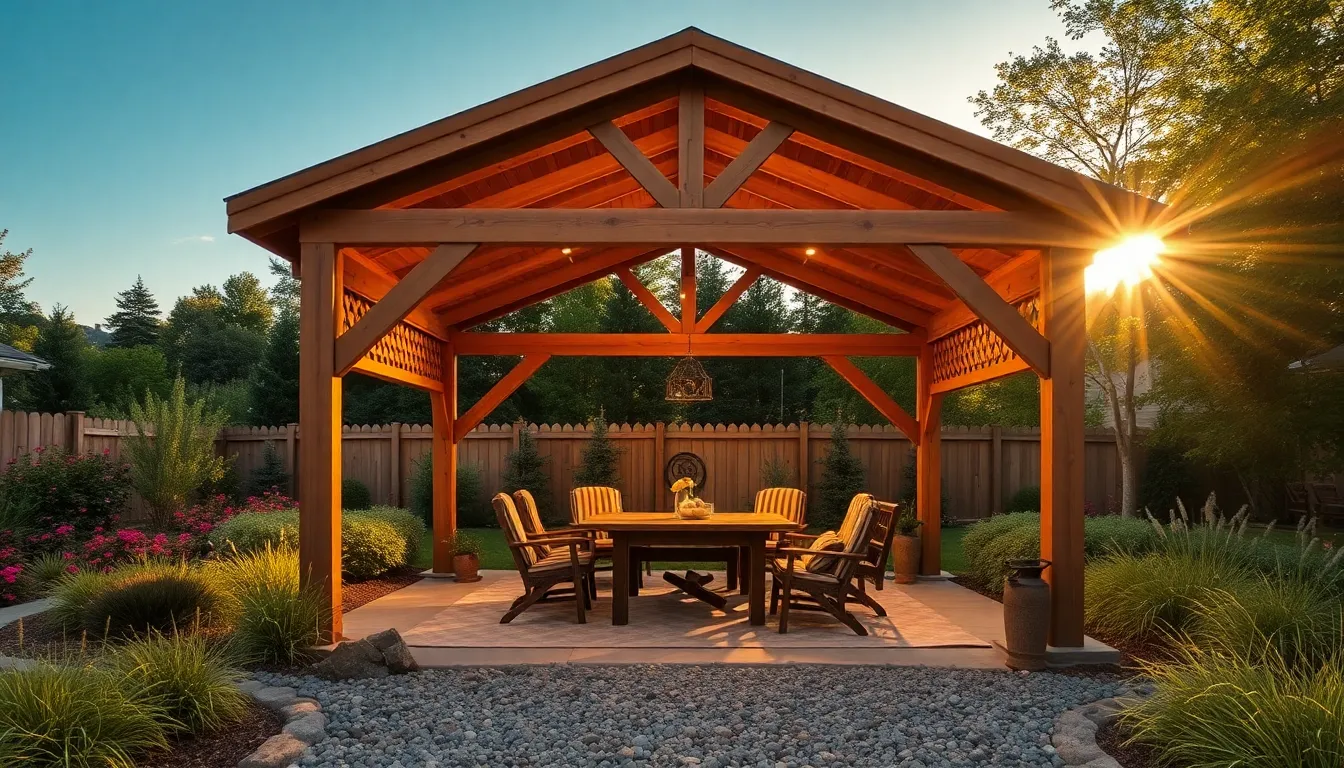
Adding Decorative and Functional Elements

Enhancing your pavilion with decorative and functional elements can transform it from a simple structure into a personalized retreat. Consider adding **solar-powered string lights** for ambiance and sustainability; they require no wiring and can be easily hung along the beams. For a touch of nature, incorporate **hanging planters** with hardy plants like ferns or succulents, which thrive well in shaded conditions and add a lush, inviting feel.
For those looking to add a touch of elegance, use **weather-resistant curtains** to provide privacy and style while shielding against the elements. Opt for materials like Sunbrella fabric, known for its durability and fade resistance. If you’re inclined towards a more advanced project, consider installing a **built-in bench** using treated wood or composite decking materials. This not only offers seating but also integrates storage space for outdoor cushions and accessories, making your pavilion both beautiful and functional.
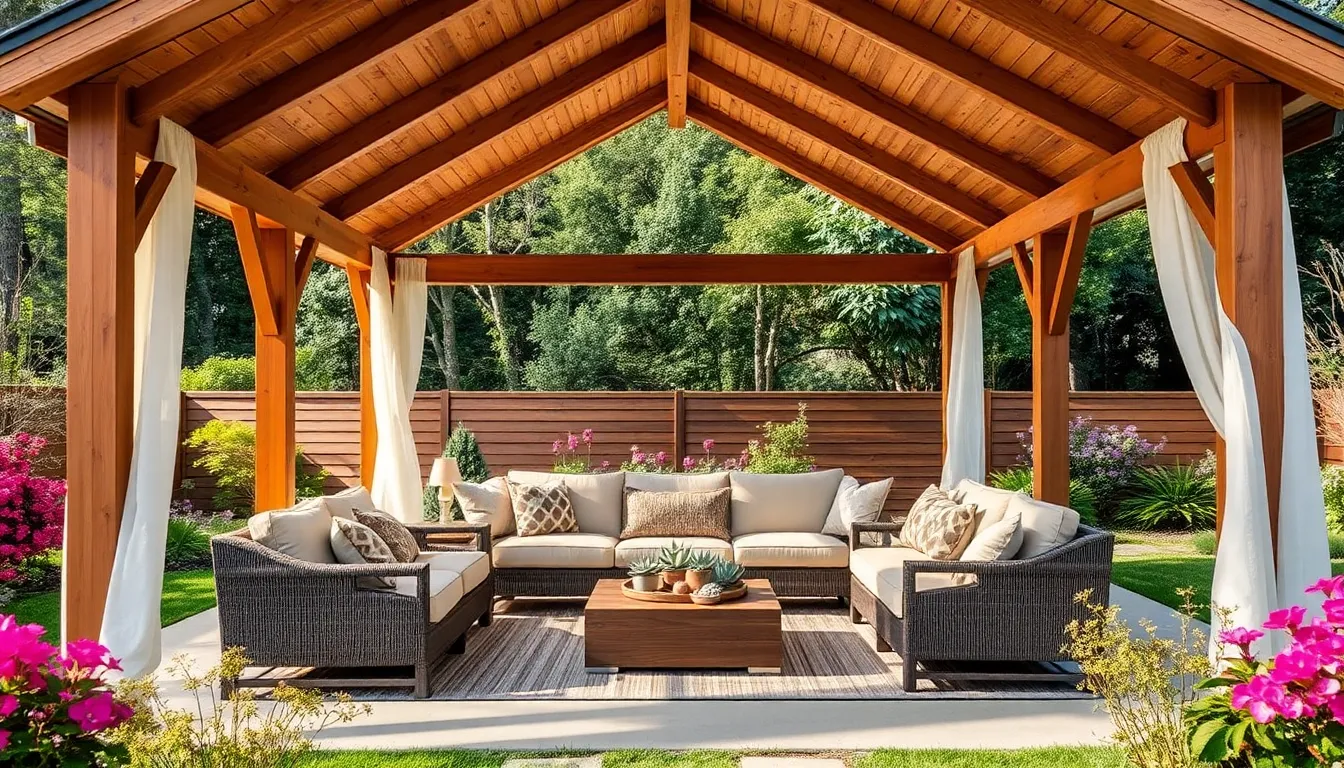
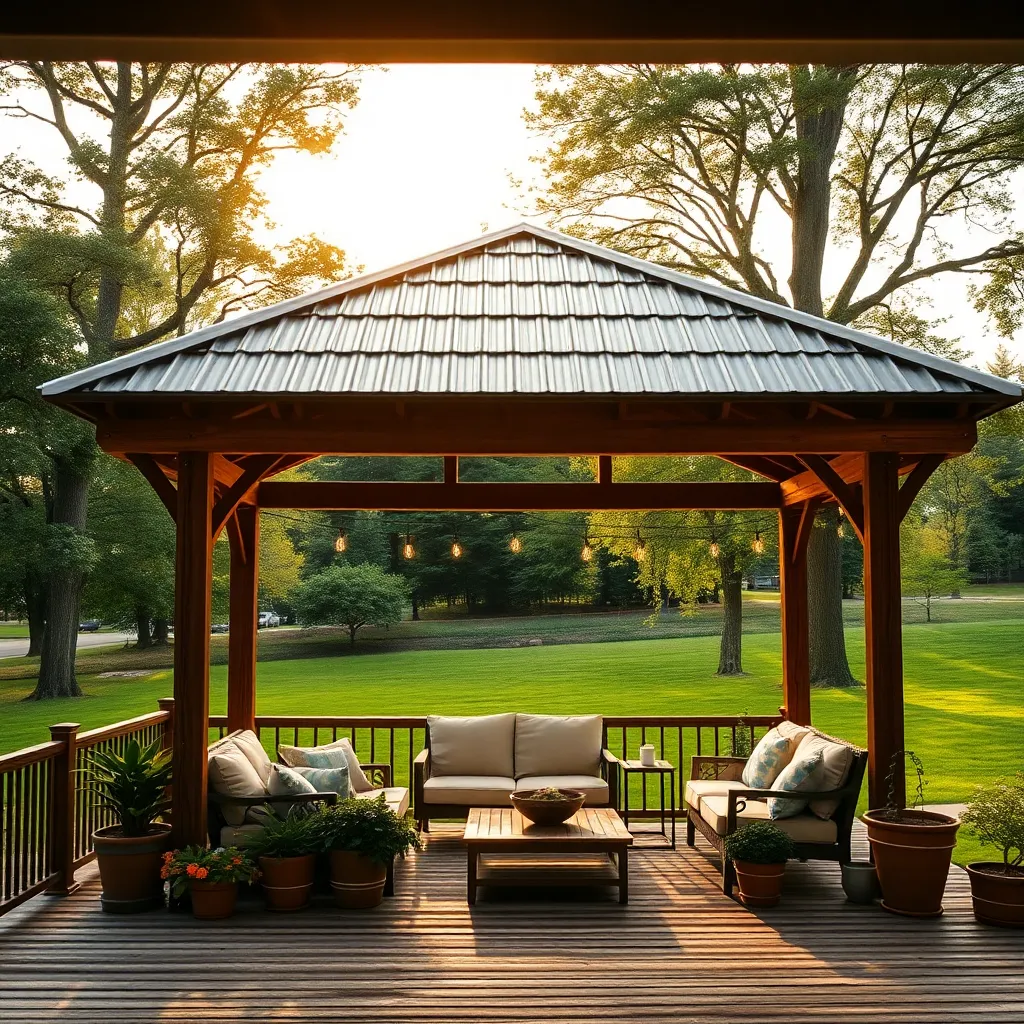
Final Touches for a Cozy Retreat
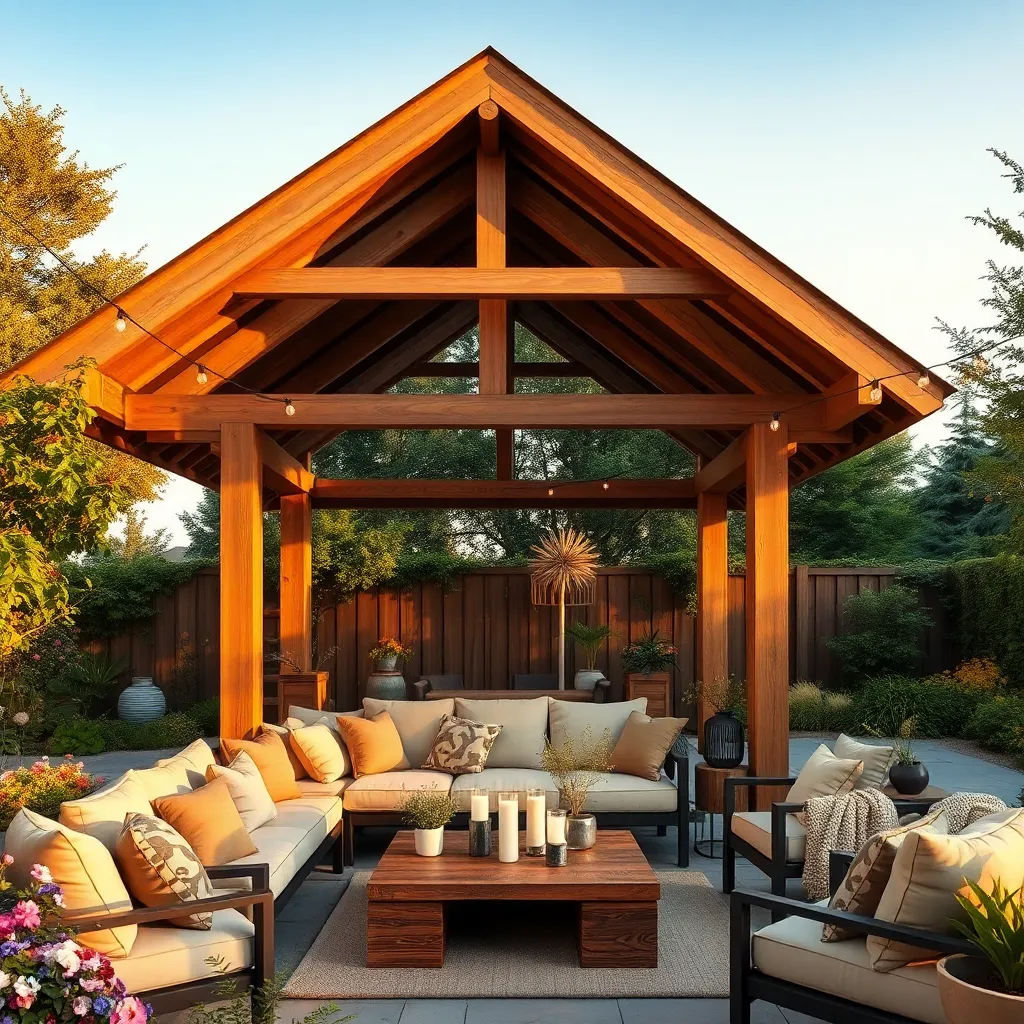
To transform your pavilion into a cozy retreat, consider incorporating warm lighting and soft textiles. String lights or solar-powered lanterns can add a magical glow without the need for electrical work, while outdoor rugs and cushions in weather-resistant fabrics provide comfort and style. Opt for neutral tones or earthy colors to blend with the natural surroundings, making the space feel inviting and harmonious.
Adding a few potted plants or a vertical garden can further enhance the coziness of your pavilion. Choose plants that thrive in outdoor conditions, such as ferns or succulents, and arrange them in varying heights for visual interest. For a more advanced touch, install adjustable screens or curtains to provide shade and privacy, offering a sanctuary from the elements. By paying attention to these details, you’ll create a retreat that beckons you outdoors, rain or shine.
Conclusion: Creating Beautiful Outdoor Spaces
In exploring the ‘7 DIY Pavilion Projects to Try This Weekend,’ we’ve uncovered seven invaluable relationship concepts: teamwork, communication, creativity, patience, commitment, shared goals, and celebration of accomplishments. Each project encapsulates these principles, offering you and your partner a unique opportunity to strengthen your bond while creating something beautiful together. As you embark on these DIY adventures, remember that the journey is as significant as the destination, fostering deeper connections and shared memories.
To take immediate action, choose one project that resonates with both you and your partner, and schedule a weekend to bring it to life. This simple step can set the stage for incredible growth and joy in your relationship.
We encourage you to bookmark this article as a go-to resource for nurturing your connection through shared activities. Keep it handy for future weekends when you’re eager to reconnect and recharge your relationship.
Looking ahead, these projects are more than just pavilions; they are the foundations of lasting relationship success. Embrace the opportunity to build, both physically and emotionally, and watch your relationship flourish. Here’s to building more than just structures—let’s craft lasting love!