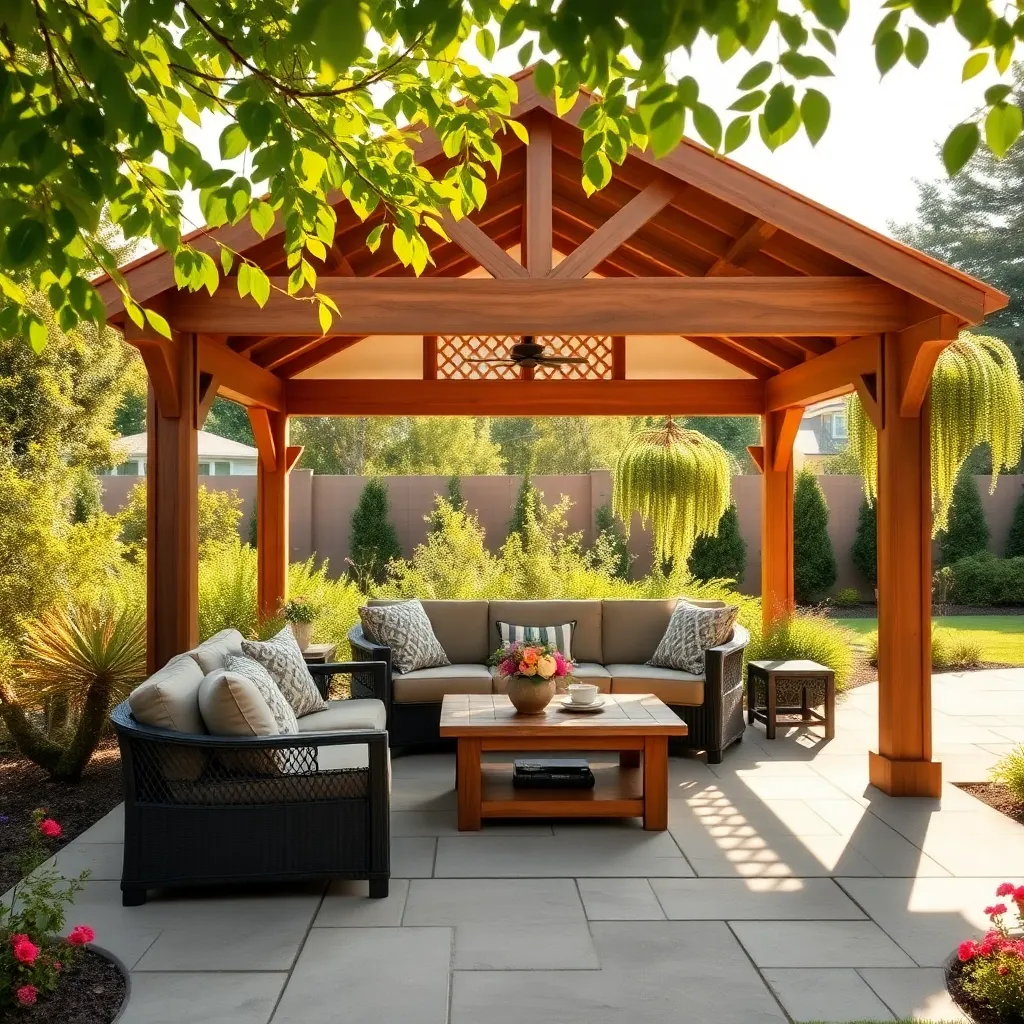
Imagine transforming your backyard into an inviting oasis, where family gatherings and quiet afternoons blend seamlessly under the graceful canopy of your very own gazebo. Whether you’re a seasoned DIY enthusiast or a homeowner just dipping your toes into the world of outdoor projects, building a gazebo with a DIY kit is an achievable and rewarding endeavor. This article will guide you every step of the way, ensuring you create a personal retreat that complements your lifestyle and enhances your outdoor living space.
In the pages to follow, you’ll find a treasure trove of insights on selecting the right materials, assembling your kit with ease, and adding those personalized touches that make your gazebo uniquely yours. From understanding the essential tools to navigating common pitfalls, we’ll equip you with the knowledge and confidence to build a structure that stands the test of time. Your backyard transformation awaits—let’s unlock the potential of your outdoor sanctuary together!
Select the Perfect Gazebo Site
When selecting the perfect site for your gazebo, consider placing it on level ground to ensure stability and ease of construction. Look for a spot that offers both shade and sunlight, ideally near a garden or scenic area to enhance your outdoor experience. To ensure longevity, choose a location that provides good drainage to prevent water pooling around the base.
It’s essential to consider the proximity to your house and utility connections for lighting or power needs. Measure the space to accommodate the gazebo’s dimensions while leaving room for pathways or additional seating. For those with more advanced landscaping skills, think about incorporating your gazebo into an existing patio or deck, using materials like wood or composite that match your home’s exterior for a cohesive look.
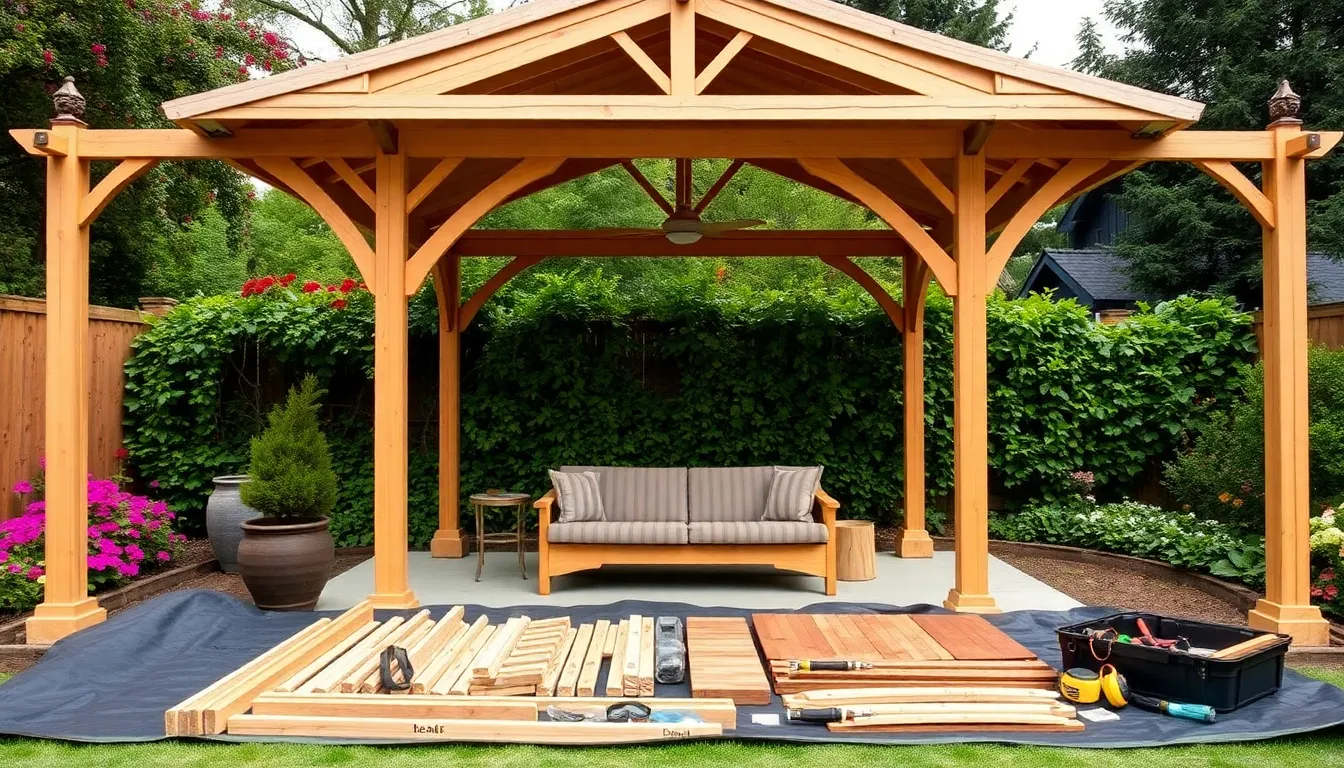
Unpack and Organize Kit Components

Once you’ve selected the perfect site for your gazebo, it’s time to unpack and organize the kit components to ensure a smooth construction process. Begin by laying out all the pieces on a flat, level surface, such as your driveway or patio, keeping similar parts grouped together. This initial organization will help you quickly identify any missing parts and make the assembly process more efficient. As you unpack, check the components against the kit’s inventory list to ensure everything you need is present and in good condition.
To make assembly straightforward, keep the instruction manual handy and refer to it frequently as you sort your materials. It might be helpful to arrange components in the order they will be used, as this will streamline your workflow. Consider using a tarp or drop cloth under the parts to prevent them from getting scratched or dirty. For a more advanced tip, label parts with painter’s tape and a marker to match them with corresponding steps in the instructions, which can save you time during the assembly.
Assemble Gazebo Frame Securely
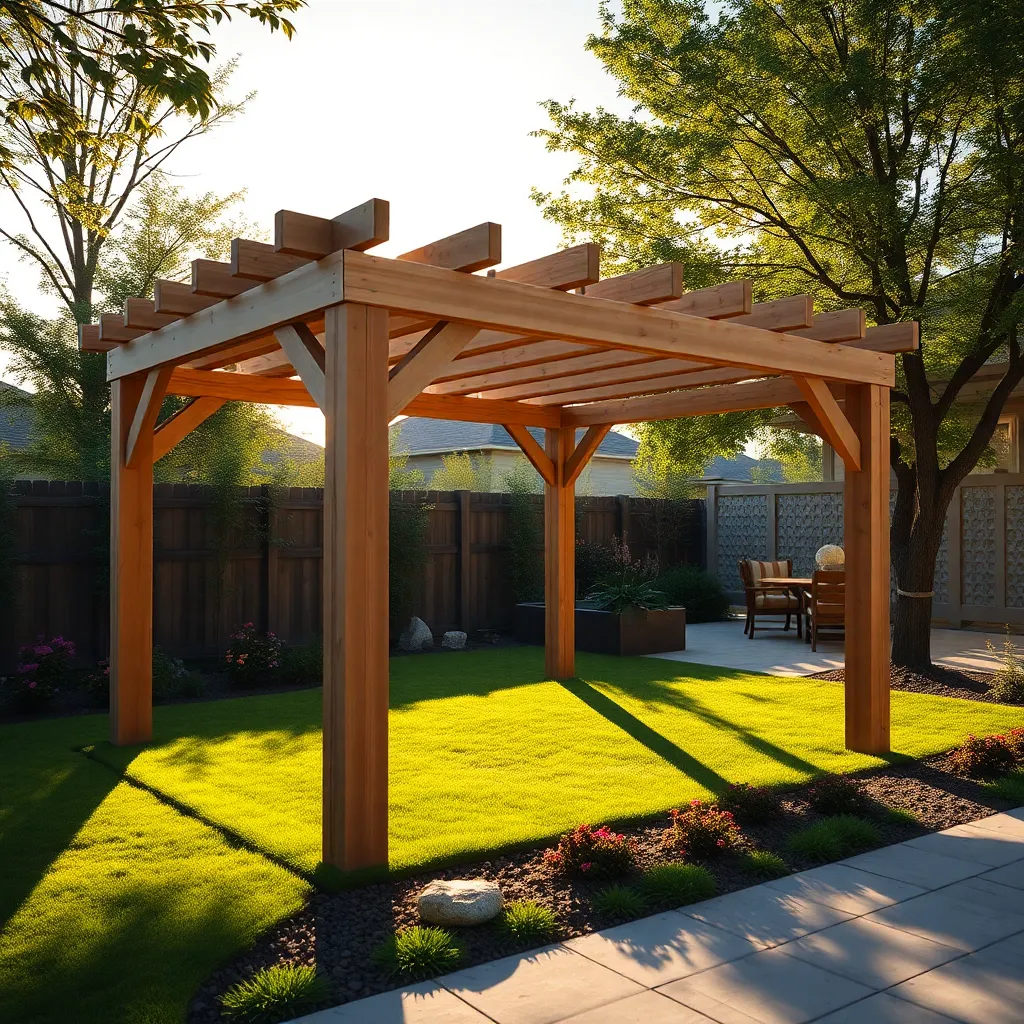
Begin by laying out the gazebo frame components on a flat surface, ensuring all parts are present and undamaged. Use the instructions provided in your kit to identify which pieces connect. Start with the base frame to establish a sturdy foundation; this is crucial for the stability of the entire structure. Connect the base using galvanized screws or bolts, which resist rust and provide long-term durability. For additional security, consider using a level to ensure the base is even, as an uneven foundation can lead to structural issues.
Once the base is secure, proceed to attach the vertical supports, making sure they are plumb using a spirit level. Reinforce each joint with metal brackets for enhanced strength, especially if you live in an area prone to high winds. Beginners should follow the kit’s step-by-step instructions closely, while experienced builders might opt to add extra cross-bracing for increased stability. As you assemble, periodically check the alignment and balance of the frame to prevent any leaning or instability that could compromise the gazebo’s integrity. With these steps, your gazebo’s frame will be both robust and reliable, ready to withstand various weather conditions.

Attach Roof Panels Carefully
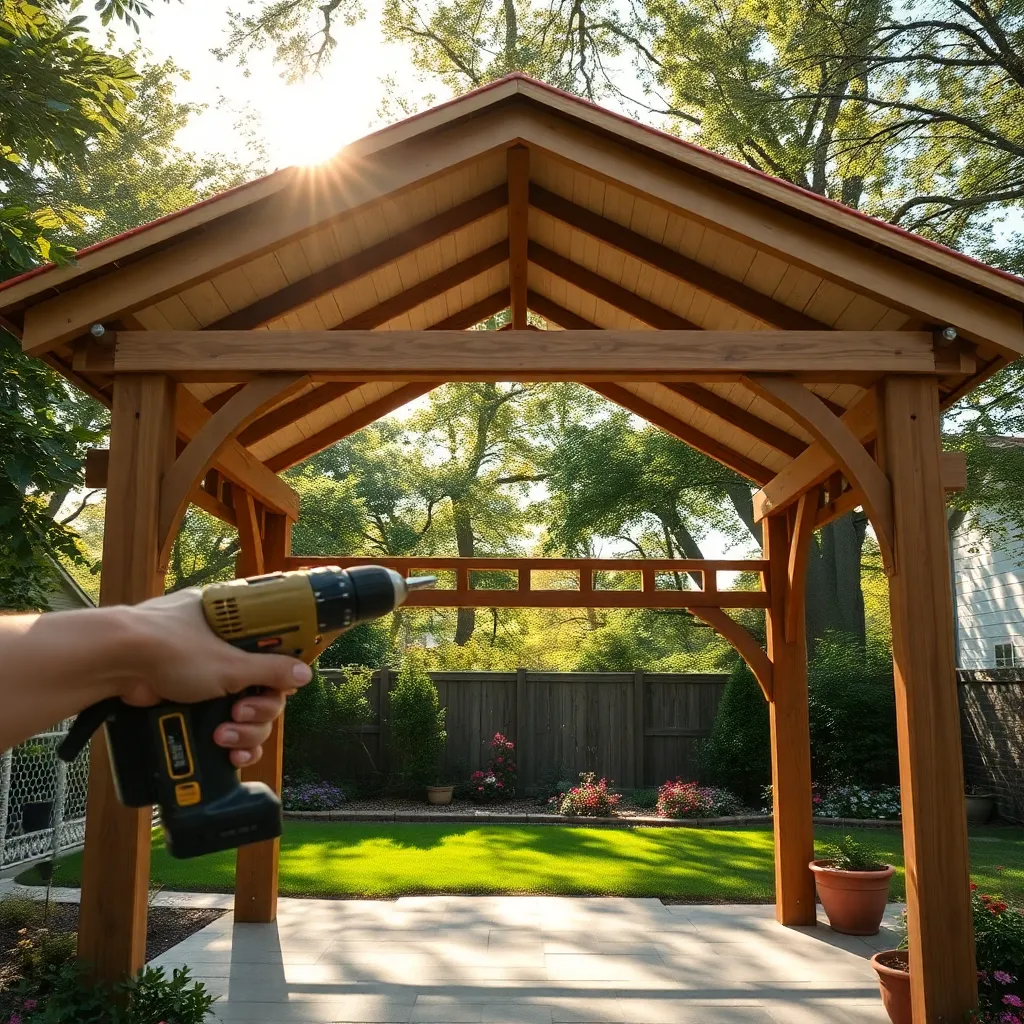
When attaching roof panels, it’s crucial to ensure they are aligned accurately to prevent any gaps or leaks. Begin by laying the first panel at the edge of the gazebo frame, securing it with the provided screws or bolts. Use a level to check alignment as you proceed with each panel, ensuring they fit snugly against each other. For a more secure fit, consider using weather-resistant sealant along the edges where panels meet, which is especially beneficial in areas prone to heavy rainfall.
Pay attention to the materials of your roof panels, as this affects both durability and appearance. Common options include metal, polycarbonate, and wood, each offering unique benefits. Metal panels are durable and low-maintenance, while polycarbonate is lightweight and allows natural light. If you opt for wooden panels, ensure they are treated for weather resistance. For an advanced touch, consider adding a slight overhang to your roof panels to direct rainwater away from the structure, enhancing the longevity of your gazebo.
Anchor Gazebo for Stability
Anchoring your gazebo is essential for ensuring its stability, especially in areas prone to strong winds. Begin by selecting suitable anchors based on your surface type. For a concrete patio, use expansion bolts; for a wooden deck, opt for lag screws or deck anchors. If you’re setting up on grass or soil, consider using ground stakes or spiral anchors. These materials will secure your structure and help prevent any shifting or damage over time.
For added stability, consider integrating cross-bracing into the frame of your gazebo. Cross-bracing involves creating a diagonal support system between vertical and horizontal elements of the gazebo. This advanced technique can be achieved using metal brackets or wood, depending on your design preference. Additionally, ensure all bolts and screws are tightened properly; loose fasteners can compromise the structural integrity.
- Check connections regularly to maintain stability over the long term.
- Apply weather-resistant sealant to protect against moisture and rust.
Conclusion: Creating Beautiful Outdoor Spaces
In building your gazebo with a DIY kit, you’ve not only enhanced your outdoor space but also discovered five vital relationship concepts: teamwork, communication, patience, problem-solving, and the joy of shared accomplishments. Each step of the construction process mirrors essential relational skills, reminding us that just like building a structure, nurturing a relationship requires collaboration and understanding.
Now, as you admire your handiwork, take a moment to reflect on these insights and choose one area to focus on with your partner this week. Perhaps it’s improving communication by setting aside time for uninterrupted conversation or celebrating small victories together to strengthen your bond.
Don’t let these valuable lessons slip away. Save or bookmark this article to revisit whenever you need a reminder or when embarking on your next project together.
Remember, every effort you invest in building and maintaining your relationship lays the foundation for a strong, resilient partnership. By applying these skills consistently, you’re not just constructing gazebos but crafting a successful future filled with mutual growth and understanding. Let this be the beginning of many more collaborative projects that enrich your relationship.