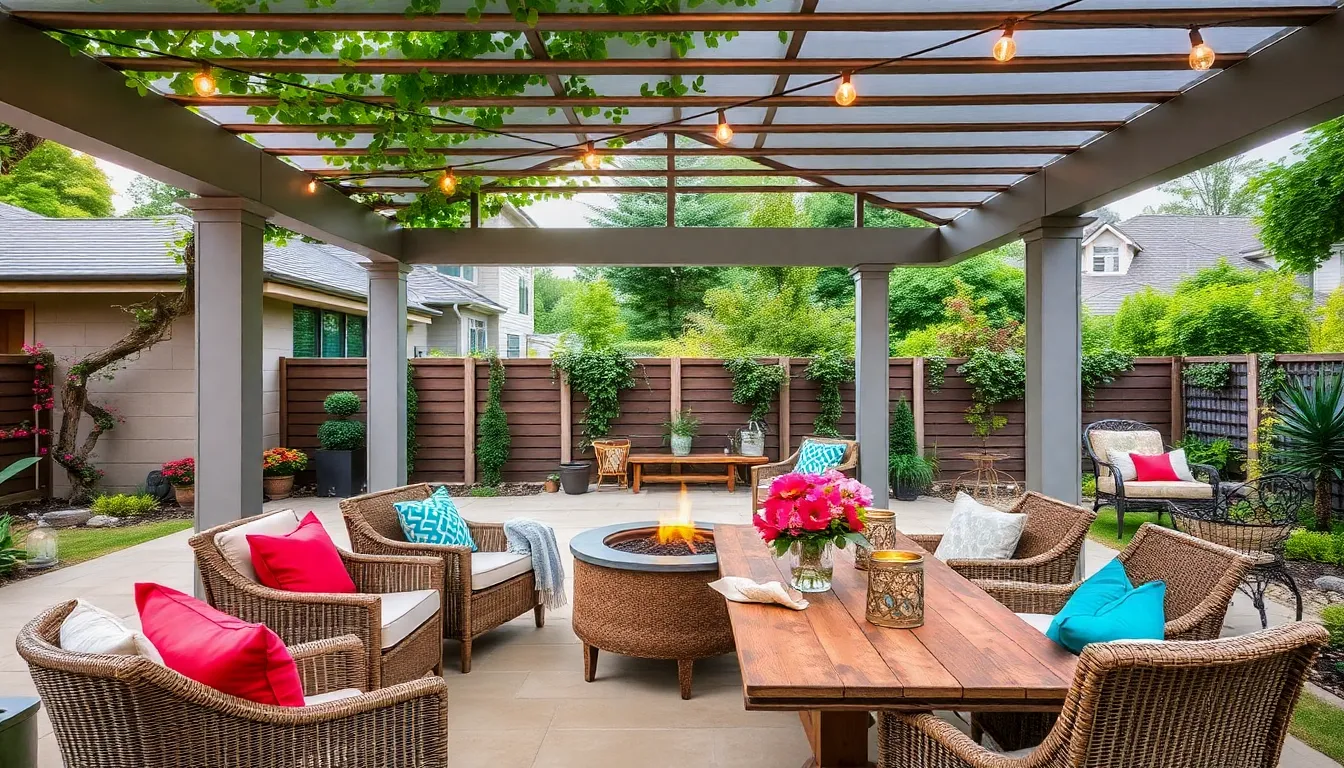
Imagine transforming your patio into a versatile haven that stands resilient against the whims of weather. Whether you’re a novice eager to make your outdoor space more inviting or a seasoned homeowner looking to enhance your existing setup, learning how to waterproof your patio roof is a game-changer. This is your gateway to creating a cozy retreat that remains comfortable and dry, no matter what Mother Nature throws your way.
In this article, we’ll walk you through practical steps and expert tips to effectively waterproof your patio roof, ensuring lasting durability and charm. From understanding the best materials to applying innovative techniques, you’ll gain the confidence and knowledge to protect your outdoor sanctuary. Let’s dive into a journey that will empower you to enjoy your patio, rain or shine!
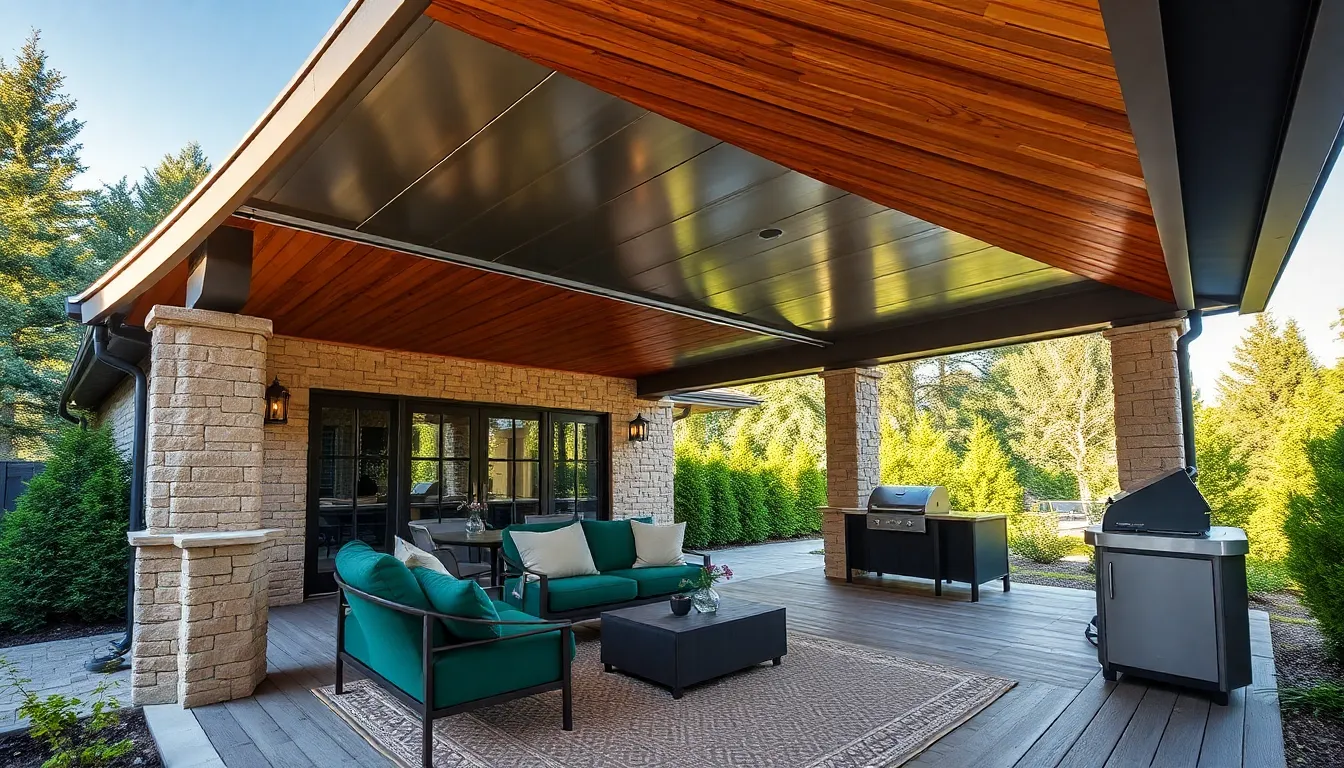
Inspect Current Roof Condition
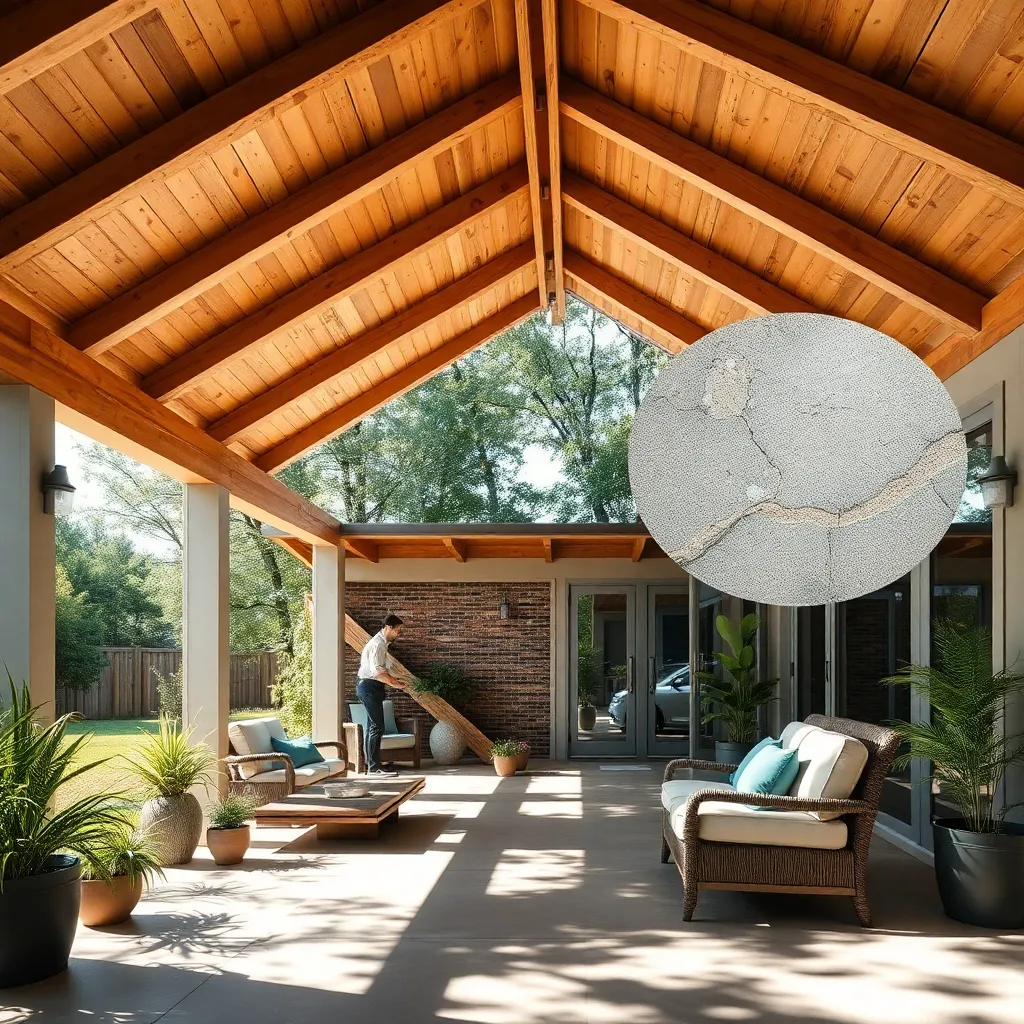
Begin by thoroughly examining the current condition of your patio roof to identify any existing issues that could impact waterproofing efforts. Look for signs of wear and tear such as cracks, loose shingles, or rusted metal components, as these can compromise the roof’s integrity. For beginners, it’s helpful to use a ladder with a stabilizer to ensure safety while inspecting from above, and remember to do this on a dry day to prevent slipping.
For those with more experience, consider using a moisture meter to detect hidden leaks or damp spots that aren’t immediately visible. Pay special attention to areas around flashing and joints, as these are common weak points where water can seep in. If any issues are identified, address them promptly using suitable materials such as roof sealant or replacement shingles, ensuring all repairs are compatible with the existing roof structure to maintain uniformity and effectiveness in waterproofing.
Select Suitable Waterproofing Material
When it comes to waterproofing your patio roof, selecting the right materials is crucial for long-lasting protection. Polyurethane coatings are a popular choice because they provide a durable, seamless layer that resists water penetration. For those looking for an eco-friendly option, consider silicone coatings, which offer excellent UV resistance and flexibility. Both options are suitable for a range of climates and can be applied to various roof types, making them versatile choices for homeowners.
In addition to coatings, consider using EPDM rubber roofing for flat or low-slope patio roofs. This synthetic rubber membrane is renowned for its weather resistance and longevity, often lasting over 20 years with proper maintenance. For a more traditional look, you might opt for asphalt shingles, which are easy to install and replace. Regardless of the material you choose, ensure proper installation by overlapping seams correctly and sealing all edges to prevent leaks. Investing in these quality materials will help maintain a dry and inviting outdoor space for years to come.
Clean and Prepare Roof Surface

Before applying any waterproofing material, it’s crucial to thoroughly clean and prepare the roof surface to ensure optimal adhesion and effectiveness. Begin by removing any debris, dirt, or leaves using a broom or leaf blower. For stubborn stains or mildew, scrub the surface with a mixture of water and mild detergent, or use a pressure washer for a deeper clean. Ensure the roof is completely dry before proceeding, as moisture can prevent waterproofing materials from adhering properly.
Once the surface is clean, inspect it for any damage, such as cracks or holes, which should be repaired before waterproofing. Use a high-quality roof sealant or patching compound to fix these areas. For more advanced protection, consider applying a primer designed for your specific waterproofing material. This enhances the bond between the roof surface and the waterproof layer, ensuring a longer-lasting shield against water damage. With a properly prepared surface, you’re now ready to apply the waterproofing material with confidence.
Apply Waterproof Membrane Evenly
After preparing your roof surface, it’s time to apply the waterproof membrane. Select a high-quality, durable membrane, such as EPDM rubber or bitumen, as these materials are known for their longevity and effectiveness in protecting against moisture. Before application, ensure the surface is completely dry and debris-free to guarantee proper adhesion. Roll out the membrane slowly and evenly, using a squeegee to press it firmly onto the surface, avoiding any air bubbles or wrinkles that could compromise its effectiveness.
As you work, overlap each section of the membrane by at least 2-4 inches to ensure comprehensive coverage and prevent leaks. For added security, seal the edges with a compatible adhesive, especially around corners and seams, where water can easily penetrate. Advanced tip: Use a heat gun to slightly warm the membrane, making it more pliable and easier to mold around edges and irregular surfaces. This step will ensure a snug fit and a watertight seal, providing robust protection for your patio roof.
Seal Edges and Overlaps Securely
To ensure your patio roof remains waterproof, it’s crucial to seal edges and overlaps securely. Use a high-quality sealant, such as silicone or polyurethane, to fill gaps and seams where water might seep in. When sealing, focus on areas where different materials meet, like the junction of metal and wood. For beginners, applying sealant with a caulking gun can provide a precise application. Remember to smooth the sealant with a caulking tool or your finger to create a uniform barrier.
Additionally, incorporating flashing is an advanced technique that can significantly enhance water resistance. Install metal flashing at vulnerable points such as roof valleys, around chimneys, or where the patio roof meets the house wall. Ensure the flashing overlaps shingles or roofing panels by at least 2 inches to direct water away effectively. For enhanced durability, use corrosion-resistant materials like aluminum or galvanized steel. Regularly inspect these areas and reapply sealant if you notice any deterioration over time.
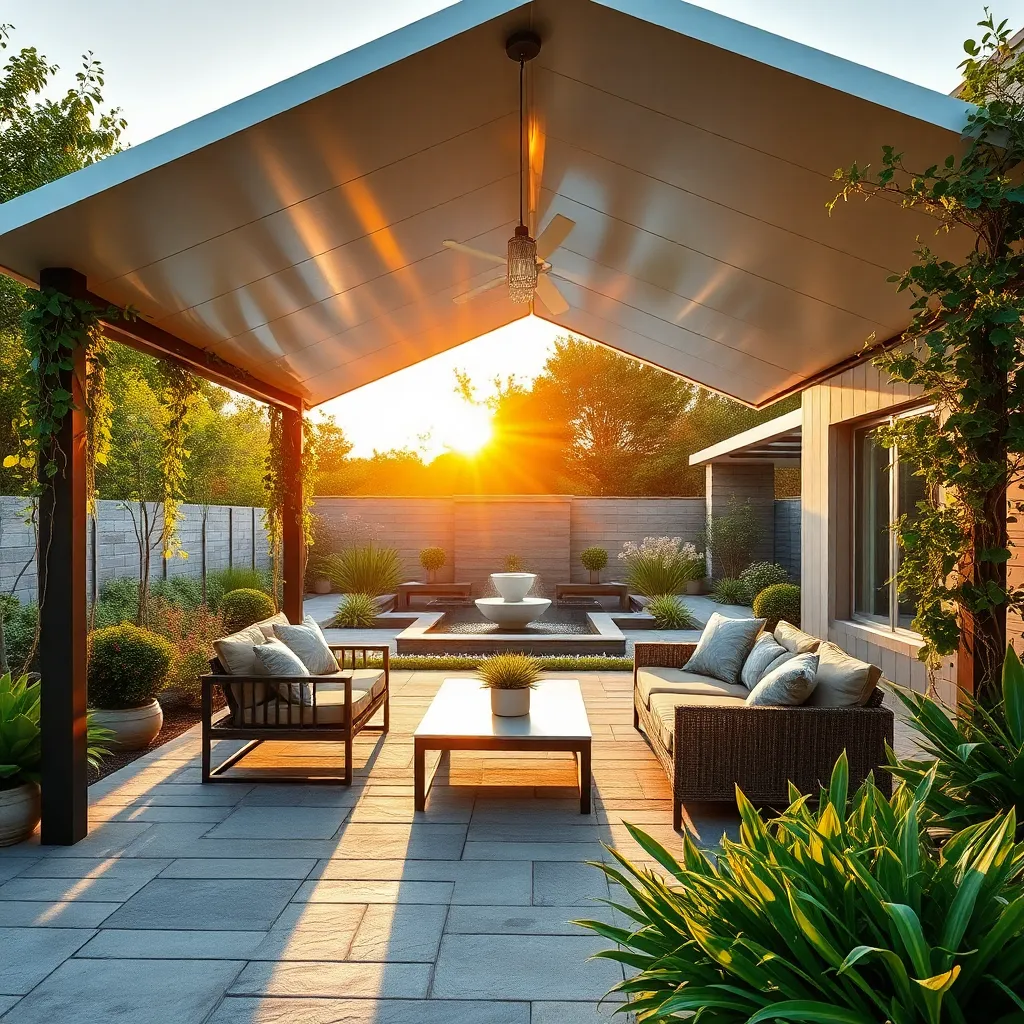
Conclusion: Creating Beautiful Outdoor Spaces
As we wrap up our exploration of “How to Waterproof Your Patio Roof,” let’s revisit the five key relationship concepts we’ve discussed. We began by understanding the importance of clear communication, ensuring both parties are on the same page before embarking on any project. Next, we emphasized teamwork, highlighting how working together can strengthen your bond. We then explored trust, as relying on each other’s strengths can lay a solid foundation for success. Fourth, we learned the value of patience, reminding us that great things take time. Lastly, we discussed adaptability, encouraging us to embrace change and find creative solutions together.
Now, take a moment to engage with your partner in a meaningful conversation about a shared project, whether it’s waterproofing a patio or planning a weekend getaway. This is your first step towards reinforcing these concepts in your relationship.
Don’t forget to save or bookmark this article for future reference—it could be the guiding light you revisit when working on your next joint venture. By nurturing these relationship skills, you’ll pave the way for a resilient and thriving partnership. Remember, every step you take together is a step towards a stronger, more fulfilled relationship.