
Imagine transforming your backyard into an inviting oasis that beckons with the promise of relaxation and style. Whether you’re a seasoned DIY enthusiast or just dipping your toes into home improvement, building a covered patio can seamlessly blend the comfort of indoor living with the beauty of the outdoors. This project not only enhances your home’s value but also creates a personal sanctuary for you and your loved ones to enjoy year-round.
In this step-by-step guide, we’ll walk you through everything from selecting the perfect materials to mastering the construction techniques that suit your skill level. You’ll gain practical insights and learn handy tips to ensure your patio not only stands the test of time but also reflects your unique taste. Let’s embark on this rewarding journey to bring your dream patio to life, one step at a time.
Design Detailed Patio Layout
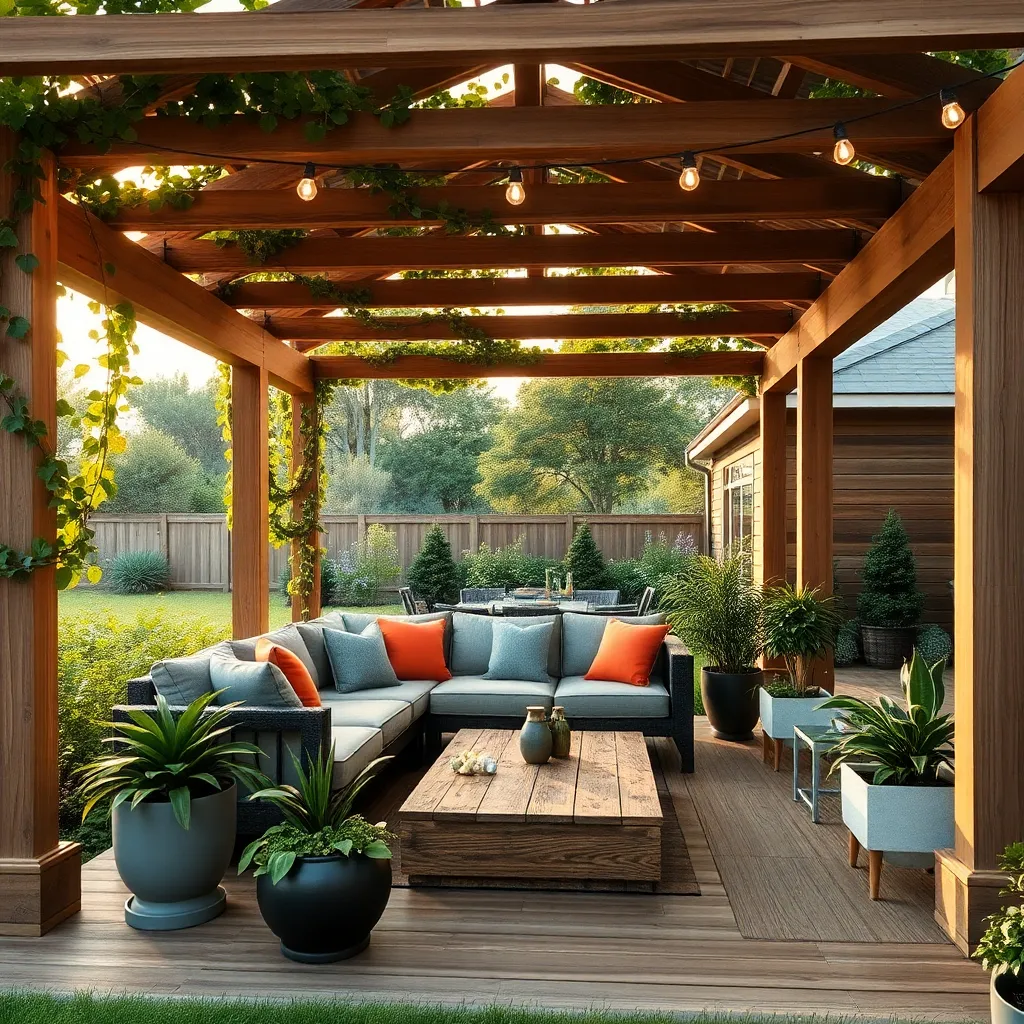
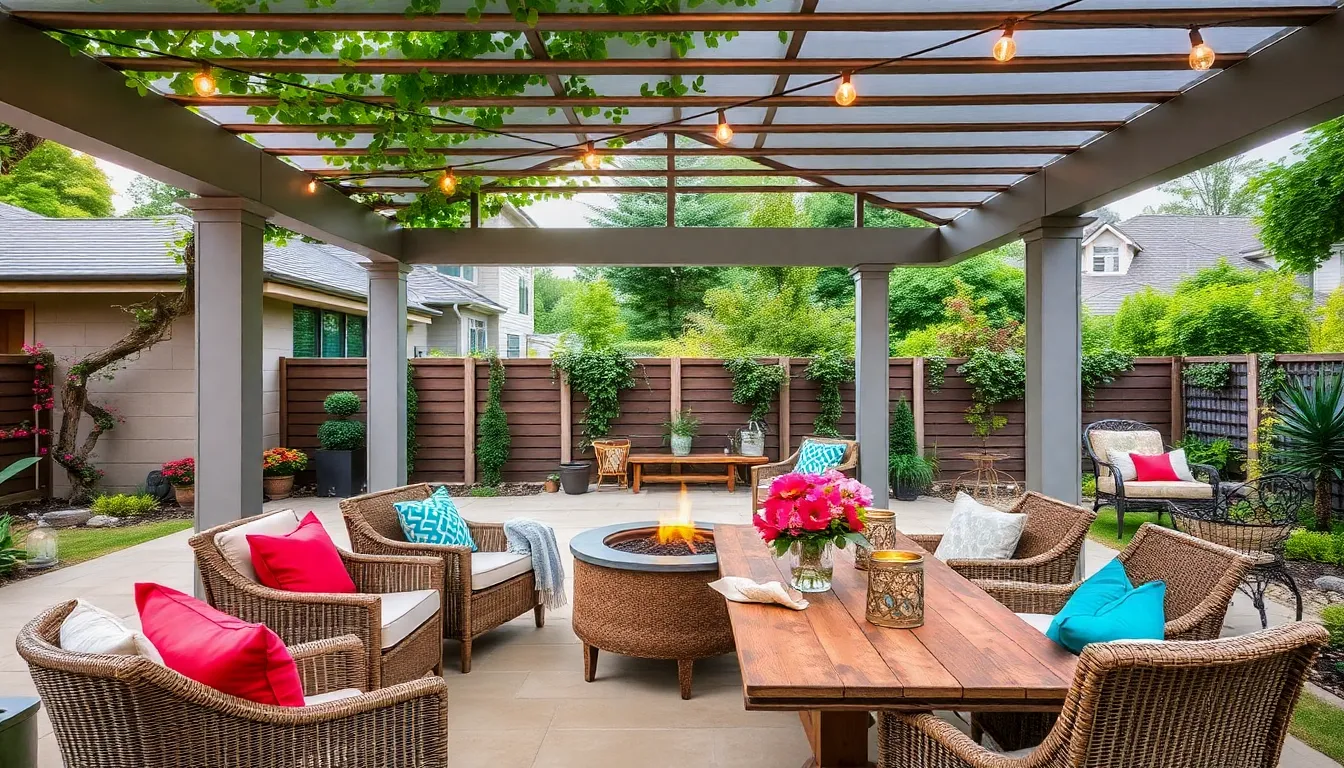
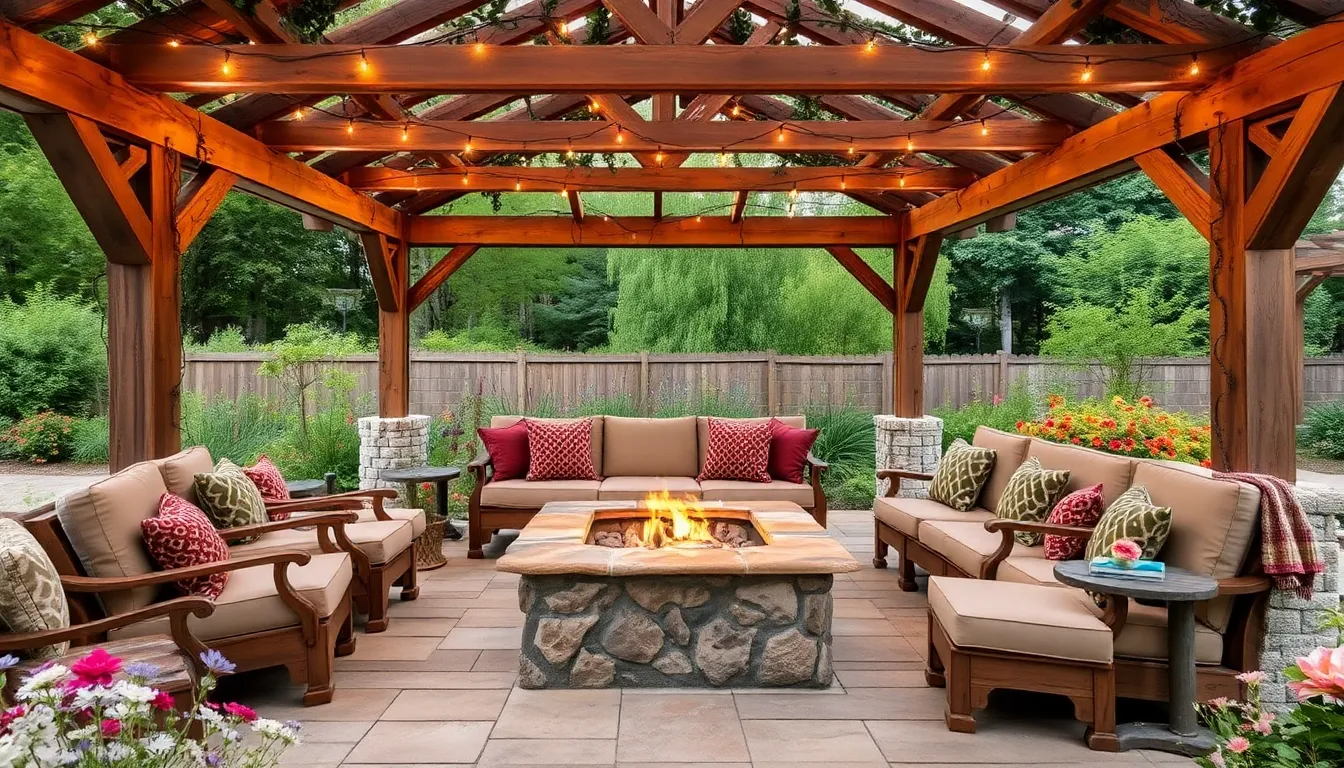
Begin designing your patio layout by measuring the available space and considering how you plan to use it. A common size for a comfortable patio is around 12×14 feet, which provides enough room for a small dining area or a seating arrangement. Use durable materials like concrete, stone, or brick for the flooring, ensuring they complement your home’s exterior. For a more advanced touch, consider incorporating built-in planters or a fire pit to enhance functionality and aesthetics.
Next, think about the patio’s orientation to capitalize on sunlight and shade throughout the day. Position seating areas to enjoy morning sun or afternoon shade based on your preference. To add an extra layer of detail, use pergolas or trellises as part of your patio cover to support climbing plants, offering both beauty and natural shade. Consider integrating LED lighting into your design for ambiance and practicality, ensuring your patio is inviting during evenings as well.
Gather Essential Construction Tools

When embarking on your patio project, gathering the right tools is crucial for a smooth construction process. Start with basic tools like a measuring tape, level, and square to ensure precise measurements and alignments. A power drill with a variety of drill bits will be indispensable for securing materials, while a circular saw can make quick work of cutting timber to size. For those looking to enhance their craftsmanship, investing in a miter saw can provide cleaner, more accurate cuts, particularly if you plan to incorporate decorative elements like angled beams or latticework.
Alongside these tools, don’t forget to have a sturdy ladder and reliable work gloves to ensure safety and comfort while working. For a more professional finish, consider using a nail gun to speed up the process of attaching boards and beams. Additionally, a post hole digger will be necessary if your design requires setting posts into the ground. Having these essential tools on hand will not only make the construction more efficient but also empower you to handle any unexpected challenges confidently, encouraging a fulfilling DIY experience.
Install Sturdy Support Posts
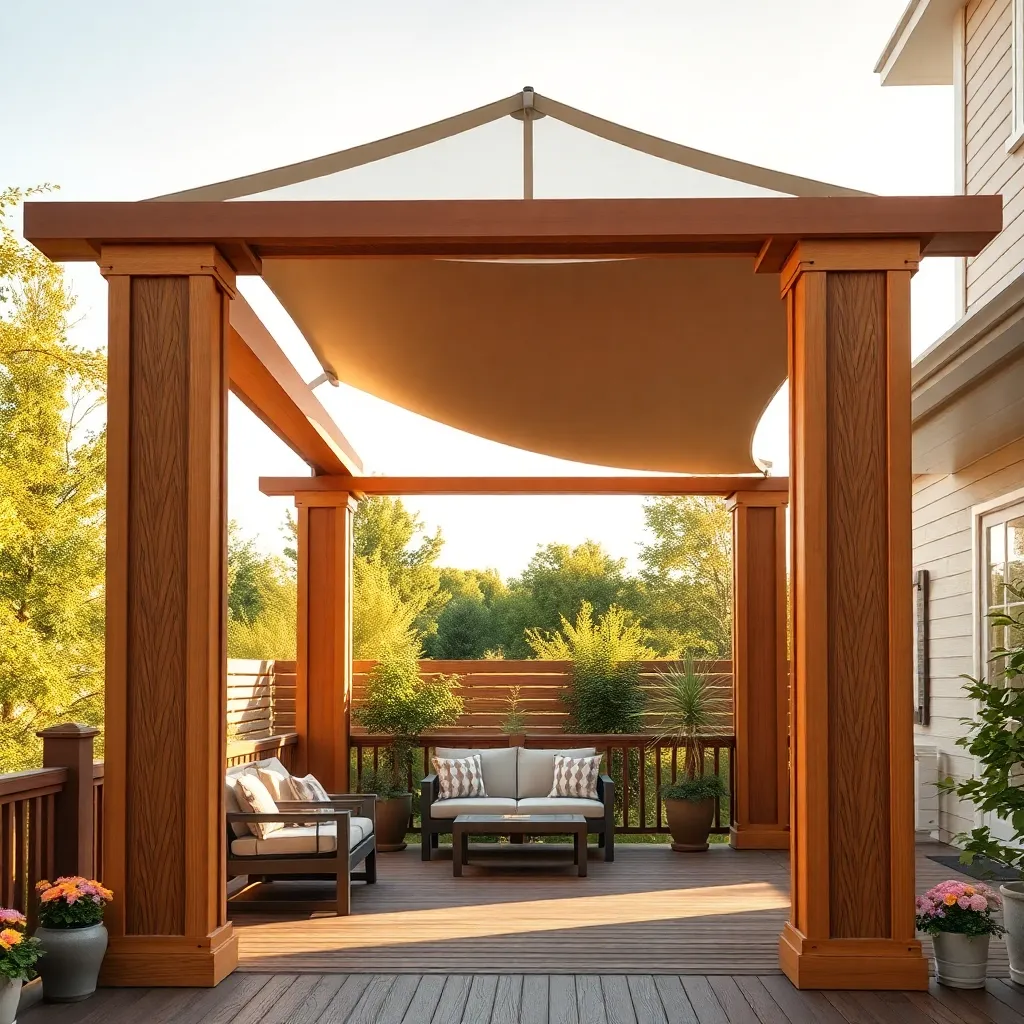
Once you’ve gathered your essential tools, it’s time to install sturdy support posts, which are crucial for a stable and long-lasting patio cover. Choose materials that withstand weather conditions, such as pressure-treated wood or steel, to ensure durability. For a typical backyard patio, consider using 4×4 or 6×6 posts. Before installation, mark the post locations precisely, ensuring they are evenly spaced and aligned. This will provide a balanced look and adequate support for your structure.
Start by digging post holes that are at least one-third the length of the post to provide a solid foundation. Use concrete to set the posts, allowing it to cure for at least 24 hours before proceeding. For a more advanced touch, consider using post anchors for added stability and ease of replacement in the future. Ensure each post is perfectly vertical using a level, and double-check measurements to maintain alignment. This meticulous preparation will pay off in the durability and appearance of your covered patio.
Attach Roof Trusses Securely
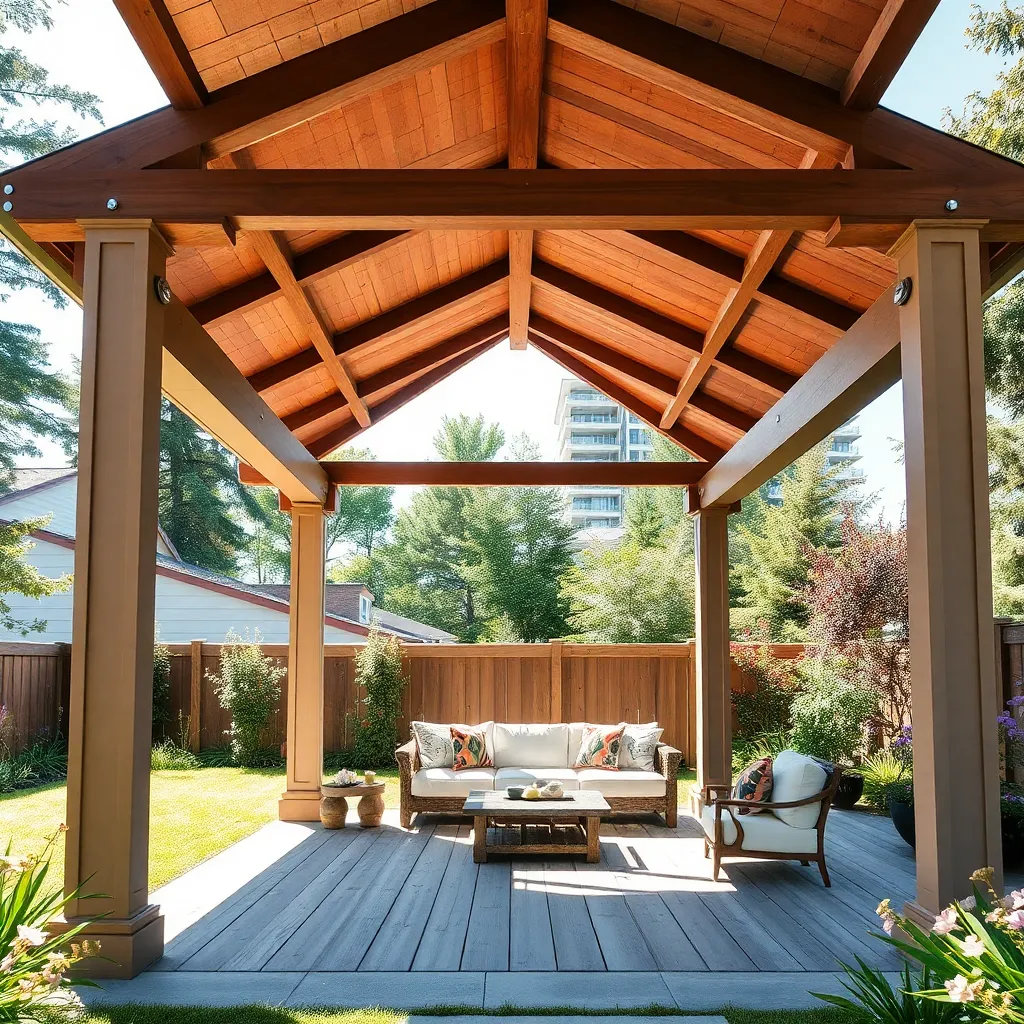
To securely attach roof trusses, start by ensuring the support posts are perfectly level and plumb. This foundation is crucial for stability. Use pressure-treated timber for the trusses to prevent rot and withstand weather conditions. Position each truss at a consistent interval, typically 24 inches apart, to provide adequate support for the roofing material. For added strength, consider using hurricane ties or metal truss connectors to attach the trusses to the support beams.
Once the trusses are in place, ensure they are aligned correctly by using a temporary brace or string line. Check for any twists or misalignments that could affect the integrity of the roof. Beginners can benefit from using pre-fabricated trusses, which simplify the process and ensure precision. Advanced DIYers might opt to cut their own trusses, but should carefully calculate the pitch and length to match the desired roof style. A secure truss attachment not only supports the roof but also enhances the overall durability of your covered patio.
Finish with Durable Flooring
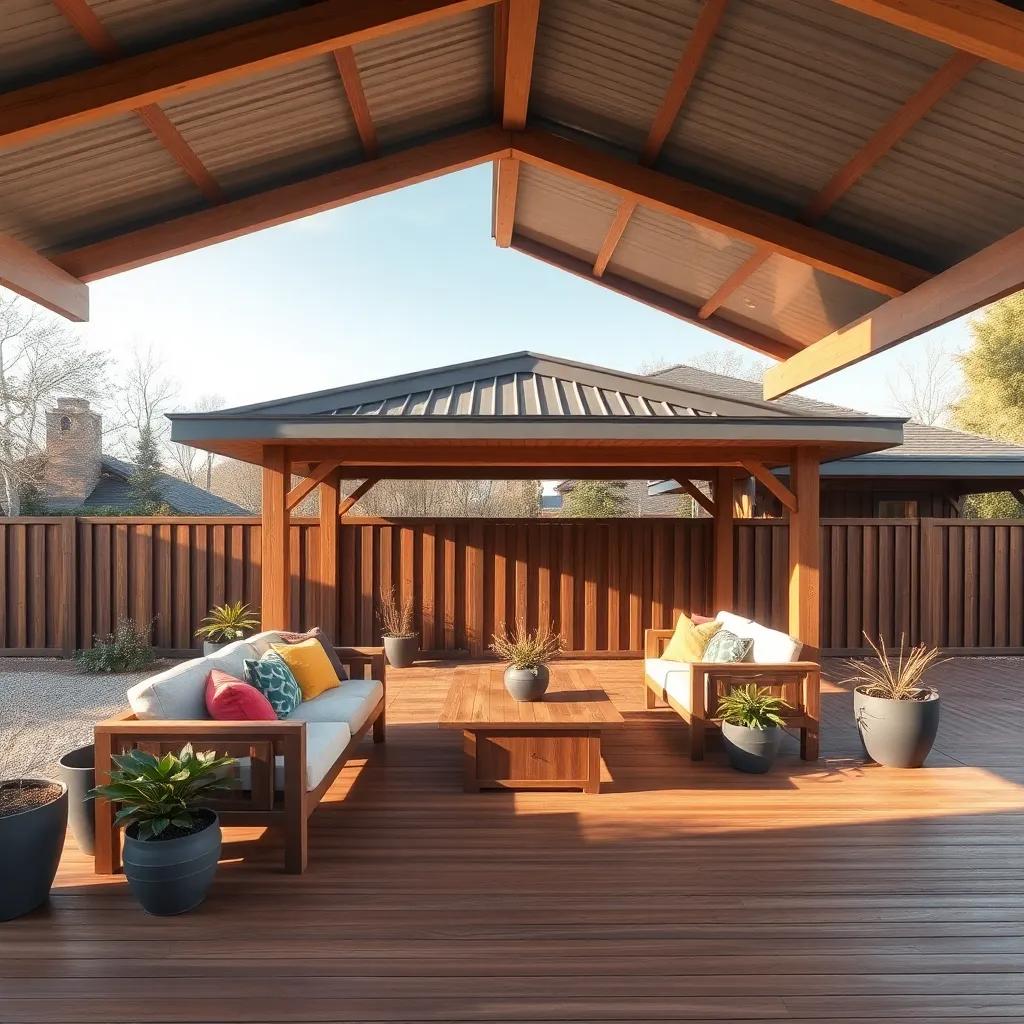
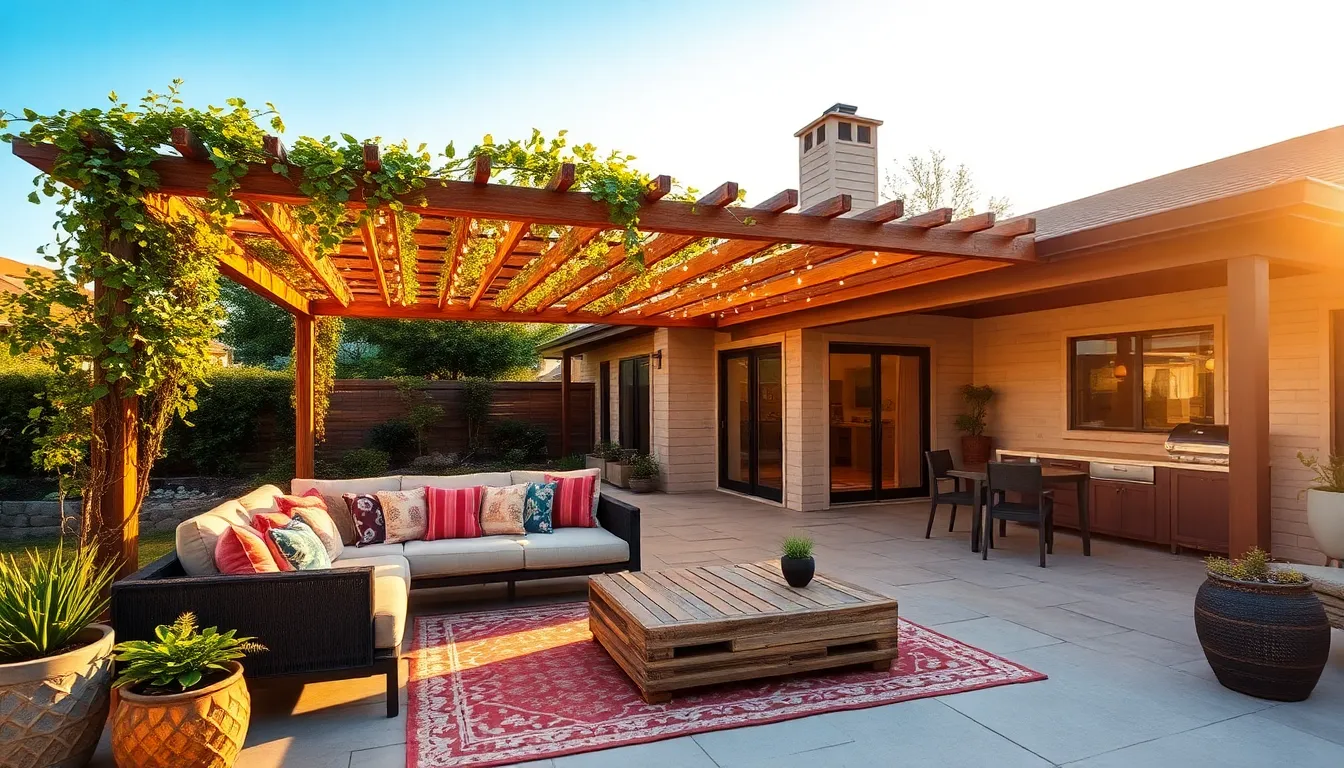
To complete your covered patio, consider finishing with durable flooring that will withstand outdoor conditions. Opt for materials such as concrete, stone pavers, or treated wood, which are all excellent choices for longevity and resistance to the elements. If you’re leaning towards concrete, consider a stamped finish to add texture and visual interest, while stone pavers offer a more natural look that blends seamlessly with garden landscapes.
For those seeking a more personalized touch, consider incorporating intricate tile designs or a mosaic pattern to enhance the aesthetic appeal. Ensure the surface is slightly sloped to facilitate water drainage and prevent pooling, which could lead to damage over time. For a professional touch, use high-quality sealants to protect against stains and weathering, keeping your patio floor looking pristine year-round. Advanced DIYers might explore radiant heating beneath the flooring for added comfort during cooler months.
Conclusion: Creating Beautiful Outdoor Spaces
In “How to Build a Covered Patio Step-by-Step,” we explored five key relationship concepts: the foundations of trust and communication, the importance of shared goals, the art of compromise, the necessity of quality time, and the value of appreciation. These elements are akin to constructing a strong patio—each part supports the other, creating a space where love can thrive.
As an immediate next step, why not set aside quality time this week to revisit and discuss these concepts with your partner? Consider it the first brick in your patio of relationship growth.
Remember, relationships like patios require maintenance and care, so bookmark this article to keep these concepts at your fingertips. Whether you’re basking in the sun of good times or weathering a storm, having this resource will guide you towards a resilient and fulfilling partnership.
As you move forward, know that every step you take is a stride toward a stronger relationship. With intentional effort and love, your relationship can offer the same comfort and joy as a beautifully built patio. Embrace this journey, and create a lasting haven of connection.