Imagine stepping into your backyard and being greeted by a beautifully crafted rustic patio roof that not only enhances your outdoor space but also offers a cozy shelter. Whether you’re a beginner eager to embark on your first outdoor project or an experienced homeowner looking to refresh your space, our list of “18 Rustic Patio Roof Ideas” is your gateway to creating a charming, functional retreat right at home.
In this guide, you’ll discover a treasure trove of ideas that seamlessly blend rustic charm with practical design, offering shelter from the elements while elevating your patio’s aesthetic. These inspirations will empower you to transform your backyard into a personal haven, perfect for everything from quiet mornings with a cup of coffee to lively gatherings with friends and family. Let’s dive into the world of rustic elegance and unlock the full potential of your outdoor living area!
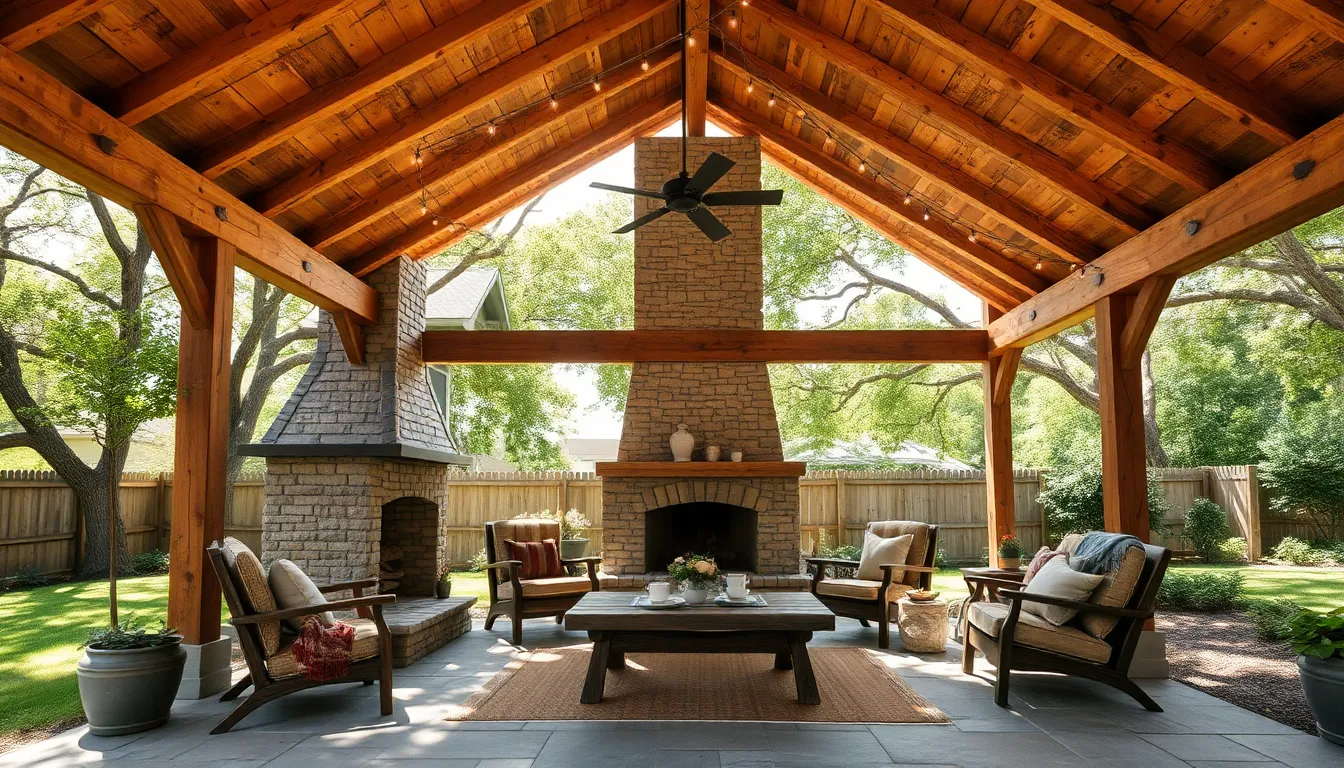
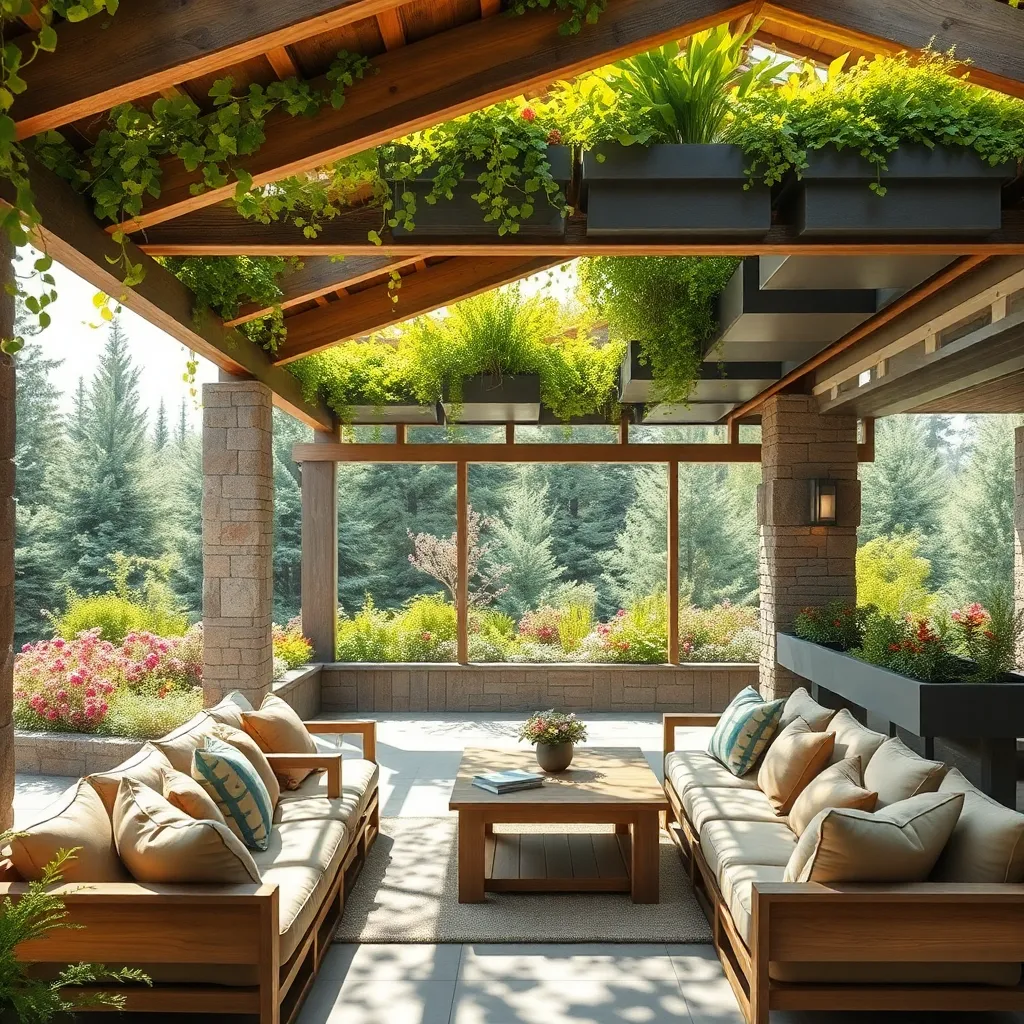
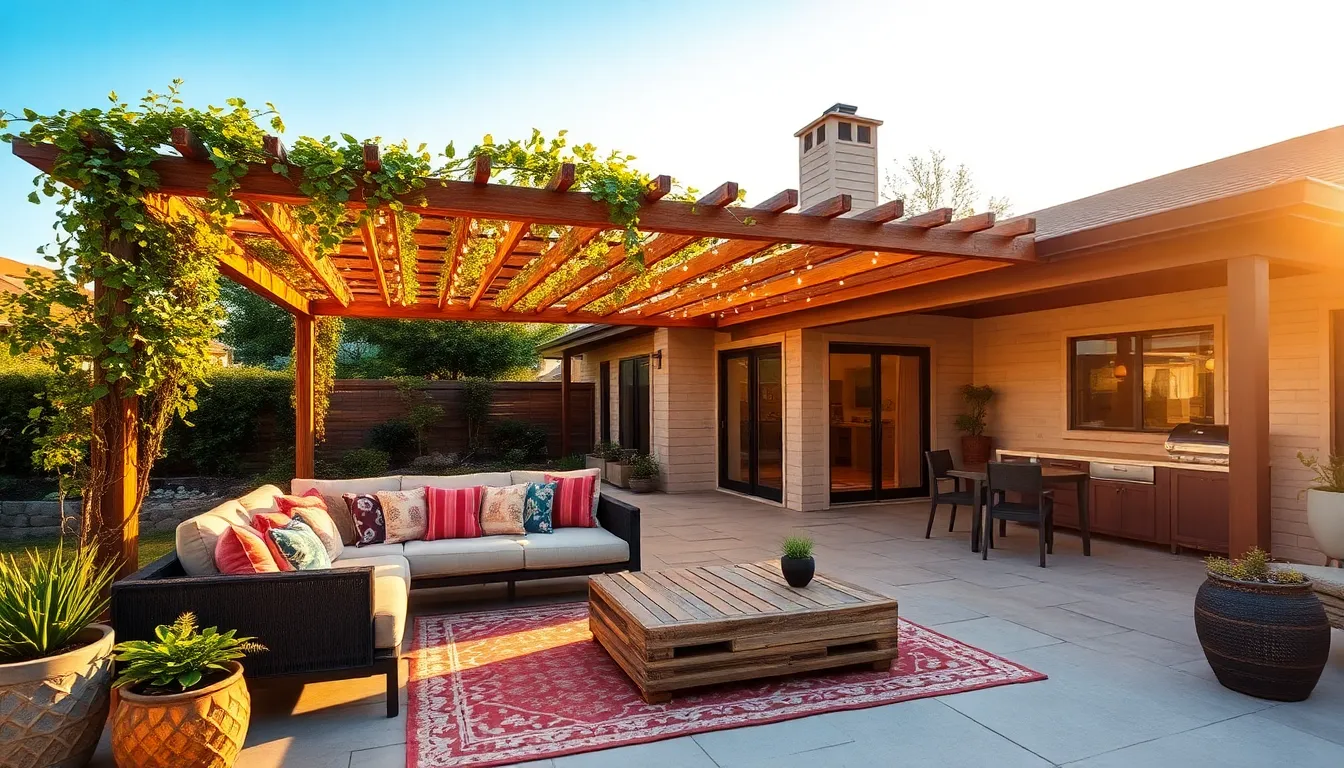
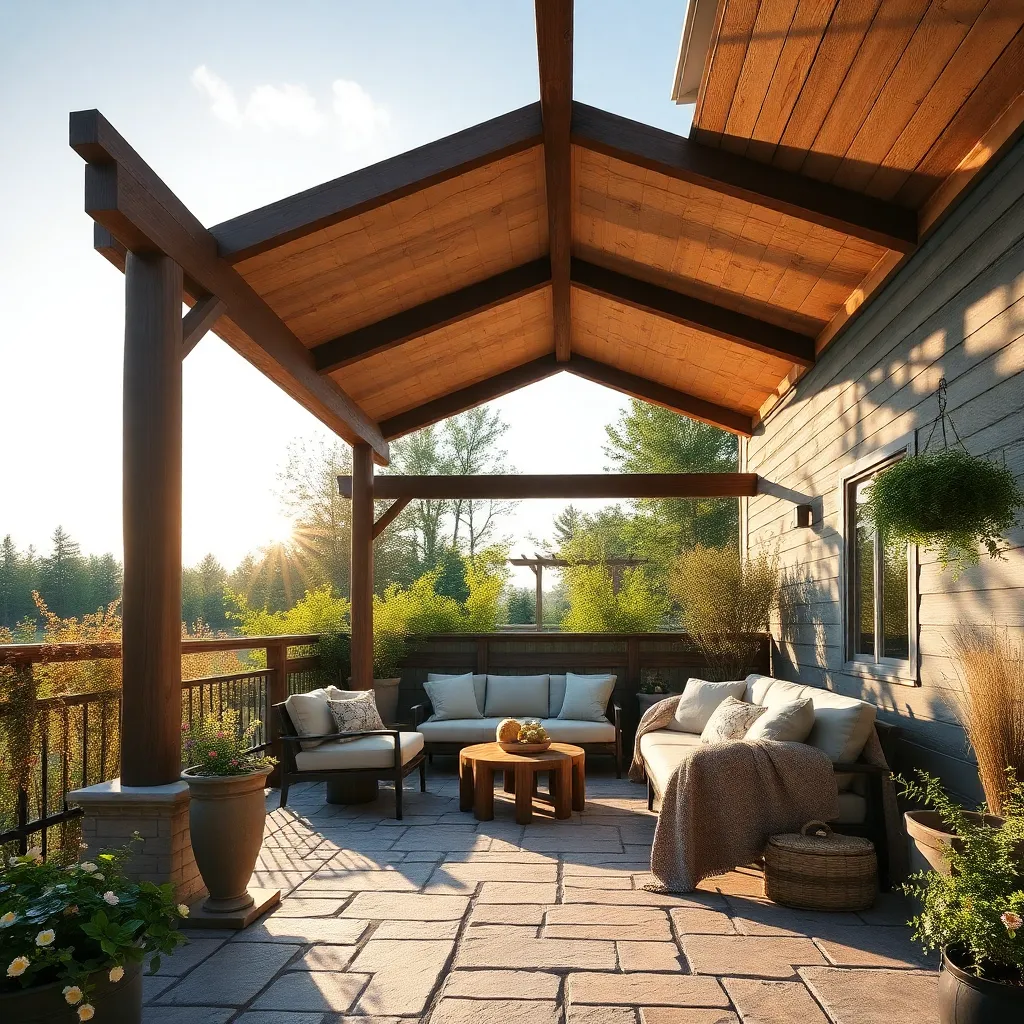
Incorporate Reclaimed Wooden Beams
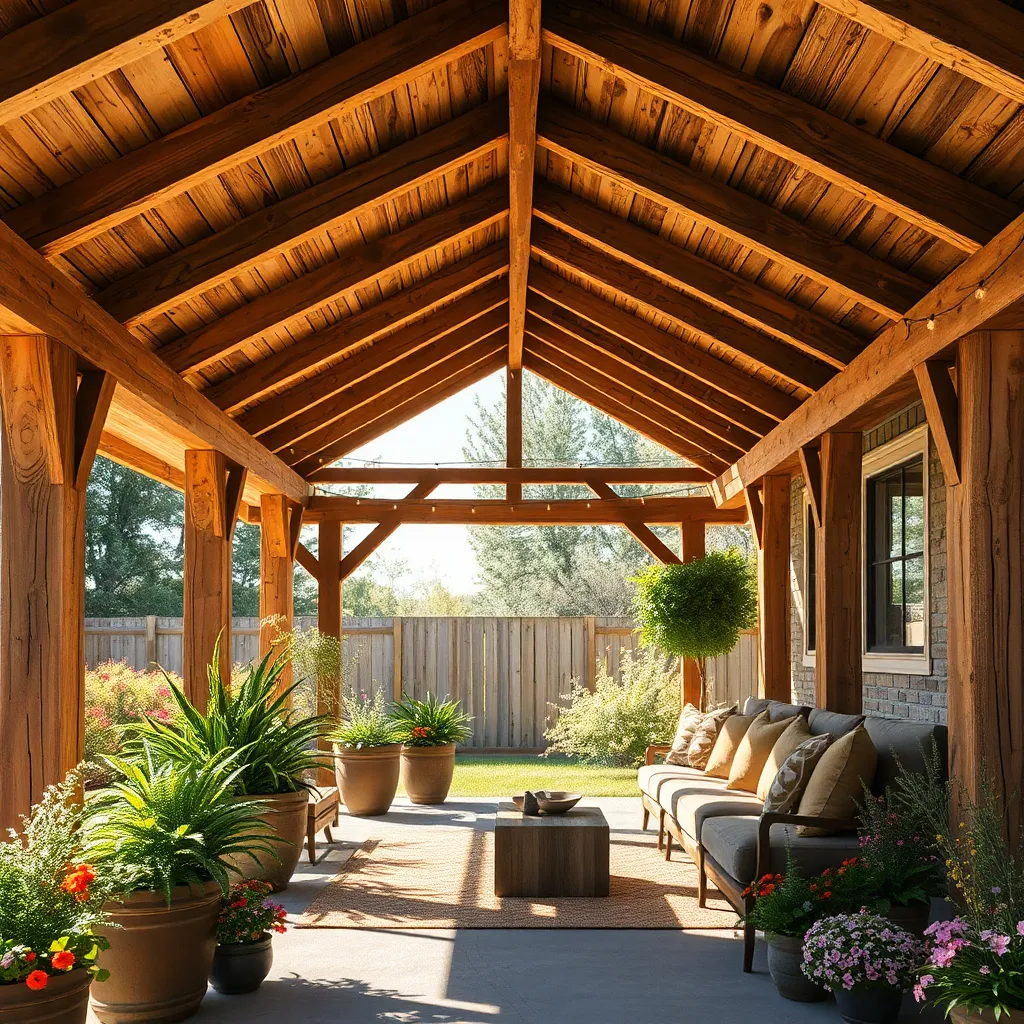
Reclaimed wooden beams can add a unique, rustic charm to your patio roof, making it both stylish and sustainable. Begin by sourcing beams from local salvage yards or online marketplaces, ensuring they are free from rot and pests. Choose beams that complement the existing architecture of your home, and consider their weight and structural integrity before installation. If you’re new to working with reclaimed wood, consulting with a professional can help ensure a safe and successful project.
For a beginner-friendly approach, start by integrating the beams as decorative elements rather than structural supports. Installing them as exposed rafters or crossbeams can provide a rustic feel without requiring extensive construction skills. Advanced DIYers might explore incorporating notched joints for a more secure and authentic fit. Seal the beams with a clear, weather-resistant varnish to protect them from the elements while enhancing their natural beauty. By carefully selecting and incorporating these beams, you can create a charming and durable outdoor space that reflects your personal style.
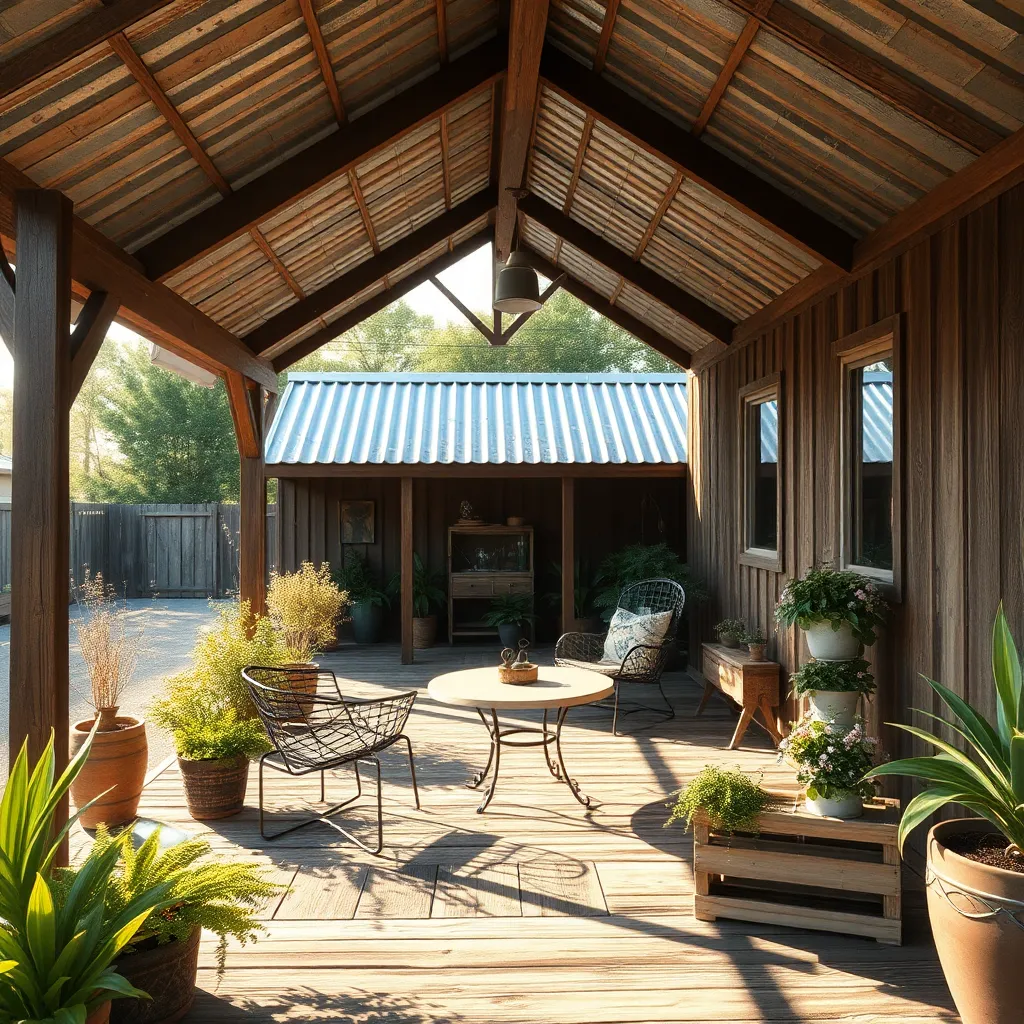
Add Corrugated Metal Roofing
Another charming way to enhance your rustic patio is by adding corrugated metal roofing. This material not only adds a touch of industrial style but is also highly durable and weather-resistant, making it ideal for outdoor spaces. For a beginner-friendly approach, opt for galvanized steel sheets, which are both affordable and easy to install. Ensure you measure the area accurately and plan for a slight slope to allow rainwater to run off efficiently.
For those looking to elevate their design, consider combining the metal roofing with wooden beams for a more textured appearance. Use screws with rubber washers to secure the sheets and prevent leaks. Advanced DIYers might want to explore powder-coated finishes for added color and protection against rust. Keep safety in mind by using proper support structures to handle the weight of the metal and any potential snow load. This approach not only shelters your patio but also creates a cozy, rustic aesthetic that blends seamlessly with natural surroundings.
Integrate Rustic Tin Accents
For a truly rustic touch, consider integrating tin accents into your patio roof design. Reclaimed tin panels can be used as decorative elements along the edges or underside of your roof, adding a charming, vintage appeal. These panels are not only visually appealing but also durable, often featuring a weathered look that blends seamlessly with various materials like wood or stone. When installing, make sure to securely fasten the tin using appropriate screws or rivets, ensuring longevity and stability even in adverse weather conditions.
Begin by selecting tin with a patina that complements your existing outdoor decor, or consider distressing new tin to achieve the perfect rustic look. For those with advanced DIY skills, creating custom patterns or cutouts can add a unique flair to your design. Ensure you have the right tools, such as tin snips and a drill, to handle the material safely. For added character, you might also consider integrating tin with different textures, such as corrugated or smooth finishes, to create visual interest and depth. Whether you’re a beginner or a seasoned DIY enthusiast, these tin accents can elevate your patio roof with minimal effort and cost.
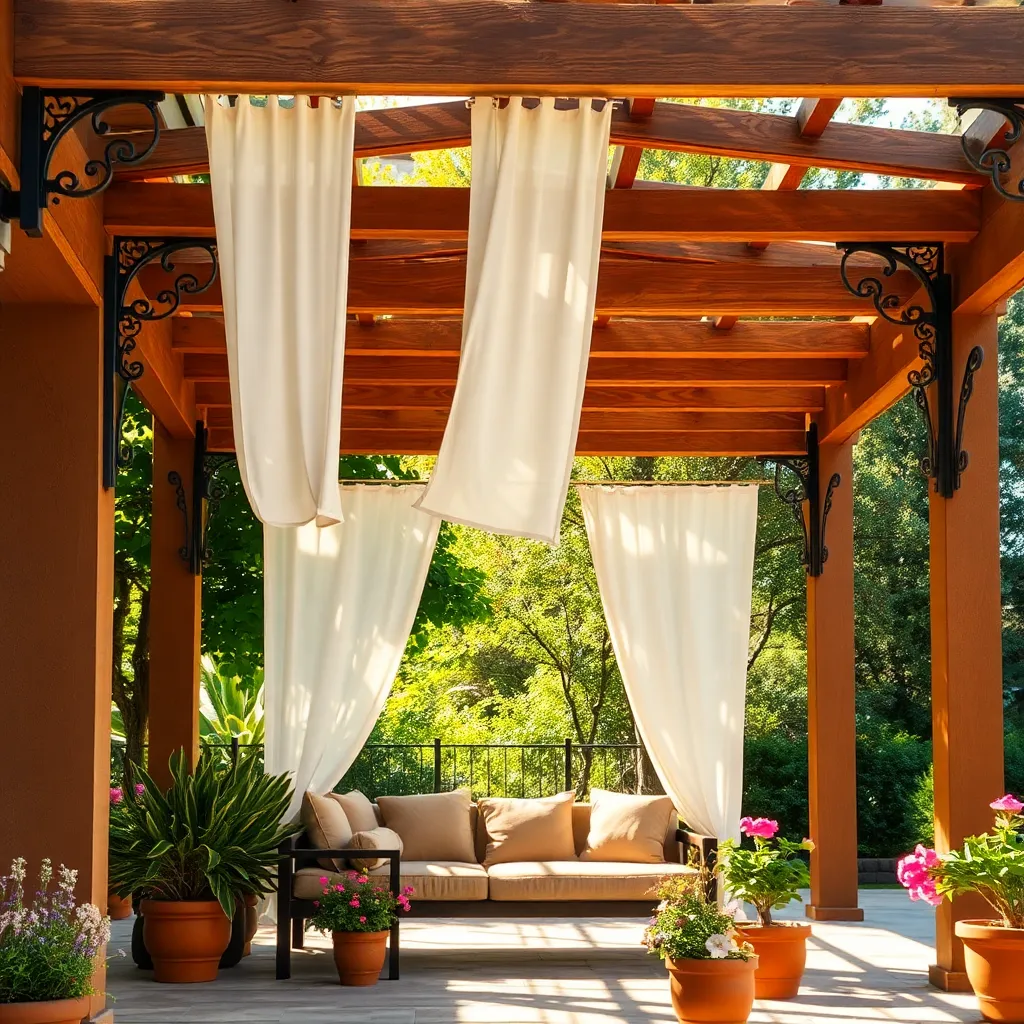
Utilize Vintage Canvas Canopies
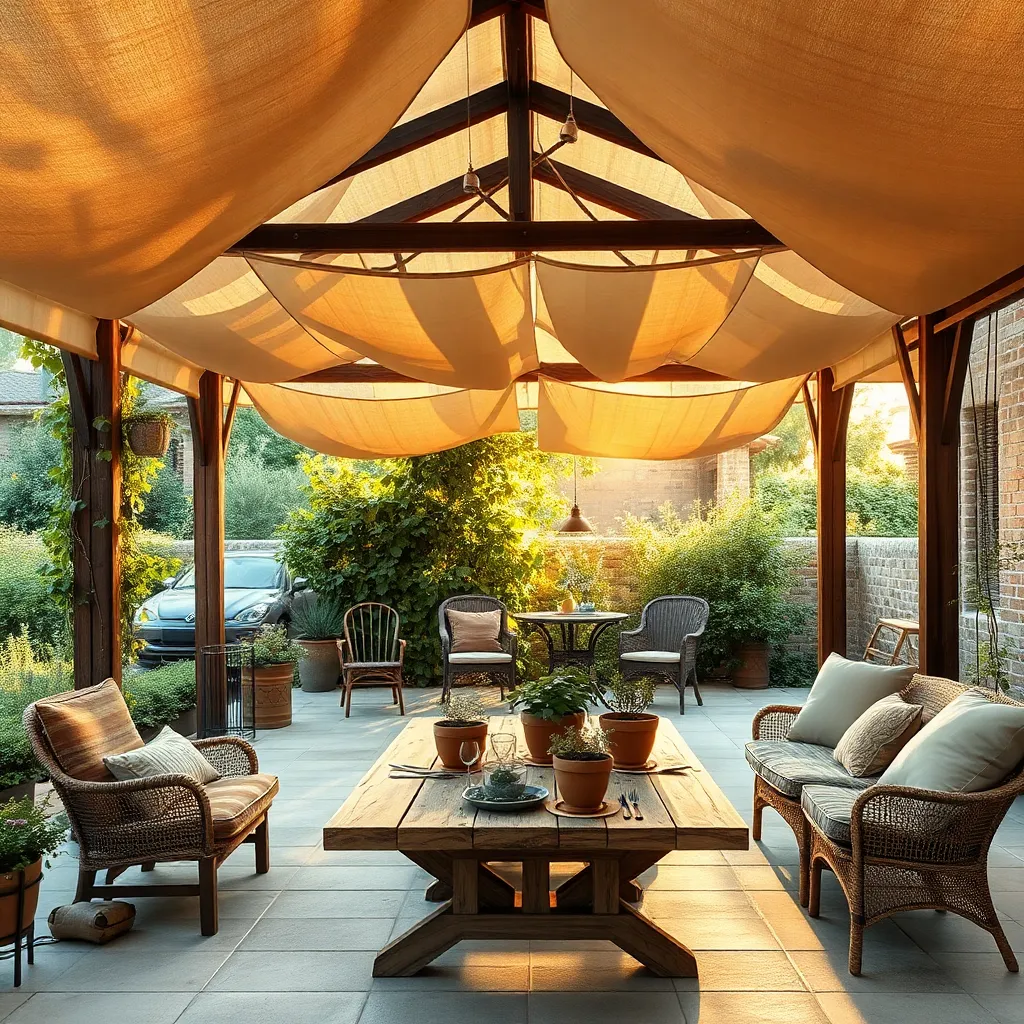
Transform your patio with the timeless charm of vintage canvas canopies. These versatile covers not only provide excellent protection from the sun and rain but also add a touch of rustic elegance to outdoor spaces. When selecting a canvas, look for durable materials such as waxed cotton or treated canvas that can withstand the elements for years. For a classic look, choose earthy tones like taupe or olive green that blend seamlessly with natural surroundings.
Installation can be a straightforward DIY project or a more complex job requiring professional assistance, depending on your experience and the design complexity. For a basic setup, use sturdy wooden poles and secure the canopy with high-quality ropes or cables. For those seeking a more polished finish, consider pairing your canvas with wrought iron or reclaimed wood frames for added stability and style. Ensure proper tension to prevent sagging and allow for rainwater runoff, maintaining both functionality and aesthetics.
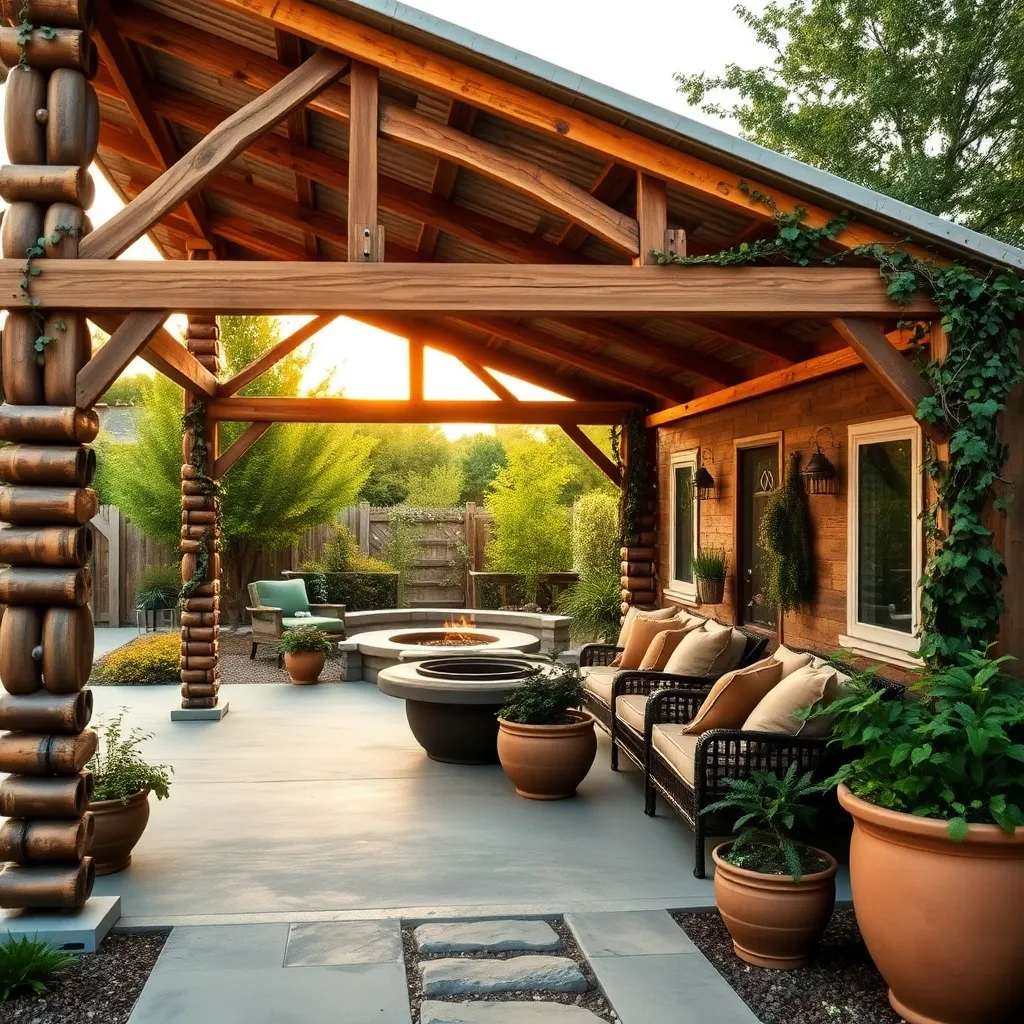
Install Rustic Log Supports
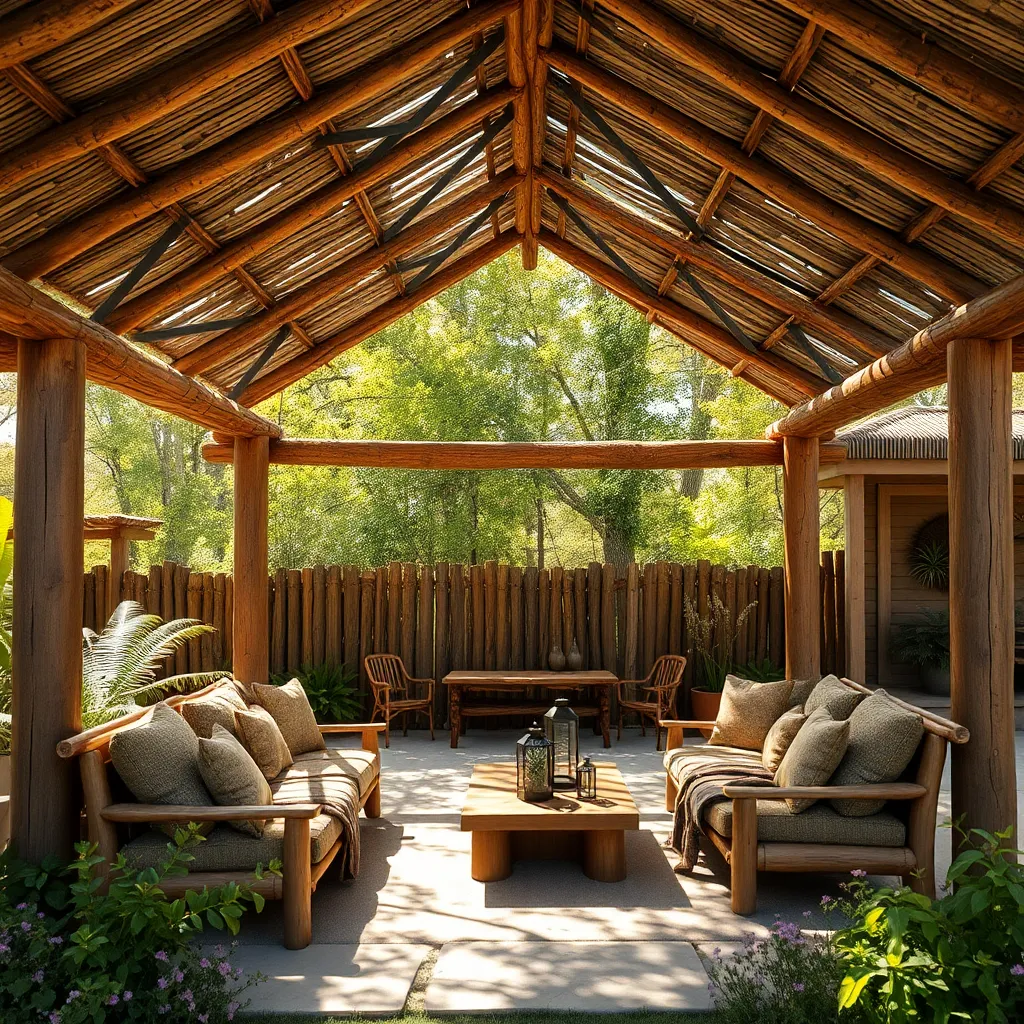
For a truly rustic touch to your patio roof, consider installing log supports. Begin by selecting logs that are straight and free of rot; cedar and pine are popular choices due to their durability and natural resistance to decay. Ensure each log is of consistent diameter—typically between 6 to 10 inches—to provide a balanced look and stable support. Position the logs at regular intervals around your patio area, ensuring they are deeply embedded into the ground or securely anchored to a solid base to withstand weather conditions. This foundation will not only add rustic charm but also lend remarkable strength to your shelter structure.
When constructing with logs, embrace their natural texture by allowing the bark to remain intact for added visual appeal. For added stability and aesthetic flair, consider incorporating crossbeams or trusses made from smaller logs, which can be notched into the main supports. These crossbeams can be secured with galvanized bolts or rustic metal brackets to complement the vintage look. To enhance durability and longevity, apply a protective wood sealant to guard against weathering while maintaining the natural beauty of the wood. This combination of elements will create a welcoming, earthy atmosphere, perfect for any outdoor gathering space.
Use Natural Bamboo Coverings
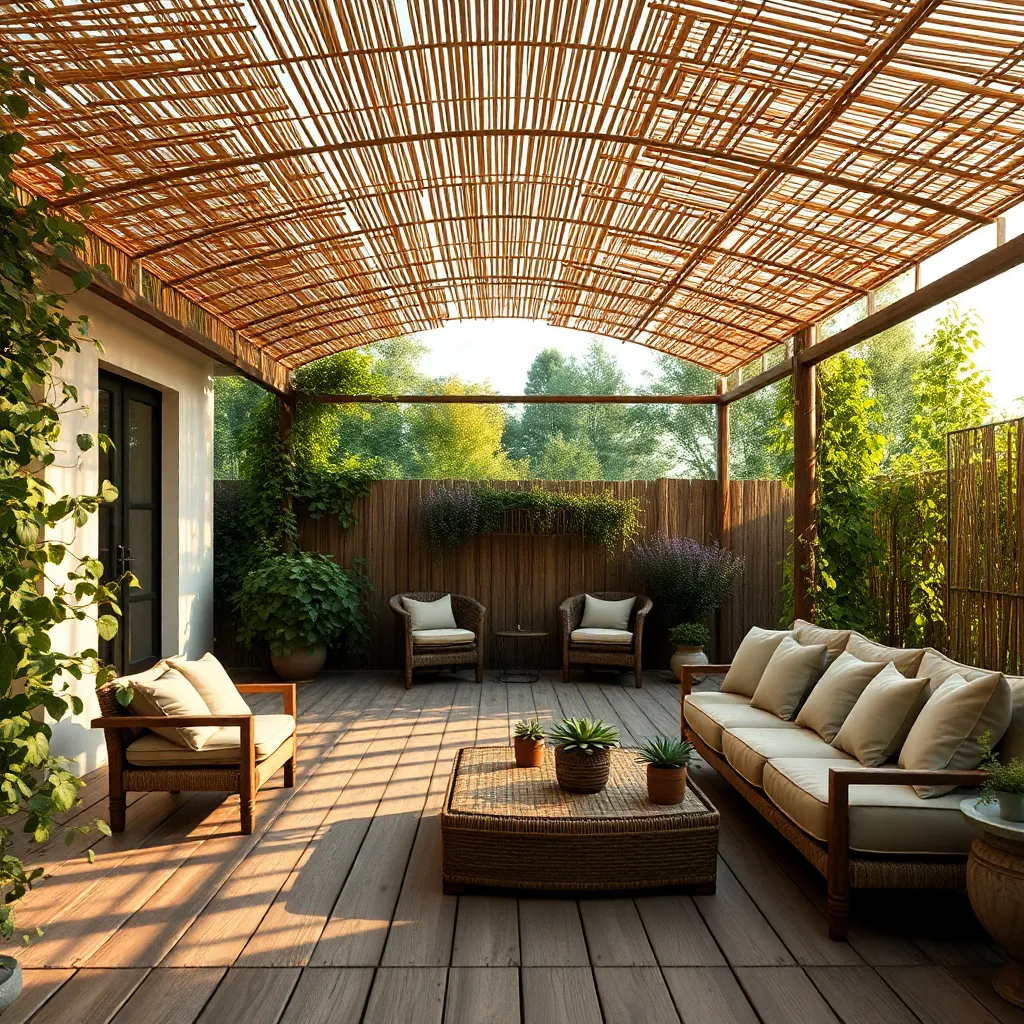
Using natural bamboo coverings for your patio roof can create an inviting, rustic atmosphere while offering practical benefits like shade and ventilation. Bamboo is a sustainable material that is both durable and lightweight, making it an excellent choice for outdoor structures. For a simple installation, consider using bamboo slats or panels that can be easily attached to a wooden or metal frame. Ensure the frame is sturdy enough to support the bamboo by using robust materials like treated wood or galvanized steel.
To enhance the rustic charm, you can incorporate different bamboo styles, such as split bamboo or whole cane, depending on your aesthetic preference. Seal the bamboo with a weather-resistant finish to protect it from the elements and extend its lifespan. For those looking for a more refined look, consider weaving the bamboo slats to create a textured pattern that allows dappled sunlight to filter through. This not only provides visual interest but also maintains airflow, ensuring your patio remains cool and comfortable during warm months.
Create a Living Green Roof
Transform your patio into an eco-friendly oasis by creating a living green roof. Start by ensuring your roof structure is strong enough to support the additional weight of soil and plants. Use a waterproof membrane to protect the roof surface, followed by a root barrier to prevent plant roots from penetrating. Opt for lightweight, drought-resistant plants like sedums and succulents, which thrive in shallow substrates and require minimal maintenance.
For a basic setup, aim for a soil depth of around 4-6 inches, which is sufficient for most green roof plants. More advanced gardeners might consider adding irrigation systems to maintain lush greenery, especially in drier climates. Design the roof with layers—drainage, substrate, and vegetation—to ensure proper water management and plant health. Don’t forget to periodically check for overgrowth and remove any weeds to keep your living roof vibrant and healthy.
Include Rustic Stone Columns
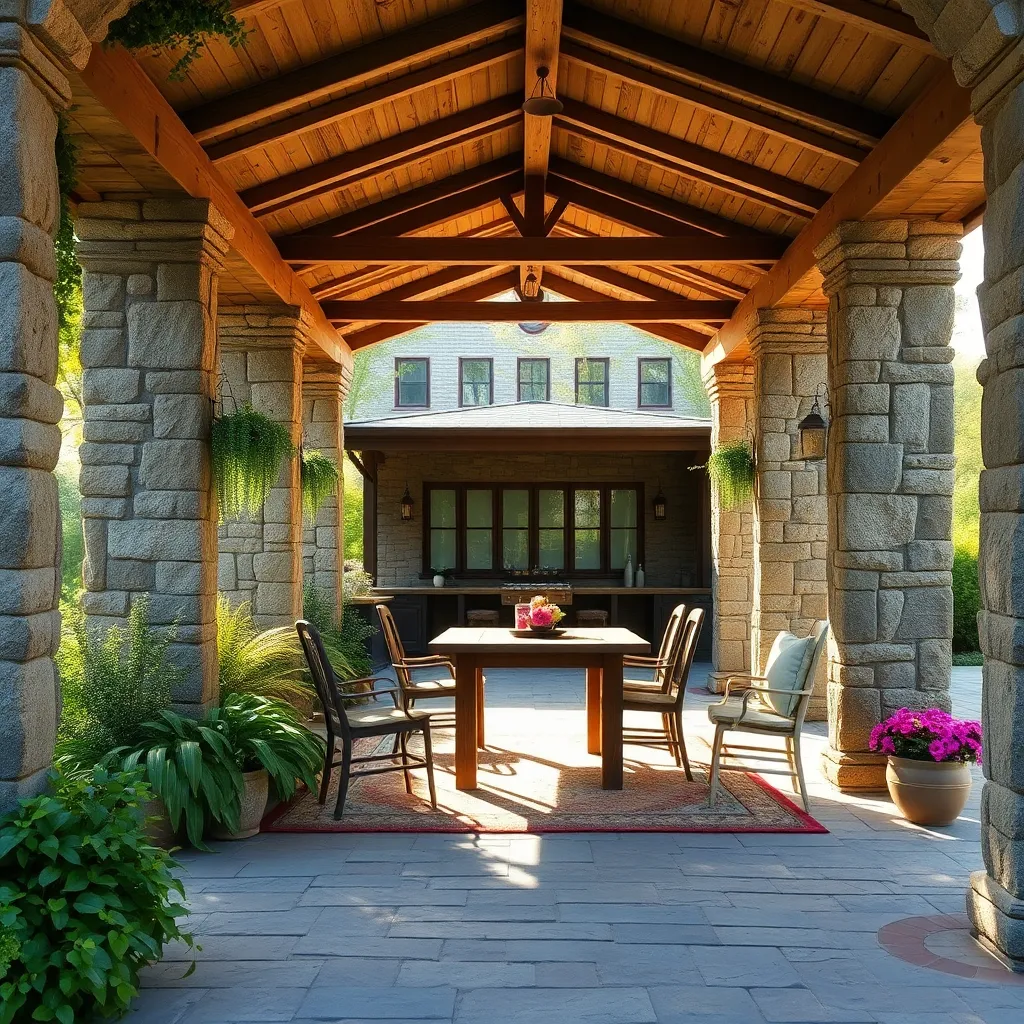
Adding rustic stone columns to your patio roof can enhance its natural appeal and provide robust support. Begin by selecting the right type of stone, such as limestone or sandstone, which are both durable and visually appealing. When constructing, ensure the columns are evenly spaced and properly reinforced with metal rods to support the weight of the roof. For those new to masonry, consider using stone veneer, which offers the rustic appearance of full stone without the weight and complexity of installation.
For a truly rustic finish, aim to use irregularly shaped stones to create a natural, organic look. Seal the stones with a weather-resistant coating to protect them from the elements and prevent erosion. Experienced builders might try integrating lighting fixtures into the columns for a charming evening ambiance.
- Maintain a consistent column height of around 8 to 10 feet for standard patio roofs.
- Use mortar to securely bond stones and achieve a seamless finish.
With the right materials and techniques, your patio will boast a timeless, rustic charm that blends effortlessly with the outdoors.
Use Distressed Wood Panels
Using distressed wood panels is a fantastic way to add rustic charm to your patio roof. These panels offer a weathered look that blends seamlessly with natural surroundings, making them ideal for creating a cozy atmosphere. Start by selecting reclaimed wood from local sources or specialized suppliers to ensure authenticity and sustainability. For beginners, a simple design using horizontally-aligned panels can provide a straightforward installation process, while experienced DIYers might experiment with diagonal or herringbone patterns for added visual interest.
When installing, ensure your panels are properly treated to withstand outdoor conditions. Seal the wood with a high-quality weatherproof stain to enhance durability and prevent rot or insect damage. To achieve a truly rustic feel, consider leaving some natural imperfections in the wood, such as knots or minor cracks, as they contribute to the overall aesthetic. For added character, combine with wrought iron accents or vintage-style lighting fixtures to complete the look, creating an inviting outdoor space perfect for relaxation or entertaining guests.
Construct With Railroad Ties
Incorporating railroad ties into your rustic patio roof design can add a touch of industrial charm while ensuring durability. Railroad ties are incredibly sturdy, making them a reliable choice for constructing support beams. For beginners, start by sourcing ties that are free from creosote, as those treated with this preservative can be hazardous. Consider using ties as vertical supports or decorative features to frame your patio space. Advanced builders might explore using ties as horizontal beams, ensuring they are properly sealed to withstand the elements.
To construct with railroad ties, plan your project carefully, as these hefty materials require precise handling. It’s recommended to use a chainsaw or reciprocating saw for cutting ties to the desired length, and ensure that each piece is securely anchored using rebar or heavy-duty brackets. Regular maintenance is key, so inspect your structure annually for any signs of wear or insect damage. For added aesthetic appeal, you can stain the ties in a rich, earthy tone to complement the natural surroundings of your patio. This approach not only enhances the visual appeal but also prolongs the life of the wood.
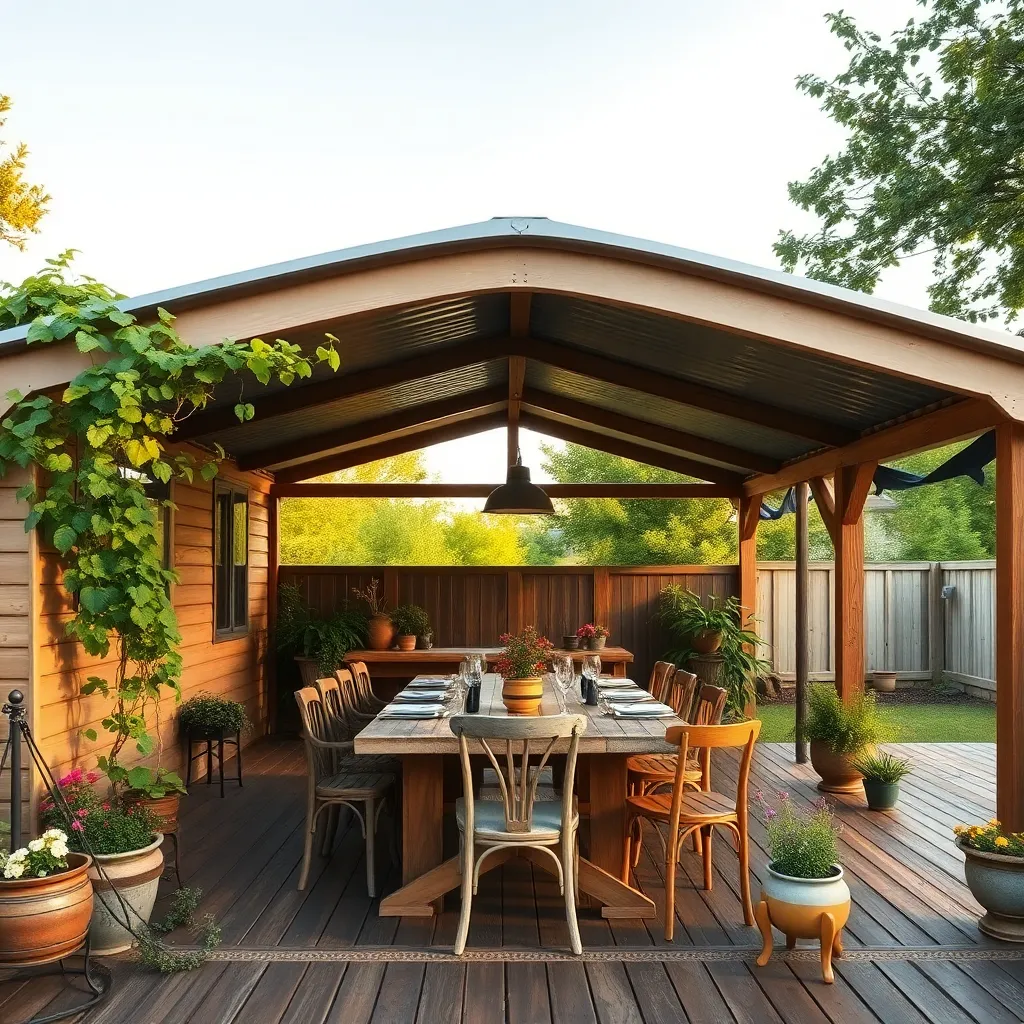
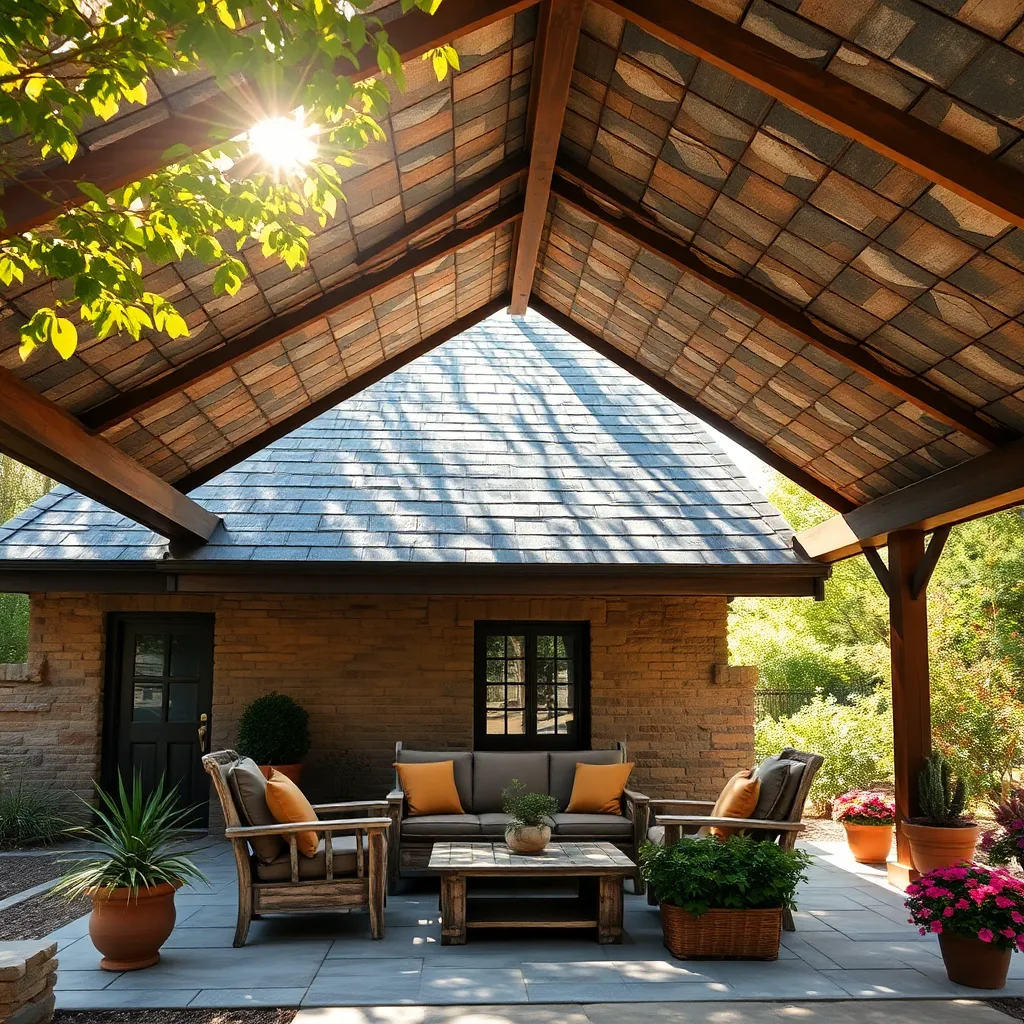
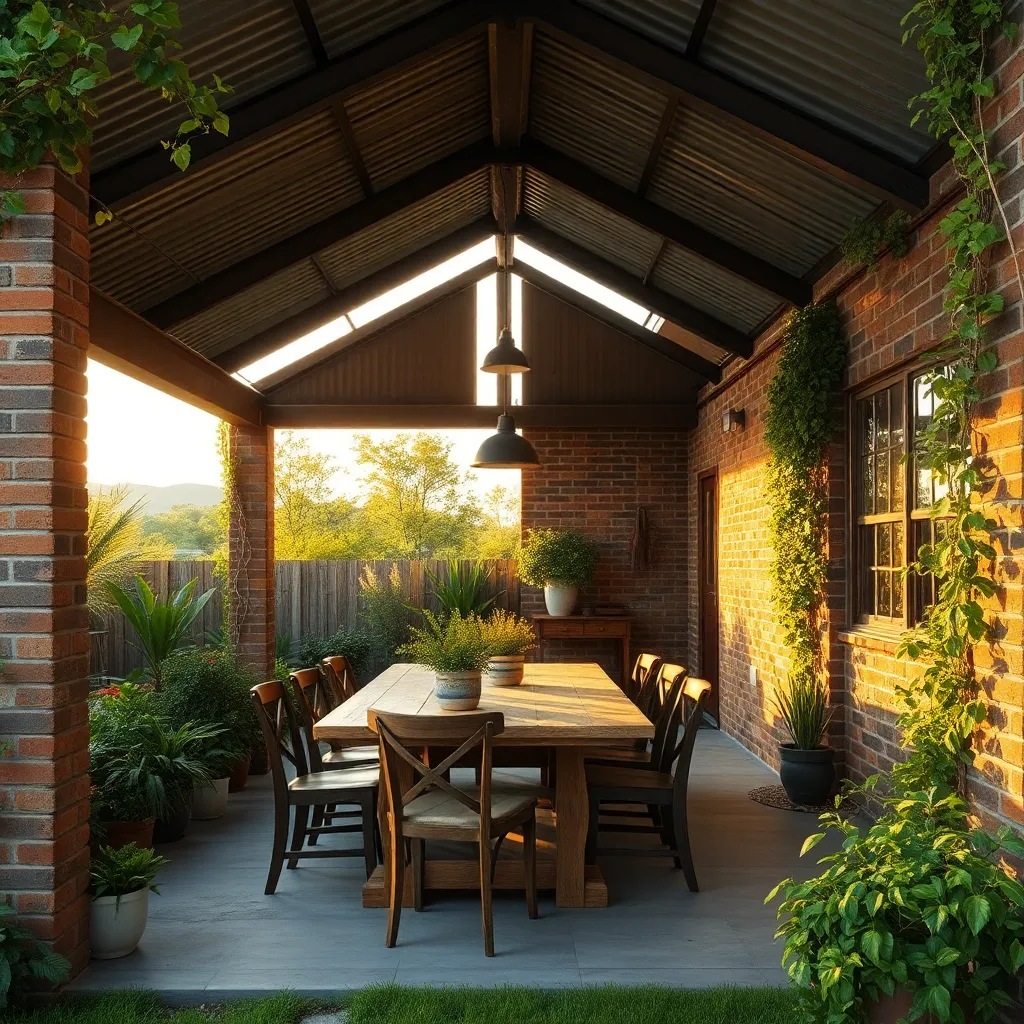
Opt for Weathered Shingle Roofs
Weathered shingle roofs add a timeless, rustic charm to any patio, blending seamlessly with natural surroundings. Opt for cedar or redwood shingles as these woods are not only durable but also naturally resistant to rot and insects. Installing a shingle roof is straightforward: start from the bottom and work your way up, ensuring each row overlaps the one below by at least half an inch. This overlap provides optimal water runoff, protecting the structure beneath.
For a more polished finish, consider applying a clear outdoor sealant to enhance the wood’s natural grain while extending its lifespan. Advanced DIYers might try a staggered shingle pattern, adding visual interest and texture to the roof. Remember to measure your roof’s pitch accurately; a steeper pitch will improve water drainage but may require additional support. With these tips, you’ll create an inviting and resilient patio space that withstands the elements beautifully.
Select Wrought Iron Brackets
When designing a rustic patio roof, wrought iron brackets can add both support and charm. These robust brackets are ideal for supporting wooden beams and lend a timeless, elegant touch to your outdoor space. For beginners, look for pre-made brackets that are easy to install. Ensure they are galvanized or powder-coated to resist rust, which is crucial for outdoor durability. For a cohesive look, match the finish of your brackets with other metal elements in your patio, like railings or furniture.
More experienced DIY enthusiasts might consider customizing wrought iron brackets to fit unique design requirements. Working with a local metalworker can allow you to create bespoke patterns, such as intricate scrolls or nature-inspired motifs, that enhance the rustic aesthetic of your patio. Remember to choose brackets with a minimum thickness of 3/8 inch for structural integrity, especially if supporting heavy materials like stone or thick wood beams.
- Tip: Opt for larger brackets for broader spans to ensure stability.
- Advanced tip: Consider adding decorative finials to the ends of your brackets for extra flair.
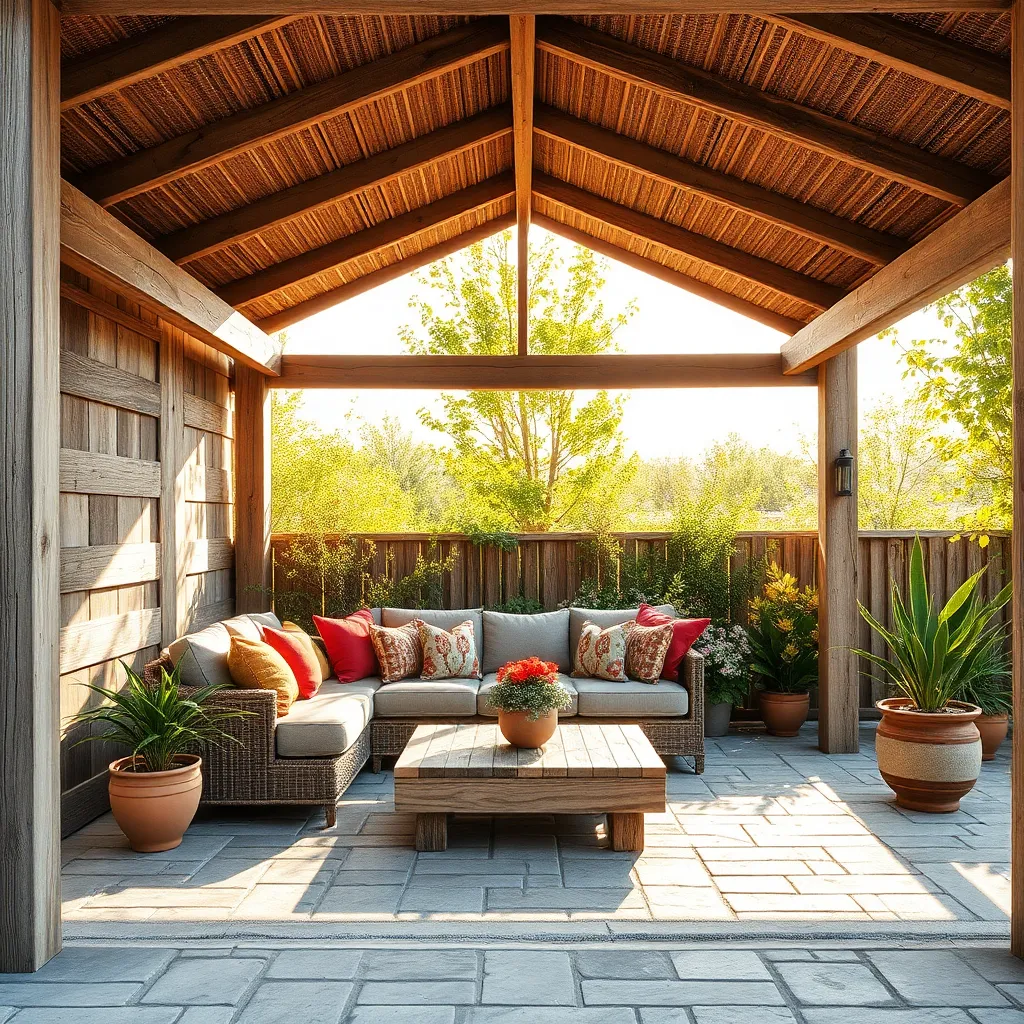
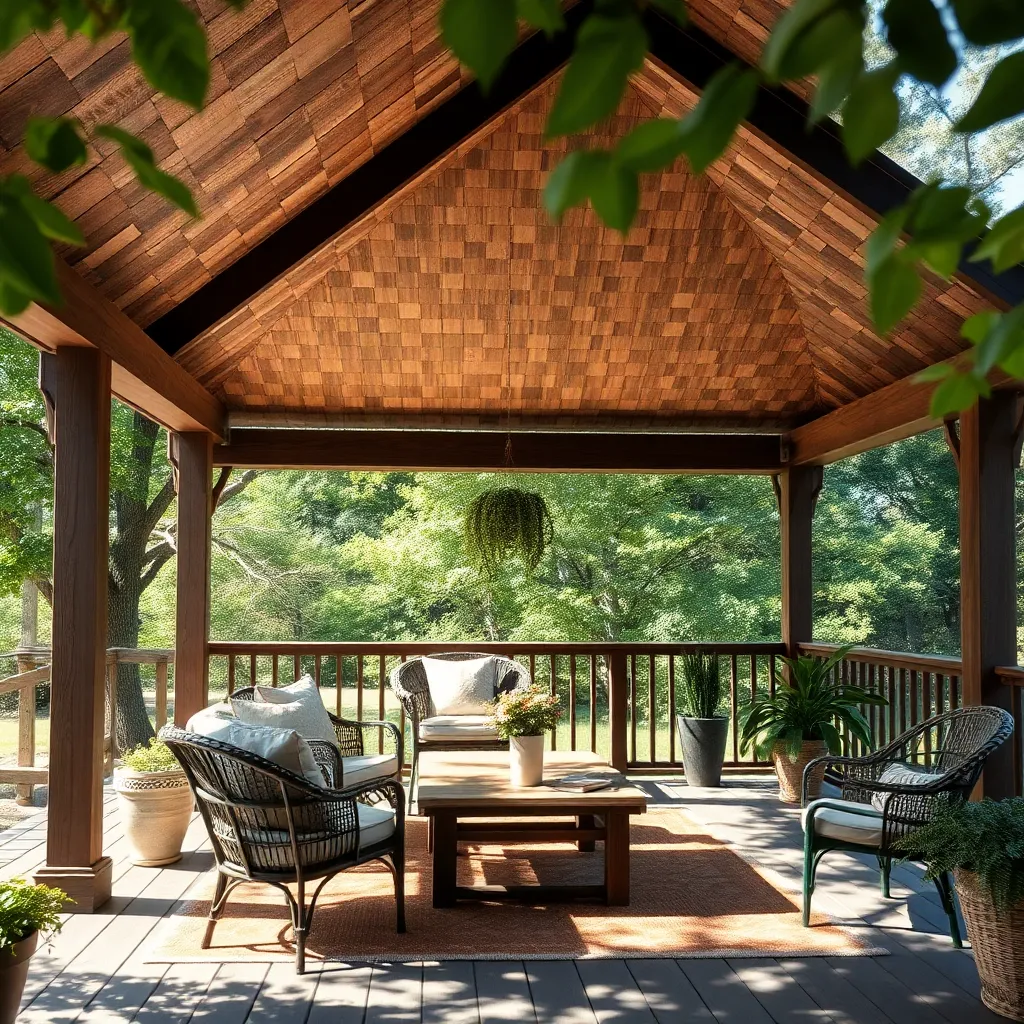
Enhance With Rustic Timber Shingles
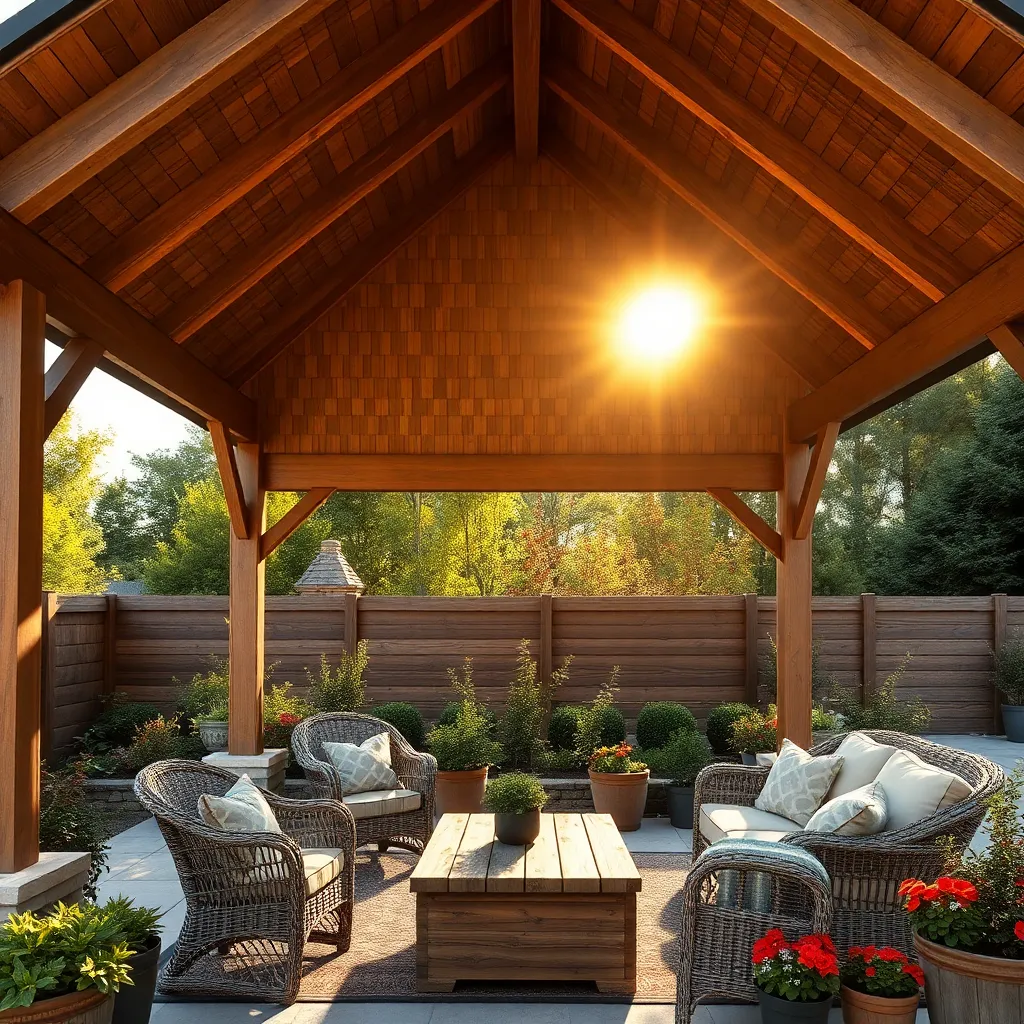
Enhancing your patio roof with rustic timber shingles can create a warm, inviting atmosphere reminiscent of countryside retreats. Choose durable wood types such as cedar or redwood, which not only provide a classic rustic look but also offer excellent resistance to weathering. For a beginner-friendly approach, consider pre-cut shingle kits that simplify installation, ensuring an even and professional finish. If you’re more experienced, cutting your own shingles allows for creative freedom, enabling you to customize the pattern and size to suit your specific aesthetic.
To achieve a cohesive look, match the tone and texture of the shingles with other elements in your outdoor space, like wooden furniture or pathways. Seal the shingles with a quality wood preservative to enhance durability and maintain the rich, natural color over time. For advanced builders, incorporating a slight overhang can provide additional protection from the elements, while adding depth and interest to the roofline. Whether you’re aiming for a traditional or contemporary rustic design, timber shingles are a versatile choice that blends function with timeless appeal.
Install Rough-Hewn Cedar Planks
To add a rustic charm to your patio roof, consider installing rough-hewn cedar planks. These planks offer a natural, rugged look that complements any outdoor setting. Cedar is naturally resistant to decay and insects, making it an excellent choice for long-lasting outdoor structures. Beginners can start by selecting planks that are at least one inch thick and six inches wide for durability and aesthetic appeal. Ensure the wood is properly treated and sealed to maintain its integrity and appearance over time.
For those looking to enhance their design, incorporate a mix of plank sizes and textures to create visual interest. Advanced builders might stagger the plank lengths to mimic traditional rustic patterns. When installing, use galvanized or stainless steel screws, as these resist rust and will keep your structure secure. To maximize the rustic effect, let the cedar age naturally, developing a beautiful silvery patina over time. This approach not only creates a stunning focal point but also ensures your patio roof is both functional and stylish.
Incorporate Recycled Barn Doors
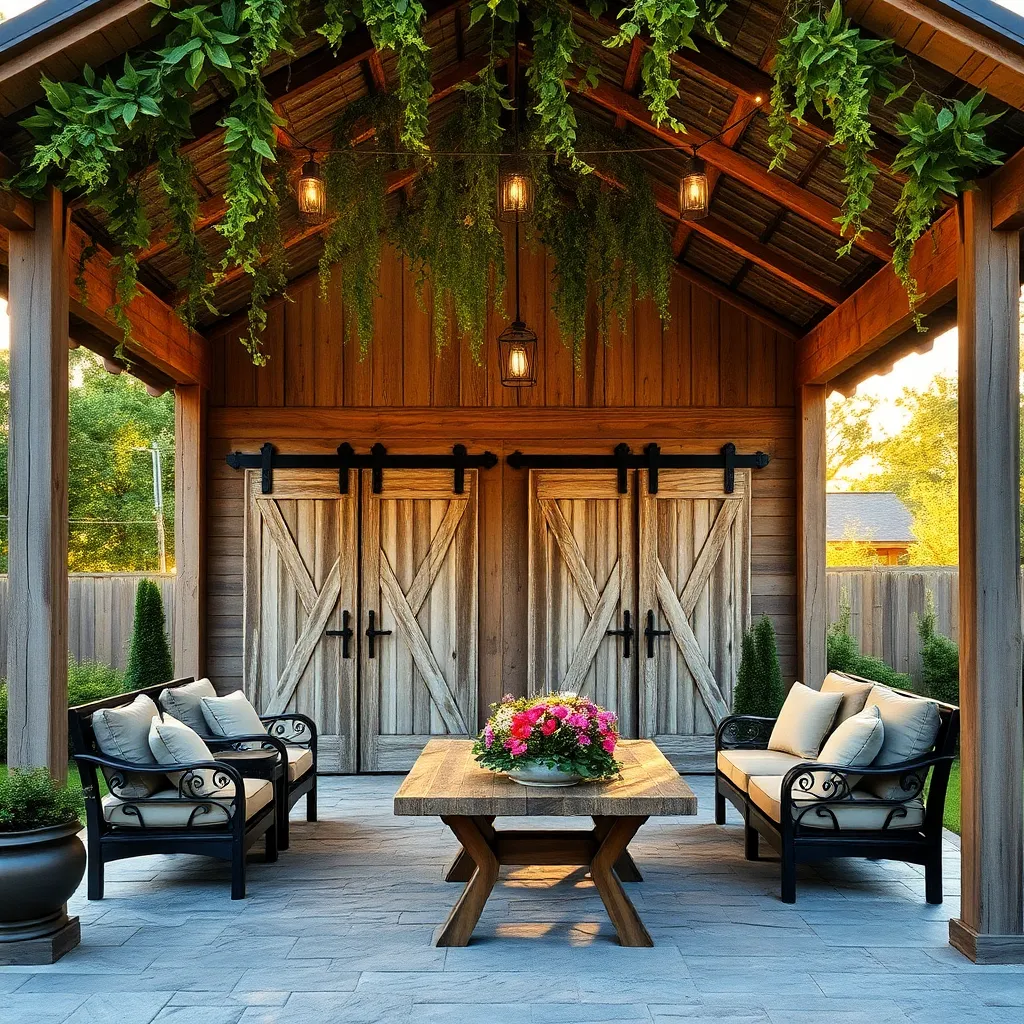
Transform your patio into a rustic retreat by incorporating recycled barn doors into your outdoor shelter design. Begin by sourcing authentic barn doors from salvage yards or online marketplaces, ensuring they are made of durable wood like oak or pine. Mount these doors horizontally or vertically as a unique roofing element, allowing their natural texture and patina to add warmth and character to your space. For a more advanced touch, integrate sliding mechanisms so they can serve dual purposes as both a roof and a privacy screen.
When installing, ensure that the barn doors are properly treated to withstand outdoor elements. Seal the wood with a weather-resistant finish to protect against moisture and sun damage. To secure the doors, use sturdy brackets or beams that complement the rustic aesthetic, maintaining structural integrity. For beginners, start with a simple layout, while experienced DIYers might experiment with overlapping or staggered positioning to create a dynamic visual effect. This approach not only reuses materials sustainably but also offers a personalized touch to your patio shelter.
Design with Natural Slate Tiles
Consider using natural slate tiles to add a timeless, rustic charm to your patio roof. Slate is not only visually appealing but also incredibly durable, making it an excellent choice for outdoor settings. When selecting slate, look for tiles that are at least 1/4 inch thick to ensure longevity and resistance to the elements. Additionally, choose shades that complement your existing outdoor decor, such as earthy grays or greens, to create a cohesive look.
For a professional finish, ensure that the tiles are installed at a proper pitch to facilitate water runoff and prevent damage. It’s advisable to use stainless steel screws and a sturdy underlayment to secure the tiles effectively. For those with some DIY experience, consider patterns like herringbone or staggered seams to add visual interest and uniqueness to your patio roof. This approach not only enhances the aesthetic appeal but also reinforces the structure, making your outdoor space both beautiful and functional.
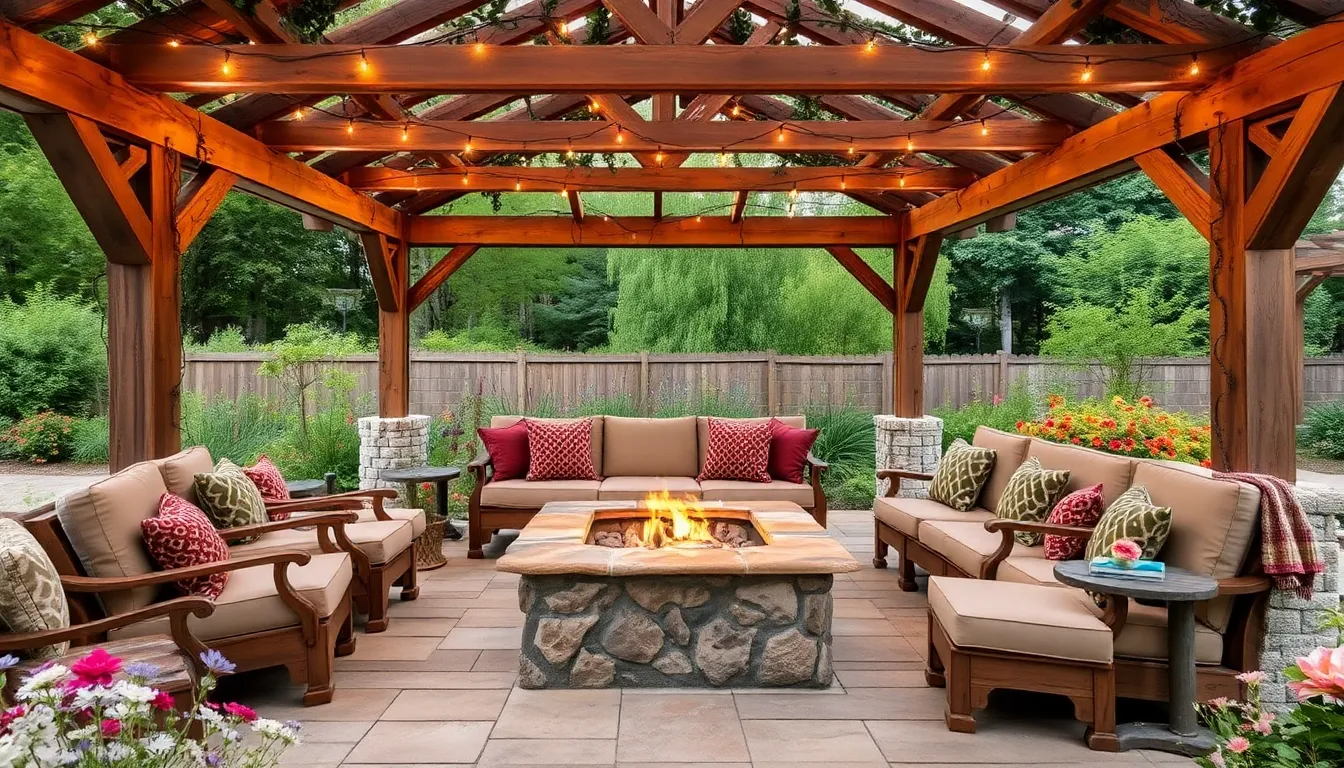
Add Rustic Rope Detailing
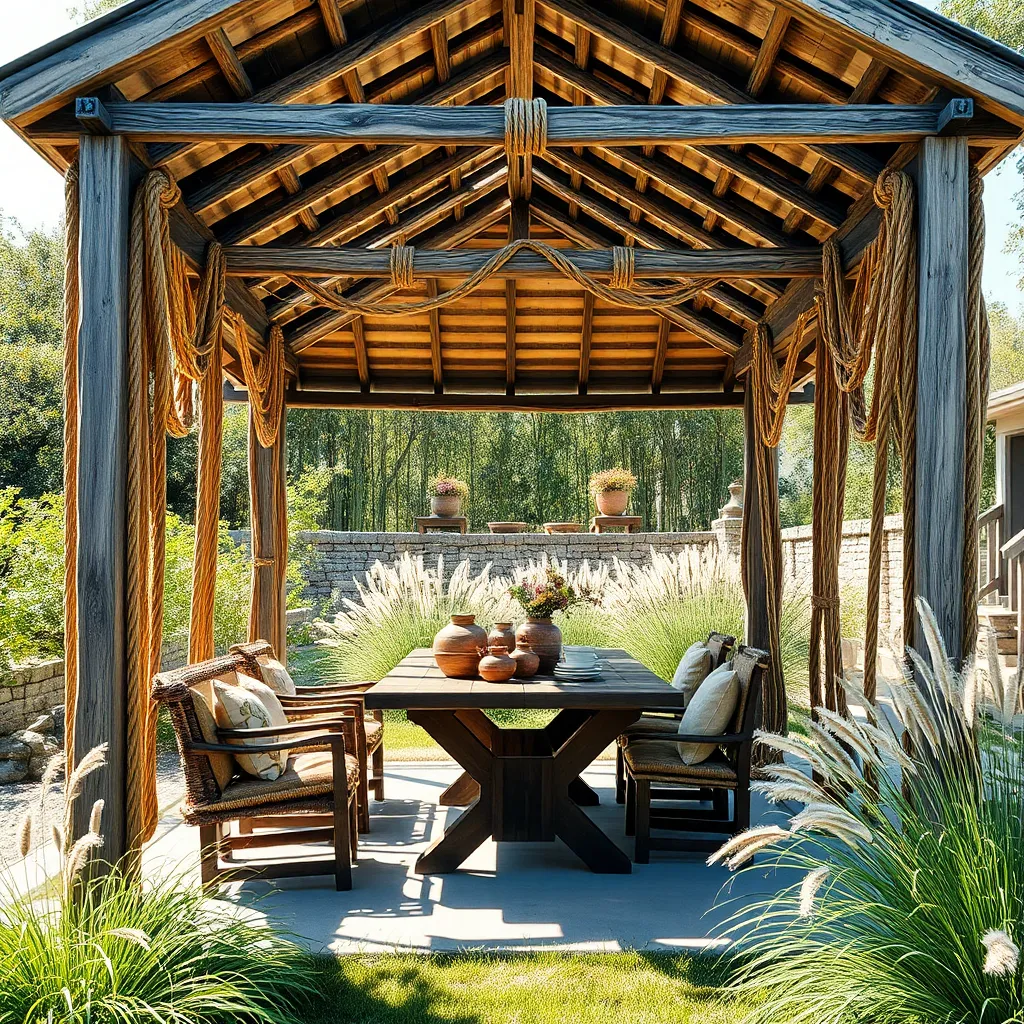
Embrace the charm of rustic design by adding rope detailing to your patio roof. This simple yet effective technique can transform the look of your outdoor space with minimal effort. Start by selecting a durable, weather-resistant rope such as synthetic hemp or sisal, which is perfect for outdoor use. Wrap the rope around wooden beams or posts to create an inviting, textured feature that adds warmth and character. For a beginner-friendly approach, use staple guns to secure the rope at intervals, ensuring it stays taut and in place.
Advanced DIYers can elevate this design by incorporating knotting techniques like the clove hitch or square knot for a more intricate, nautical feel. To enhance durability, consider treating the rope with a clear marine varnish, protecting it from the elements while maintaining its rustic appeal. Additionally, use the rope to create hanging planter supports or a decorative border for a unique, cohesive look. This versatile detail not only enhances the aesthetic but also ties together other natural elements in your patio space, making it a delightful retreat.
Utilize Salvaged Industrial Materials
Salvaged industrial materials can add a distinctive, rustic charm to your patio roof, while also being environmentally friendly. Consider repurposing old metal beams or corrugated steel sheets to create a unique, durable roofing structure. These materials are not only robust but also provide an attractive patina that can enhance the rustic appeal of your outdoor space. For beginners, start by measuring your patio area to ensure the salvaged materials fit properly, and consider consulting a professional to ensure safe installation.
For those seeking a more advanced approach, integrating elements like repurposed wooden pallets or reclaimed brick can add textural contrast to your patio roof design. To maximize the use of these materials, think creatively; for instance, use metal piping as structural supports or as a framework for climbing plants. Ensure to treat any wood against the elements to prolong its lifespan, and consider sealing metal surfaces to prevent rust. This not only ensures durability but also maintains the aesthetic appeal of your rustic patio.
Conclusion: Creating Beautiful Outdoor Spaces
As we journey through the 18 rustic patio roof ideas, each concept subtly reflects a key element of building and nurturing a strong relationship. From the sturdy foundation of trust mirrored in the robust beams of a pergola, to the gentle sway of communication akin to the breezy drapes of a canopy, each idea offers inspiration for creating a loving, enduring partnership. The warmth of shared goals, much like the cozy embrace of a sunlit veranda, and the creative solutions reminiscent of a whimsical, vine-laden lattice, remind us of the beauty found in embracing diversity and compromise.
Now, take a moment to reflect on these insights and choose one idea to implement in your relationship today. Whether it’s enhancing communication or fostering mutual goals, small steps lead to lasting change.
To keep these valuable insights at your fingertips, bookmark this article as a go-to resource for enriching your relationship journey. Remember, every effort you invest today plants the seeds for a flourishing future together. As you embrace these ideas, know that you are paving the way for a love that withstands the test of time. Your flourishing relationship awaits—start building it now!