Creating an inviting outdoor space doesn’t have to break the bank, and with the right DIY pergola kit, you can transform your backyard into a sanctuary of comfort and style. Whether you’re a novice just dipping your toes into the world of outdoor design or a seasoned pro looking to refresh your space, there’s a pergola kit out there that can suit your needs and budget. These structures not only enhance the aesthetic of your patio or garden but also provide a practical shelter from the elements, making your outdoor living dreams more attainable than ever.
In this article, we’ll explore 18 affordable DIY pergola kits that are perfect for both beginners and experienced homeowners. You’ll discover options that vary in complexity, materials, and styles, ensuring you find the perfect fit for your unique backyard vision. By the end, you’ll have the knowledge and confidence to embark on your own pergola project, adding a personal touch to your outdoor oasis that is both functional and beautiful.
Discover Budget-Friendly Pergola Kits
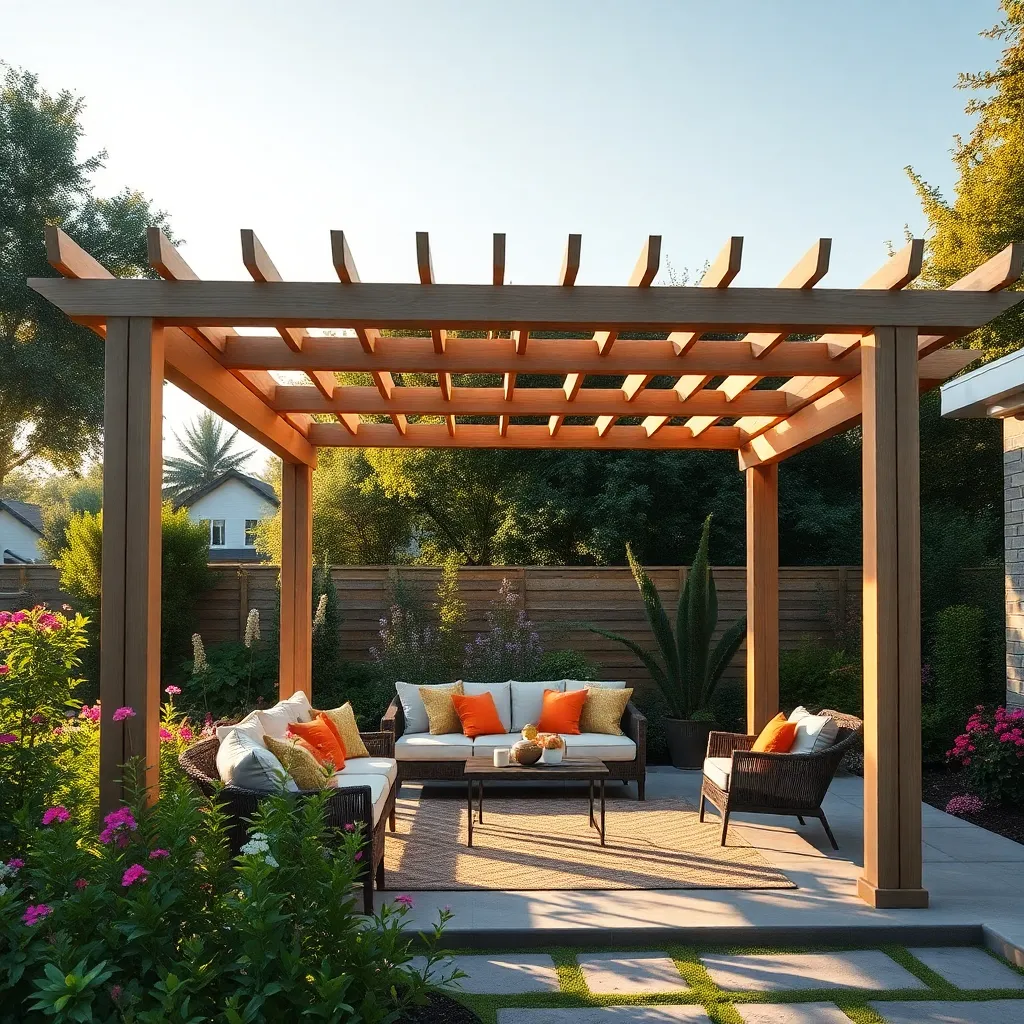
For those looking to enhance their outdoor space without breaking the bank, budget-friendly pergola kits offer a perfect solution. These kits typically include all necessary components, such as pre-cut wood or metal beams, hardware, and detailed instructions, making them accessible for even the most novice DIY enthusiasts. When selecting a kit, consider using pressure-treated wood or weather-resistant aluminum to ensure your pergola withstands the elements. Opt for adjustable designs that allow you to customize the height and width, tailoring the structure to fit your specific yard size and layout.
An often overlooked aspect is the choice of design elements that can elevate the aesthetic appeal of your pergola. Incorporating lattice panels can provide additional shade and a touch of elegance, while climbing plants like wisteria or grapevines offer a natural canopy as they grow. For those more experienced in DIY projects, consider adding solar-powered lights to illuminate your space at night, creating a cozy atmosphere for evening gatherings. Remember to anchor your pergola securely using concrete footings or ground anchors to ensure stability and longevity, especially in areas prone to high winds.
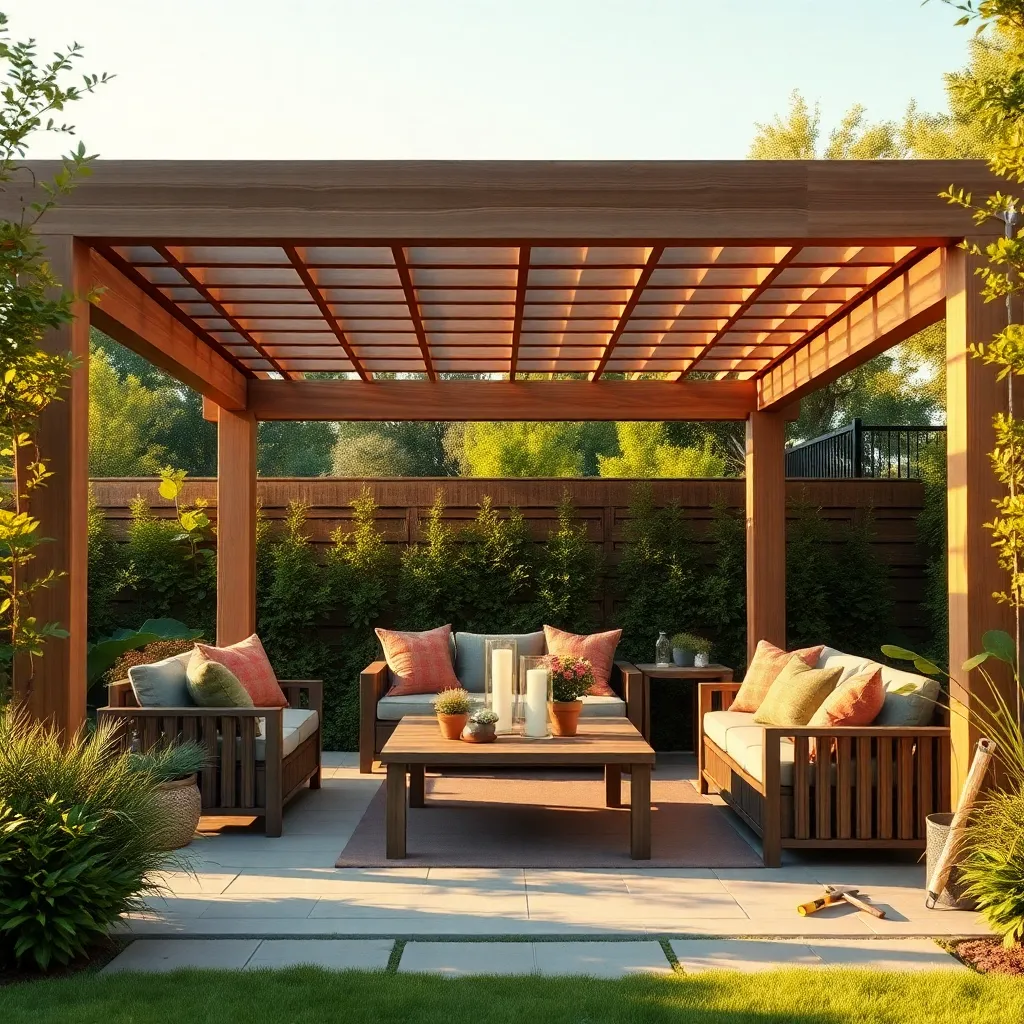
Choosing the Right Pergola Style
When selecting a pergola style, consider the function and aesthetics you desire for your outdoor space. A classic wooden pergola offers a timeless look and can be crafted from cedar or redwood, both of which are naturally resistant to rot. For a more modern touch, consider an aluminum or vinyl pergola, which requires less maintenance and can come in sleek, minimalist designs. Think about how much sunlight you want to filter through; a closer slat spacing provides more shade, ideal for hot climates.
Incorporating design elements like lattice panels or climbing plants can enhance the pergola’s visual appeal. Beginners might start with a simple rectangular design, while advanced DIY enthusiasts could explore curved or multi-level structures. When it comes to dimensions, ensure the pergola is proportional to your outdoor area; a common size is 12×16 feet, but adapt based on your space. For added stability, especially in regions prone to strong winds, secure the pergola with concrete footings. By tailoring these elements to your needs, you’ll create a personalized pergola that enhances your outdoor living space.
Essential Tools for Pergola Assembly
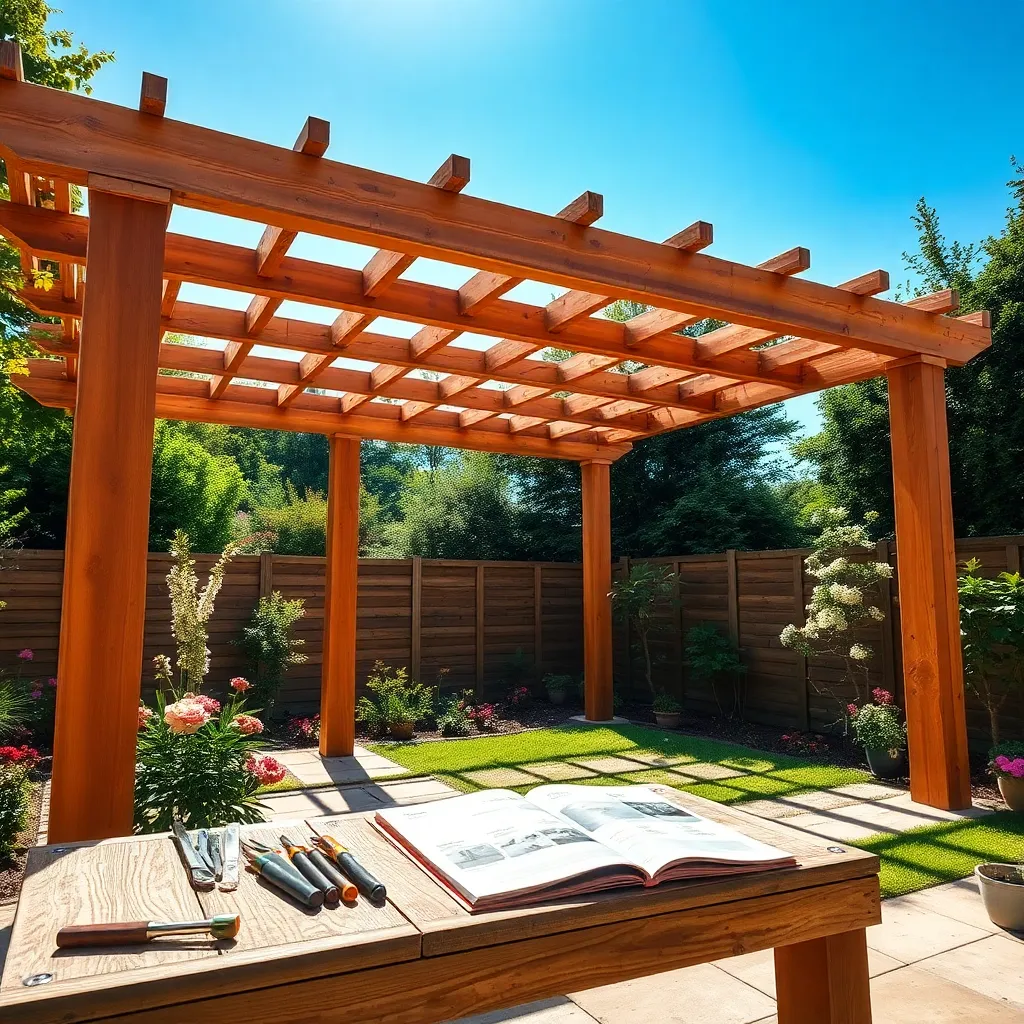
Assembling a pergola requires a few essential tools to ensure a smooth and successful build. Begin with a sturdy set of adjustable wrenches and screwdrivers, which are indispensable for tightening bolts and securing joints. A power drill with a set of drill bits will make creating pilot holes easier, especially if your kit doesn’t have pre-drilled parts. For precise measurements, have a tape measure and a level on hand to ensure your pergola stands straight and true. These basic tools will help even beginners feel equipped to tackle this DIY project confidently.
For those seeking a more polished assembly, consider adding a few advanced tools to your arsenal. A circular saw can be invaluable if you need to make any custom cuts to adjust the fit of your pergola components. To enhance the stability of your structure, a masonry drill bit might be necessary if you plan to anchor your pergola to a concrete patio. Finally, don’t forget to wear protective gear such as safety goggles and gloves during assembly to ensure a safe building experience. With the right tools and a bit of patience, you can create a stunning pergola that enhances your outdoor space.
Understanding Pergola Kit Components
When embarking on assembling a pergola kit, it’s vital to understand its key components. Most kits include pre-cut lumber, hardware, and assembly instructions. The lumber, often made of cedar or pressure-treated pine, forms the structure’s frame, so ensure it’s treated to withstand weather conditions. For beginners, carefully review the instructions and verify that all parts are included before starting the assembly. Advanced DIYers might consider customizing their pergola by incorporating decorative elements like lattice panels or adding a retractable canopy for added shade.
Consider the design elements that will complement your outdoor space. Measure the area where you plan to install the pergola to ensure it fits properly, allowing for at least 6-8 feet of headroom. For those looking to add a unique touch, painting or staining the lumber can protect it from the elements and enhance its appearance. If you’re confident in your skills, explore options like integrating built-in lighting or planters to enhance functionality and aesthetics. Remember, each component plays a crucial role, so take your time during assembly to ensure a stable and long-lasting structure.
Step-by-Step Pergola Installation Guide
To start your pergola installation, first ensure you have all the necessary tools and materials, such as a drill, level, measuring tape, screws, and a ladder. Unpack your DIY pergola kit, which typically includes pre-cut beams, posts, and connectors. Begin by marking your post locations on the ground, ensuring they are equidistant for stability and symmetry. Use a level to ensure that each post is perfectly vertical before securing it into place with concrete or anchors, depending on the surface.
Once your posts are secure, attach the beams using the connectors provided in your kit. This step may require a helping hand to hold the beams in place while you drill. Ensure the beams are level and evenly spaced to provide the necessary support for the top slats. For added stability, consider using galvanized steel brackets that resist weathering. Finally, add the slats on top, spacing them evenly for a balanced, stylish look. This design not only provides shade but also enhances the aesthetic of your outdoor space, making it both functional and inviting.
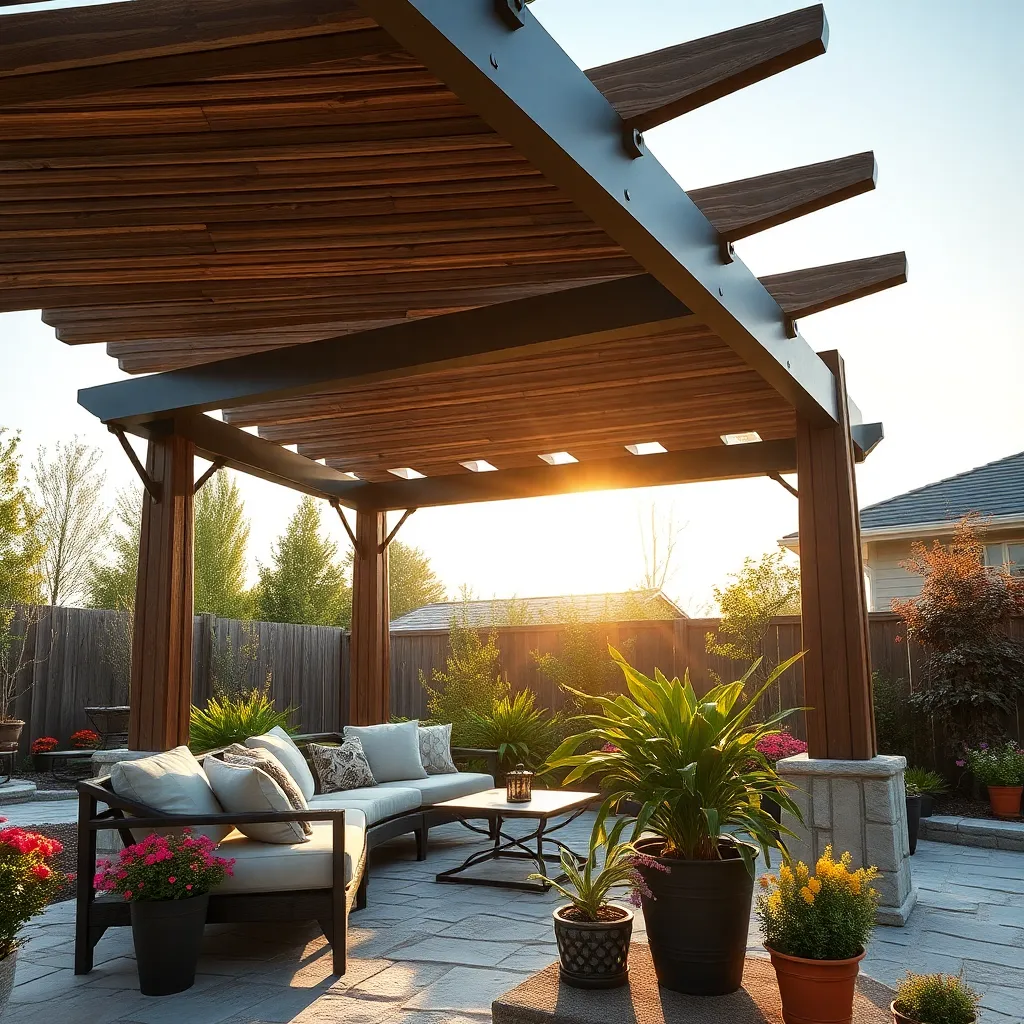
Comparing Wood vs. Metal Pergolas
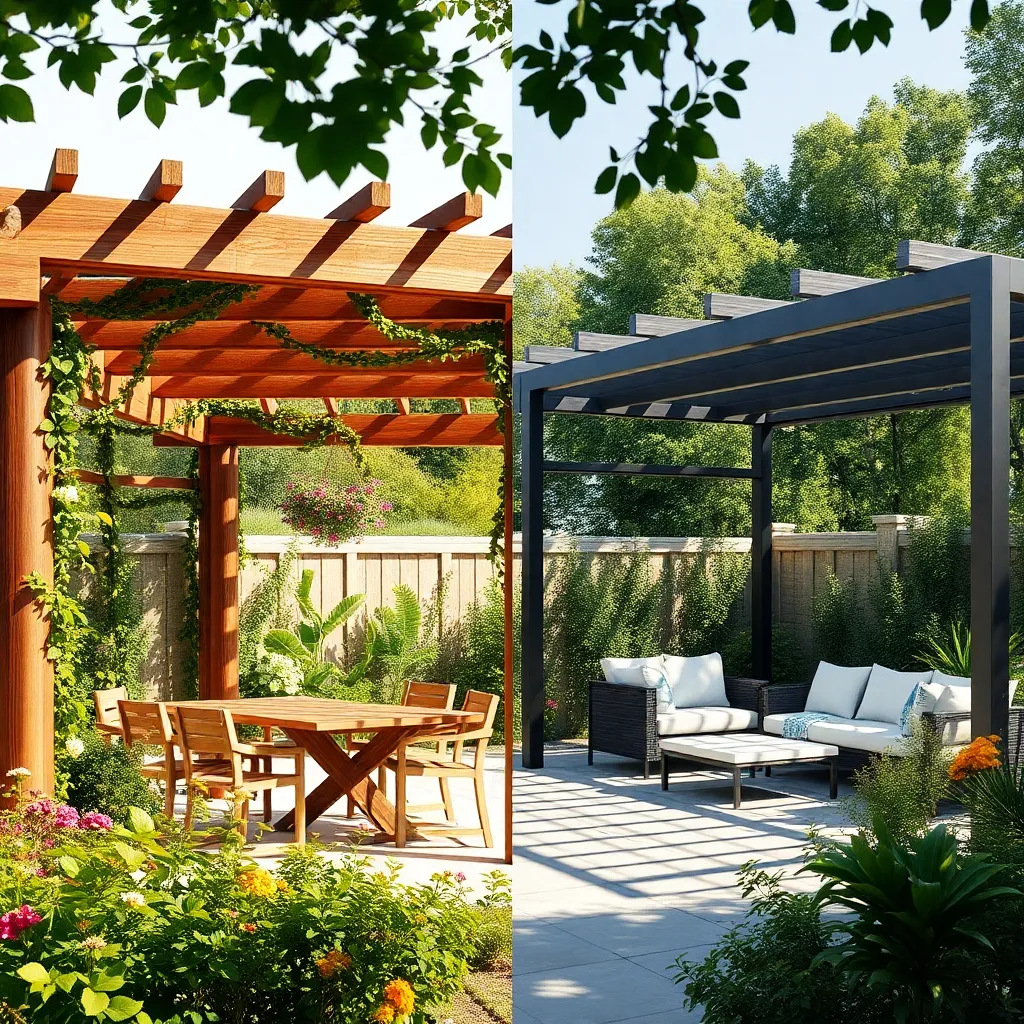
When deciding between wood and metal pergolas, consider the aesthetic and durability you desire. Wood pergolas offer a classic, natural look that complements most landscapes, making them a popular choice for traditional gardens. They require regular maintenance, such as sealing and staining, to protect against weather damage. For a sturdy build, opt for pressure-treated pine or cedar, which are resistant to rot and pests. Beginners might start with a simple rectangular design, while more experienced DIYers can experiment with custom shapes and latticework.
Metal pergolas, on the other hand, provide a sleek, modern appearance and are generally more durable with less maintenance. Aluminum and steel are common choices, with powder-coated finishes that resist rust and weathering. For a streamlined installation, choose pre-fabricated kits that feature interlocking components. Advanced builders may consider incorporating adjustable louvers for shade control. Whether you go with wood or metal, ensure your pergola posts are securely anchored using concrete footings, particularly in areas prone to strong winds.
Enhancing Pergolas with DIY Designs
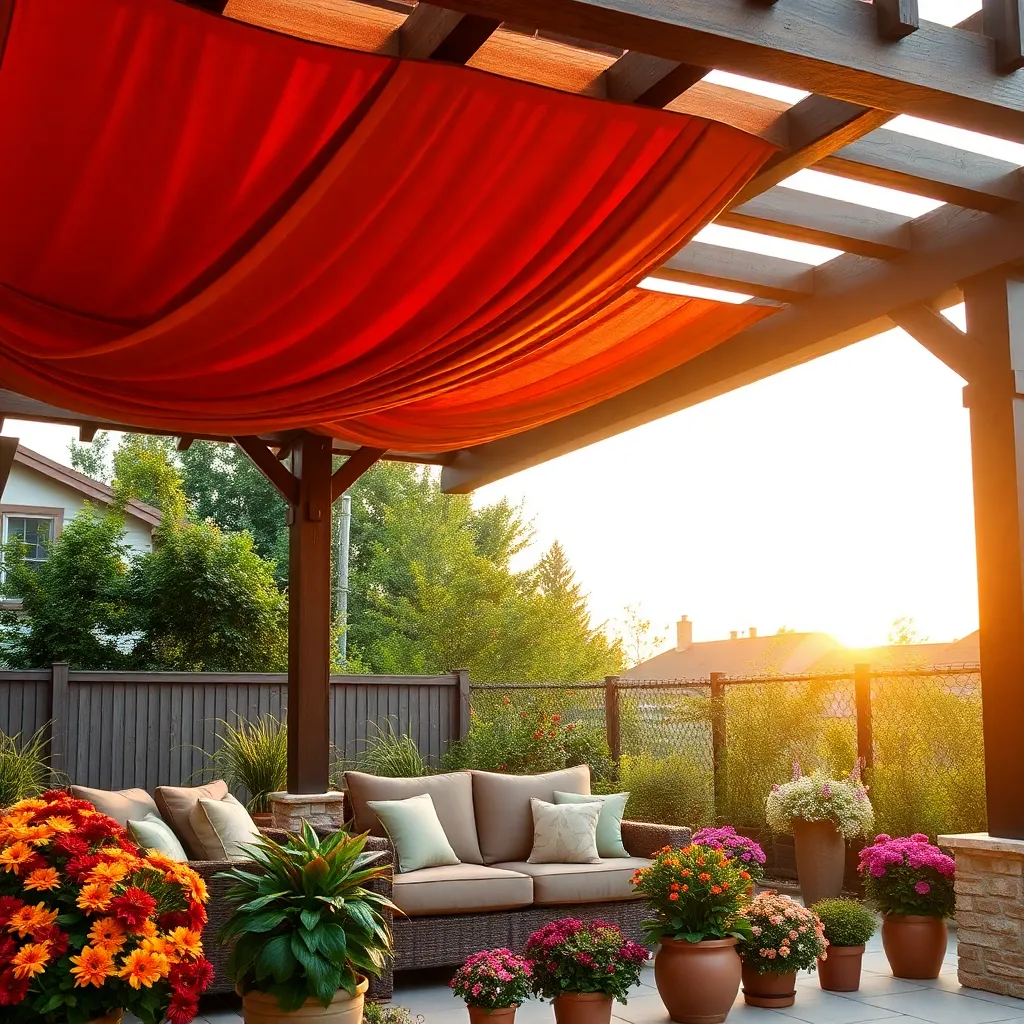
Transforming a basic pergola into a stunning outdoor retreat is easier than you might think. Start by adding fabric or bamboo shades to provide both style and sun protection, enhancing comfort during hot summer days. For a touch of nature, consider incorporating climbing plants like wisteria or jasmine, which can create a lush, green canopy overhead. Choose materials that withstand your local climate to ensure longevity, whether opting for treated wood or rust-resistant metals.
For those looking to elevate their pergola with a DIY touch, consider integrating LED string lights or solar-powered lanterns for evening ambiance. You can also add a retractable canopy for versatility in changing weather conditions. Advanced DIY enthusiasts might explore building custom wooden seating or planters as part of the structure, using durable hardwoods like cedar or redwood. Remember to anchor your pergola securely to withstand winds and ensure safety, using proper ground anchors or concrete footings.
Maximizing Space with Compact Kits
When space is limited, maximizing every square foot with compact pergola kits can transform your outdoor area into a functional haven. Consider using lightweight aluminum frames for their durability and ease of assembly, making them perfect for small patios or narrow garden nooks. Opt for a pergola with movable louvers or a retractable canopy to provide versatile shade options, adapting to various weather conditions. These elements not only offer practical benefits but also add a stylish touch to your outdoor decor.
For those with a bit more experience, integrating vertical planters or hanging planters into your pergola design can add greenery without sacrificing floor space. Choose materials like weather-resistant cedar or treated hardwood to ensure longevity and sustainability. This approach allows you to include a herb garden or climbing plants directly on your pergola, enhancing both functionality and aesthetics. With these compact kits, even the smallest backyard can become a lush retreat with minimal effort.
Weatherproofing Your DIY Pergola

To ensure your DIY pergola withstands the elements, focus on selecting the right materials. Opt for pressure-treated wood or cedar, both of which offer natural resilience against moisture and pests. Adding a weatherproof sealant or stain can further protect the wood from rain and sun damage. For those looking to enhance their pergola’s longevity, consider incorporating a polycarbonate roof panel. These panels are lightweight, UV-resistant, and provide excellent protection against rain while allowing natural light to filter through.
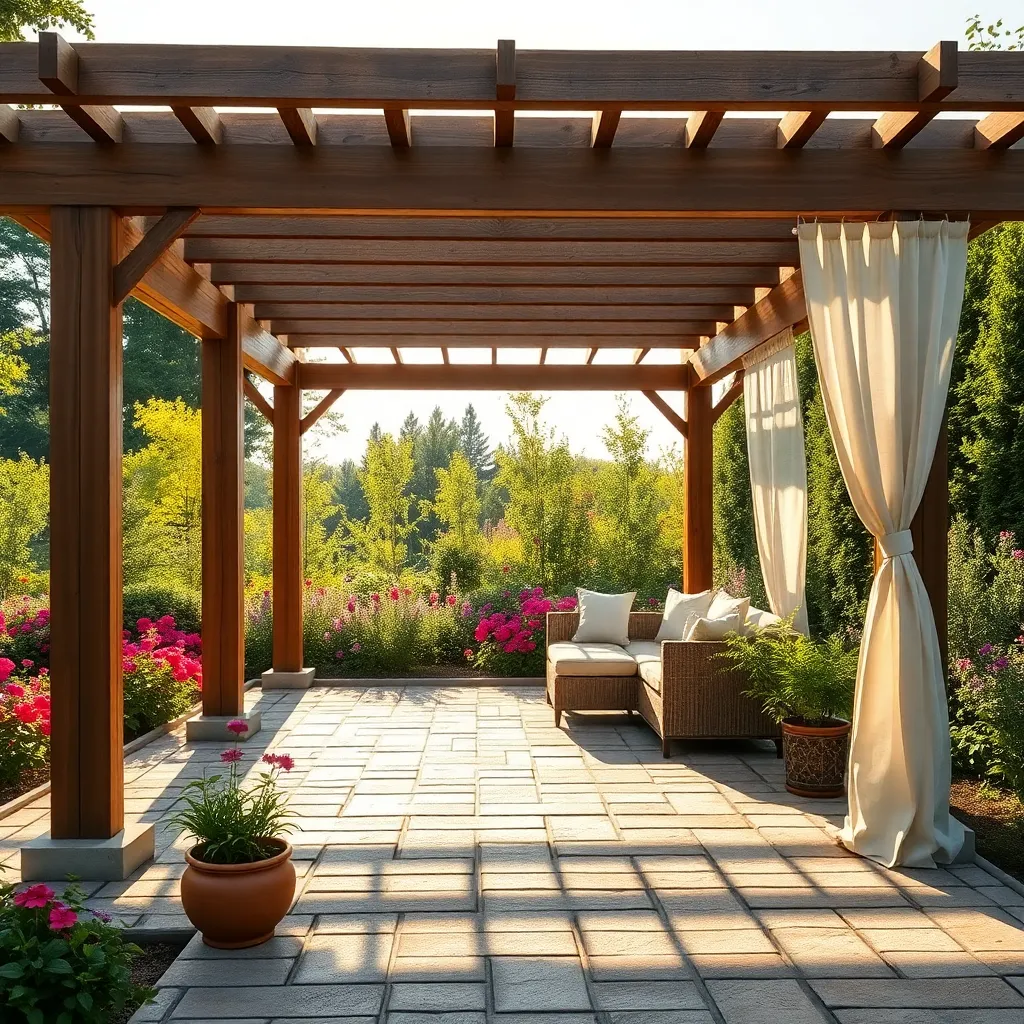
Design elements can significantly impact your pergola’s durability. Ensure your structure has a slight pitch to prevent water from pooling on the roof, which can lead to rot. Anchor the pergola securely to the ground using concrete footings, especially in areas prone to strong winds. For a finishing touch, install outdoor curtains or retractable canopies to shield against harsh weather while adding a cozy, personalized feel. These practical enhancements not only extend the life of your pergola but also create a versatile outdoor space for year-round enjoyment.
Incorporating Lighting in Pergola Designs
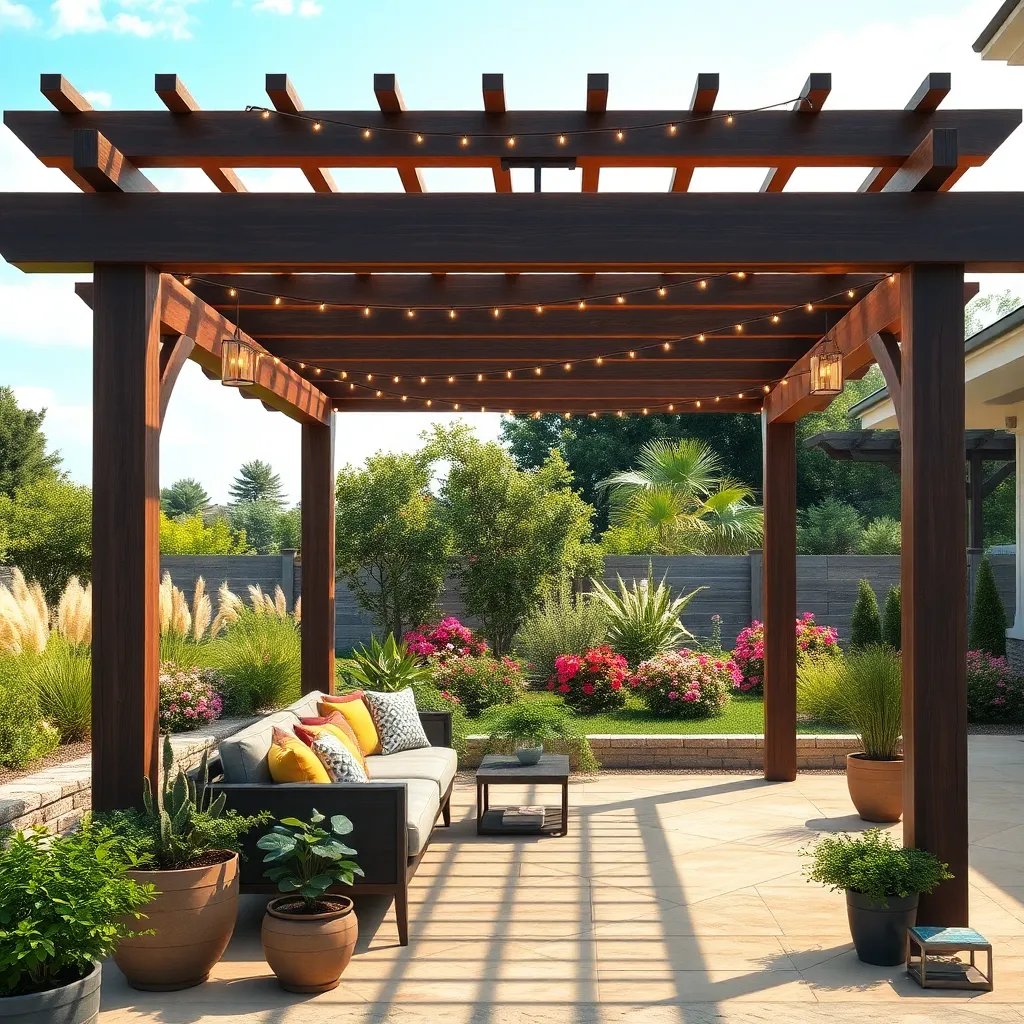
Enhancing your pergola with lighting not only highlights its architectural beauty but also extends its usability into the evening hours. For a simple and cost-effective approach, consider using solar-powered string lights that are easy to install and require no wiring. Hang them along the beams for a soft, ambient glow. If you’re looking for a more sophisticated setup, incorporate LED strip lights along the inner edges of the beams for a modern touch. Ensure these lights are rated for outdoor use to withstand the elements.
To create a cozy atmosphere, add hanging lanterns or pendant lights at different heights for visual interest and functional illumination. For homeowners with a knack for DIY, installing recessed lights in the pergola’s rafters can provide targeted lighting without the clutter of visible fixtures. Use waterproof junction boxes and outdoor-rated wiring to ensure safety and durability. Whether you’re a beginner or experienced DIYer, focus on a lighting plan that complements the style and function of your pergola, enhancing both its form and practicality.
Selecting Durable Pergola Materials
When selecting materials for your pergola, consider both durability and aesthetics to ensure your outdoor space is both long-lasting and visually appealing. Pressure-treated wood is a popular choice for its affordability and resistance to rot and insects, though it may require regular sealing. For a more modern look, aluminum offers a sleek finish and excellent weather resistance, requiring minimal maintenance.
For those looking to invest a bit more, cedar and redwood are excellent options, known for their natural beauty and resistance to decay. These materials also age gracefully, developing a charming patina over time. To enhance durability, consider using stainless steel fasteners and connectors, ensuring your pergola remains sturdy in various weather conditions.
- Tip: Always check your local climate conditions to choose the most suitable material.
- Advanced Tip: Combine materials, like wood with metal accents, for a unique hybrid design.
Eco-Friendly Pergola Kit Options
For those looking to make an environmentally conscious choice, consider opting for an eco-friendly pergola kit. These kits often use sustainably sourced materials, such as FSC-certified wood or recycled metals, ensuring your outdoor space is both beautiful and responsible. When selecting a kit, look for designs that incorporate natural finishes and non-toxic treatments to reduce environmental impact. Beginners will appreciate pre-cut components and straightforward assembly instructions, while advanced DIYers can explore options to customize with solar lighting or rainwater collection features.
Eco-friendly pergola kits aren’t just about materials; they also focus on energy efficiency and sustainability. Choose a design that maximizes natural light while providing sufficient shade—this not only enhances comfort but also reduces energy use in adjacent indoor spaces. For added functionality, consider integrating vertical gardens or green roofs, which can improve insulation and support local biodiversity. With thoughtful planning and execution, your pergola can be a stylish and sustainable addition to your outdoor living area.
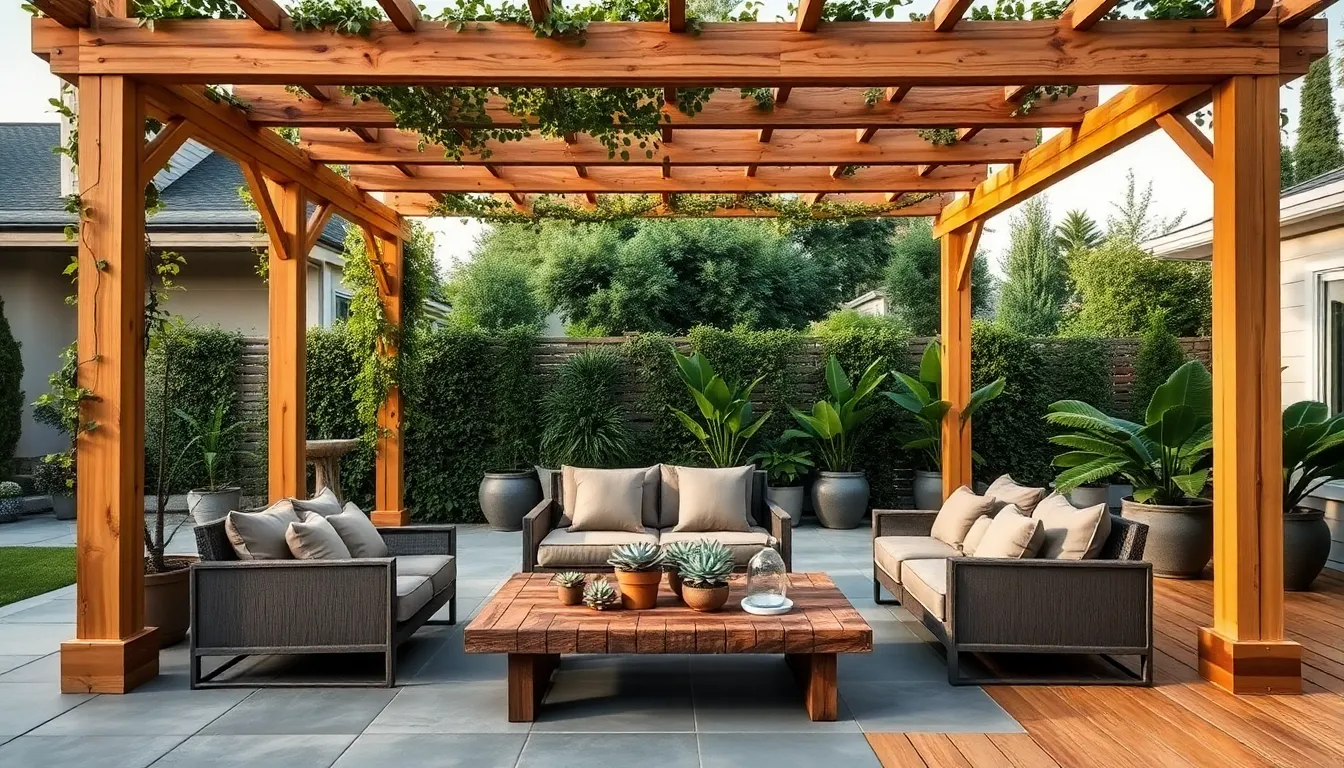
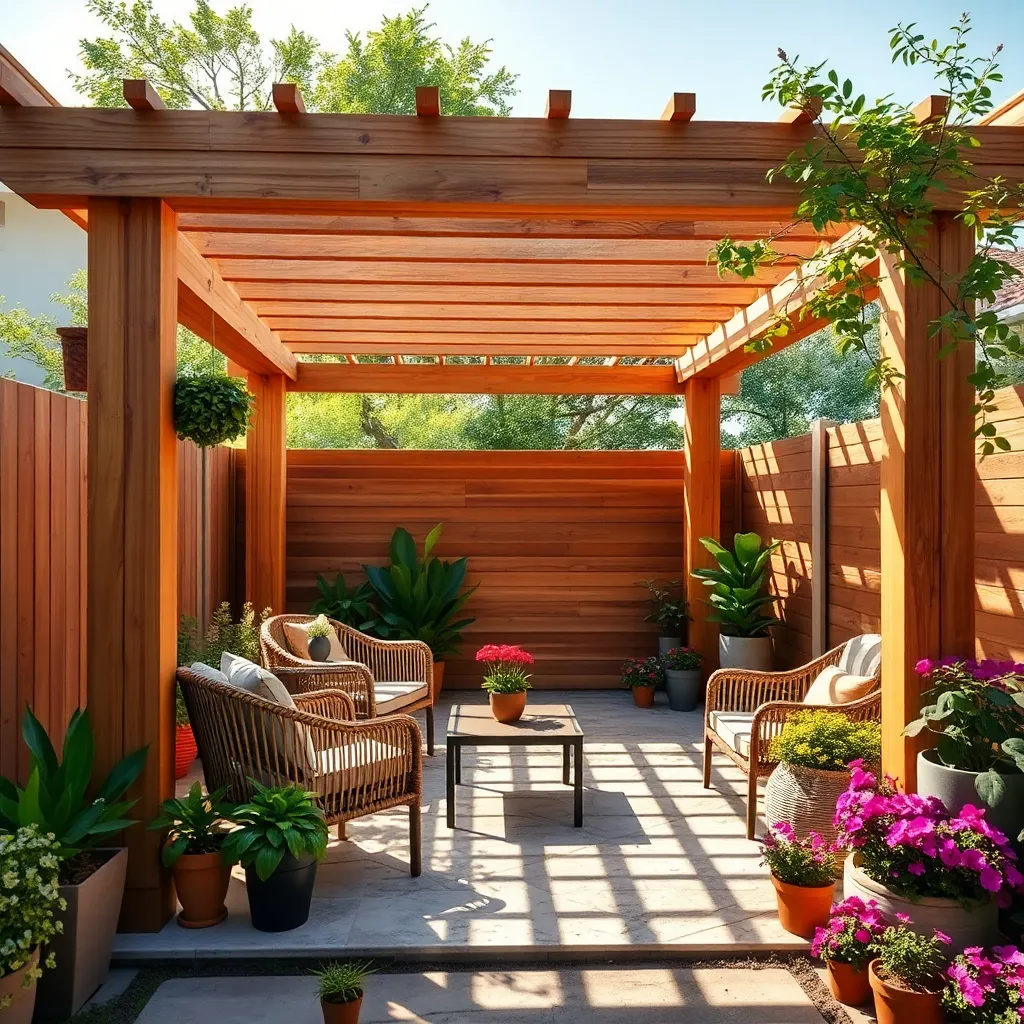
Creating Cozy Pergola Lounging Areas
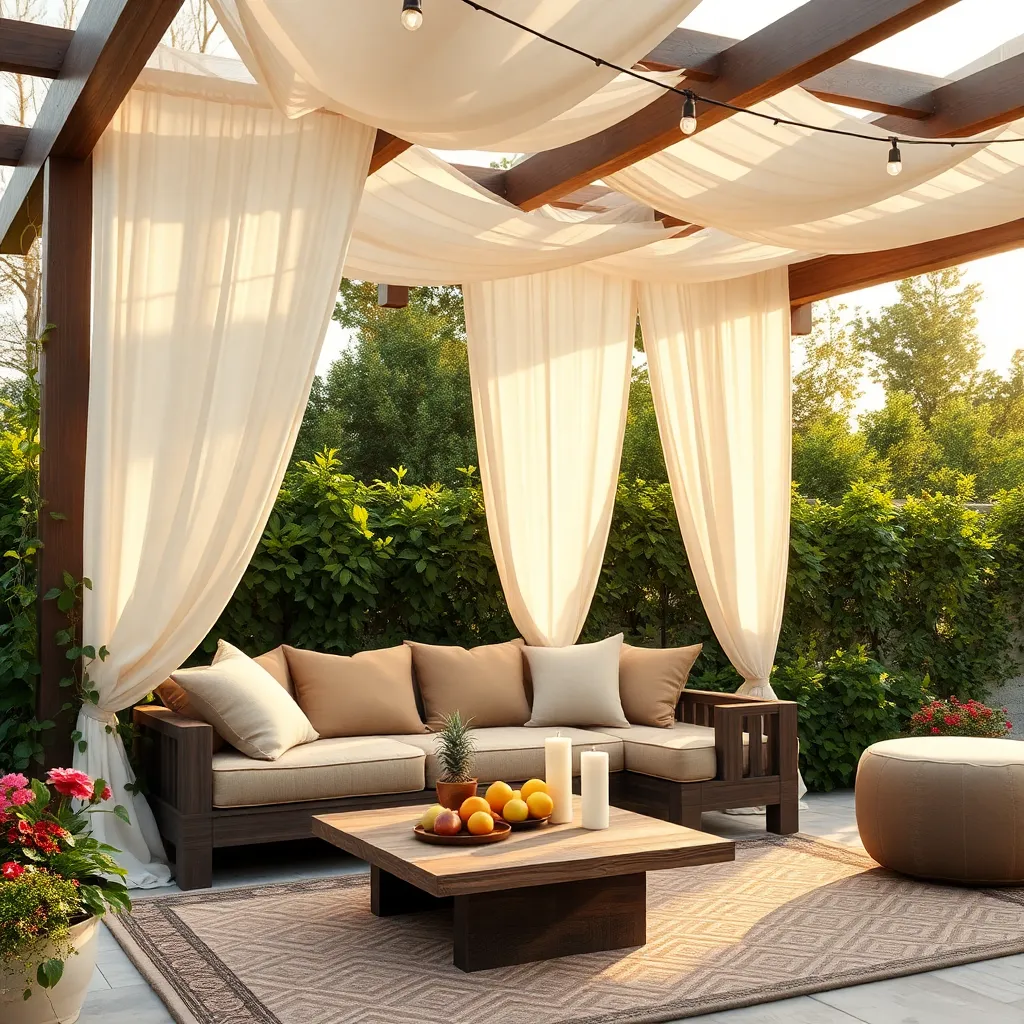
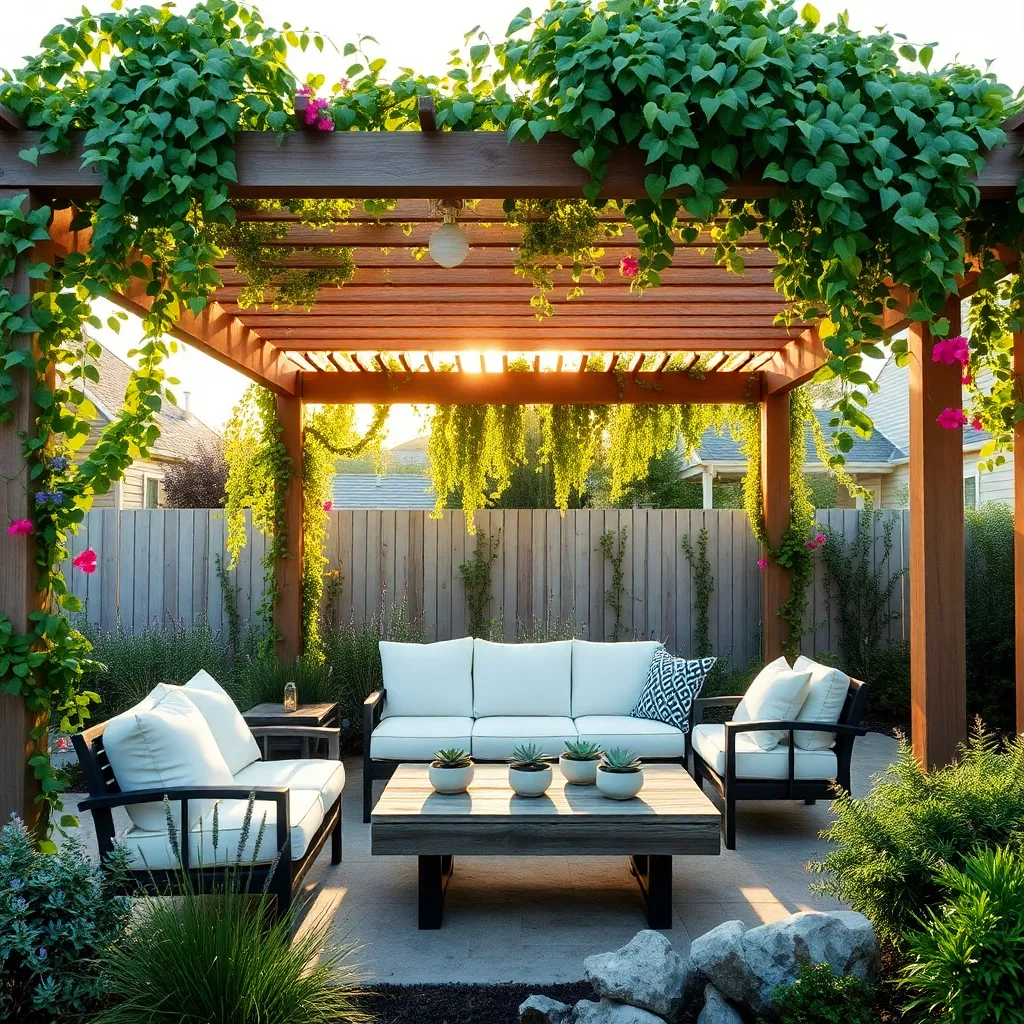
Transforming your pergola into a cozy lounging area can be both affordable and straightforward with a few thoughtful design choices. Start by selecting weather-resistant materials such as teak or cedar for your furniture, which can endure the elements while maintaining a stylish aesthetic. For a touch of comfort, add plush, outdoor-rated cushions and pillows in neutral tones or vibrant patterns, ensuring they complement your garden’s natural hues. Consider incorporating a mix of seating options, like a hammock chair or a low-slung sofa, to accommodate various lounging preferences.
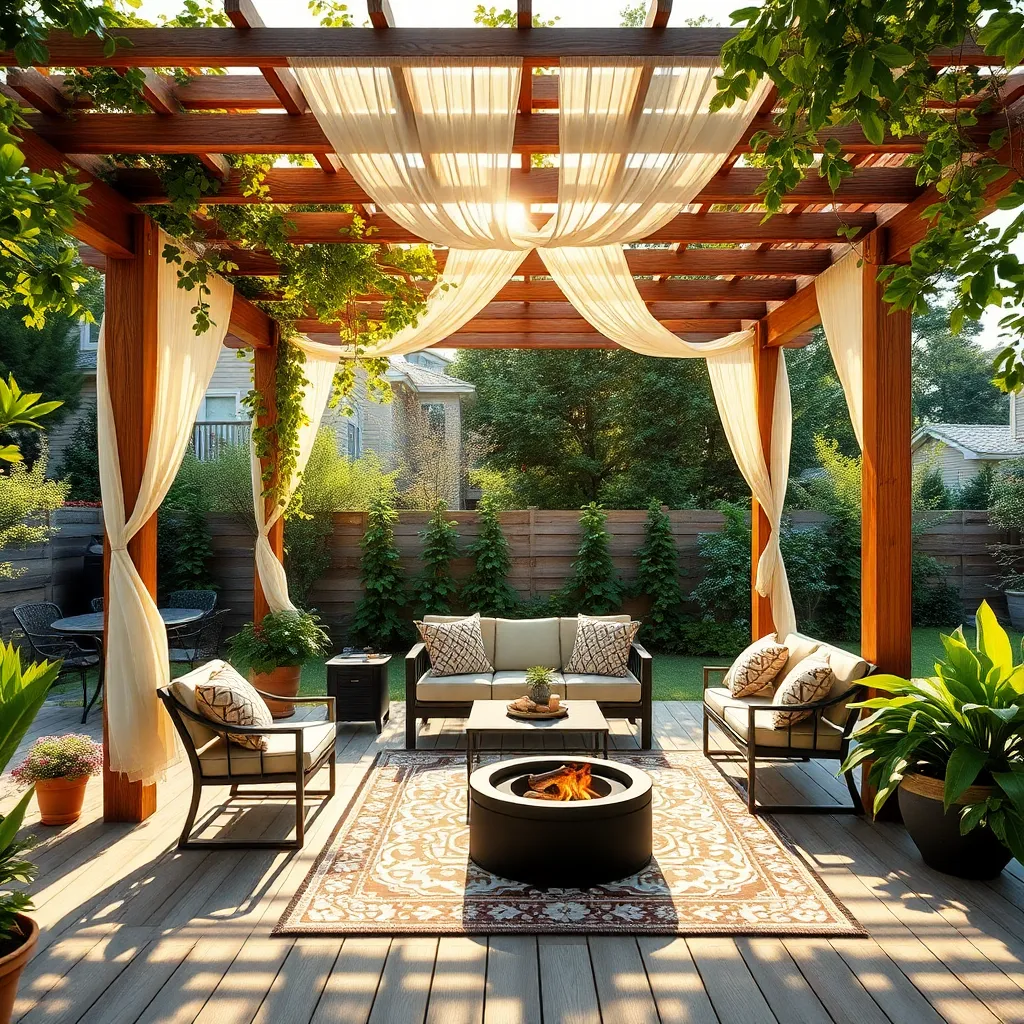
Enhance your pergola’s ambiance by integrating elements that cater to all senses. Install string lights or solar lanterns to create a warm, inviting glow as the sun sets, and add a small water feature nearby for soothing sounds. To elevate the space for year-round enjoyment, consider installing retractable shades or curtains that provide shelter from the sun or wind. For advanced DIYers, adding a built-in fire pit or simple outdoor heater can extend the usability of the space into cooler months. These additions not only enhance comfort but also encourage relaxation and social gatherings.
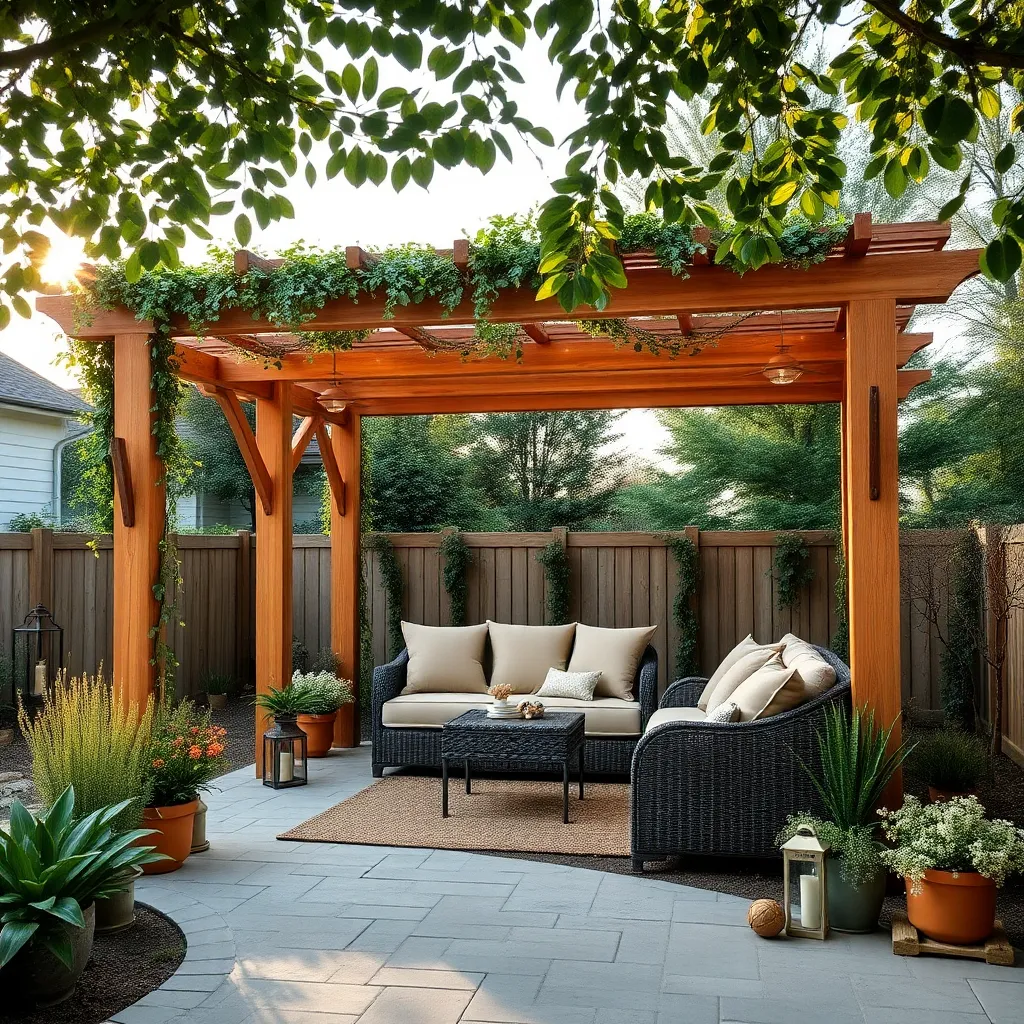
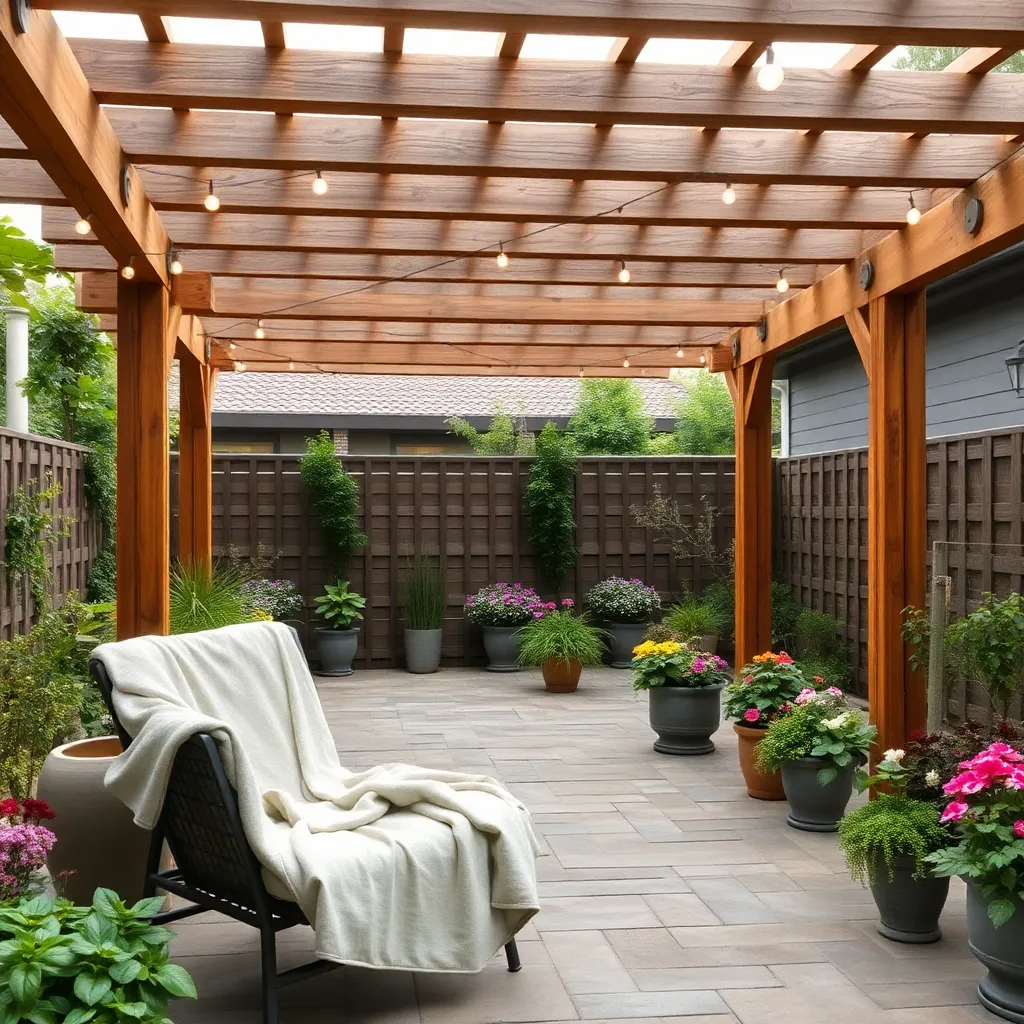
Integrating Pergolas into Garden Landscapes
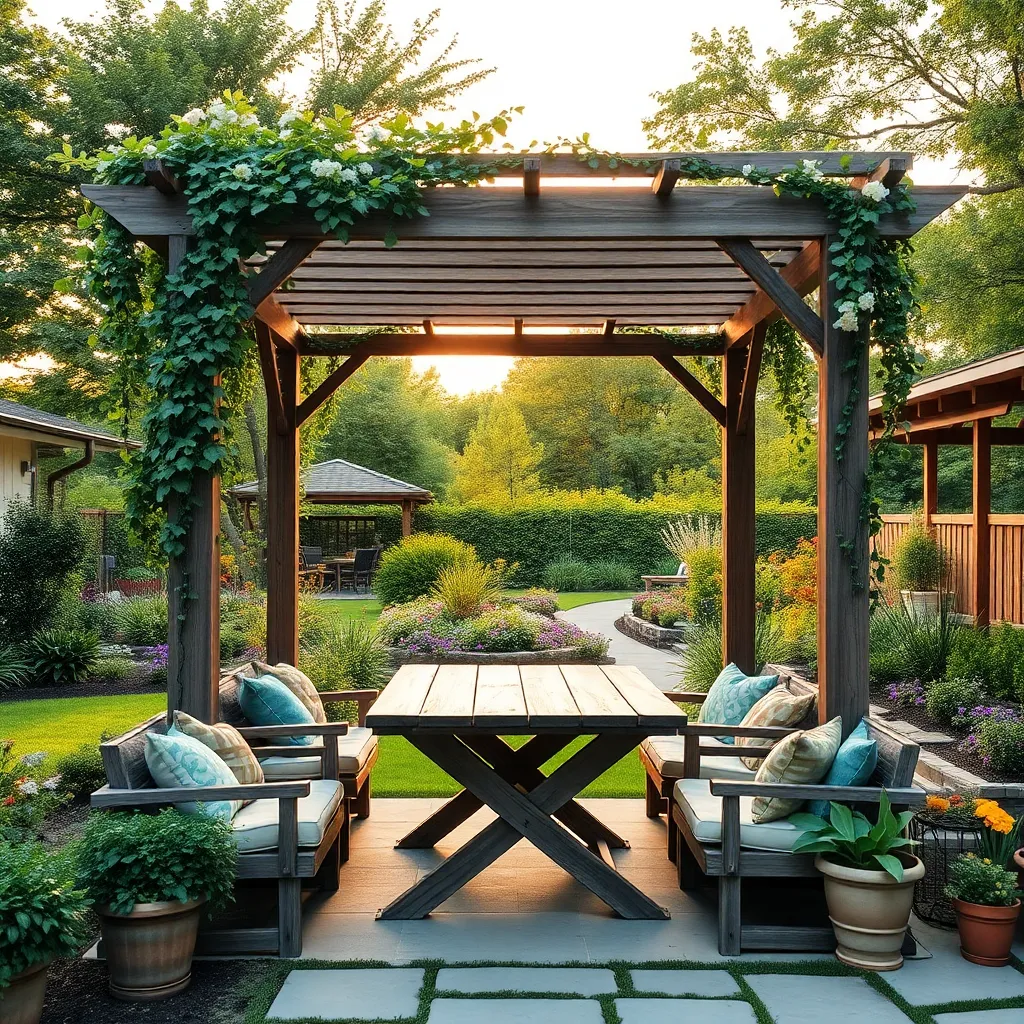
Integrating pergolas into your garden landscape can transform an ordinary yard into a serene oasis. Begin by selecting materials that complement your garden’s existing features; cedar wood is a popular choice for its durability and natural resistance to weather. Consider the pergola’s size in relation to your outdoor space—an ideal height is typically between 8 to 12 feet, offering ample headroom without overwhelming the area. For a cohesive look, try matching the pergola’s color with your house trim or garden furniture.
To enhance the pergola’s functionality and aesthetic appeal, incorporate climbing plants like wisteria or jasmine. These plants not only provide shade but also create a lush, inviting atmosphere. Advanced gardeners might add a retractable canopy for weather versatility, using water-resistant fabrics like acrylic or polyester. For a personalized touch, consider adding string lights or lanterns to illuminate evening gatherings, ensuring the space is welcoming both day and night. By thoughtfully integrating a pergola, you create a seamless extension of your living space into the garden.
Customizing Pergola Colors and Finishes
When customizing pergola colors and finishes, consider your garden’s existing palette and architectural style. Start with choosing a durable, weather-resistant paint or stain that complements your outdoor space. For a classic look, opt for neutral shades like whites, greys, or soft earth tones. If you’re feeling adventurous, vibrant colors can make your pergola a standout feature. Ensure your chosen finish includes UV protection to guard against fading and weathering.
For a more personalized touch, explore different finishes such as textured stains or metallic paints to add depth and character to your pergola. Beginners might start with a simple wood stain to enhance the natural grain, while advanced DIYers could experiment with two-tone designs or ombre effects. Use a high-quality sealant to extend the life of your pergola, especially in areas prone to harsh weather conditions. This not only preserves the color but also minimizes maintenance efforts in the long run.
Adding Climbing Plants to Pergolas
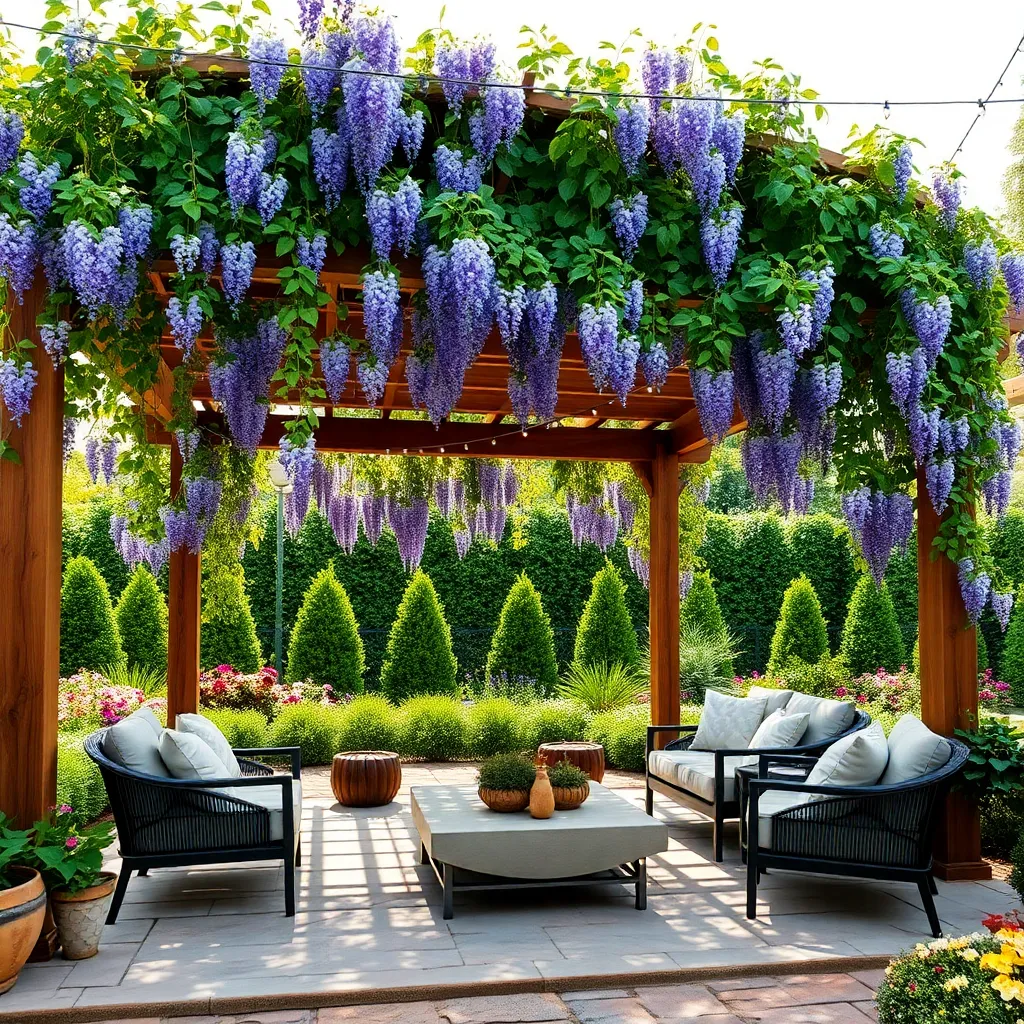
Integrating climbing plants into your pergola design can transform it into a lush, inviting retreat. Start by selecting plants that are well-suited to your climate and the amount of sunlight your pergola receives. Popular choices include jasmine, wisteria, and clematis, which offer a mix of fragrance and color. For beginners, consider using fast-growing annuals like morning glories, which are easy to train and maintain. To support these plants, ensure your pergola has sturdy latticework or cables that can hold their weight as they grow.
For a more advanced touch, consider incorporating a drip irrigation system to provide consistent moisture, especially during hot months. Use durable materials like galvanized wire or stainless-steel cables to guide the plants upward without risk of rust. Spacing is crucial; plant climbers approximately 12 to 18 inches away from the pergola posts to encourage healthy growth and airflow. Regular pruning will help maintain the desired shape and prevent overgrowth, ensuring your pergola remains a stunning feature in your outdoor space.
Safety Tips for DIY Pergola Builders

When embarking on building your own pergola, starting with a solid foundation is crucial. Ensure you choose durable materials like treated wood or weather-resistant metal to withstand outdoor elements. As you plan, consider the pergola’s placement to maximize structural integrity—avoid areas with poor drainage or unstable soil. Utilize tools like a spirit level and plumb line to guarantee each post is perfectly vertical, which is essential for both safety and aesthetics.
Safety should be your top priority when constructing your pergola. Always wear protective gear such as gloves and safety glasses, especially when cutting materials or handling power tools. If you’re a beginner, enlist the help of a friend for tasks like lifting heavy beams or ensuring the structure is stable during assembly. For more advanced builders, adding diagonal bracing can increase stability and reduce sway, particularly in windy areas. Following these tips will not only make the process smoother but also ensure your pergola stands the test of time.
Maintaining Your Pergola Year-Round
Regular maintenance is crucial to prolong the life of your pergola and keep it looking its best. Begin with a seasonal inspection, checking for signs of wear, such as loose screws or cracked wood, and address these immediately to prevent further damage. For wooden pergolas, applying a weather-resistant sealant annually will help protect against moisture and UV damage, while aluminum or vinyl structures may only require a simple wash with soapy water. Consistent upkeep ensures your pergola remains a beautiful focal point in your outdoor space.
To enhance your pergola’s durability and aesthetic appeal, consider incorporating design elements that also serve practical purposes. Install a retractable canopy or shade sail to provide shelter from harsh sun and rain, extending the usability of your outdoor area. For those looking to add a touch of greenery, train climbing plants like wisteria or jasmine along the beams for a natural, shaded retreat. Advanced gardeners might explore solar-powered lighting options for energy-efficient illumination, making your pergola a year-round haven both day and night.
Conclusion: Creating Beautiful Outdoor Spaces
In exploring the ’18 Affordable DIY Pergola Kits to Try,’ we’ve uncovered key relationship-building concepts such as collaboration, creativity, communication, patience, adaptability, and shared goals. Each pergola project represents an opportunity to strengthen bonds and cultivate a nurturing environment, both physically and emotionally. By engaging in these DIY activities, couples can practice teamwork, foster appreciation, and create lasting memories that reinforce their connection.
As an immediate next step, choose one pergola kit that resonates with you and your partner, set a date, and embark on this enriching journey together. This hands-on experience not only beautifies your space but also deepens your relationship.
Remember to save or bookmark this article so you can revisit these ideas whenever you need inspiration or a reminder of the powerful impact of shared projects. As you continue to invest in your relationship, know that each effort you make today lays a stronger foundation for your future together. Embrace these opportunities with open hearts, and watch as your relationship flourishes, just like your garden oasis.