Transforming your backyard into a cozy retreat doesn’t have to be complicated or overwhelming. Whether you’re new to DIY projects or a seasoned homeowner, creating a simple shelter can add comfort and style to your outdoor space without demanding extensive skills or time.
In this article, you’ll discover 15 easy-to-build backyard shelter ideas that blend practicality with charm. From shaded pergolas to inviting gazebos, each project comes with straightforward guidance to help you enhance your outdoor living experience with confidence and creativity.
Choosing the Right Backyard Shelter
When choosing the right backyard shelter, start by assessing your space and purpose. Consider whether you want a simple shade structure like a pergola or a more enclosed option such as a gazebo. Opt for durable materials like cedar or pressure-treated lumber for easy maintenance and longevity, and ensure your shelter’s footprint fits comfortably within your yard without overcrowding other garden elements.
Next, focus on design features that enhance usability and comfort. Incorporate adjustable shade options like retractable canopies or lattice roofs to control sunlight and airflow. For advanced builders, adding gutters or integrating lighting and seating into your shelter can transform it into a year-round retreat—remember to follow local building codes and use weather-resistant hardware to ensure safety and durability.
Essential Tools for Shelter Building
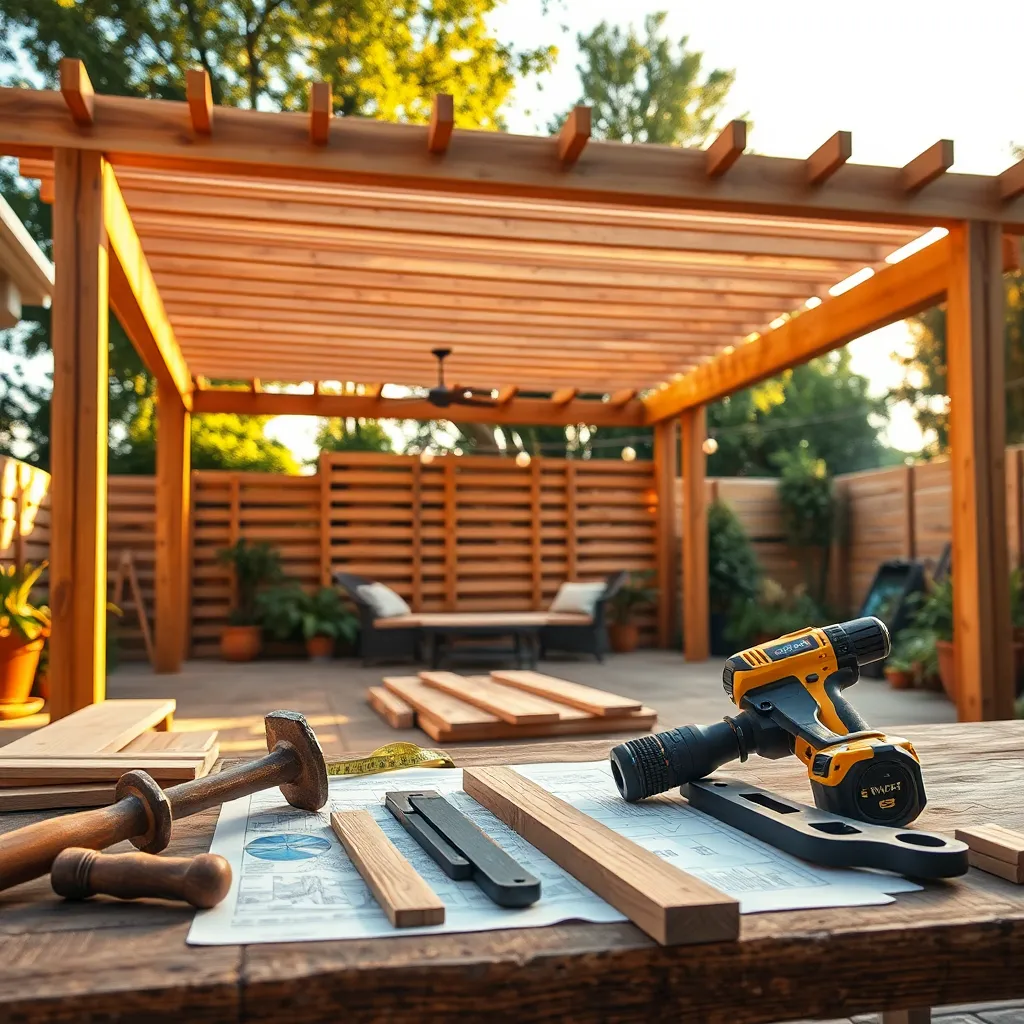
Building a sturdy backyard shelter begins with having the right essential tools on hand. Basic tools such as a cordless drill, a handsaw or circular saw, a tape measure, and a level will cover most construction tasks. For added efficiency, consider investing in a framing nailer and a sturdy workbench or sawhorses to keep materials steady during cutting and assembly.
Beyond tools, selecting quality materials is key to a durable shelter. Use pressure-treated lumber or cedar for framing to resist rot and insect damage, and choose galvanized or stainless steel fasteners to prevent rust. For larger projects, preparing a detailed material list and measuring twice before cutting will save time and minimize waste, especially if you plan to add advanced features like adjustable roof panels or custom shelving.
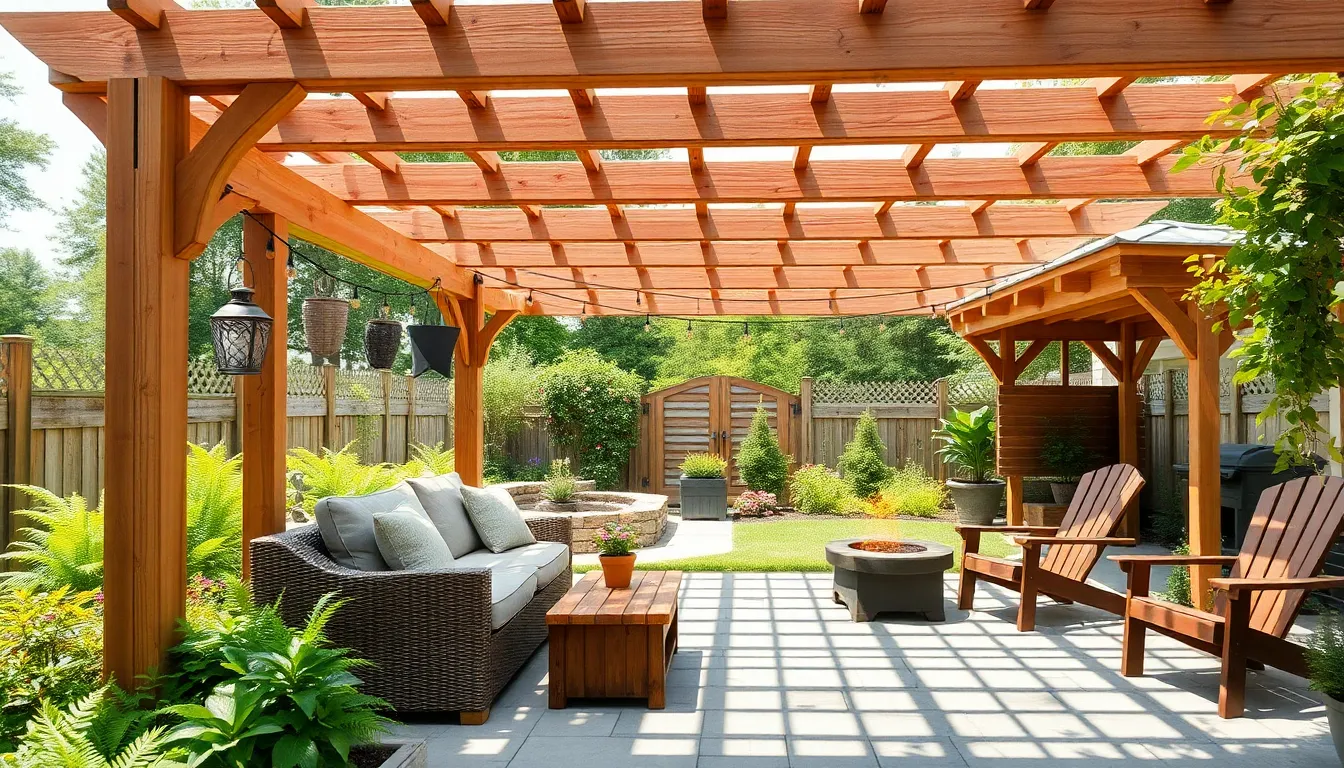
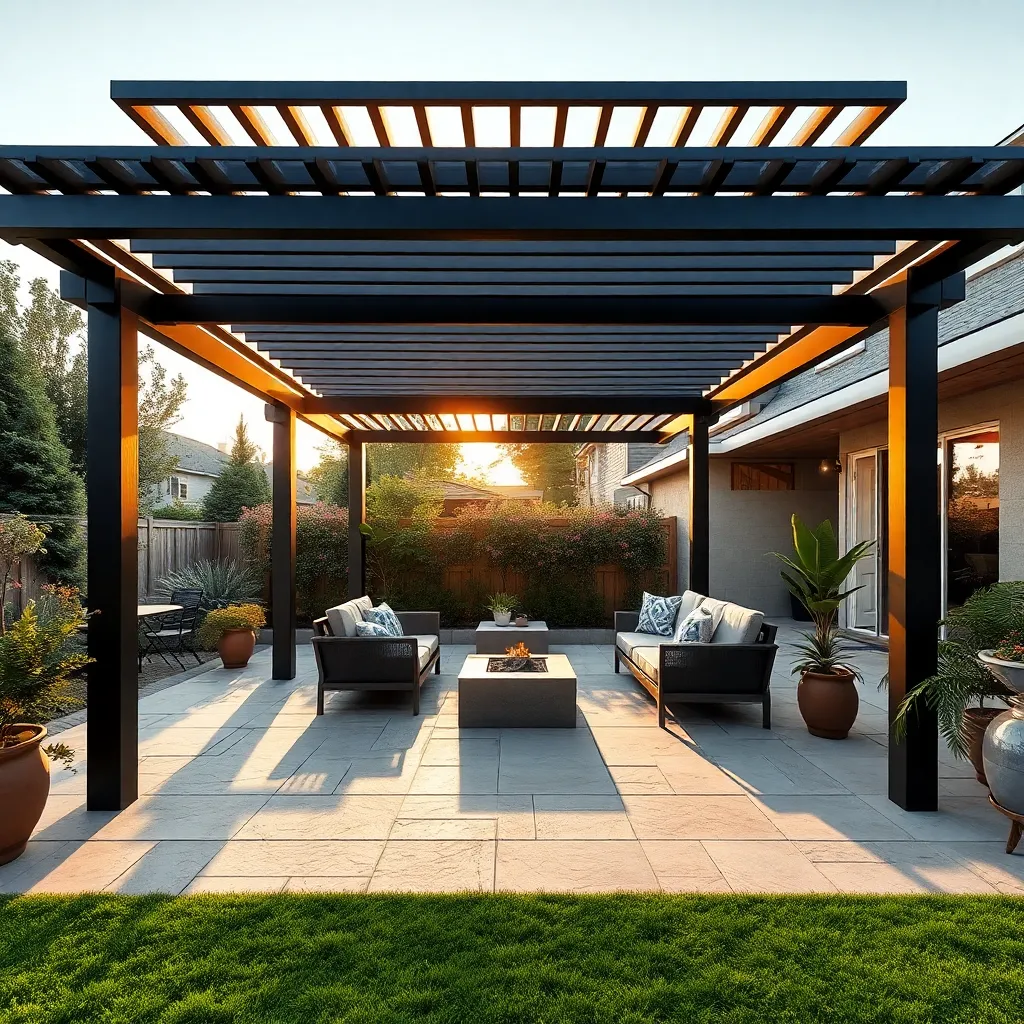
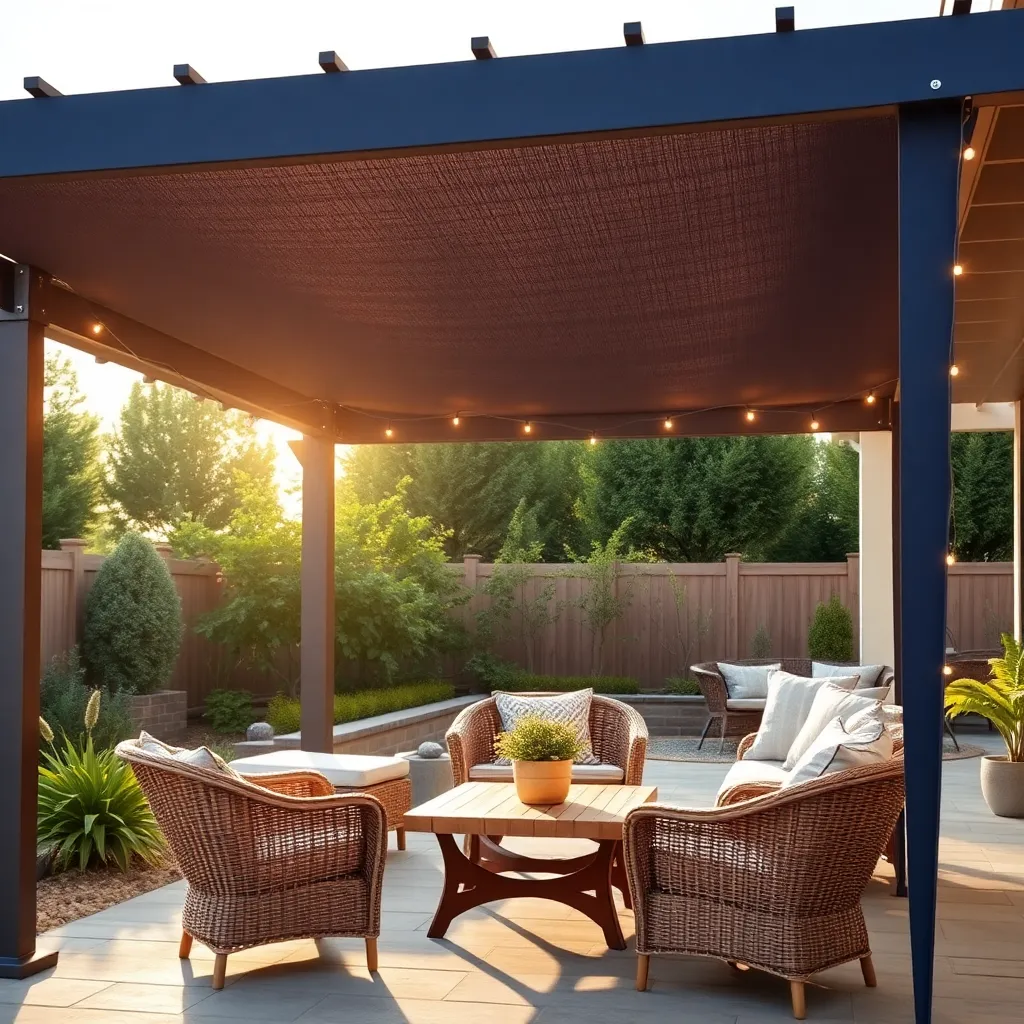
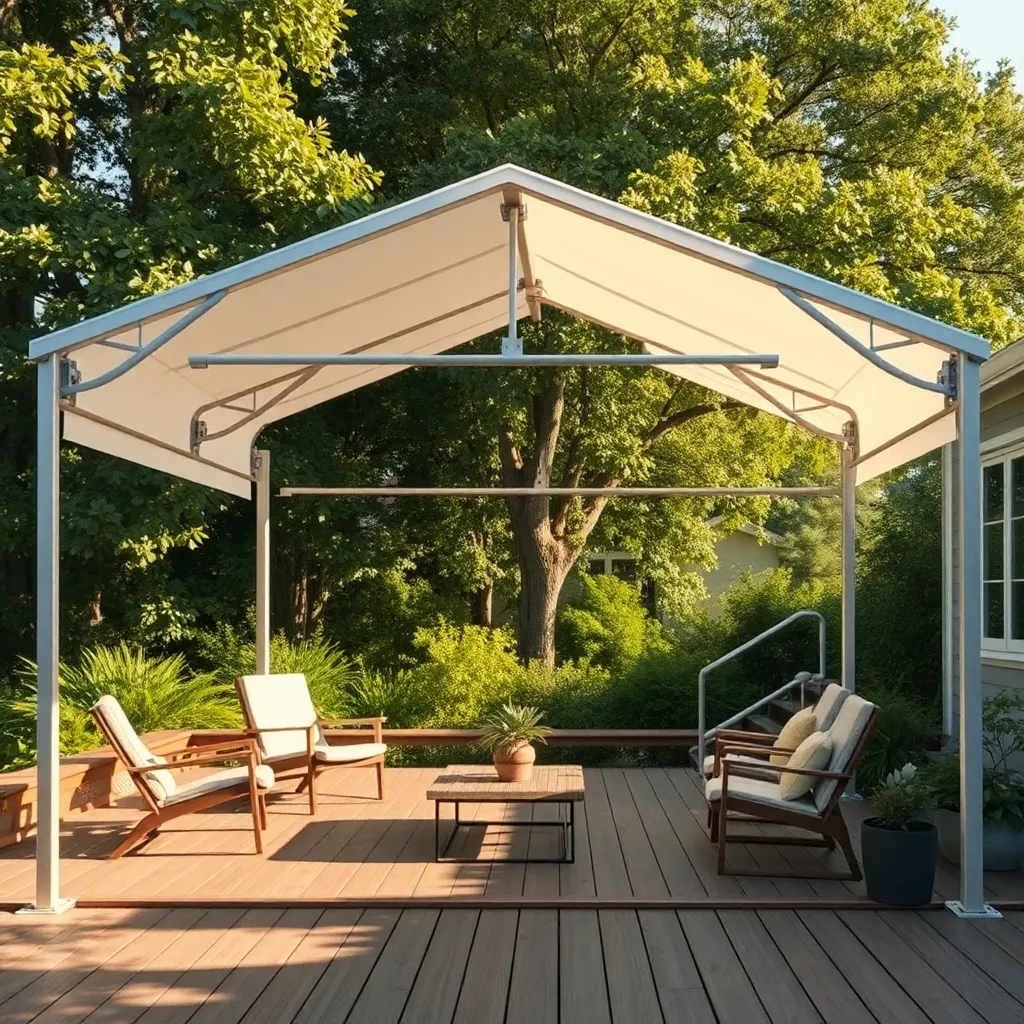
Simple Wooden Pergola Design
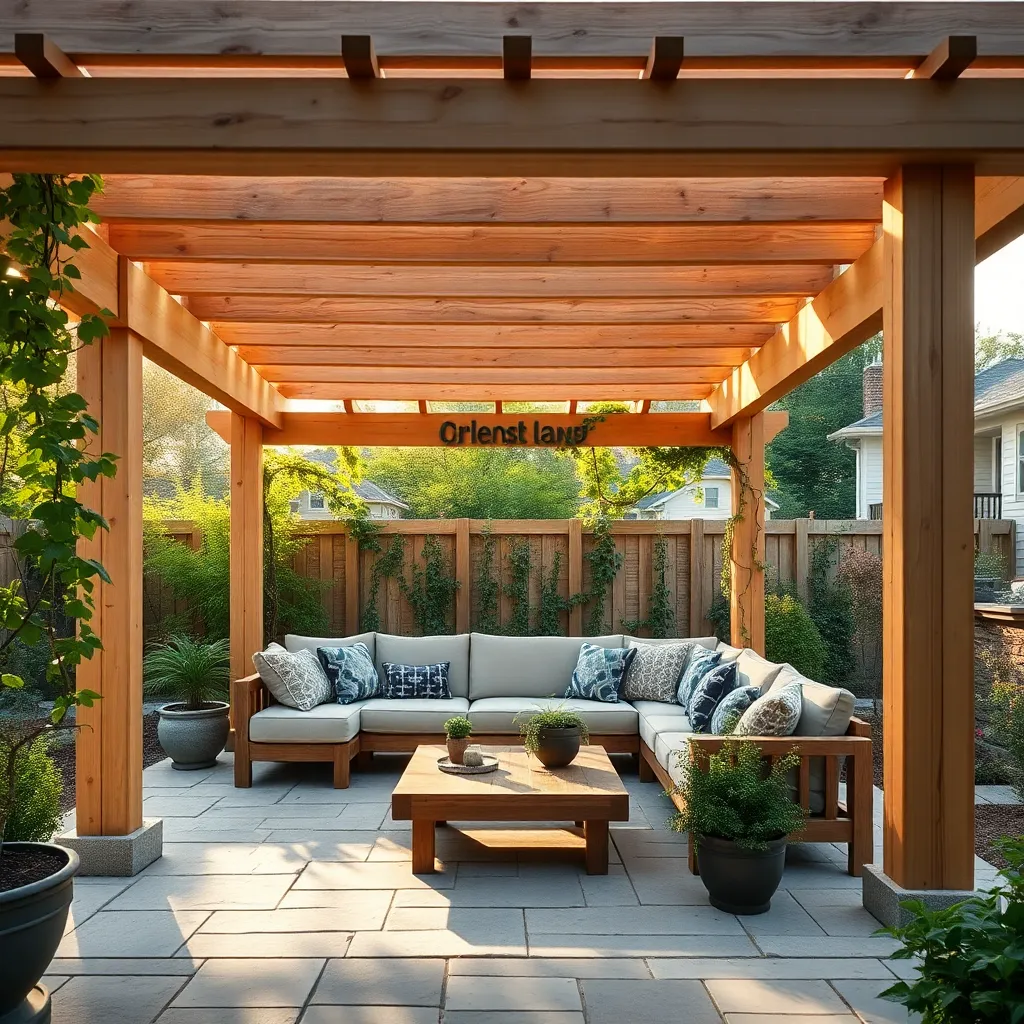
Creating a simple wooden pergola starts with selecting durable, weather-resistant wood like cedar or redwood, which naturally withstand outdoor conditions. For a basic design, use 4×4 posts spaced about 8 feet apart and secure crossbeams on top with galvanized screws to prevent rust. Ensure your posts are anchored firmly in concrete footings at least 2 feet deep to provide stability and safety.
To add both style and function, consider spacing the rafters 12 to 16 inches apart for balanced shade and sunlight. You can also enhance your pergola by training climbing plants like vines or adding retractable fabric covers for adjustable shelter. For advanced builders, incorporating decorative braces or notched joints can improve structural integrity and give your pergola a polished, custom look.
DIY Pop-Up Canopy Setup
Setting up a DIY pop-up canopy is one of the quickest ways to create instant shade and shelter in your backyard. Choose a canopy with a sturdy steel frame and weather-resistant polyester fabric for durability. For practical use, opt for a size between 10×10 to 12×12 feet, which offers ample coverage without overwhelming your space. Make sure to stake the legs securely into the ground and use guy ropes for added stability, especially in windy conditions.
To enhance your canopy setup, consider adding sidewalls or removable mesh panels to keep insects out while maintaining airflow. For a polished look and extra functionality, attach Velcro or clip-on organizers to the frame for holding lights or gardening tools. If you want a more permanent feel, anchor the canopy legs with weighted bases or concrete blocks—this helps prevent shifting and increases safety during outdoor events.

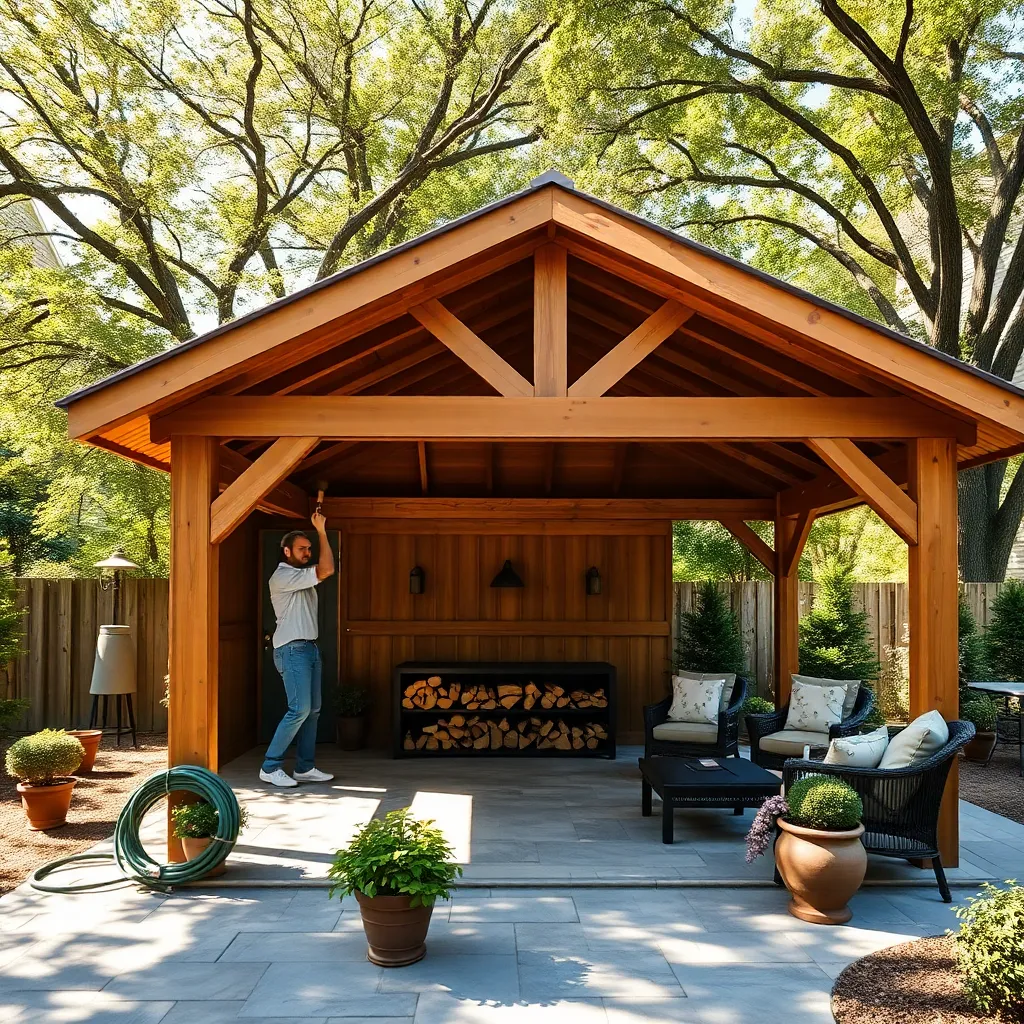
Building a Rustic Garden Gazebo
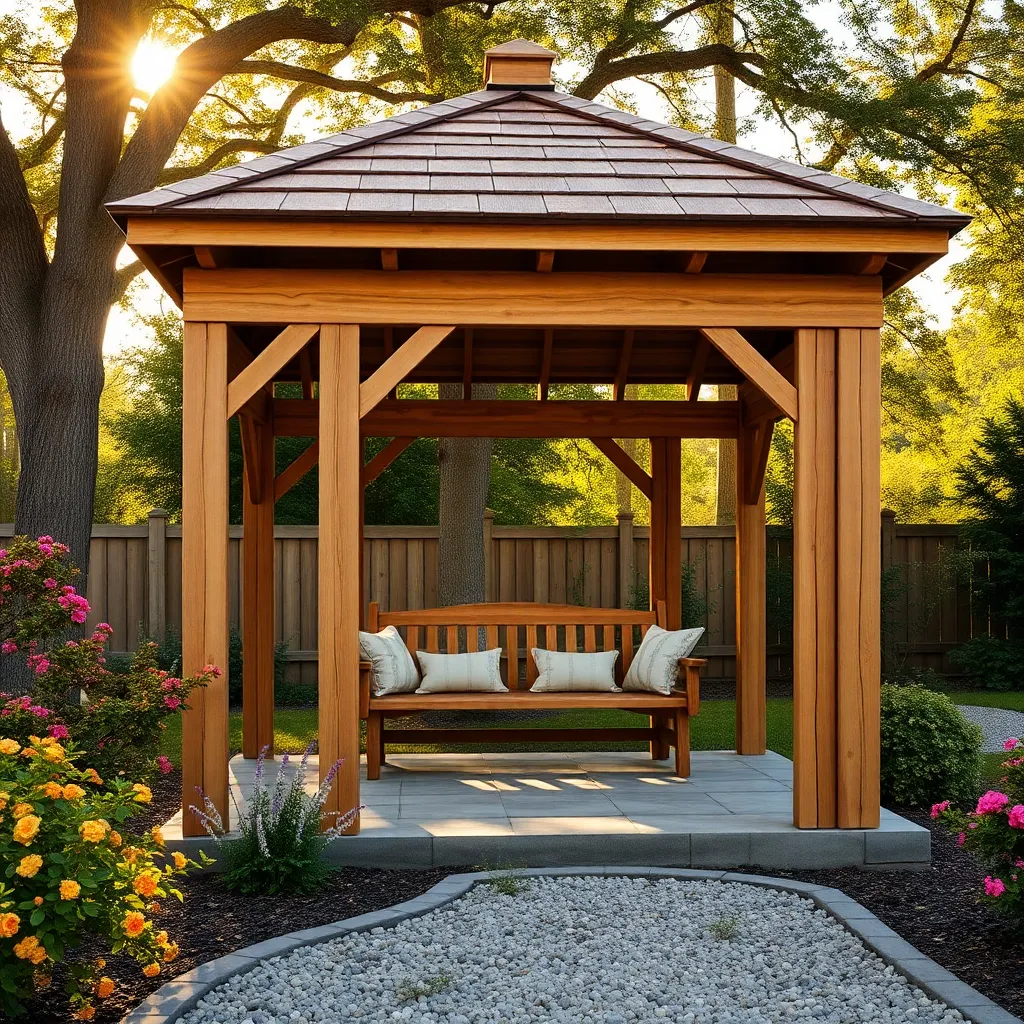
Creating a rustic garden gazebo starts with selecting durable, natural materials like cedar or redwood, which resist weather and insects. Aim for a footprint around 10 by 10 feet for comfortable seating, and use rough-cut lumber or reclaimed wood to enhance the rustic charm. Incorporate simple design elements such as exposed beams, a pitched roof with wooden shingles, and open sides for excellent airflow and garden views.
For DIY builders, focus on sturdy posts anchored in concrete for stability, and consider adding lattice panels or climbing trellises on the sides to support vines and add privacy. To elevate your project, install a slatted wood floor for better drainage and a charming look. Tip: Pre-treat all wood with a weatherproof sealant and use galvanized or stainless-steel hardware to ensure your gazebo lasts through all seasons.
Constructing a Shade Sail Shelter
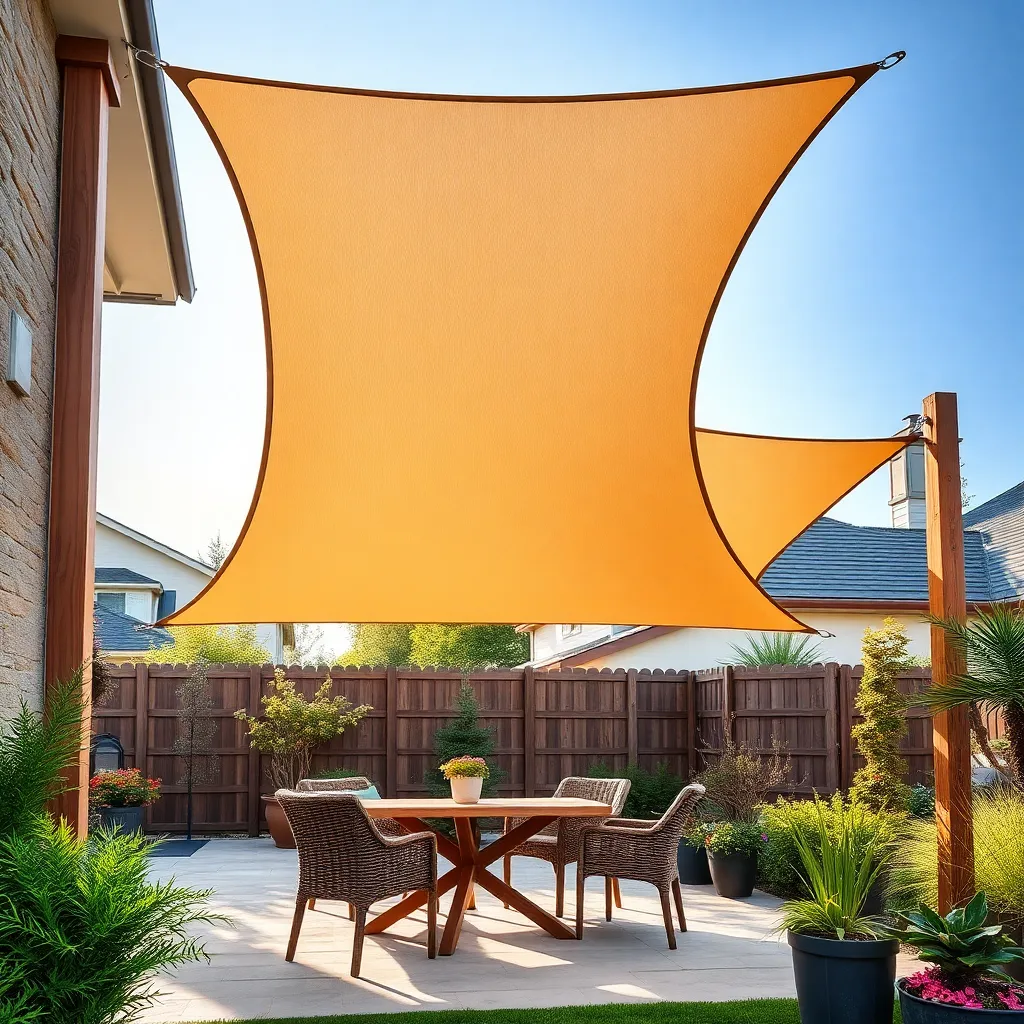
Creating a shade sail shelter is an excellent way to add stylish, functional shade to your backyard with minimal construction. Start by selecting durable, UV-resistant fabric such as high-density polyethylene (HDPE) or marine-grade vinyl, and plan for a triangular or rectangular shape that fits your desired shaded area, typically between 10 to 20 feet per side. Install sturdy anchor points—these can be strong trees, posts set in concrete, or existing structures—ensuring they are positioned at different heights to allow water runoff and maintain tension in the fabric.
For best results, use stainless steel turnbuckles and heavy-duty hardware like eye bolts and pad eyes to secure the sail tightly and prevent sagging. When planning your installation, consider the sun’s path and prevailing winds to optimize coverage and stability. Advanced tips include pre-stretching the fabric before mounting to reduce wrinkles and incorporating quick-release hooks for easy seasonal removal and cleaning, making your shade sail shelter both practical and long-lasting.
Easy Lean-To Shelter Installation
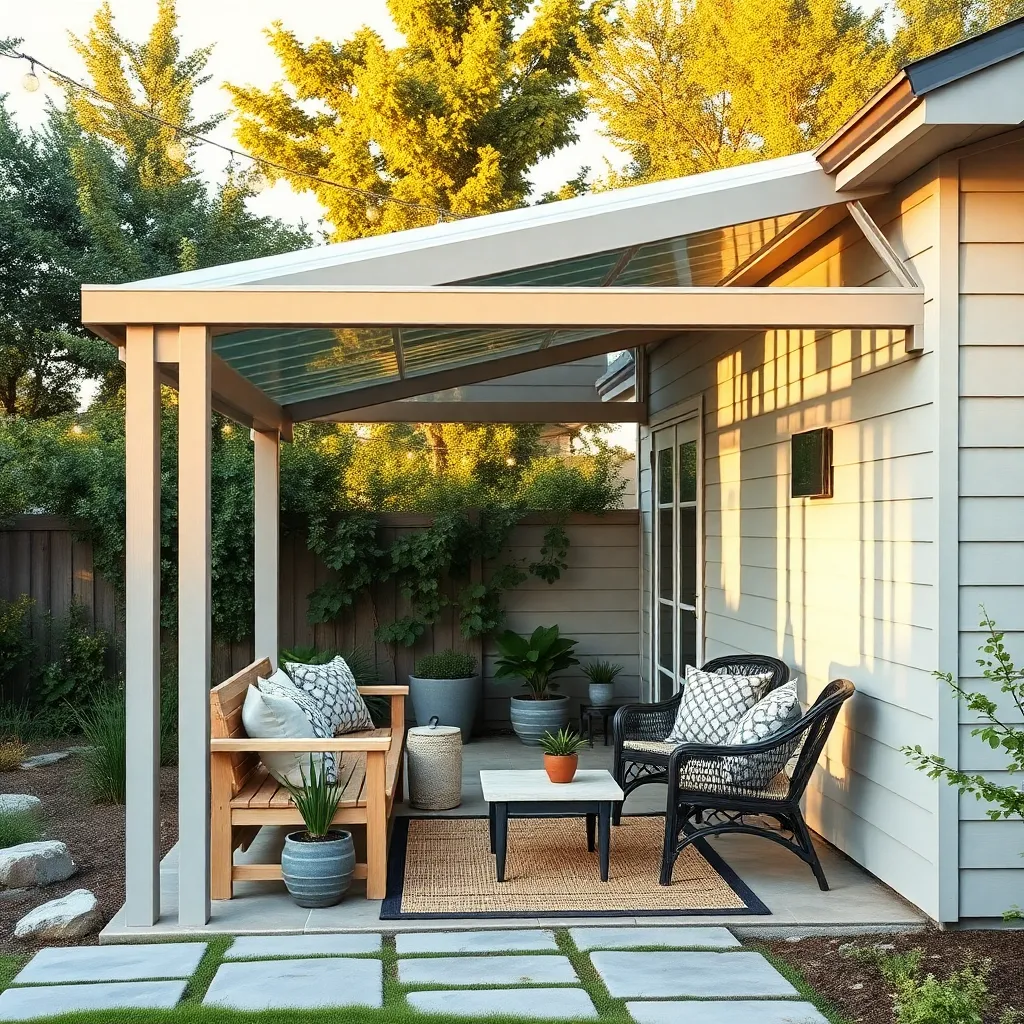
Installing an easy lean-to shelter is a straightforward project ideal for beginners who want quick backyard coverage. Start by selecting a sturdy wall or fence as the back support, then use pressure-treated lumber for the frame to ensure durability against weather. Aim for a roof pitch of about 15 to 30 degrees to allow efficient water runoff, and cover it with corrugated metal or polycarbonate panels for lightweight, weather-resistant protection.
For a professional touch, reinforce the structure with diagonal braces and secure it to the ground with concrete footings to withstand wind. Consider adding gutters to channel rainwater away, and finish with a weatherproof sealant on all wood surfaces to prolong the shelter’s lifespan. This simple design can be customized with side panels or lattice to enhance privacy and shade, making it a versatile addition to any backyard.
Portable Tent Frame Assembly
When assembling a portable tent frame, start by selecting lightweight yet sturdy materials like aluminum or steel tubing for durability and ease of transport. Choose a frame size that fits your space, typically between 8×8 to 10×10 feet, ensuring it matches the tent fabric or canopy you plan to use. Pay attention to connection points—use snap buttons or quick-release pins to speed up setup and provide stability against wind.
For a smooth assembly process, lay out all parts and follow the manufacturer’s instructions step-by-step, but keep these pro tips in mind:
- Assemble the base first on a flat surface to maintain balance.
- Secure joints tightly with reinforced clips or zip ties if needed.
- Consider adding adjustable feet or stakes for uneven ground.
These details enhance your shelter’s stability and make it easy to dismantle and store after use.
Crafting a Bamboo Outdoor Hut
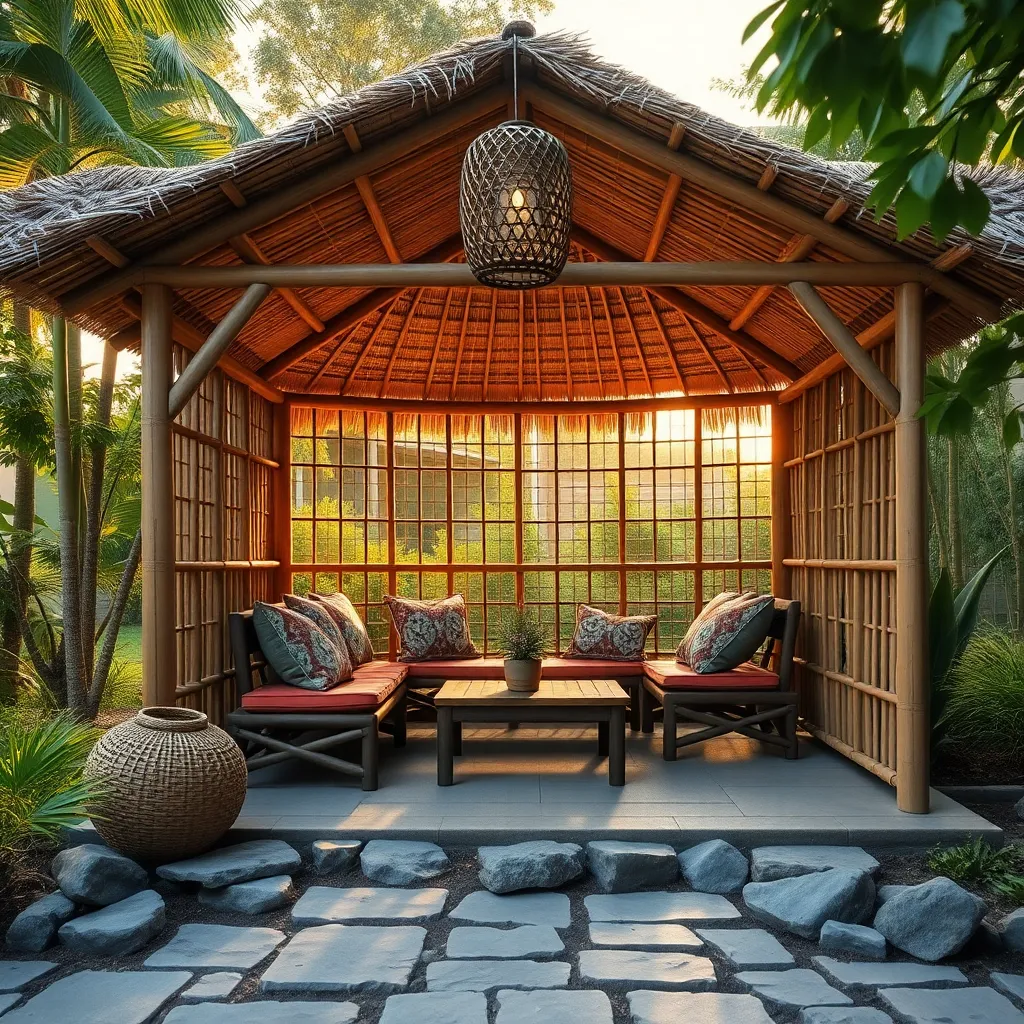
Bamboo is an excellent choice for building a sturdy and sustainable outdoor hut due to its strength and natural resistance to pests. Start by selecting thick, mature bamboo poles (at least 2 inches in diameter) and treat them with a weatherproof sealant to ensure longevity. For the frame, use a simple rectangular base about 6×6 feet, securing joints with strong nylon rope or galvanized wire for flexibility and durability.
To enhance both stability and aesthetic appeal, incorporate angled supports at the corners and a sloped roof design to efficiently shed rainwater. Cover the roof with woven bamboo mats or thatch for a traditional look and effective shade. For advanced builders, integrating cross-bracing and anchoring the structure into the ground with concrete footings will provide extra resilience against wind and weather.
Building a Pallet Wood Shelter
Using is an affordable and sustainable way to build an outdoor shelter that offers both shade and a rustic charm. Start by selecting sturdy, untreated pallets to avoid chemicals and ensure durability; aim for a footprint of about 6×6 feet for a cozy yet functional space. Secure the pallets vertically as walls and horizontally for the roof frame, reinforcing corners with metal brackets and adding a waterproof tarp or corrugated metal roofing on top for weather protection.
For a more advanced touch, sand and seal the wood to extend its life and prevent splinters, then consider adding removable side panels or curtains for versatility against wind and sun. Incorporate simple seating by repurposing extra pallet slats for benches, and don’t forget to anchor your shelter securely to the ground with stakes or concrete footings to withstand strong winds. This project balances easy assembly with practical design, making a pallet wood shelter a smart, hands-on addition to any backyard.
Installing a Vinyl Awning Cover
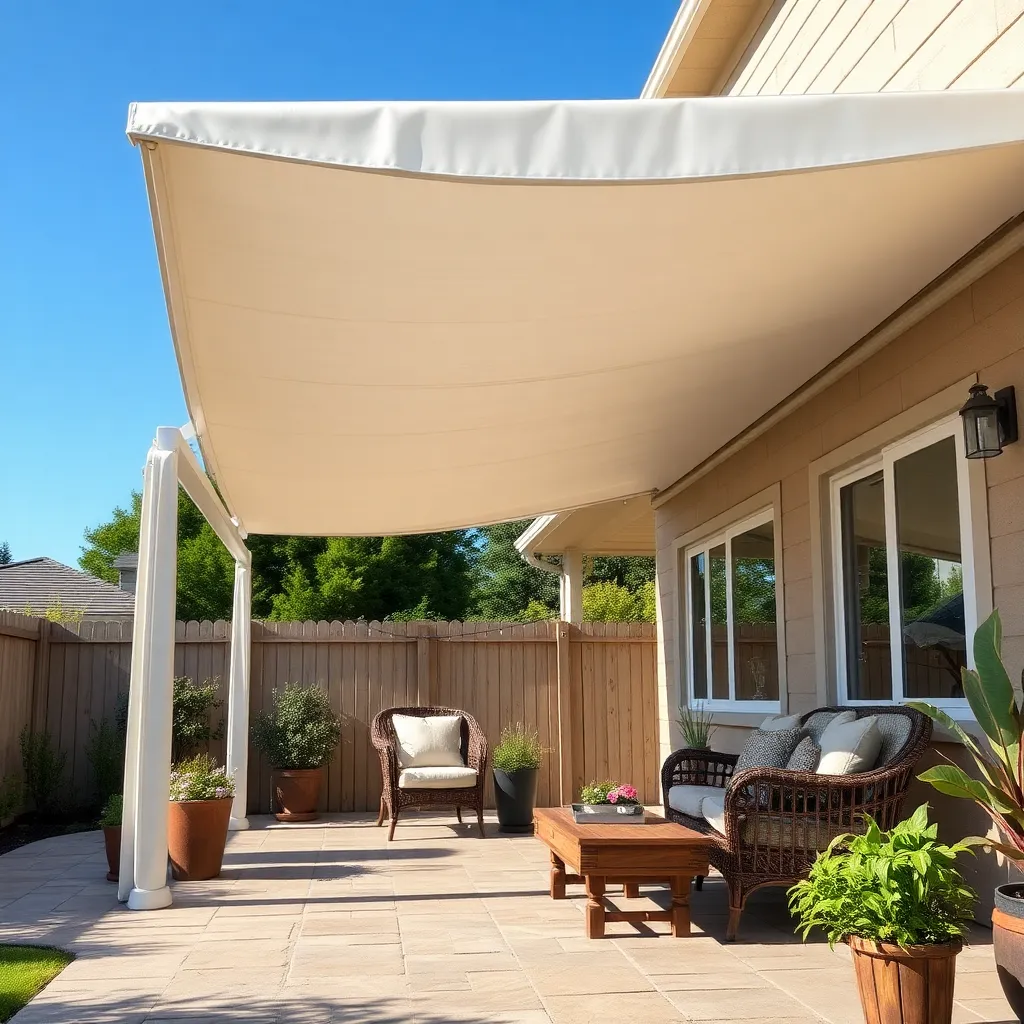
Installing a vinyl awning cover is a smart way to create instant shade and protect your outdoor space from sun and rain. Start by choosing a durable, UV-resistant vinyl fabric that can withstand weather changes, and measure your installation area carefully—typical awning widths range from 6 to 12 feet. For a sturdy setup, use galvanized steel or aluminum frames and ensure secure mounting into wall studs or solid posts to handle wind loads effectively.
To enhance your awning’s functionality, consider adding adjustable arms or a retractable mechanism for flexibility in sun coverage. For advanced durability, seal all seams with waterproof tape and apply a UV-protective spray on the vinyl to prolong its lifespan. Remember to slope the awning slightly (about 10 degrees) away from the house to allow rainwater runoff and avoid pooling, ensuring your outdoor shelter remains both attractive and practical year-round.
Creating a Compact Storage Shed
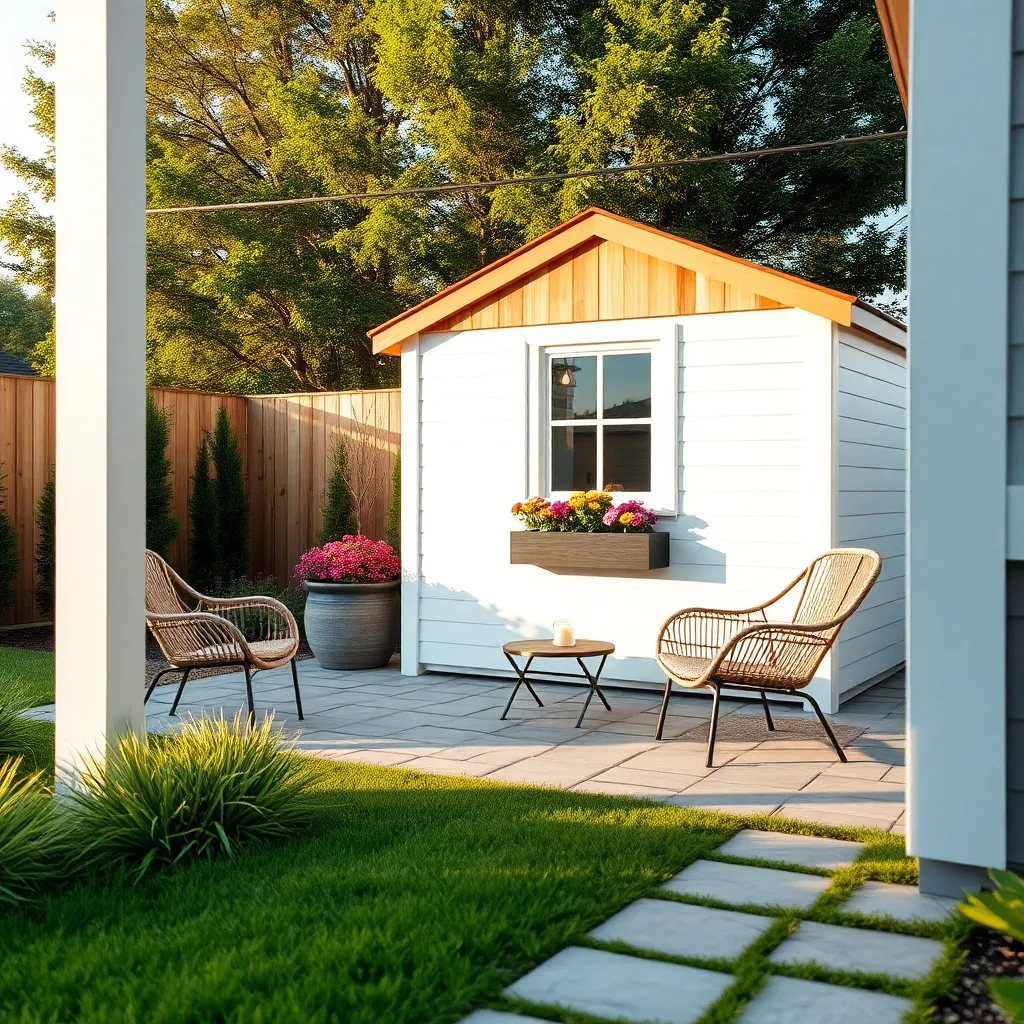
Building a compact storage shed is a smart way to keep your backyard organized without sacrificing too much space. Start by selecting durable materials like pressure-treated lumber or metal panels to ensure longevity and weather resistance. For an efficient footprint, aim for dimensions around 6×8 feet, which offers ample storage for tools and garden supplies while fitting neatly into smaller yards.
Maximize usability by incorporating vertical shelving and hooks inside to store items off the floor, making cleanup easier and increasing capacity. Consider adding a sloped roof for water runoff and simple double doors for wide access. For advanced builders, installing vents or a small window can improve airflow and natural light, keeping your shed fresh and reducing moisture buildup.
Setting Up a Hammock Canopy
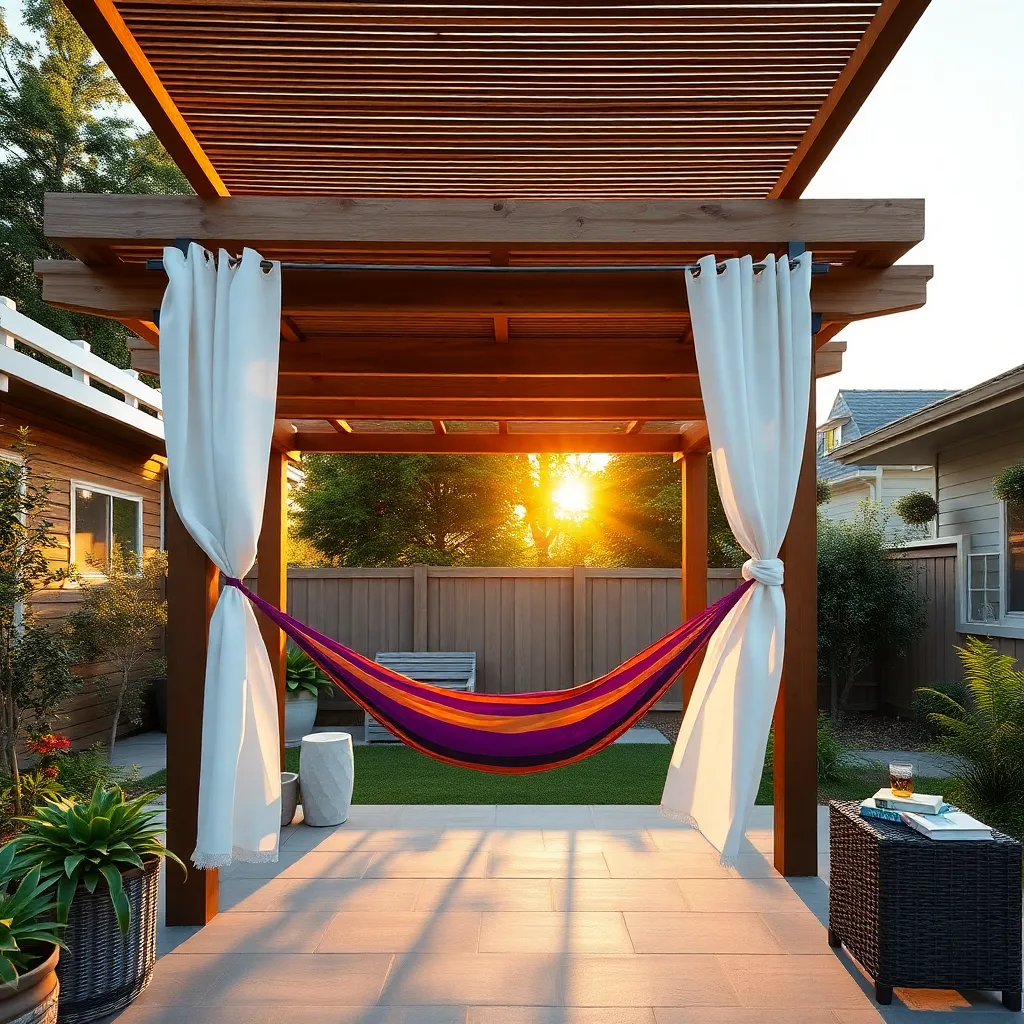

Setting up a hammock canopy starts with selecting sturdy anchor points like mature trees or strong posts spaced about 12 to 15 feet apart. Use weather-resistant ropes or straps rated for outdoor use to secure the hammock, ensuring they are tied at a height that allows the hammock to hang with a slight sag for comfort—typically around 4 to 5 feet off the ground. For added shade and protection, attach a lightweight, waterproof canopy or tarp overhead using adjustable cords and tensioners to keep it taut and stable.
For an upgraded design, consider building a simple wooden frame using treated lumber to support both the hammock and canopy, which offers more flexibility in placement and durability. Incorporate adjustable pulley systems to easily raise or lower the canopy according to sun position, and add side curtains or mosquito netting for extra comfort and privacy. Remember to regularly check all attachments for wear and tighten as needed to maintain safety and stability.
Adding Weatherproofing to Shelters
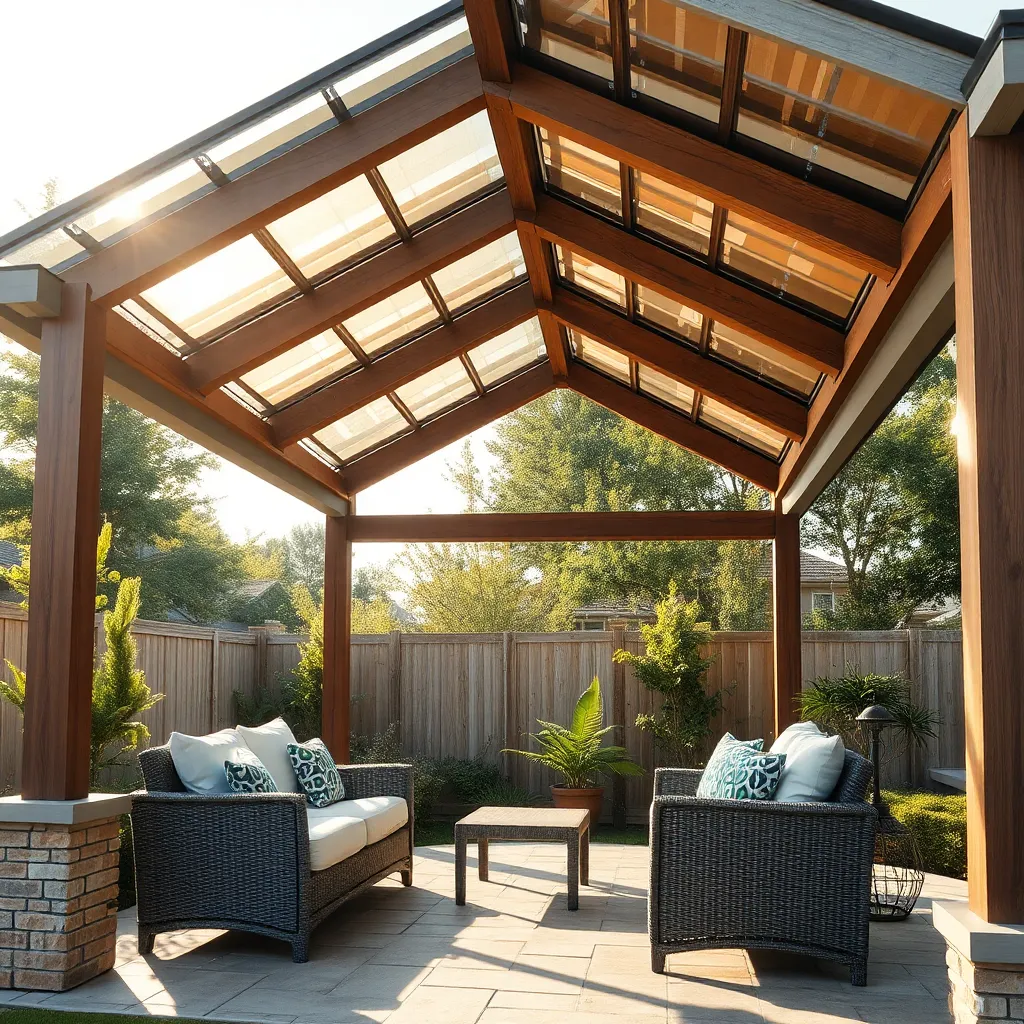
To effectively weatherproof your backyard shelter, start by selecting durable, water-resistant materials such as treated lumber, galvanized steel fasteners, and outdoor-grade sealants. Installing a sloped roof with a minimum pitch of 4:12 ensures proper water runoff, reducing the risk of leaks and structural damage. For added protection, apply a high-quality waterproof membrane beneath shingles or metal roofing panels, especially in regions prone to heavy rain or snow.
Enhance your shelter’s resilience by incorporating weatherproof design elements like overhanging eaves at least 12 inches wide to shield walls from water exposure. Seal all joints and seams with exterior-grade caulk or flashing tape to prevent drafts and moisture intrusion. For advanced durability, consider installing removable storm panels or clear polycarbonate sidewalls that allow light in while blocking wind and rain, making your shelter usable year-round.
Maintaining Your Backyard Shelter
Regular upkeep is essential for prolonging the life of your backyard shelter. Start by inspecting wooden structures for signs of rot or insect damage, and apply a fresh coat of weather-resistant paint or sealant every 1-2 years. For metal shelters, check for rust spots and treat them promptly with a rust converter and durable outdoor paint to prevent further corrosion.
To keep your shelter structurally sound, tighten all bolts and screws seasonally, and replace any damaged fasteners with galvanized or stainless steel hardware for added durability. Additionally, ensure gutters and drainage systems are clear of debris to avoid water pooling near the foundation, which can cause instability and material degradation over time.
Conclusion: Creating Beautiful Outdoor Spaces
Building a backyard shelter together isn’t just about creating a cozy space—it’s about strengthening your connection through teamwork, communication, and shared goals. In this article, we explored 15 easy-to-build projects that foster collaboration, patience, creativity, and problem-solving—key concepts that nurture any healthy relationship. From simple shade sails to charming pergolas, each project offers a unique way to bond and build lasting memories.
Ready to take the next step? Choose one project that excites both of you and set aside a weekend to start building. Remember, the process is just as important as the finished shelter—it’s about growing closer as you work side by side.
Be sure to bookmark this article so you can revisit these ideas whenever you need inspiration to deepen your connection. With consistent effort and shared experiences like these, your relationship will flourish, creating a solid foundation for years of happiness ahead.
Embrace the journey of building both your backyard haven and a stronger, more loving partnership—one project at a time.