Imagine transforming your backyard into a personal oasis without breaking the bank. Whether you’re a seasoned homeowner with a flair for design or embarking on your first outdoor project, creating a budget-friendly pavilion can elevate your outdoor living space into a functional and inviting retreat. The beauty of these setups lies in their ability to blend comfort with style, making your backyard the go-to spot for relaxation and entertainment.
In this article, we’ll guide you through 15 inspired pavilion setups that showcase creativity and practicality. From clever material choices to innovative design tips, you’ll discover how to craft a space that reflects your personal taste while staying within budget. Let’s embark on this journey to create an outdoor haven that not only enhances your home’s charm but also enriches your everyday living.
Choosing Affordable Pavilion Designs
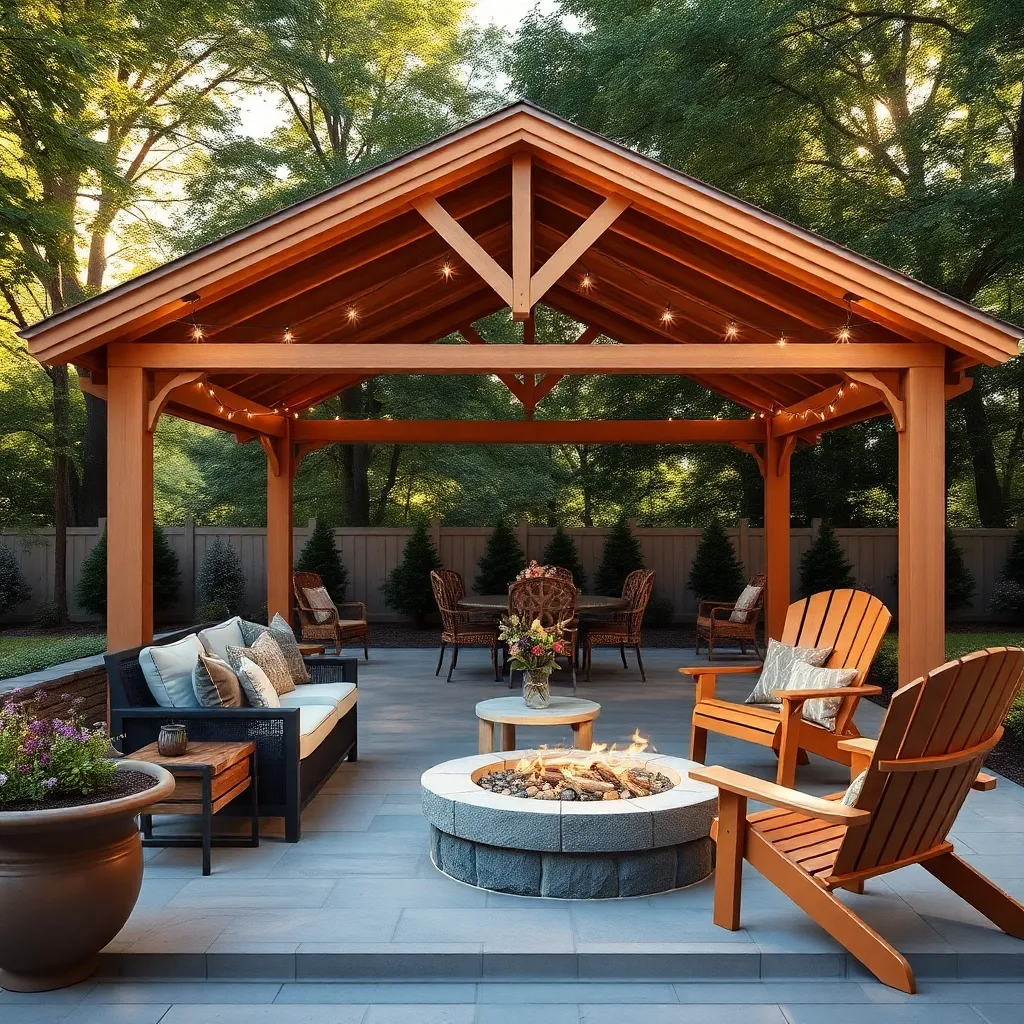
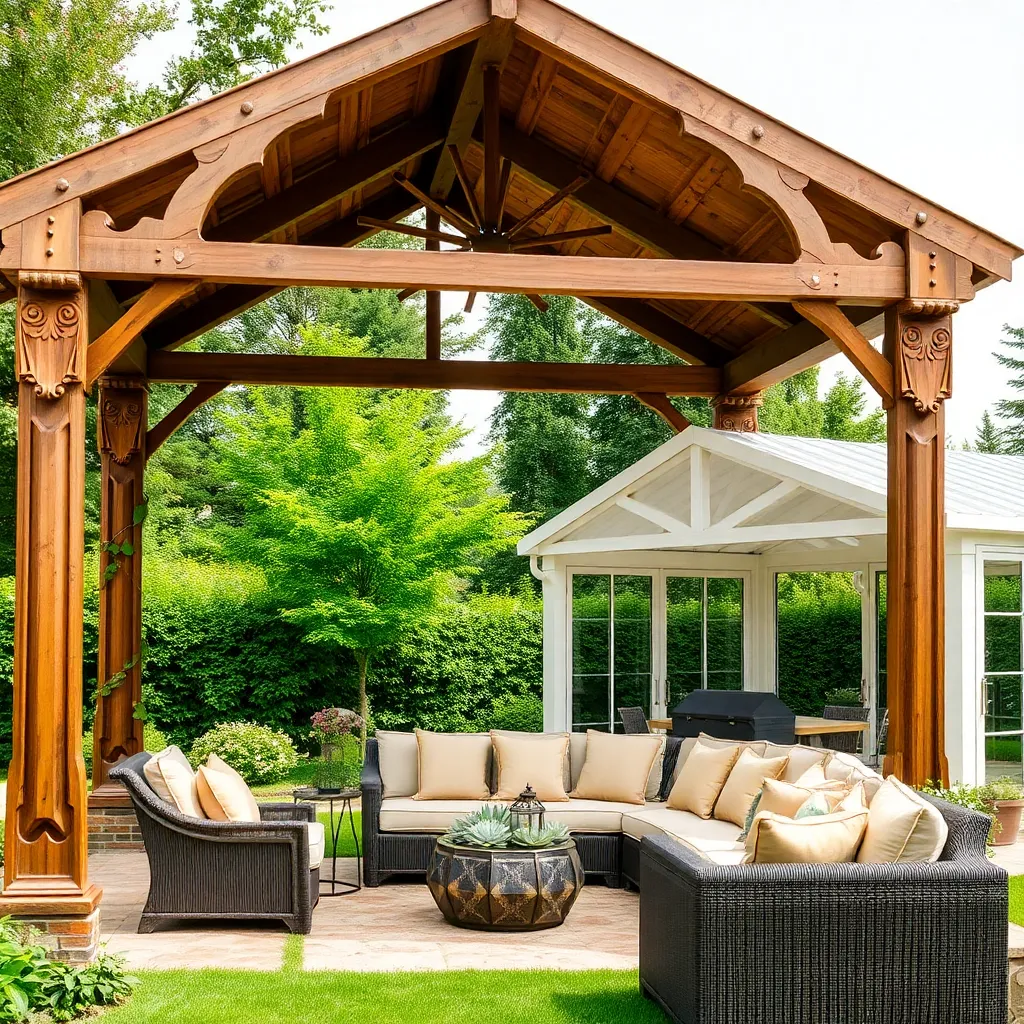
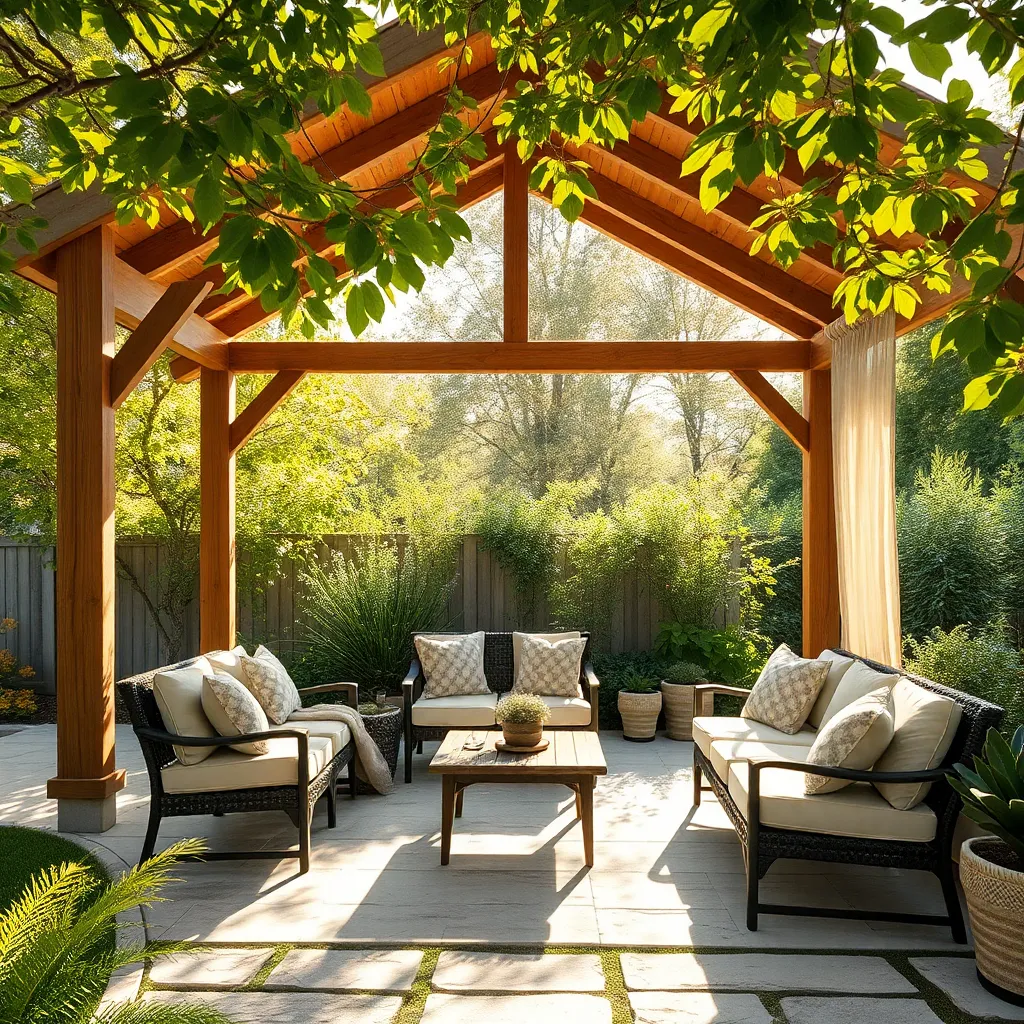
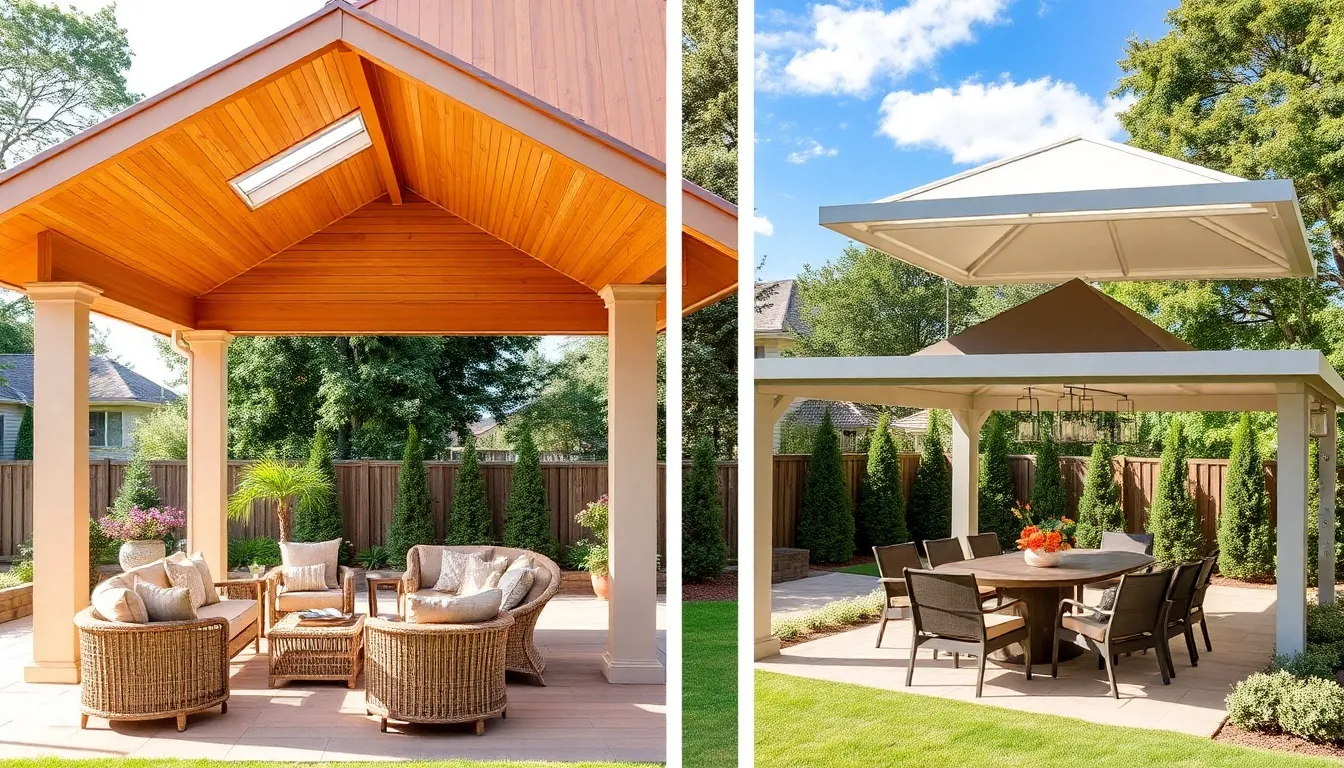
For those looking to incorporate a pavilion without breaking the bank, consider using cost-effective materials like pressure-treated wood or galvanized steel, which offer durability and a pleasant aesthetic. Opt for simple designs such as a basic square or rectangular shape, which are not only easier to construct but also require fewer materials, thus reducing costs. Beginners can start by purchasing pre-fabricated kits that come with all necessary components and instructions, ensuring a straightforward assembly process.
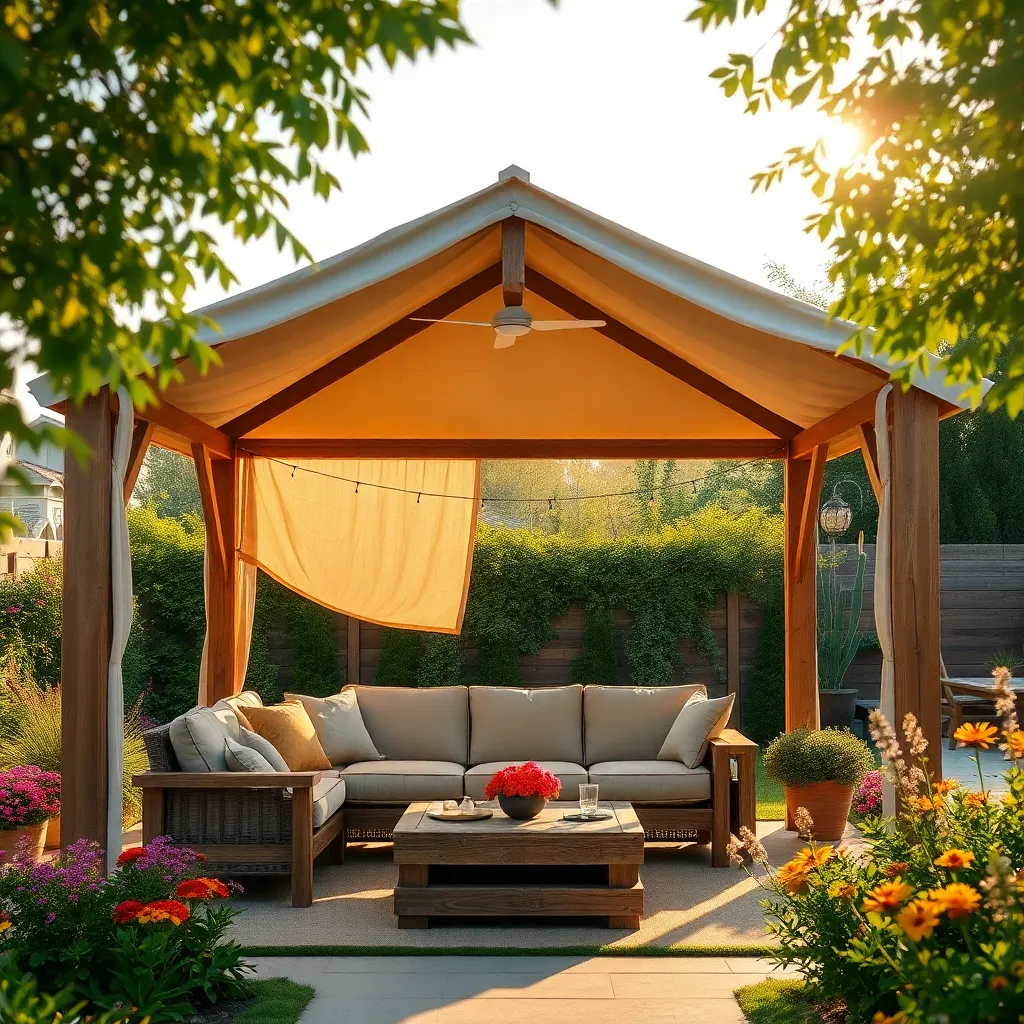
Advanced DIY enthusiasts might explore customizing their pavilion with added features like lattice walls or a simple fabric awning for extra shade. To enhance the overall look while staying within budget, consider finishing touches like solar-powered lights or a coat of weather-resistant paint that complements your outdoor space. Remember, keeping your pavilion’s dimensions to a manageable size, such as 10×10 feet, can help minimize expenses while still providing an inviting outdoor retreat.
Materials That Won’t Break The Bank
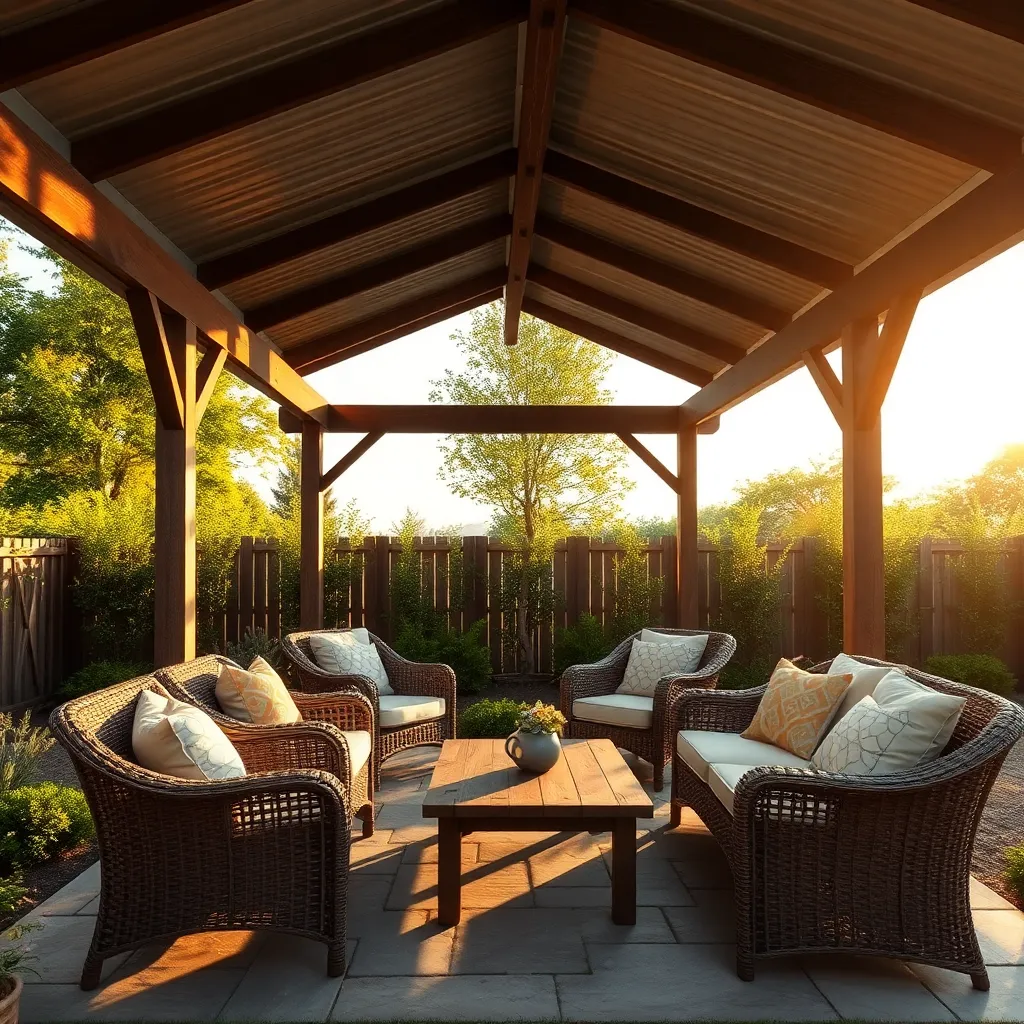
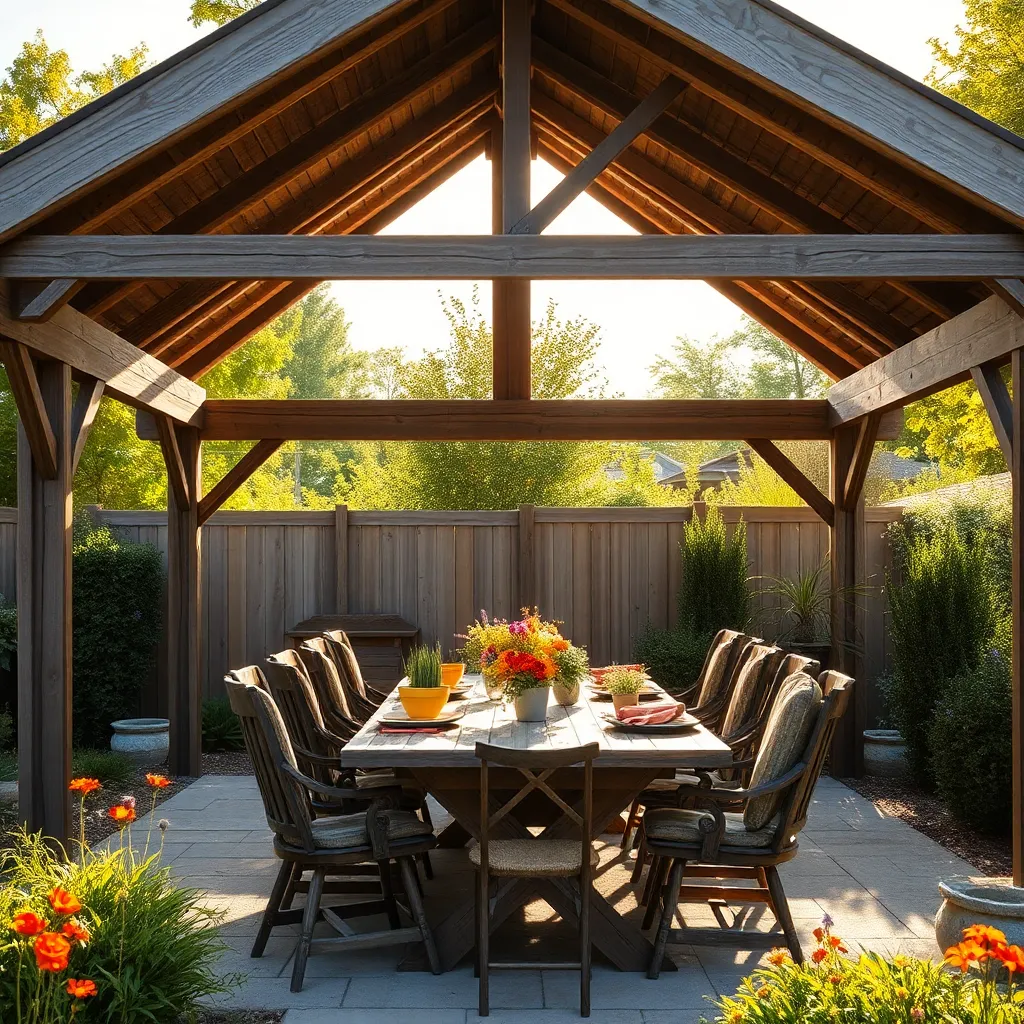
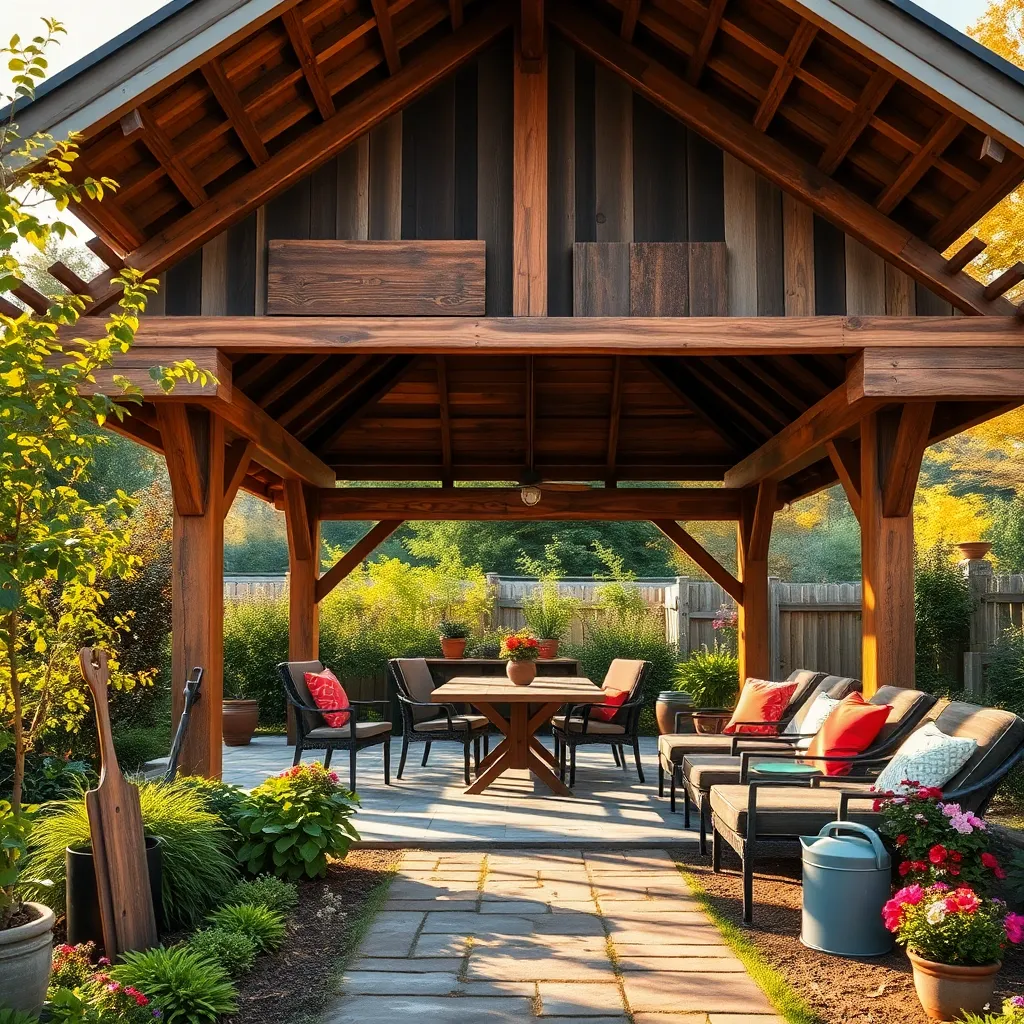
For homeowners looking to create a budget-friendly pavilion, choosing the right materials is key. Pressure-treated wood is a cost-effective option that offers durability and resistance to decay, making it ideal for outdoor structures. Pair this with a simple tarp roof for an affordable yet weather-resistant covering. If you’re handy, consider building a basic frame with 4×4 posts and 2×6 beams, which provides a sturdy foundation without requiring expensive hardware.
Alternatively, explore using reclaimed materials, such as salvaged timber or corrugated metal panels, which not only save money but also add a unique, rustic charm to your pavilion. For an added touch, use budget-friendly gravel or pavers for the flooring to enhance stability and aesthetics. Experienced DIYers might integrate solar-powered outdoor lights to extend usability into the evening, ensuring a cozy, inviting space without the need for electrical installation.
DIY Pavilion Kits: A Top Choice
DIY pavilion kits are an excellent choice for homeowners seeking a cost-effective and manageable project. These kits typically include all necessary components such as pre-cut wood, hardware, and detailed assembly instructions, making it easy for beginners to get started. For a robust structure, look for kits made from weather-resistant materials like cedar or pressure-treated pine, which ensure longevity even in diverse climates.
To enhance the design, consider adding personal touches such as a stain or paint finish that complements your outdoor space. For those with a bit more experience, you could install solar-powered lights or incorporate a retractable canopy for added functionality. Before purchasing, measure your available space carefully—common pavilion sizes range from 10×10 feet to larger 12×16 feet options—to ensure a perfect fit in your garden or yard.
Repurposing Old Materials Creatively
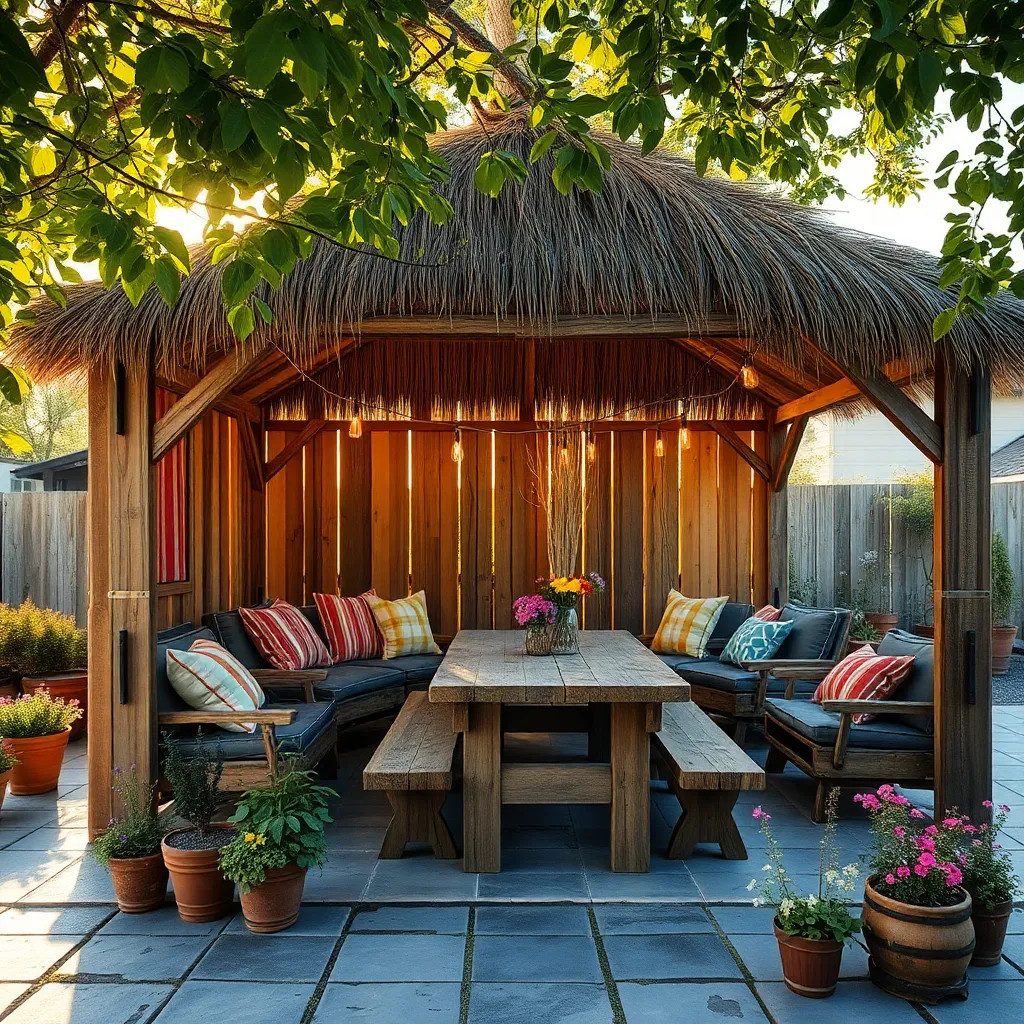
Repurposing old materials for your pavilion setup is not only environmentally friendly but also budget-conscious. Start by gathering unused wood pallets, old doors, or reclaimed metal from previous home projects or local salvage yards. These materials can form the supportive structure of your pavilion. For beginners, consider using wood pallets as walls or a base, keeping them untreated for a rustic look or painting them for a more polished finish. Advanced DIYers might explore using metal roofing sheets for durability, ensuring to measure and cut them precisely to fit the desired dimensions, typically around 10×10 feet for a cozy gathering space.
Incorporating repurposed materials can enhance the aesthetic appeal of your outdoor shelter with creative design elements. Use antique window frames as decorative wall panels or mount them overhead for a unique ceiling feature. Incorporate textiles by hanging old, embroidered tablecloths or curtains as sunshades, ensuring they are securely fastened to withstand outdoor conditions. For added charm, adorn your pavilion with reclaimed brick or stone pathways leading up to the entrance, creating a seamless blend of vintage and practicality. This approach not only saves money but also gives your outdoor area a personalized and inviting atmosphere.
Space-Saving Pavilion Layout Ideas
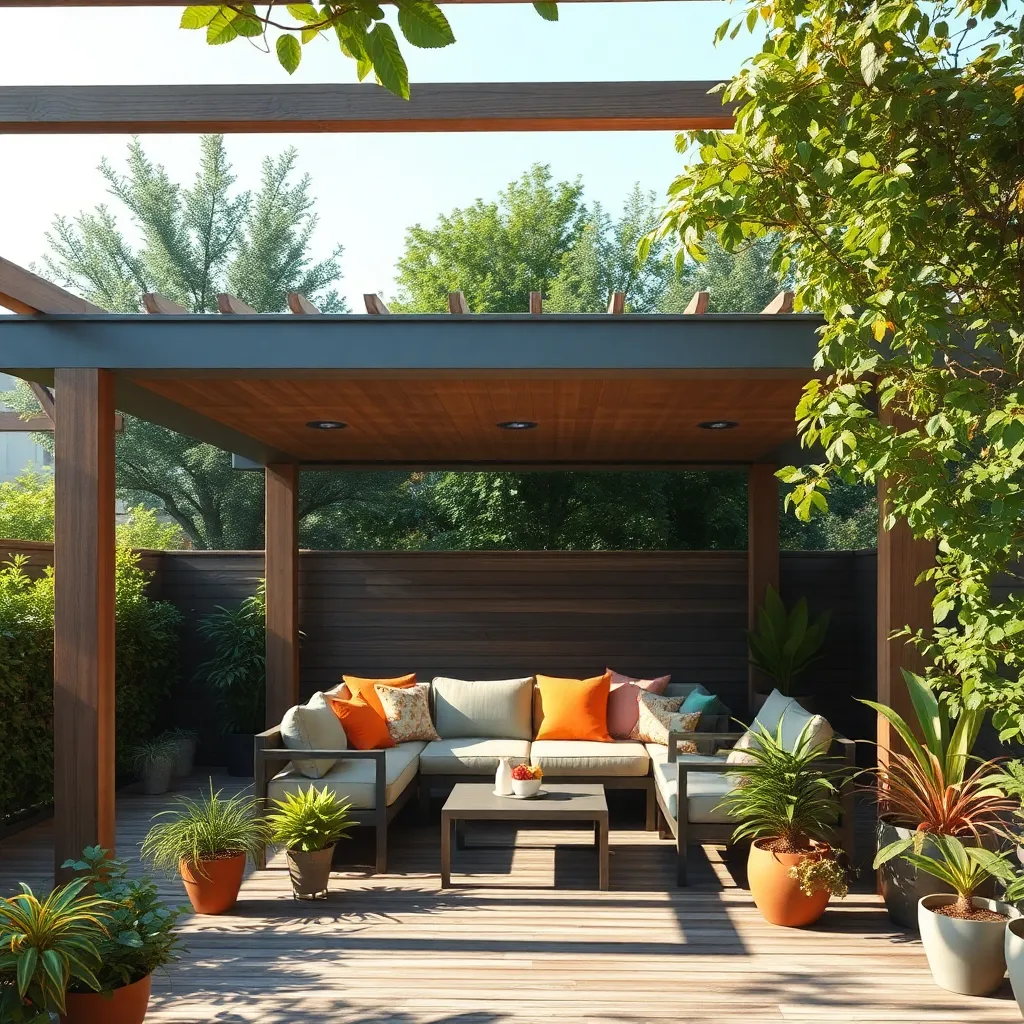
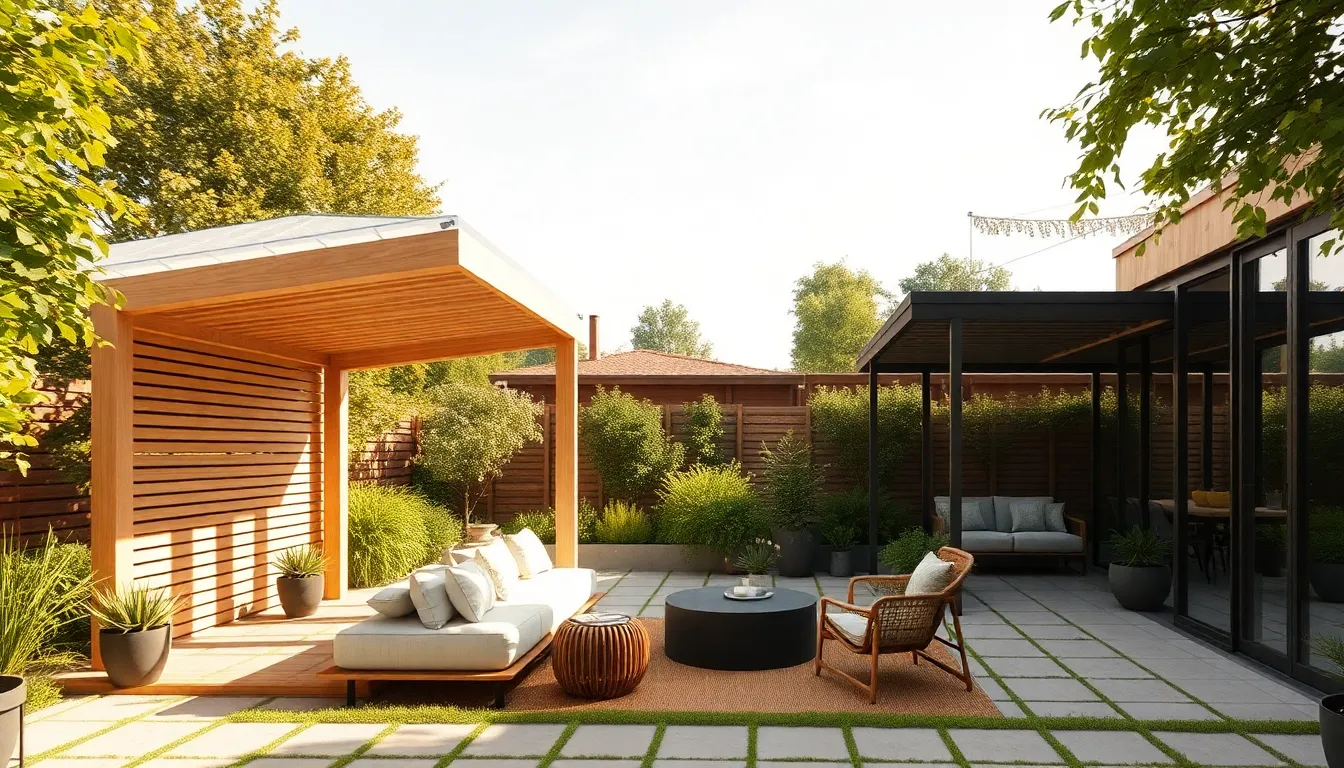
Consider incorporating a **modular design** to maximize space efficiency in your pavilion layout. Start with compact, interlocking sections that can be rearranged to fit your available space. Using lightweight materials like aluminum or PVC will make adjustments easier and keep costs down. Beginners can begin with a simple square or rectangle layout, while more experienced DIYers might explore more intricate shapes that utilize every inch of space.
To further optimize your pavilion, integrate **multi-functional furniture** that serves multiple purposes, such as benches with built-in storage or collapsible tables. This not only saves space but also enhances the usability of your pavilion. For construction, consider using durable woods like cedar or treated pine for outdoor longevity. Advanced gardeners can enhance their design by adding vertical planters or wall-mounted shelves, which provide greenery without sacrificing floor space.
Incorporating Nature Into Designs
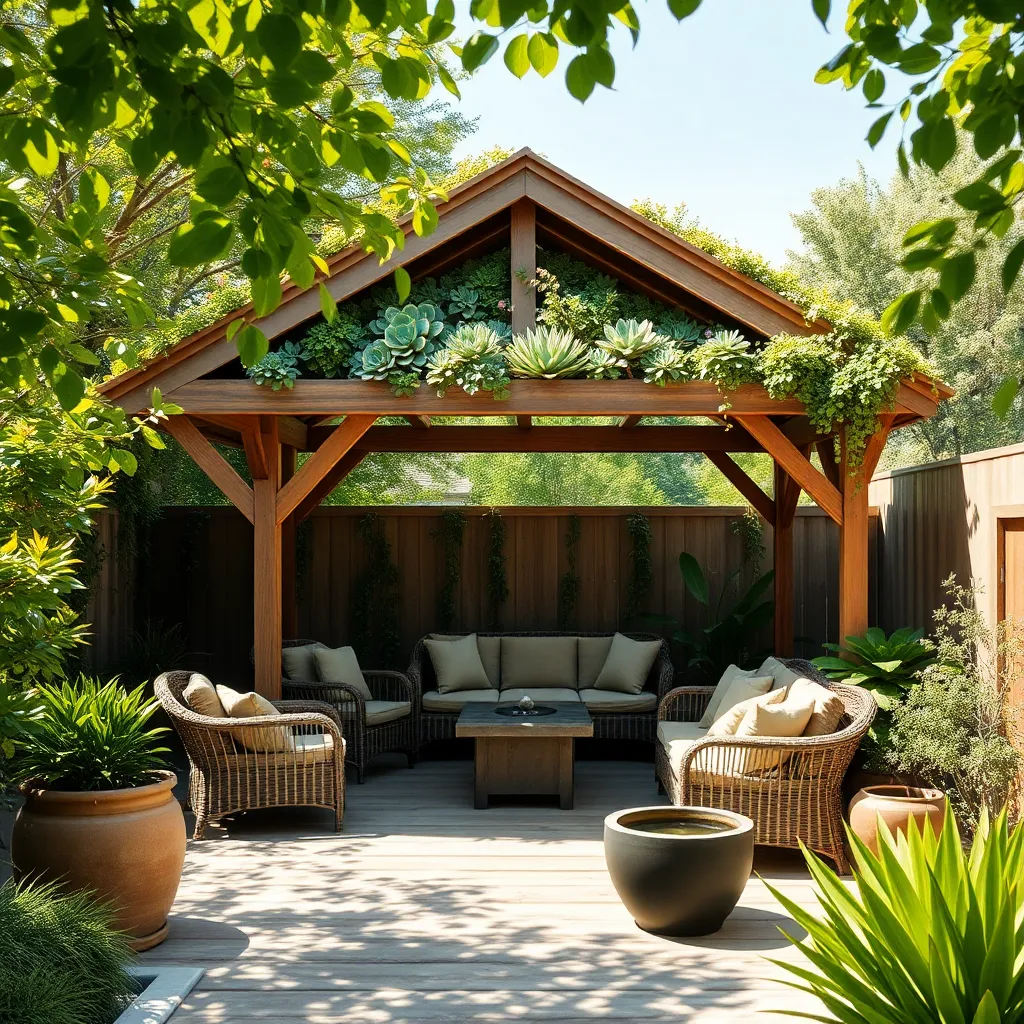
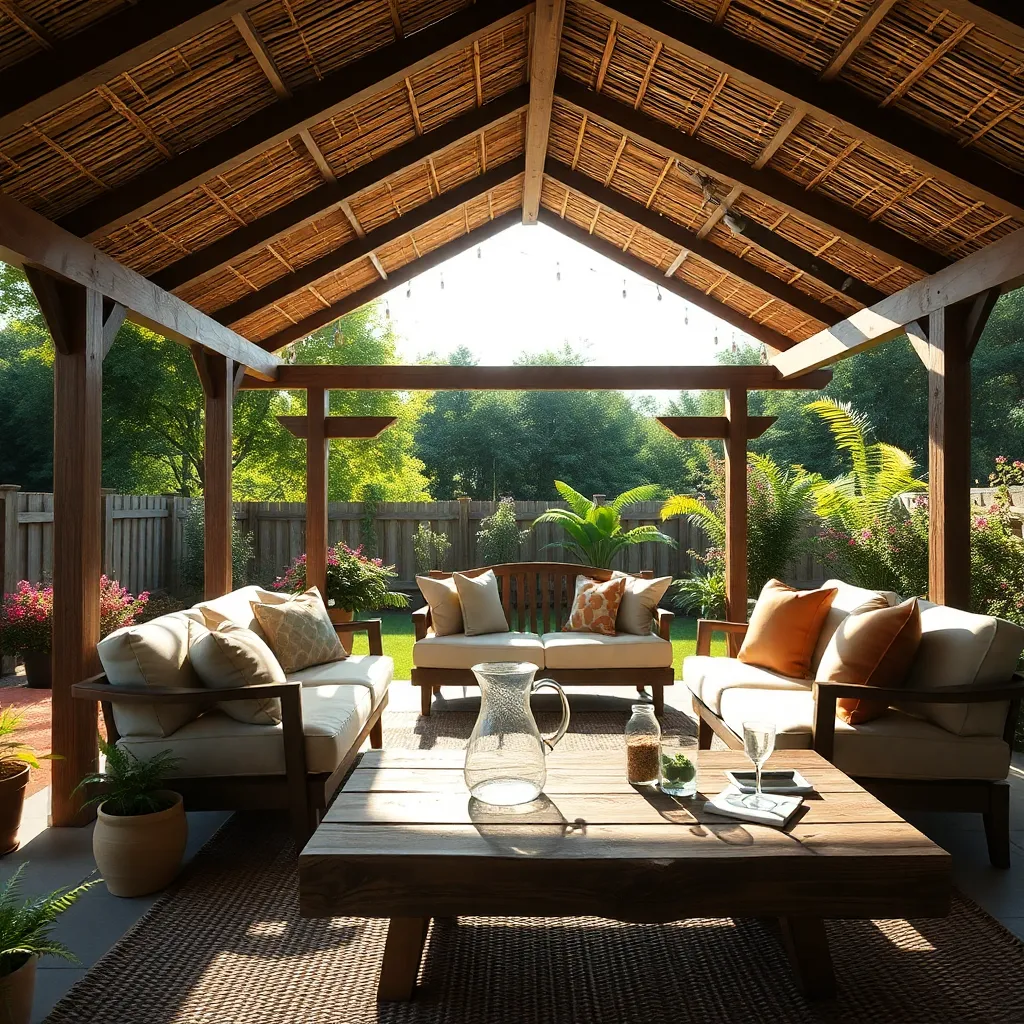
To seamlessly blend your pavilion with its natural surroundings, consider using sustainable materials like bamboo or reclaimed wood. These materials not only give your structure an organic look but also reduce environmental impact. For a more immersive experience, plant climbing vines such as wisteria or clematis along the pavilion posts. These plants provide seasonal color and natural shade, enhancing both aesthetics and comfort.
Another way to incorporate nature into your pavilion design is by creating a living roof. This involves planting hardy sedum and succulents on a waterproof membrane, offering insulation and a vibrant, green visual appeal. Beginners might start with a simple container garden nearby, while advanced gardeners can explore full-scale green roof systems. To maintain a cohesive look, select plant species that thrive in your climate and complement the pavilion’s style, ensuring the design is both beautiful and sustainable.
Weatherproofing Tips On A Budget
To effectively weatherproof your pavilion without breaking the bank, consider using affordable materials like heavy-duty tarps or waterproof fabric, which can be easily attached using bungee cords or simple grommets. Ensure the tarps are slightly angled to allow rainwater to run off, preventing pooling and potential damage. For a more natural look, you can use clear plastic roofing panels, which are both budget-friendly and durable, allowing natural light to filter through while keeping the rain out.
For added protection, incorporating windbreaks can enhance stability and comfort in blustery conditions. Install roll-up bamboo blinds or shade cloths on the sides of your pavilion, which can be secured with Velcro or ties. These materials not only shield against wind but also provide shade during sunny days. If you’re up for a DIY challenge, consider building simple wooden frames to support retractable awnings, offering flexibility for seasonal changes without incurring high costs.
Accessorizing Without Overspending
To enhance your pavilion without overspending, consider utilizing affordable accessories like solar-powered string lights and weather-resistant outdoor rugs. These additions not only boost ambiance but also provide functionality. When selecting rugs, opt for materials such as polypropylene, which is both durable and easy to clean, ensuring your space remains inviting throughout the seasons. String lights can be easily hung along the pavilion’s beams or wrapped around pillars, offering a soft, welcoming glow at night.
Integrating greenery can also transform your pavilion into a vibrant outdoor oasis without breaking the bank. Use planters with hardy plants like succulents or herbs, which require minimal maintenance and offer fresh scents. For an advanced touch, construct simple raised beds using reclaimed wood to house a small vegetable garden, adding both beauty and utility to your setup. These additions not only enhance the aesthetic appeal but also invite a sense of tranquility and nature into your outdoor experience.
Low-Cost Lighting Solutions
One of the most accessible ways to illuminate your pavilion without breaking the bank is by using solar-powered string lights. These lights are not only cost-effective but also eco-friendly, as they harness sunlight during the day and provide gentle illumination at night. Choose weather-resistant options to ensure durability, and consider placing them along the pavilion’s edges or weaving them through support beams for an enchanting glow. For beginners, installing these lights is a breeze—simply wrap or clip them into place, and let the built-in solar panels do the rest.
For a touch of creativity, upcycle materials like mason jars or tin cans into charming lanterns. Add a coat of weatherproof paint and use battery-operated LED candles inside for a warm, inviting atmosphere. Hang these lanterns at varying heights from the pavilion’s ceiling or place them along tables for a rustic chic look. Advanced DIY enthusiasts might consider incorporating dimmer switches or smart light bulbs to control brightness and color, tailoring the ambiance to any occasion. These low-cost solutions not only enhance your outdoor space but also allow for a personalized touch that reflects your unique style.
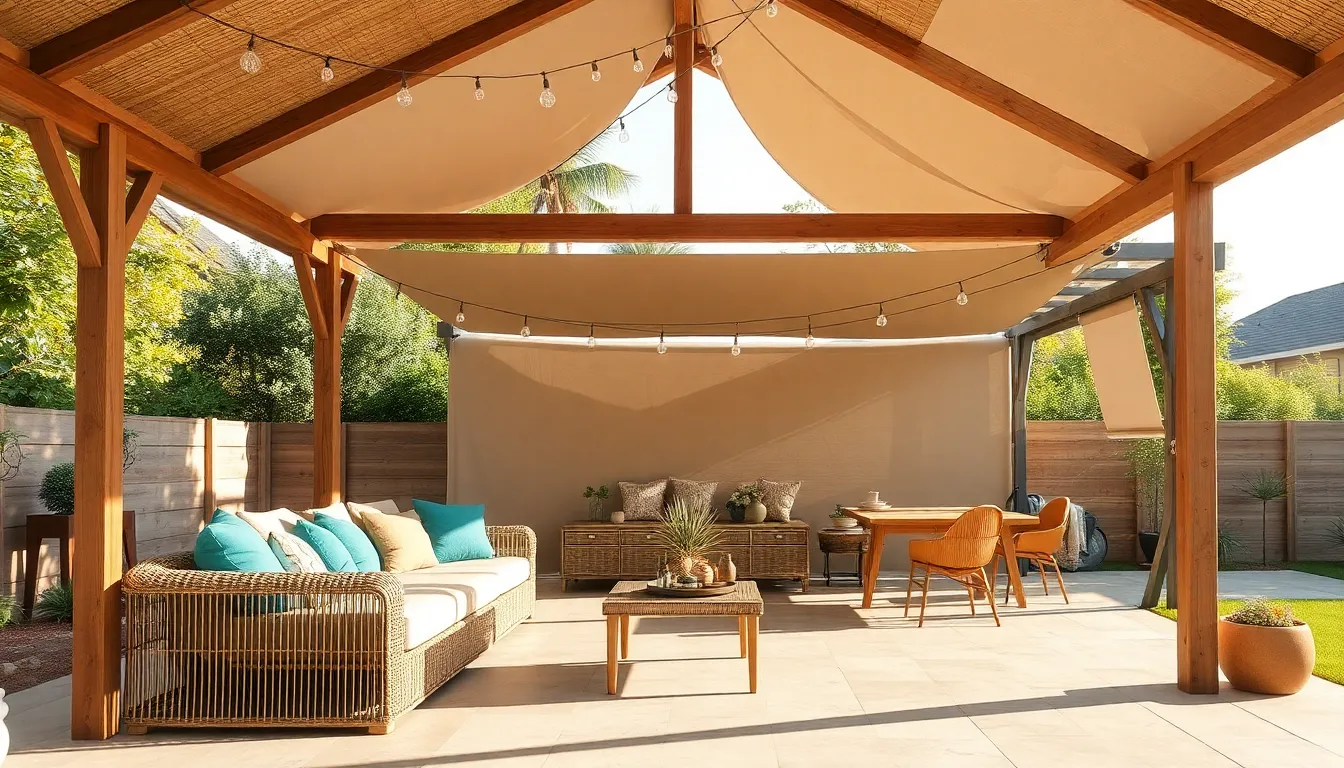
Maximizing Shade And Comfort
Transform your pavilion into a haven of comfort by incorporating versatile shading solutions. Consider affordable options like sun sails or retractable awnings, which offer flexibility and ease of installation. These can be attached to existing structures or mounted on poles, allowing you to adjust the shade as the sun moves throughout the day. Choose materials like UV-resistant fabric to ensure durability and protection from harsh sunlight.
For a more natural approach, plant fast-growing trees or install a green wall around your pavilion to provide both shade and aesthetic appeal. Species like bamboo or willow can offer quick results and are relatively low maintenance. Advanced gardeners might consider adding a pergola with climbing plants like wisteria or grapevines for a lush look and additional cooling. Ensure these structures are positioned to maximize shade during peak sun hours for optimal comfort.
Sustainable Building Practices
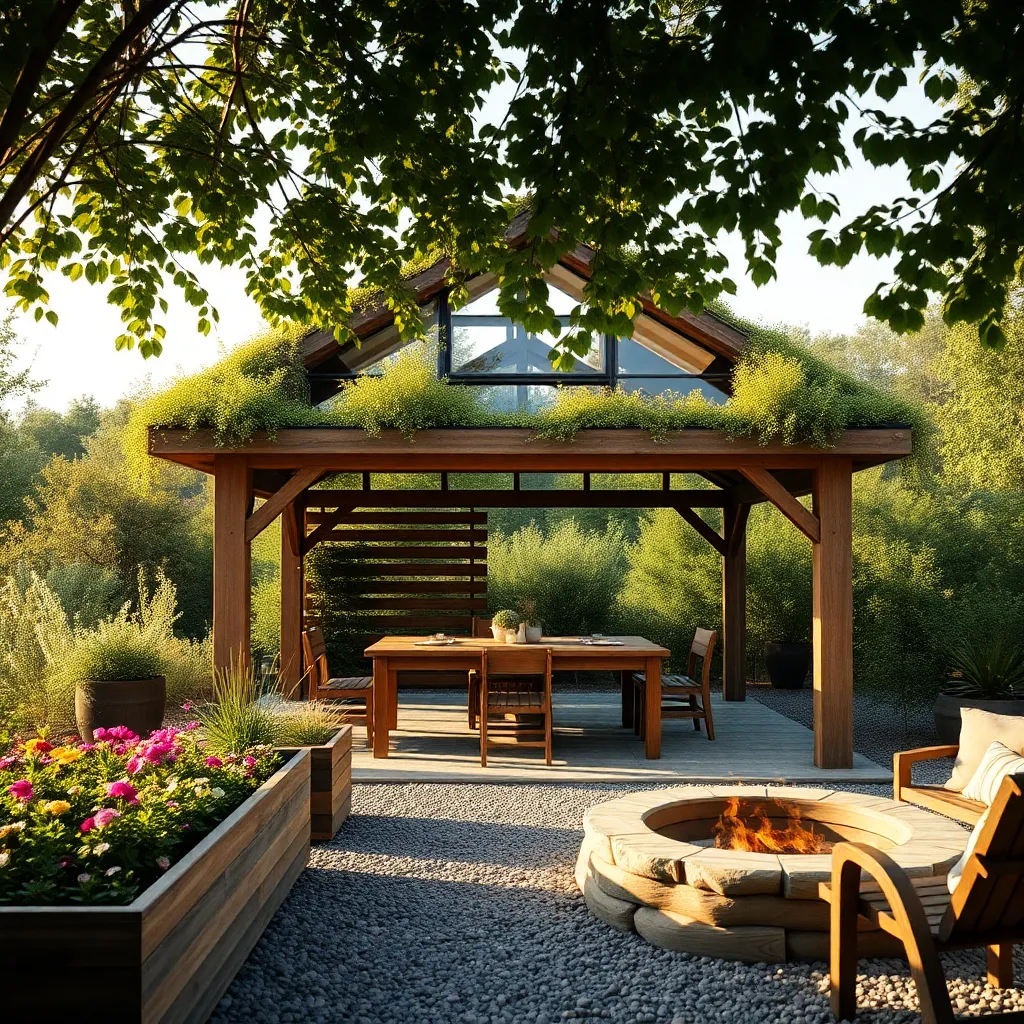
For a sustainable pavilion setup, consider using reclaimed or recycled materials such as wood, metal, or bricks. These not only reduce waste but also cut costs significantly. By incorporating a living roof or walls filled with climbing plants, you can improve insulation and add natural beauty. Beginners should start with simple designs, while more advanced builders can explore incorporating solar panels for added functionality.
Incorporating passive design elements like proper site orientation will maximize natural light and ventilation, reducing dependency on artificial lighting and cooling. Use natural finishes and sealants that are non-toxic and environmentally friendly. Consider using locally sourced materials to further minimize your carbon footprint. A pavilion tailored with these principles not only enhances your garden’s aesthetics but also contributes positively to the environment.
Portable Pavilion Options Explored

For homeowners seeking flexibility and convenience, portable pavilions offer an excellent solution. These structures are typically lightweight and easy to assemble, making them perfect for temporary setups like garden parties or seasonal events. Consider models made from durable materials such as aluminum or steel frames with polyester or UV-resistant fabric covers. These materials provide the necessary protection against the elements while remaining easy to dismantle and store. When selecting a portable pavilion, ensure that the dimensions suit your space—common sizes range from 10×10 feet to 12×16 feet, providing ample coverage for outdoor gatherings.
Advanced users might explore options with modular design elements, allowing customization of the pavilion’s layout. This feature enables easy expansion or reconfiguration as your needs change. Look for pavilions that include additional features such as mosquito netting or weatherproof sidewalls for enhanced functionality. For those interested in aesthetics, choose a pavilion with color options that complement your garden’s existing palette. With these practical tips, you can enjoy a versatile and stylish outdoor shelter that enhances any backyard setting.
Enhancing Privacy Economically
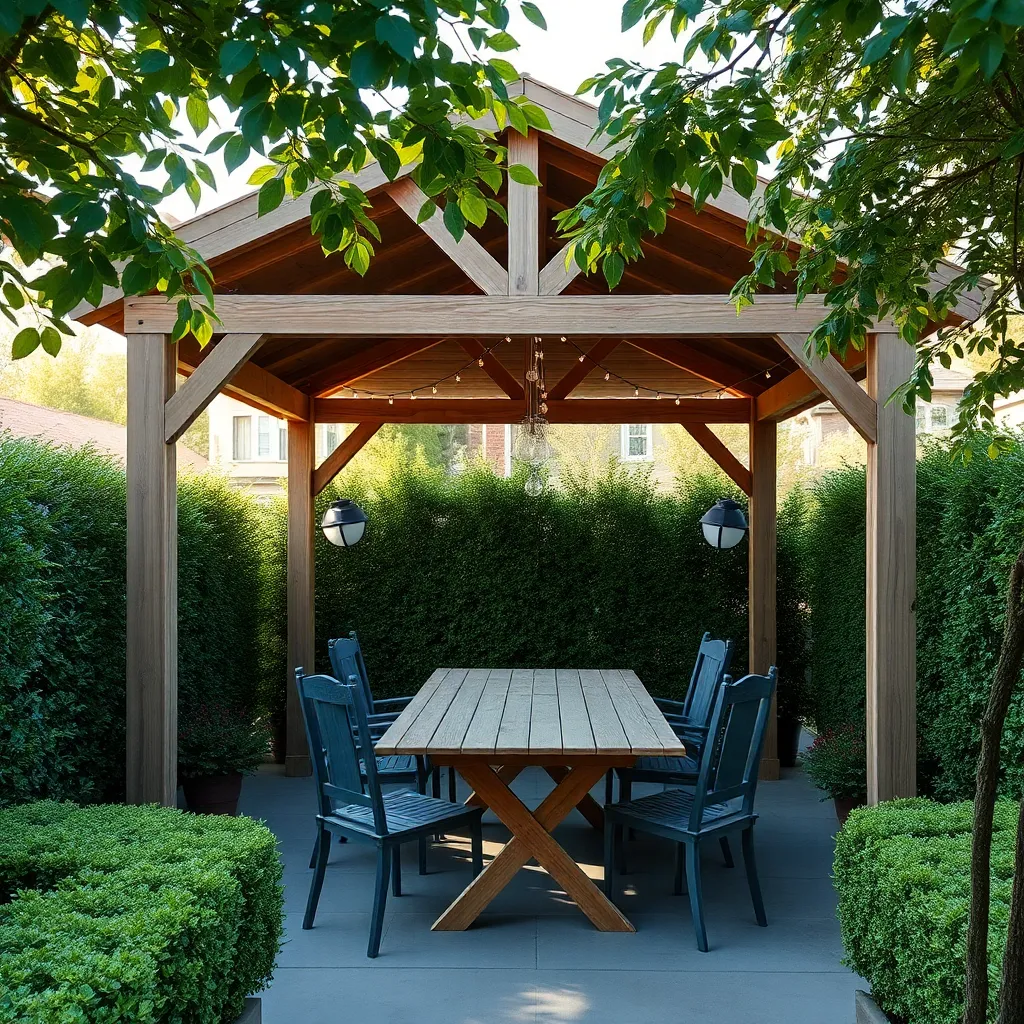
Creating privacy in your outdoor space doesn’t have to break the bank. Consider using **tall, fast-growing plants** such as bamboo or arborvitae, which can establish a natural, lush barrier quickly. For a more structured look, installing **freestanding trellises** or lattice panels is a cost-effective choice. Paint them in neutral tones to seamlessly blend with your garden, and enhance them by training climbing plants like clematis or honeysuckle over them for added greenery and fragrance.
For those looking to add a touch of elegance, **curtains made from outdoor fabric** can be hung from pavilion beams to create a versatile privacy screen. Opt for weather-resistant materials to ensure longevity and consider using a tension rod system for easy installation and removal. **Wooden pallets** are another creative option; stack and secure them vertically to form a rustic privacy wall, perfect for hanging planters or string lights. These methods not only enhance privacy but also contribute to a cozy, inviting atmosphere.
Seasonal Decor: Budget-Friendly Ideas
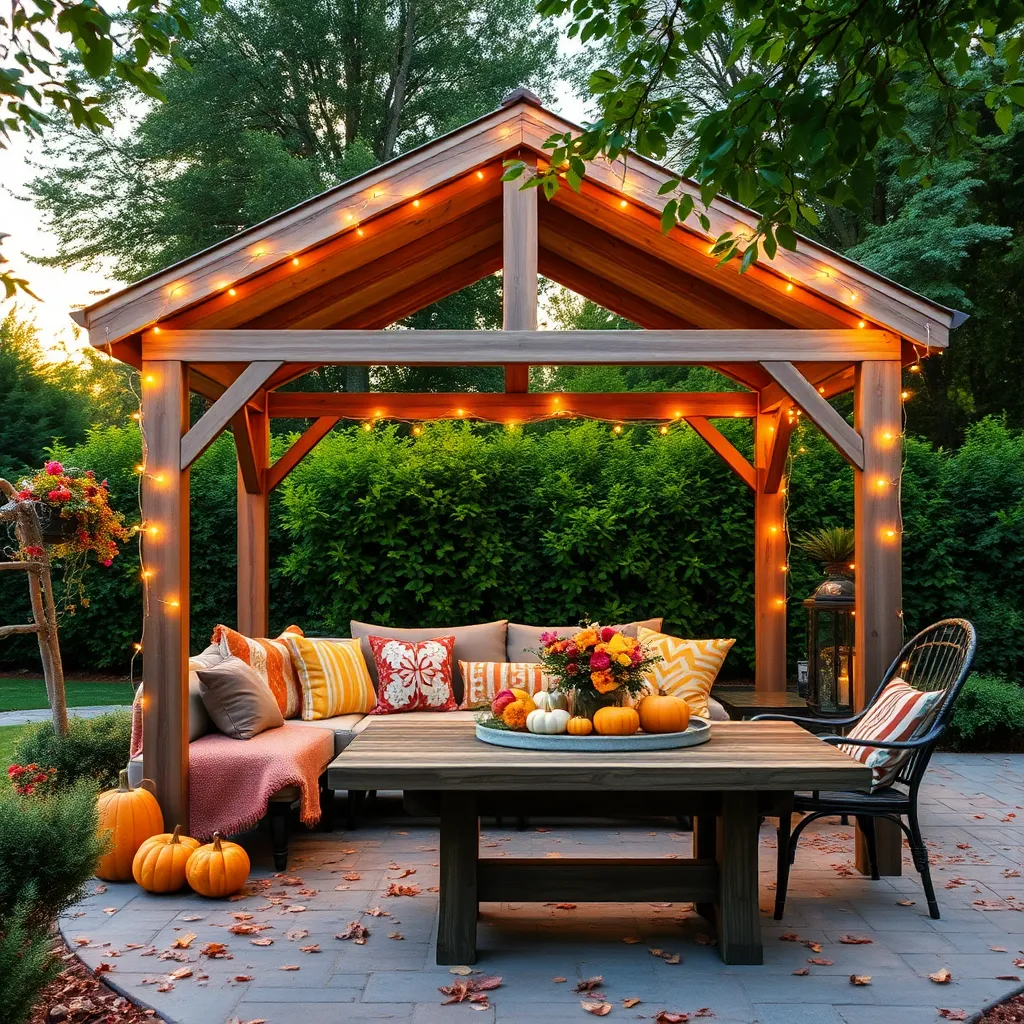
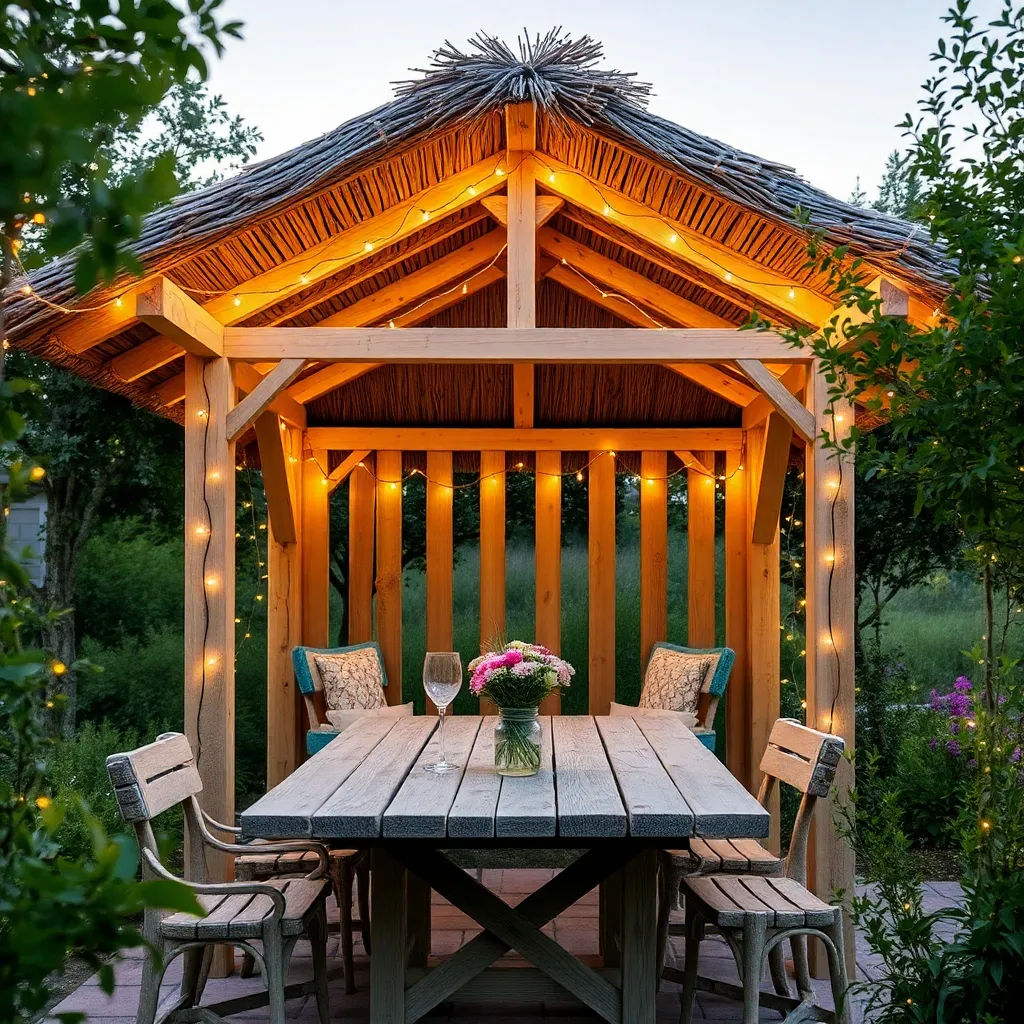
Transform your pavilion with seasonal decor that won’t break the bank by utilizing items like string lights and fabric garlands. For a cozy autumn setup, consider draping inexpensive burlap across beams and adding LED lanterns for a warm glow. At the same time, a handful of well-placed, colorful cushions can instantly inject a touch of spring or summer freshness. Repurpose materials like pallets to create rustic, charming features that add both function and style to your outdoor space.
To create a budget-friendly winter wonderland, use natural elements such as pine cones and evergreen branches, which can be collected locally and arranged in vases or baskets. Hang DIY wreaths made from twine and seasonal foliage on pavilion posts for a personalized touch. For those ready to dive deeper, consider crafting a simple, wooden pergola roof adorned with lightweight, weather-resistant fabrics in seasonal hues. This adds an extra layer of sophistication and protection, ensuring your pavilion is both stylish and functional year-round.
Maintenance Tips To Extend Lifespan
To ensure your pavilion stands the test of time, regular maintenance is crucial. Begin with a thorough inspection of the structure, focusing on the joints and connectors. Check for any signs of rust or loosening, and tighten bolts as necessary. For wood pavilions, consider applying a fresh coat of sealant annually to protect against moisture and UV damage. This simple step can significantly extend the lifespan of your wood while maintaining its visual appeal.
Advanced gardeners should pay attention to the pavilion’s roof, as it bears the brunt of the elements. Clean the roof regularly to prevent debris accumulation, which can lead to water damage or mold growth. Consider investing in high-quality, weather-resistant materials like polycarbonate panels or metal roofing for added durability. These materials not only enhance longevity but also reduce maintenance efforts. By adopting these practices, you’ll continue to enjoy your outdoor oasis for many years to come.
Conclusion: Creating Beautiful Outdoor Spaces
In exploring ’15 Budget-Friendly Pavilion Setups,’ we’ve journeyed through a variety of creative and affordable ways to enhance your shared outdoor spaces, each rooted in the core concepts of connection, creativity, and communication. From utilizing natural elements to foster a serene shared retreat, incorporating sentimental decor to spark meaningful conversations, to transforming everyday items into personalized expressions of your shared journey, these ideas underscore the importance of nurturing your relationship without breaking the bank.
As an actionable next step, choose one idea that resonates most with you and your partner, and make a plan to implement it this weekend. Whether it’s crafting a cozy reading nook or setting up a simple dining space under the stars, taking this step can refresh your connection and spark new joy.
Remember, building a fulfilling relationship is a continuous journey. Bookmark this article now to revisit these concepts and keep rekindling your connection under budget-friendly pavilions. As you embrace these ideas, know that your path to relationship success is paved with intentional, loving actions. Let this be the beginning of many cherished moments together, where love and creativity unite in delightful harmony.