Creating a comfortable outdoor shelter can transform your backyard into a year-round retreat, no matter your experience level or budget. Whether you’re just starting to explore outdoor living or looking to upgrade your existing space, finding the right shelter is key to enjoying fresh air with protection and style.
In this article, you’ll discover 14 simple, practical outdoor shelter ideas tailored to fit a variety of budgets and skill sets. From easy DIY projects to savvy purchases, these options make enhancing your outdoor space both accessible and rewarding.
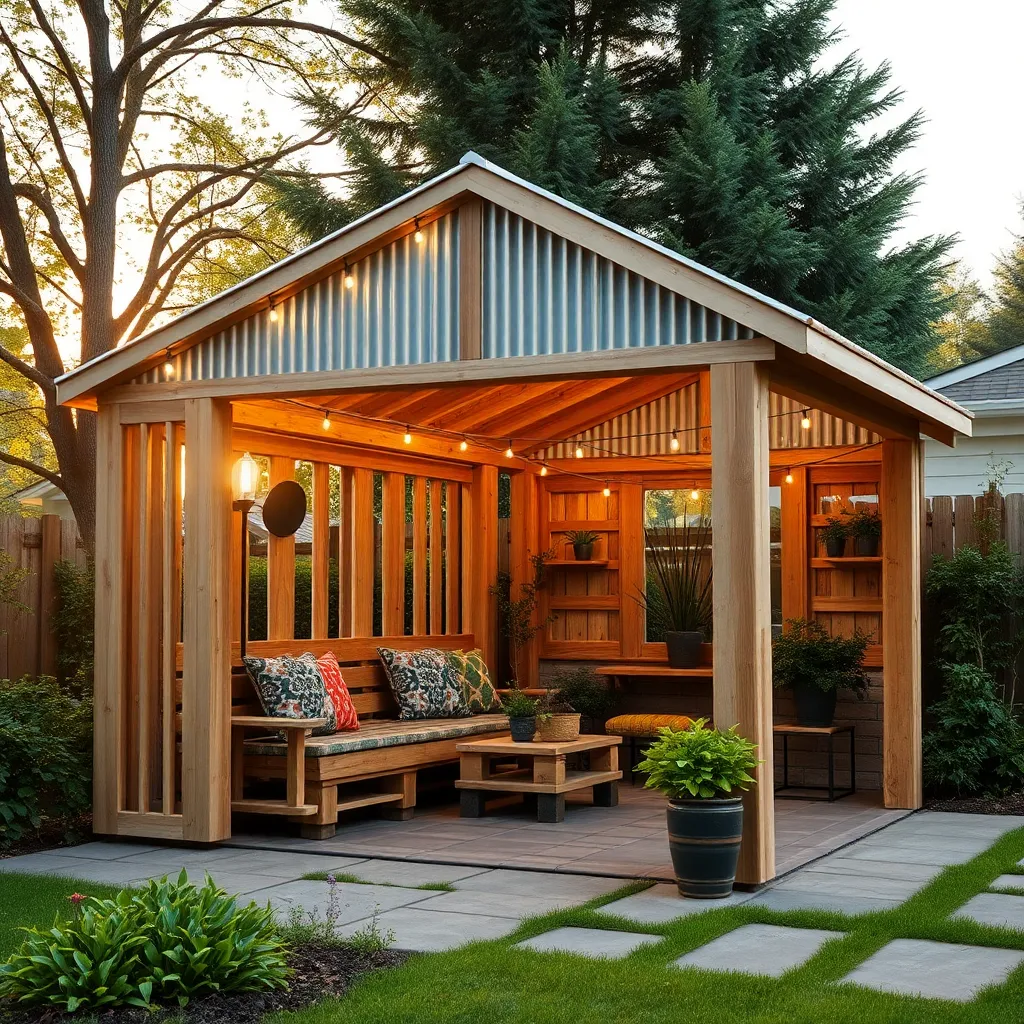
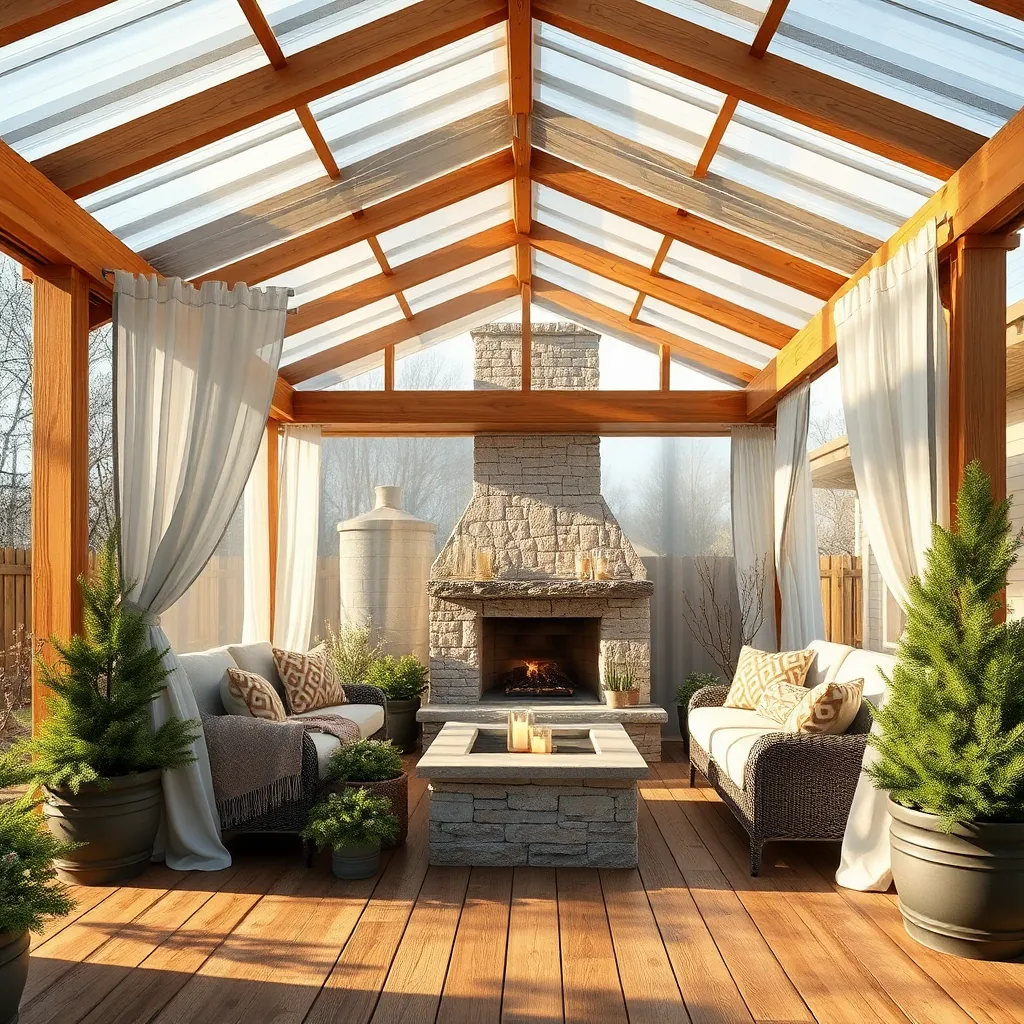
Budget-Friendly Shelter Building Basics
Starting with a budget-friendly shelter means focusing on affordable, durable materials like reclaimed wood, corrugated metal sheets, or heavy-duty tarps. For a simple frame, use 4×4 posts spaced about 6 to 8 feet apart to support a lean-to or open-sided design, which reduces material costs while providing effective protection from sun and rain. Remember to anchor your shelter securely with concrete or ground spikes to ensure stability without expensive foundations.
To maximize your investment, consider modular designs that allow for future expansion or easy repairs, such as using screws instead of nails and standard-sized plywood for roofing. Incorporate basic weatherproofing like sloped roofs with at least a 3:12 pitch and overhangs of 12 inches to channel rain away from the structure. Finally, don’t overlook DIY-friendly tools and techniques—simple jigs, pre-cut lumber kits, and free online plans can save time and money while boosting your building confidence.
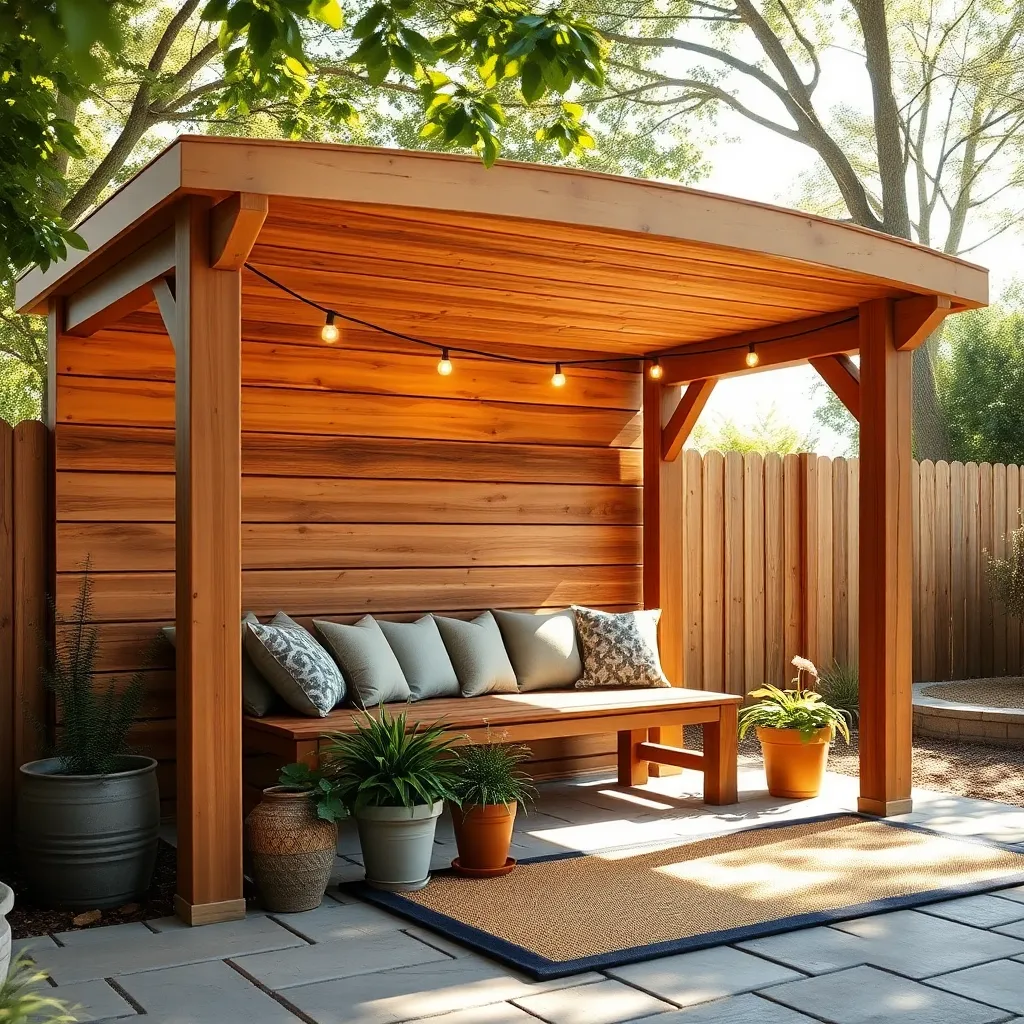
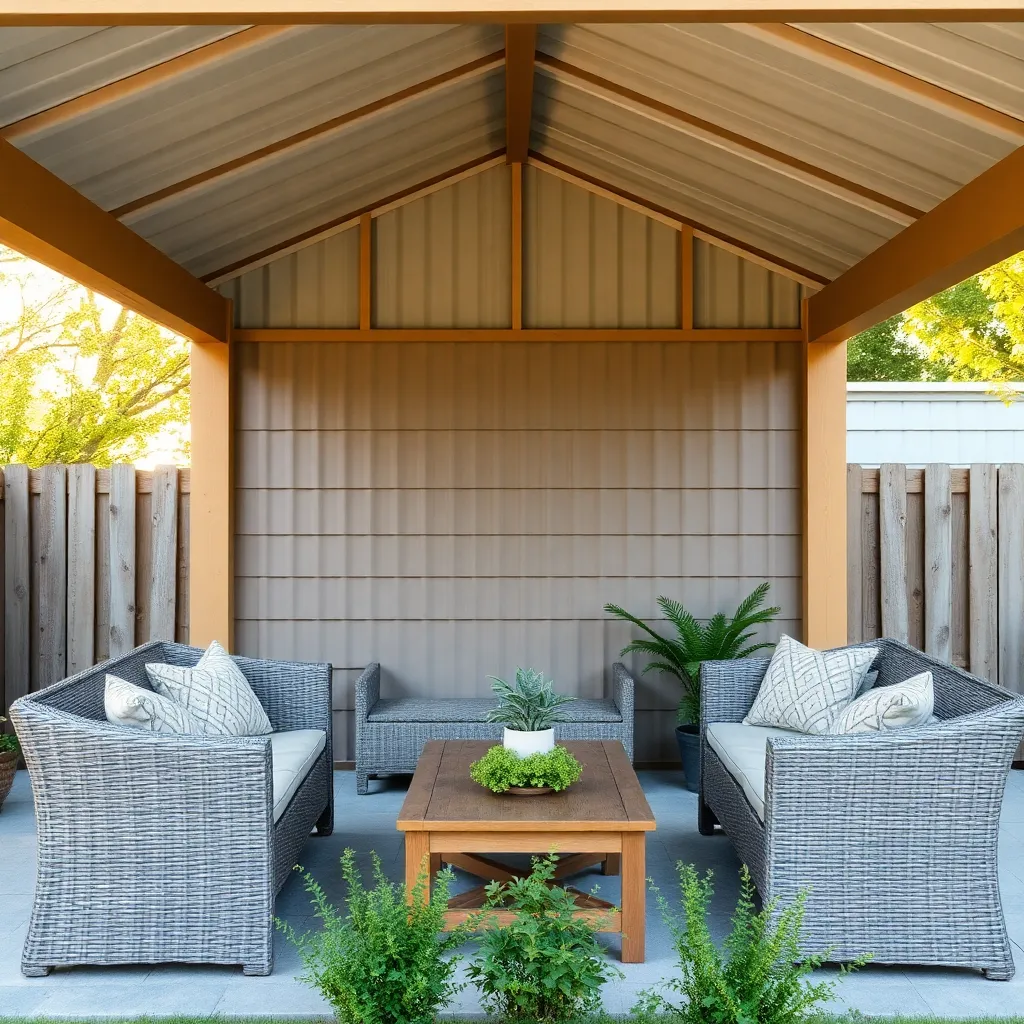
Choosing Durable, Affordable Materials
When selecting materials for an outdoor shelter, focus on durability and cost-effectiveness. Pressure-treated lumber and galvanized steel frames offer excellent resistance to weather and pests, while remaining budget-friendly. For roofing, consider corrugated metal or polycarbonate panels, which provide strong protection without breaking the bank.
To ensure long-lasting performance, pay attention to construction details like proper anchoring and ventilation. Use concrete footings or ground spikes to secure your shelter firmly, and design the roof with a slight pitch (at least 3:12) for water runoff. Adding vented eaves or small gaps near the roofline helps prevent moisture buildup, extending the life of your materials.
Simple DIY Tarp Shelter Ideas
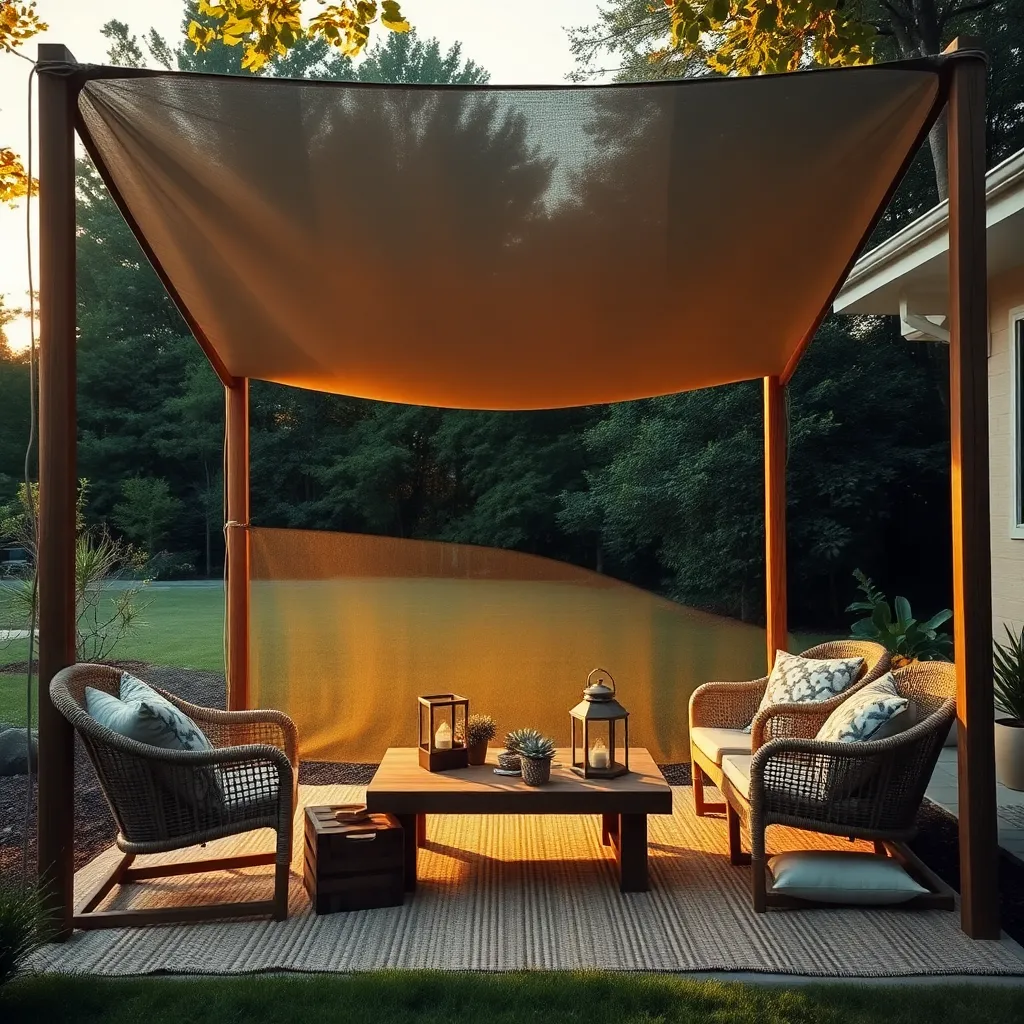
Creating a simple DIY tarp shelter is an affordable and versatile way to stay protected outdoors. Start with a durable, waterproof tarp—ideally 10×12 feet for ample coverage—and strong paracord or rope to secure it. Use nearby trees or sturdy poles as anchor points, and tie the tarp in an A-frame or lean-to design to maximize rain runoff and wind resistance.
For added stability, reinforce corners with grommets and use tent stakes or heavy rocks to secure the tarp to the ground. Beginners should focus on tensioning the tarp tightly to prevent sagging, while advanced users can add a ridgeline for extra support or create adjustable side flaps for ventilation and protection. This straightforward setup can be assembled in under 30 minutes, making it perfect for quick backyard or camping shelter solutions.
Easy Pallet Wood Shelter Designs
Pallet wood shelters offer an affordable and sturdy option for outdoor protection, perfect for homeowners looking to repurpose materials. Start by selecting pallets in good condition, preferably heat-treated rather than chemically treated, and break them down to create a frame measuring around 6 to 8 feet wide and 4 to 6 feet deep. Use galvanized screws for durability and add a slanted roof with corrugated metal or waterproof tarp to ensure proper water runoff and shelter from the elements.
For added stability, secure your pallet shelter to the ground using metal stakes or concrete footings if possible. Beginners can keep it simple with a lean-to design, while advanced builders might incorporate angled braces or stack pallets vertically to create walls that improve insulation and privacy. Remember to sand rough edges and apply a weather-resistant sealant to extend the life of your shelter, making it a practical and inviting space in any backyard.
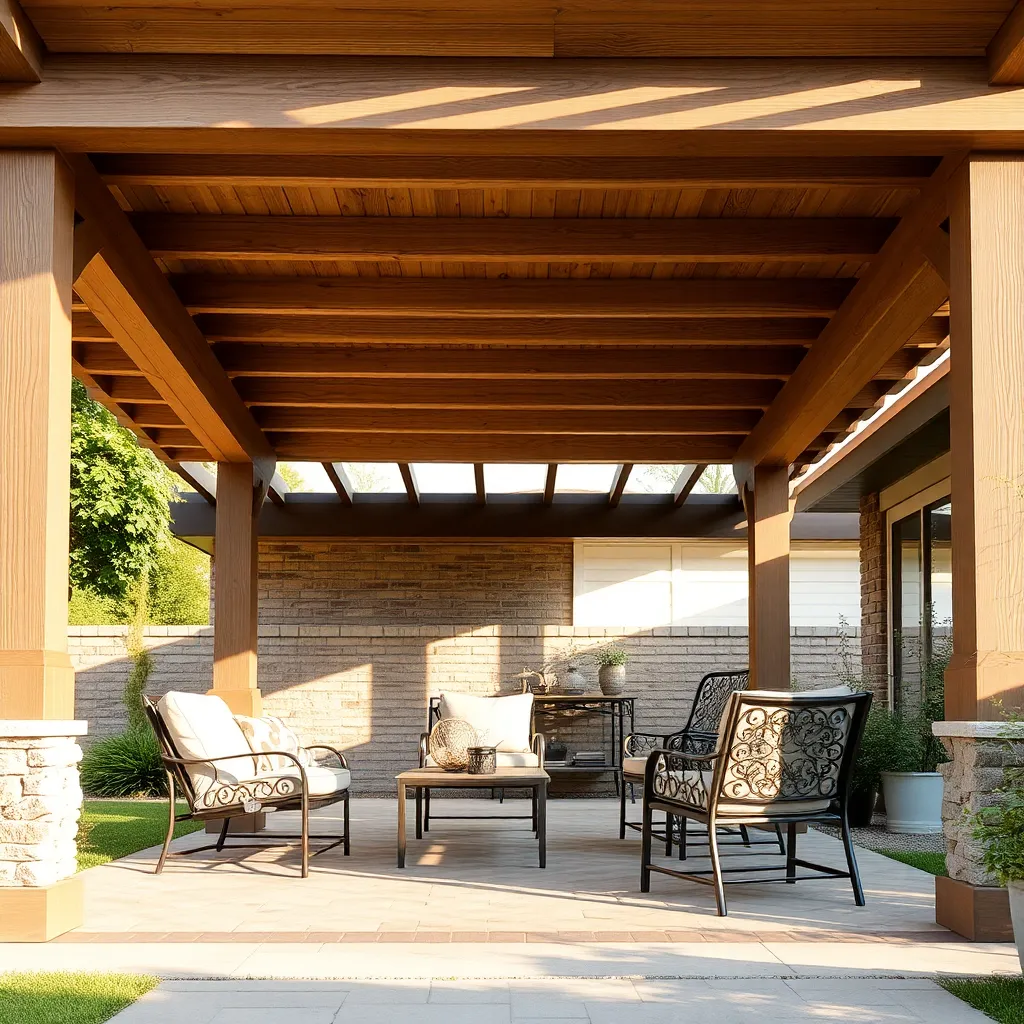
Building a Cozy Lean-To Shelter
Starting with a sturdy frame is essential when building a cozy lean-to shelter. Use pressure-treated lumber or cedar for durability, and position the shelter against a solid wall or a sturdy tree for natural support. Aim for a roof pitch of about 30 to 45 degrees to ensure proper water runoff, and cover the roof with corrugated metal or heavy-duty tarp to keep the interior dry.
For added comfort and functionality, incorporate windbreaks and raised flooring into your lean-to design. Use plywood or pallets for the floor, elevated slightly off the ground to prevent moisture buildup. Adding removable side panels or clear plastic sheeting can protect from wind and rain while maintaining light, making your lean-to shelter a practical retreat year-round.
Constructing a Classic A-Frame Shelter
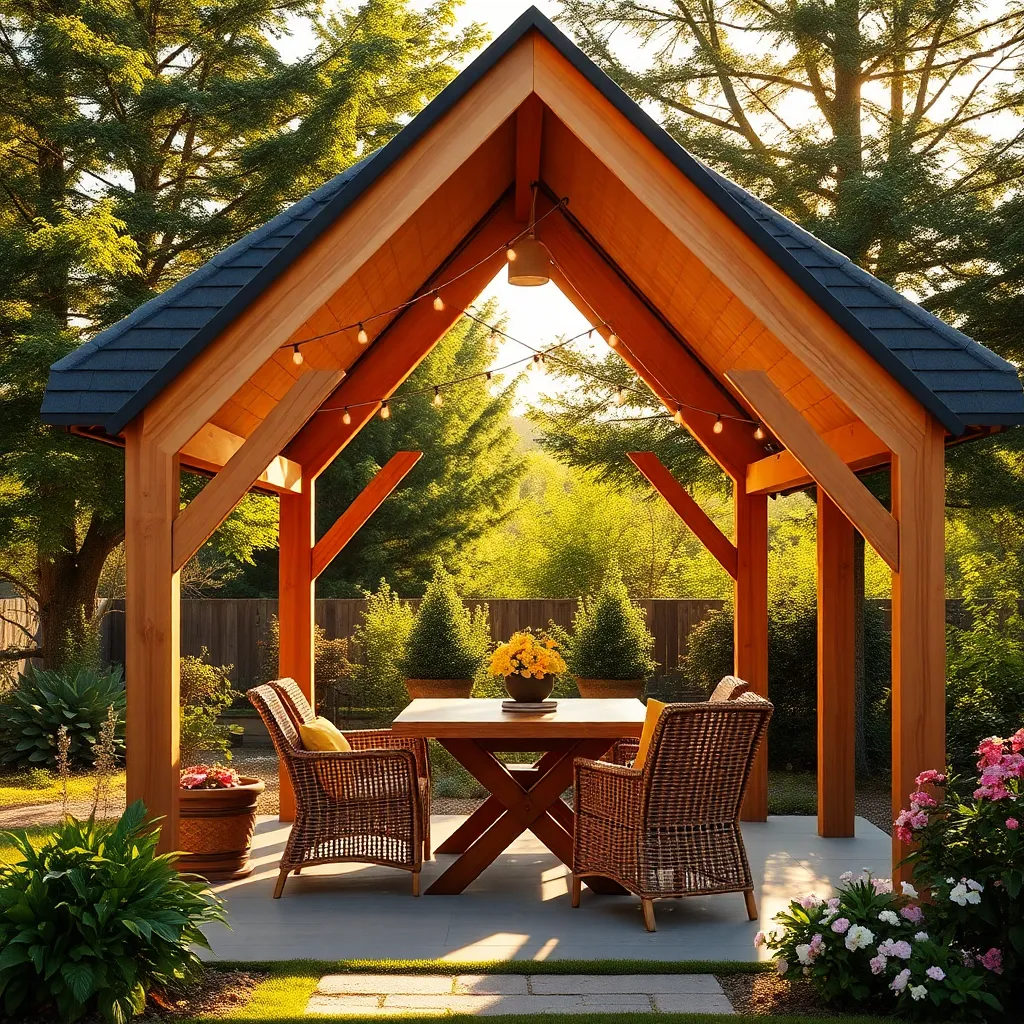
Constructing a classic A-frame shelter begins with selecting sturdy materials such as pressure-treated lumber or durable cedar for the frame to ensure longevity. Aim for a simple triangular design with a steep angle of around 45 degrees to allow rain and snow to slide off easily. For added weather protection, cover the frame with waterproof tarp or corrugated metal sheets, securely fastening them with galvanized screws to resist rust.
To maximize stability, anchor the base of your A-frame to the ground using metal stakes or concrete footings, especially in windy areas. Consider adding cross braces inside the frame for extra support and attaching a raised floor made from pallets or treated boards to keep moisture at bay. Remember, proper ventilation near the apex helps prevent condensation, making your shelter more comfortable in varied weather conditions.
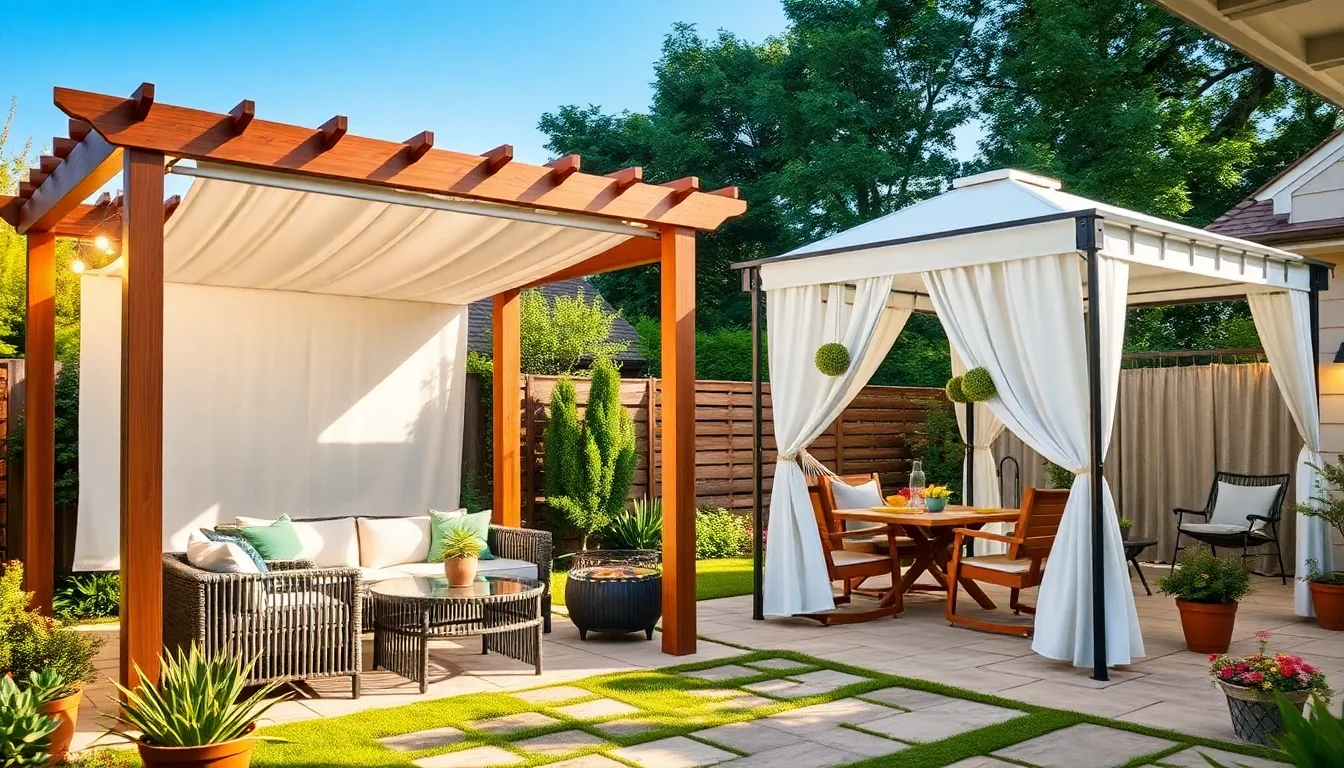
Quick Pop-Up Canopy Solutions
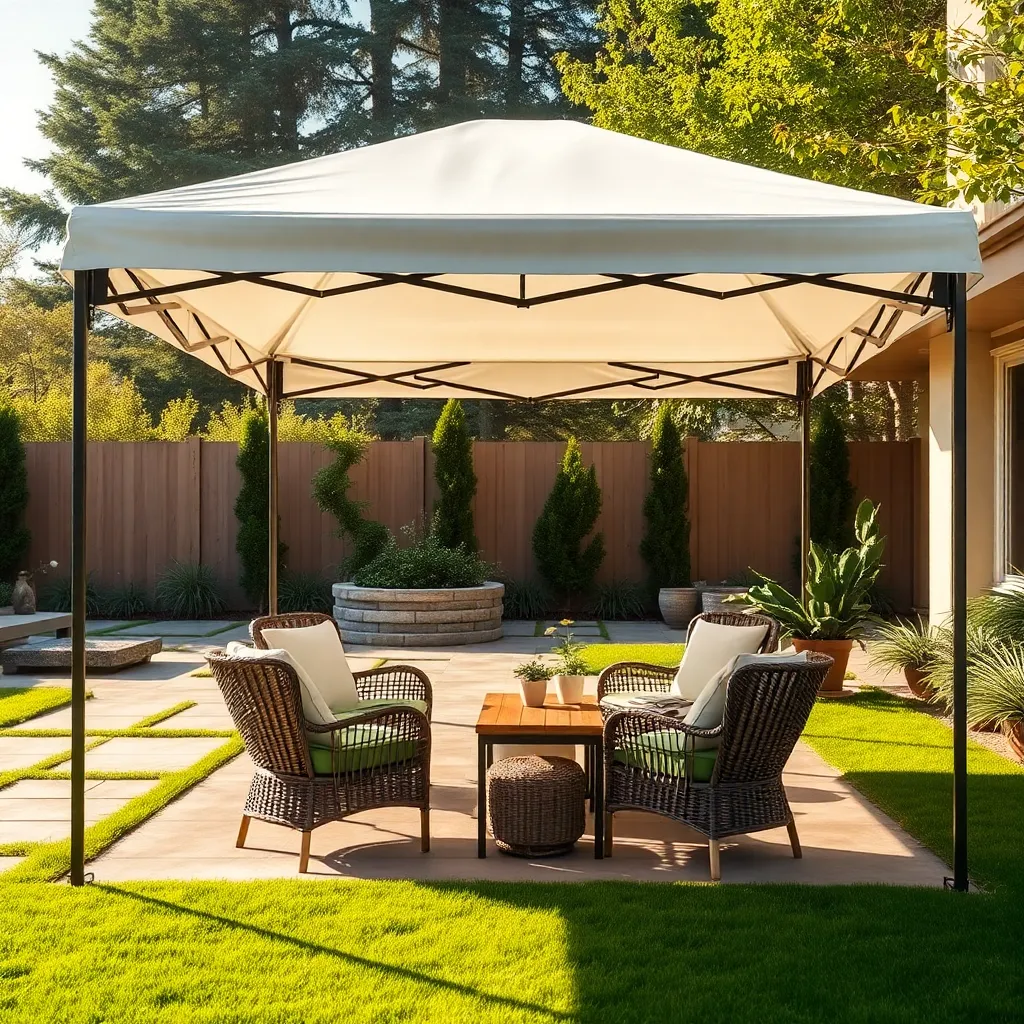
Quick pop-up canopies offer an excellent instant shelter solution for homeowners needing fast, temporary coverage for outdoor activities. Look for models with a sturdy steel or aluminum frame and a waterproof polyester canopy to ensure durability and weather resistance. For easy setup, choose canopies with push-button height adjustments and a folding design that can be assembled solo in under five minutes.
To maximize stability, always anchor your canopy using weighted bags or ground stakes, especially in windy conditions. For a more polished look and added protection, consider attaching sidewalls made from breathable fabric that can be zipped on and off easily. Remember, a 10×10 foot size is ideal for most patios and gatherings, but you can expand with modular units if needed.
Rustic Log and Branch Shelters
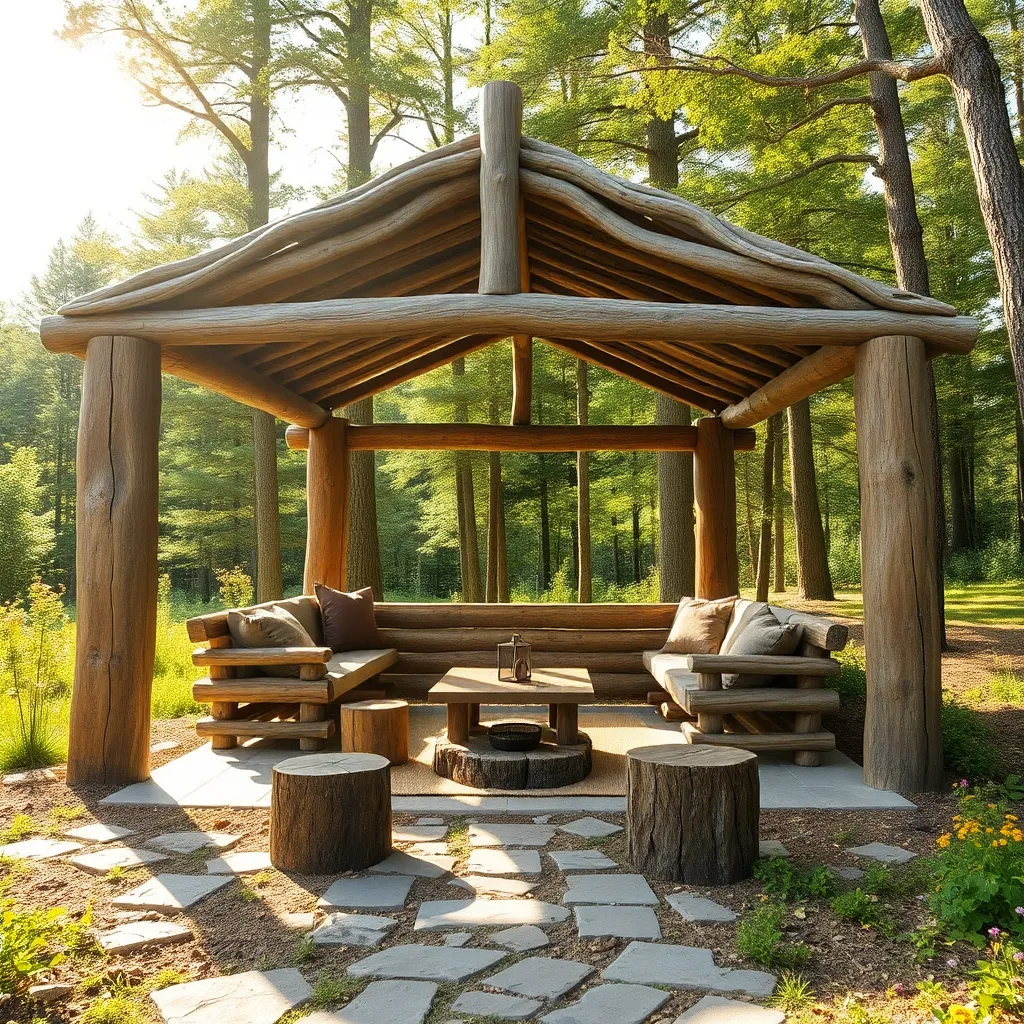
Creating a rustic log and branch shelter is a rewarding project that blends naturally into wooded or garden settings. Start by selecting sturdy, straight logs for the frame—ideally 3 to 5 inches in diameter—and secure them with galvanized screws or natural rope for extra durability. For the roof, use smaller branches or saplings spaced closely to provide shade and a bit of protection from rain, then cover with a tarp or bark layers to enhance weather resistance.
To build a shelter that lasts, consider these tips:
- Choose hardwoods like oak or cedar for longevity and resistance to rot.
- Ensure the structure has a slight slope (at least 15 degrees) for water runoff.
- Use cross-bracing between logs to improve stability, especially in windy areas.
With a simple foundation of rock or gravel, your rustic shelter will stand firm and become a charming outdoor retreat that’s both functional and visually appealing.
Affordable PVC Pipe Shelter Frames
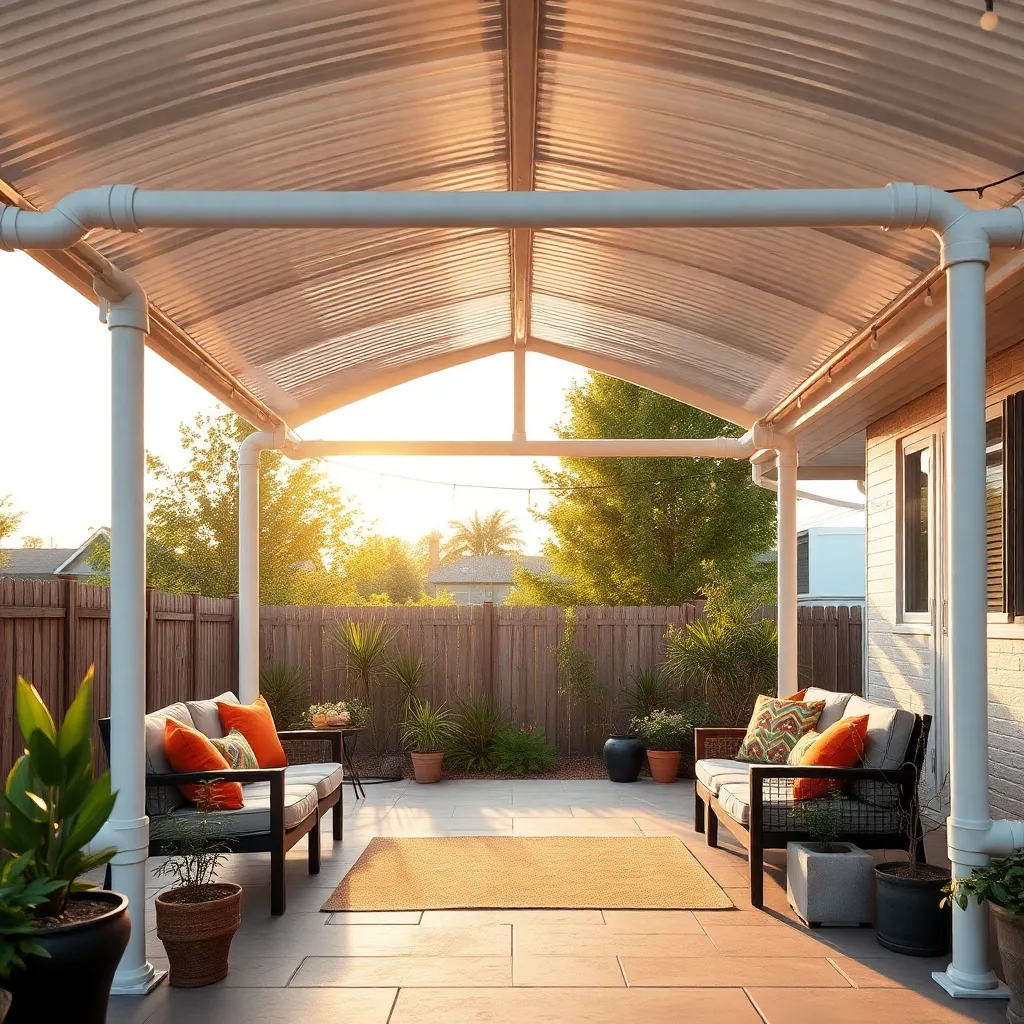
PVC pipe shelter frames offer a cost-effective and lightweight option for creating durable outdoor shelters. Start with 1-inch diameter PVC pipes for a sturdy frame, cutting lengths to fit your desired shelter size—commonly 8 feet wide by 10 feet long with 6-7 feet height for comfortable standing space. Use PVC connectors like elbows and T-joints to easily assemble arches or rectangular frames, and secure the base pipes into the ground with rebar stakes for added stability.
To maximize durability, consider reinforcing joints with PVC cement and wrapping the frame with UV-resistant polyethylene tarp or heavy-duty shade cloth. For advanced users, adding cross-bracing on the sides can improve wind resistance and overall strength. This simple modular design is perfect for beginners and allows customization, such as attaching zip ties or bungee cords to hold sidewalls or rain flaps, making it an affordable and versatile shelter solution for your outdoor needs.
Using Natural Elements for Shelter
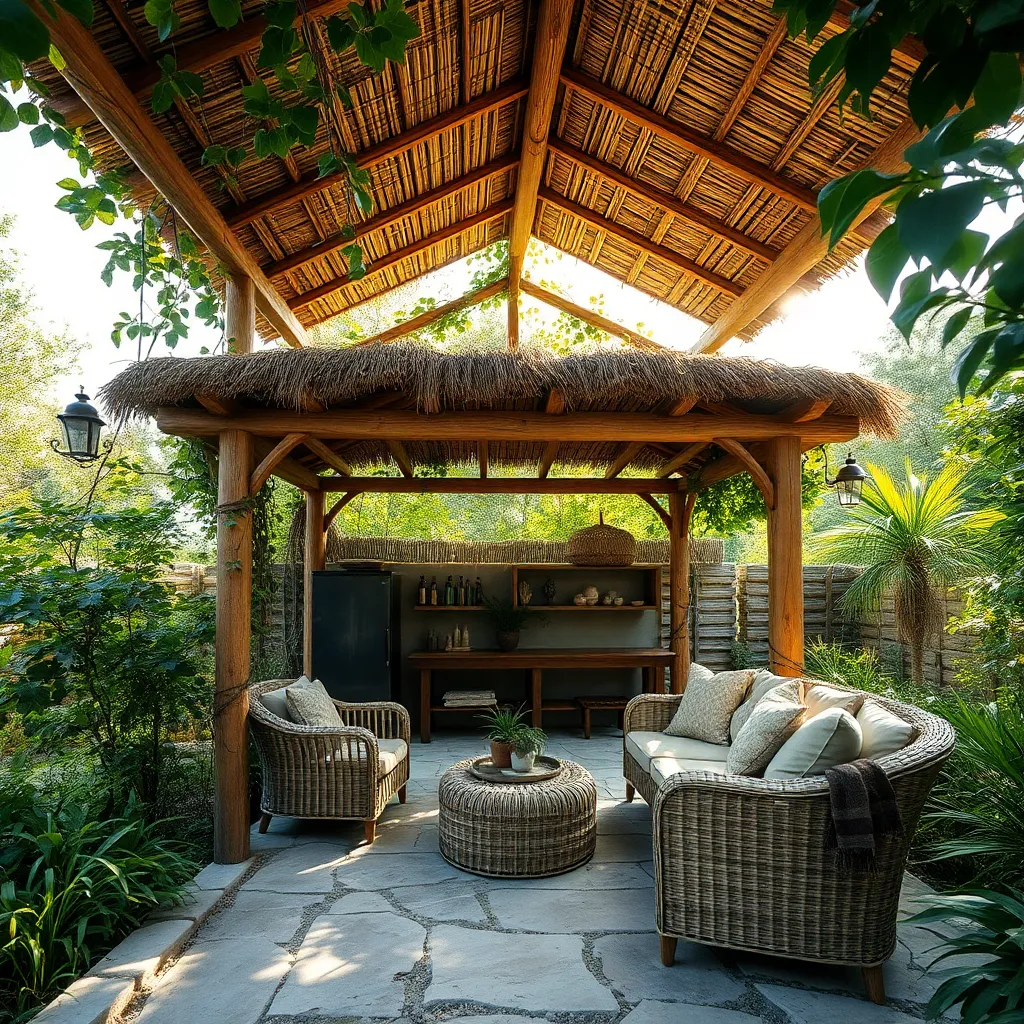
Harnessing natural elements like fallen branches, logs, and large leaves can create effective and budget-friendly outdoor shelters. Start by selecting sturdy branches for a basic frame, ideally 6 to 8 feet long, and lash them together using natural fiber rope or biodegradable twine. For added protection, layer large leaves, pine boughs, or bark over the frame to enhance waterproofing and insulation.
To elevate your design, consider incorporating earthworks such as digging a shallow trench beneath your shelter to improve drainage and reduce wind exposure. Advanced builders can also weave flexible saplings to create a dome or wigwam shape, providing a strong, stable structure with excellent natural ventilation. Remember, placing your shelter near existing trees can offer added shade and structural support while blending seamlessly into your outdoor space.
Compact Tent Alternatives on Budget
For a budget-friendly alternative to compact tents, consider creating a simple tarp shelter. Use a durable, waterproof tarp of at least 8×10 feet and secure it with adjustable cords or paracord tied to nearby trees or sturdy poles. To maximize protection, angle the tarp so rainwater runs off easily and add stakes at the corners to keep it taut and stable in wind.
Another practical option is a DIY pop-up shelter frame using lightweight PVC pipes or aluminum poles, combined with a budget-friendly ripstop nylon cover. This approach offers flexibility and quick setup, ideal for small spaces or unpredictable weather. For added durability, reinforce stress points with extra fabric patches and use heavy-duty zippers or Velcro closures to improve wind resistance and ease of entry.
Shelter Insulation Tips for Warmth
Maximizing warmth in your outdoor shelter starts with insulating the shelter’s floor and walls effectively. Use rigid foam boards or reflective insulation panels cut to fit snugly between the frame, then cover with a weatherproof tarp or canvas for protection. For a simple DIY approach, layering thick blankets or foam mats beneath your sleeping area can significantly reduce heat loss to the ground.
Advanced insulation tips include installing a double-layered roof with an air gap to trap heat and reduce drafts, and sealing all seams with weather-resistant tape or caulk to prevent cold air infiltration. Adding thermal curtains or removable insulated liners inside the shelter can also help retain warmth during chilly nights, making your outdoor space cozy without expensive materials.
Maintenance and Longevity on Budget
To extend the life of your outdoor shelter on a budget, focus on using durable, weather-resistant materials like treated lumber, galvanized steel fasteners, and UV-resistant fabric covers. Regularly check and tighten connections, and apply a fresh coat of sealant or paint every 1-2 years to protect wood surfaces from moisture and sun damage. Simple design elements such as sloped roofs for water runoff and raised flooring can prevent water accumulation and reduce rot risk.
For more advanced maintenance, consider installing removable panels or modular components that make repairs easier without replacing the entire structure. Additionally, use inexpensive but effective solutions like silicone-based lubricants on hinges and weatherstripping around doors to improve functionality and reduce wear. Keeping debris cleared from gutters and shelter bases also helps prevent long-term damage and keeps your shelter sturdy season after season.
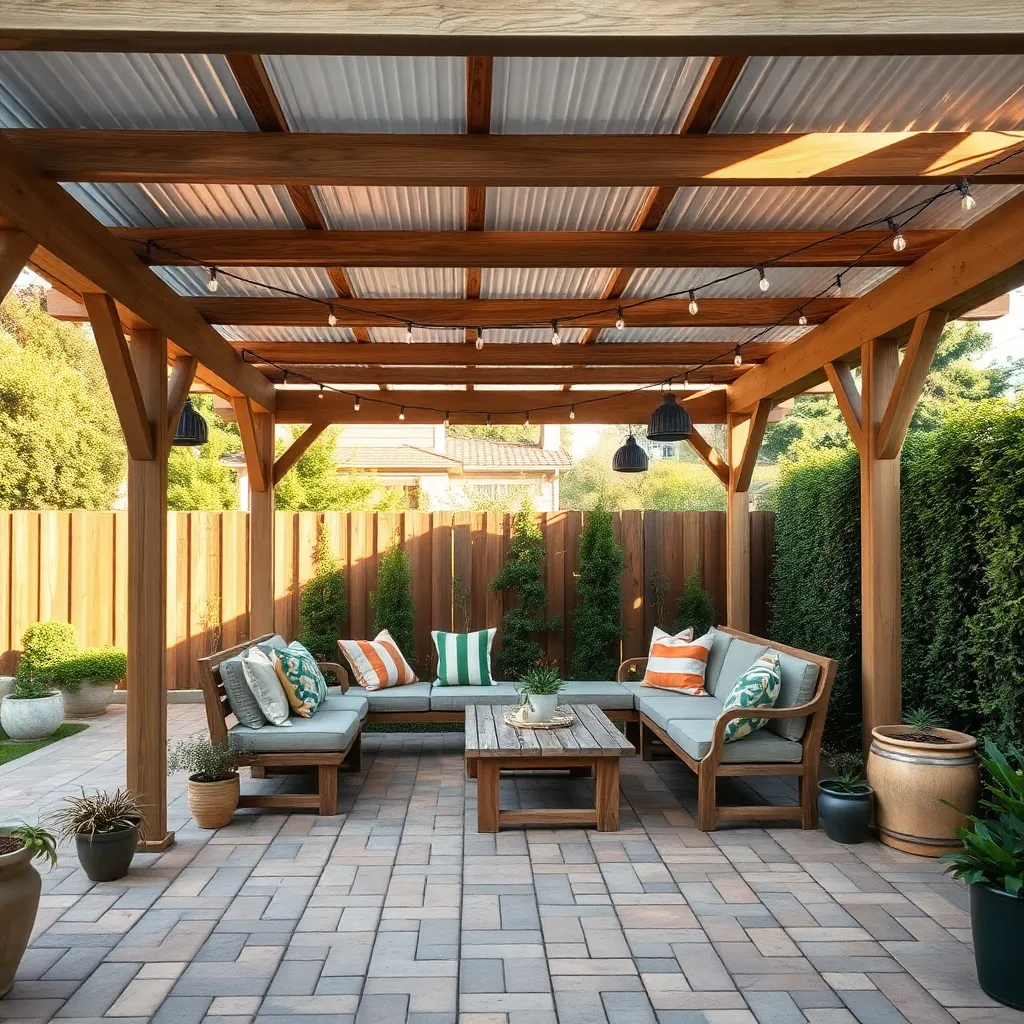
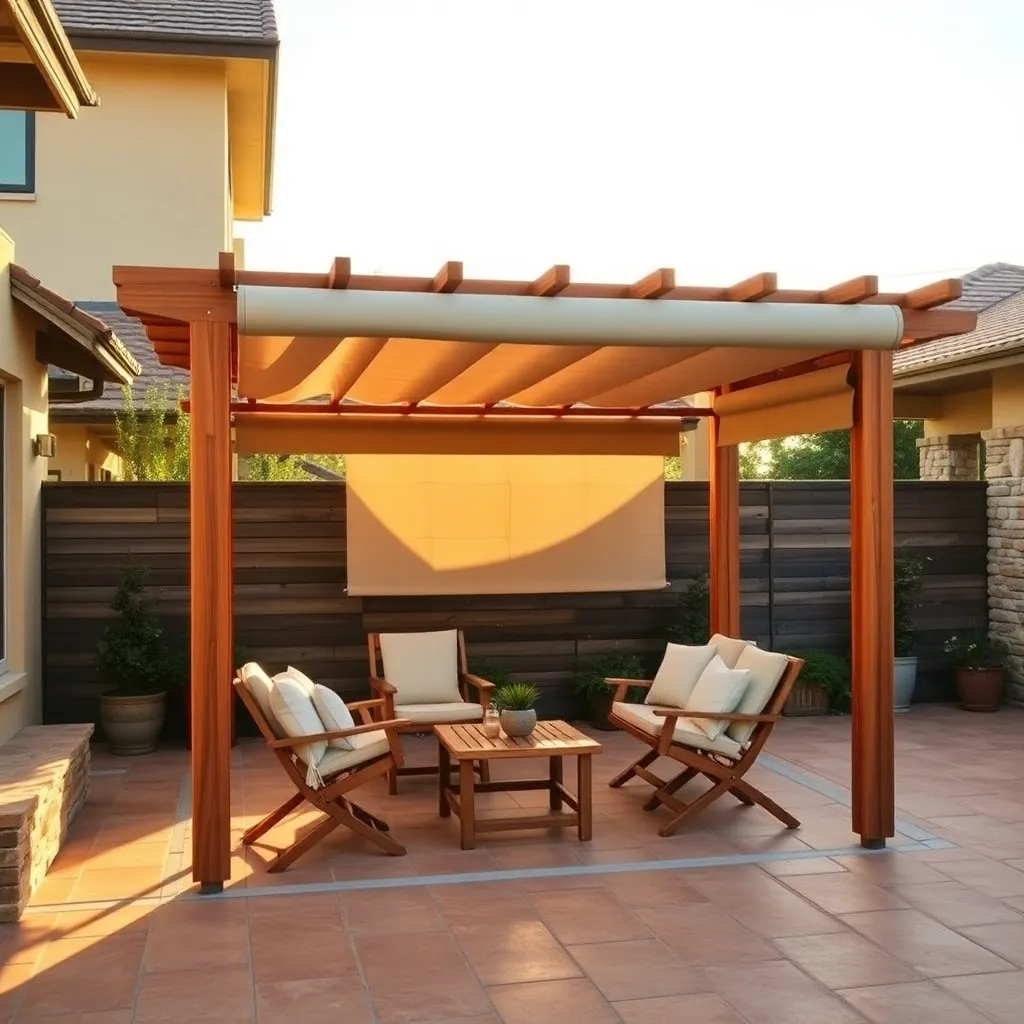
Customizing Shelters Without Overspending
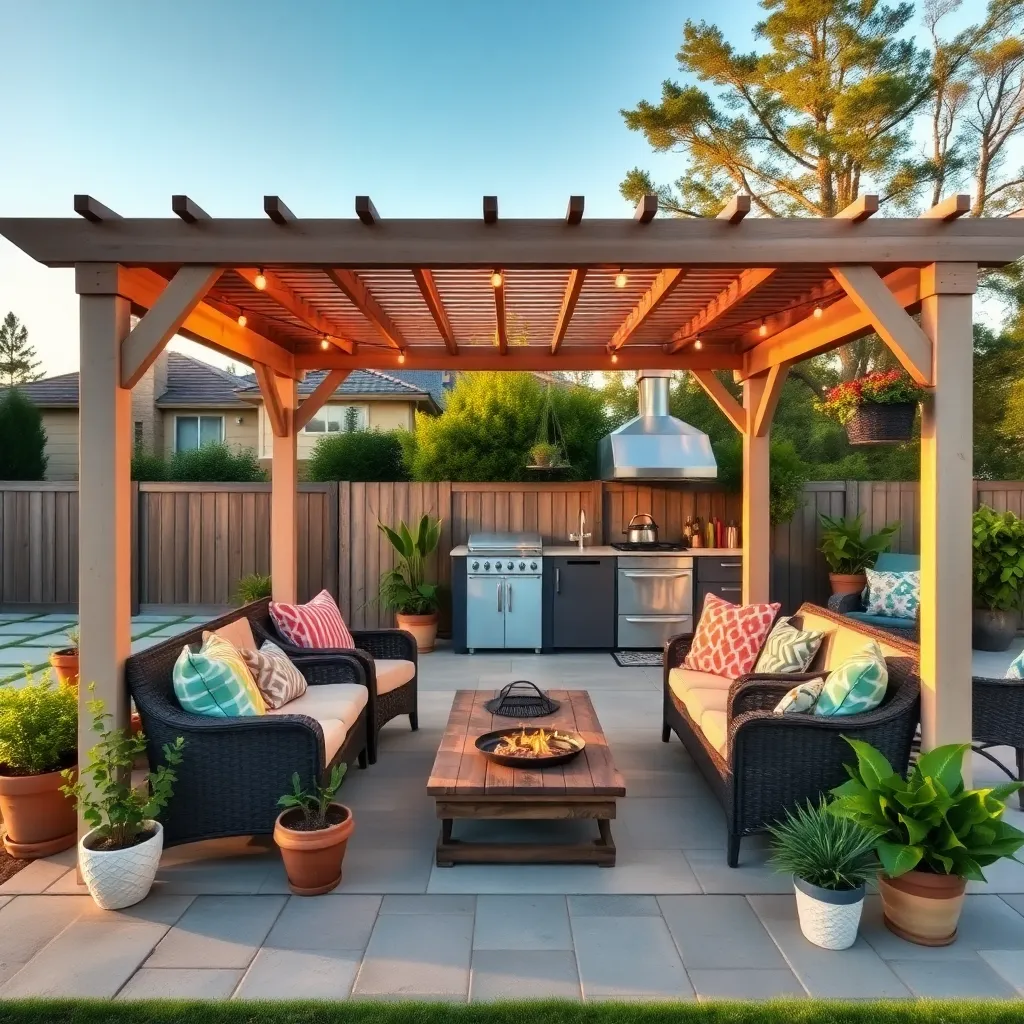
Maximize your shelter’s potential by focusing on simple customizations such as adding modular panels or interchangeable fabric walls. Using affordable materials like treated plywood or UV-resistant outdoor canvas allows you to tailor your shelter’s look and function without breaking the bank. Consider installing adjustable awnings or roll-up sides to control sunlight and ventilation based on the weather.
For those comfortable with DIY projects, incorporating reclaimed wood or metal piping can add unique character while saving costs. When planning dimensions, aim for a footprint around 10×10 feet to balance space and material expenses efficiently. Don’t forget to reinforce corners with metal brackets for durability—small upgrades like these extend your shelter’s lifespan and enhance its overall performance.
Conclusion: Creating Beautiful Outdoor Spaces
In exploring the 14 simple outdoor shelters for all budgets, we’ve uncovered how creativity, communication, and collaboration can build strong foundations—just like in any healthy relationship. From cozy tents and budget-friendly tarps to charming DIY cabins and sustainable shelters, each idea reminds us that nurturing connections doesn’t require grandeur, just intention and care. Your next step? Choose one shelter idea that resonates with you and your partner, and plan a shared outdoor project or retreat to deepen your bond through teamwork and shared experience.
Remember, relationships thrive when we invest time and effort, just like building a shelter. Bookmark this article now, so you can revisit these inspiring concepts whenever you need a reminder or fresh ideas for strengthening your connection. With each step you take together, you’re creating a resilient, warm, and lasting shelter for your relationship’s future. Embrace the journey, and watch your love flourish in all seasons!