Whether you’re new to outdoor projects or a seasoned DIYer, creating a stunning pergola or gazebo can truly elevate your backyard oasis. This guide offers 14 inspiring ideas designed to fit every budget, making it easy and affordable to add charm, shade, and personality to your outdoor living space.
Unlock the joy of crafting a beautiful retreat where family and friends can gather, relax, and celebrate life’s best moments. With practical tips and creative designs, you’ll gain the confidence and know-how to transform your outdoor area into a welcoming haven you’ll cherish for years to come.
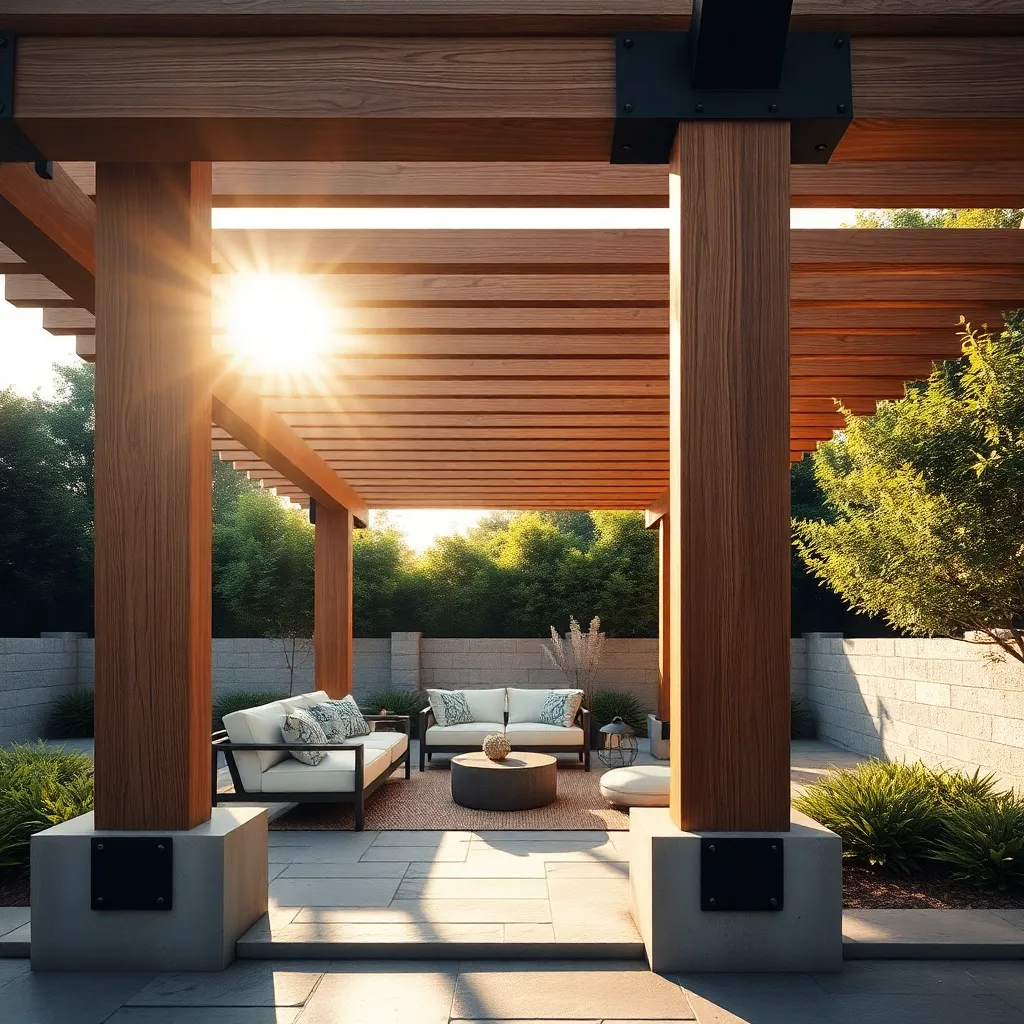
Choose Affordable, Durable Materials
When selecting materials for your pergola or gazebo, focus on affordable, durable options like pressure-treated wood, cedar, or vinyl. Pressure-treated wood offers excellent resistance to rot and insects and is budget-friendly, while cedar provides natural durability and a beautiful finish with minimal maintenance. For a low-maintenance option, vinyl or composite materials resist weathering and won’t require painting, making them perfect for long-term durability.
To ensure stability and longevity, pay attention to construction details such as using galvanized or stainless steel fasteners to prevent rust and setting posts in concrete footings at least 2 feet deep. Also, consider adding design elements like crossbeams or braces to improve structural integrity without increasing costs significantly. For advanced DIYers, integrating modular components can simplify assembly and allow for future expansions or upgrades.
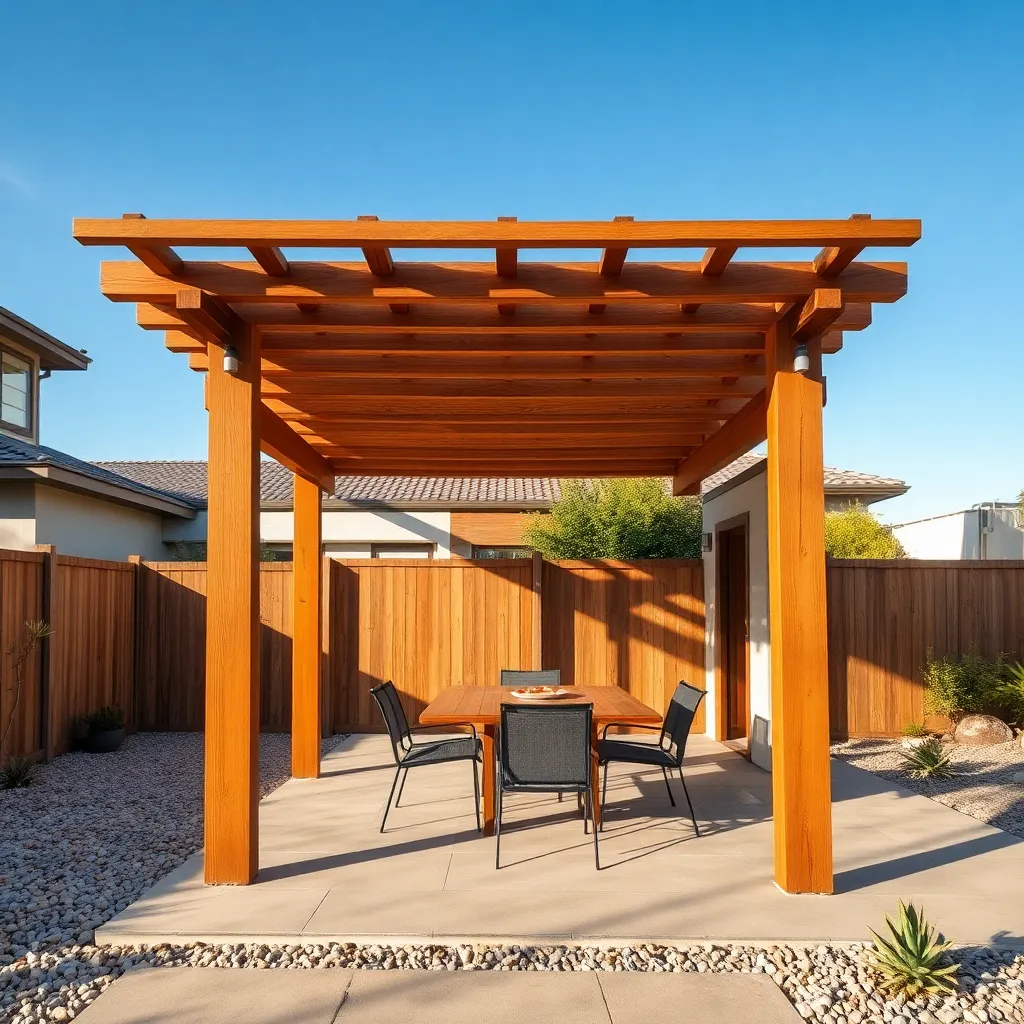
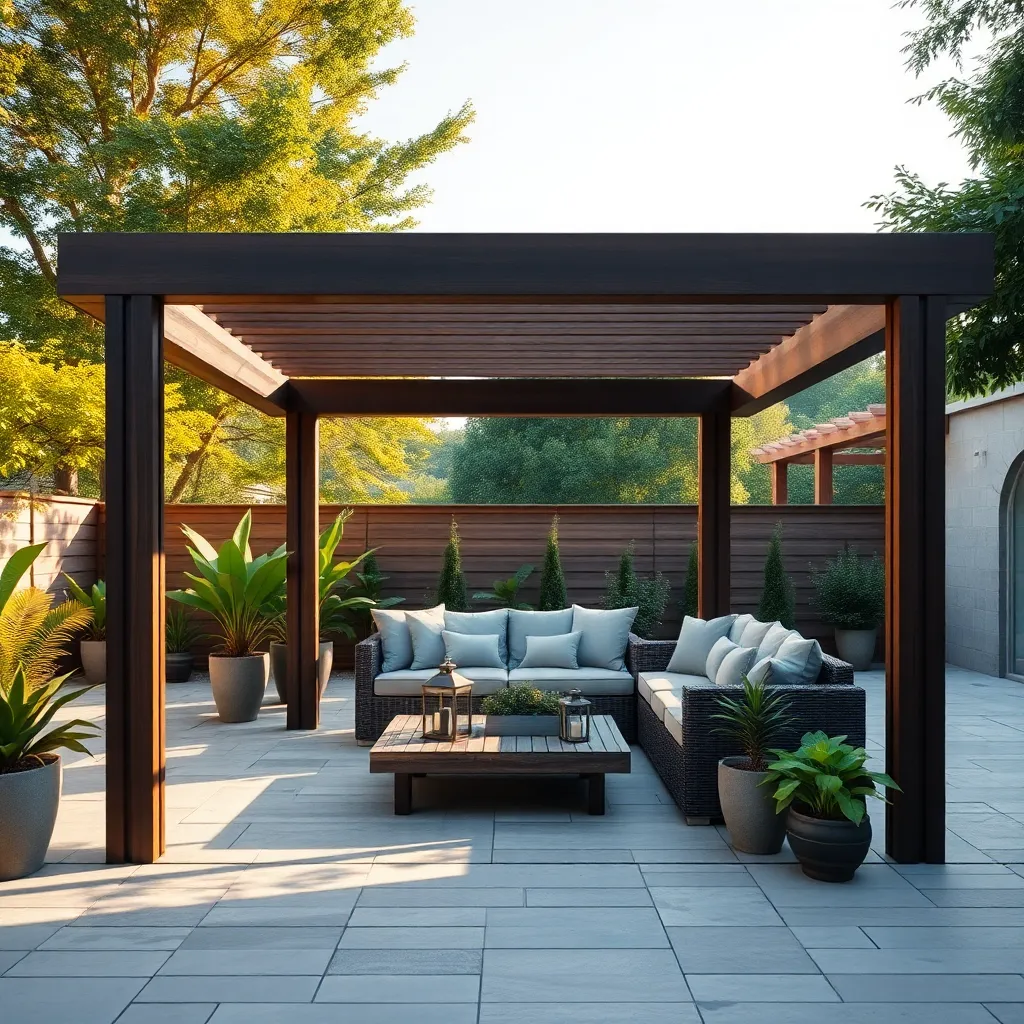
Build Modular Pergola Sections
Modular pergola sections offer a flexible and efficient way to customize your outdoor space. Start by selecting pre-cut cedar or pressure-treated lumber for durability and weather resistance, with typical dimensions around 6 to 8 feet per module. Designing each section with uniform post spacing and beam lengths allows you to easily connect multiple units, creating a larger pergola tailored to your yard’s size.
For a professional finish, use galvanized steel brackets and lag bolts to securely join sections, ensuring stability and ease of expansion. Advanced builders can incorporate adjustable connectors to allow for slight modifications in alignment or future upgrades. Don’t forget to plan for optional features like retractable canopy tracks or climbing plant supports within each module to enhance both shade and aesthetic appeal.
Incorporate Climbing Plants for Shade
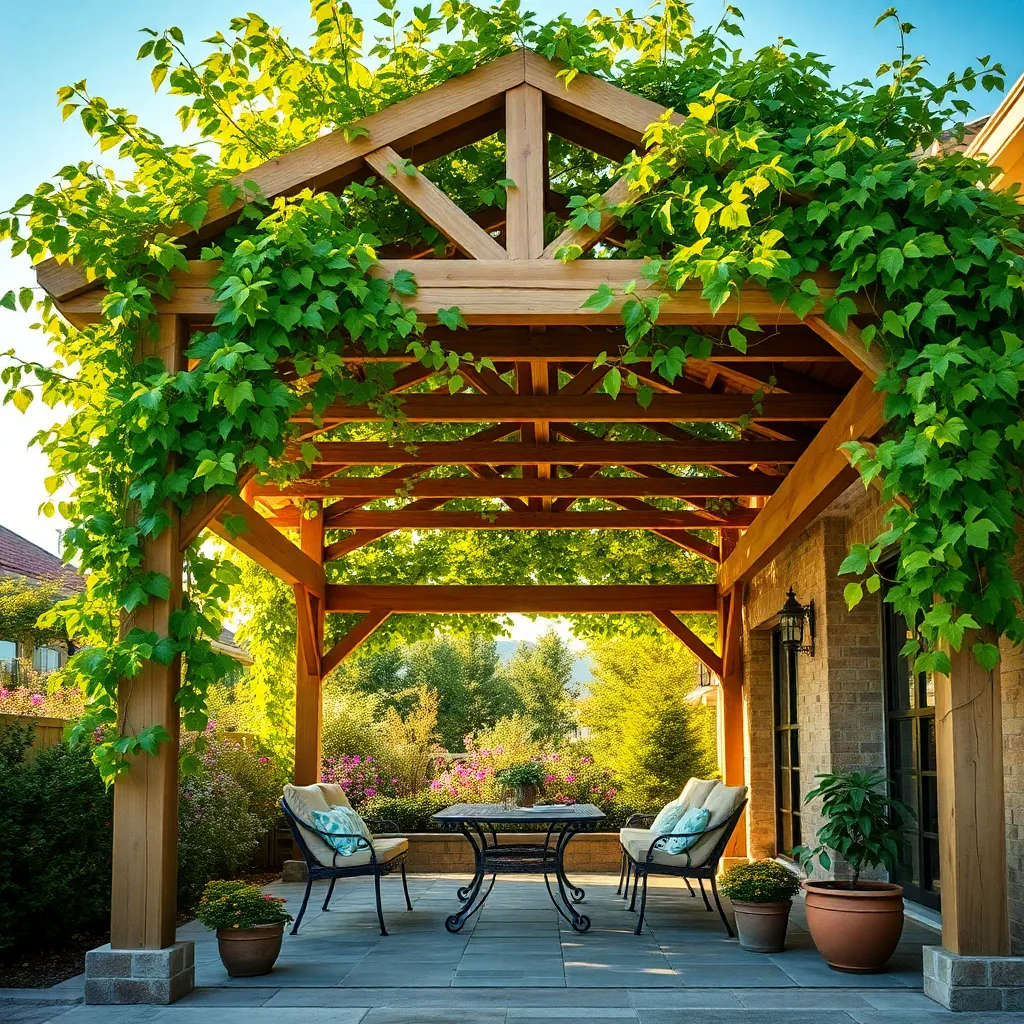
Incorporating climbing plants into your pergola or gazebo design is a smart way to create natural shade while enhancing visual appeal. Start with a sturdy framework made from cedar or pressure-treated wood, ensuring strong support for vigorous climbers like wisteria, clematis, or trumpet vine. For beginners, installing horizontal beams spaced about 12 to 18 inches apart provides ideal anchoring points for plant tendrils to grip and grow evenly.
To maximize shade and ease maintenance, consider training plants along removable trellis panels or wire grids attached to the shelter’s sides and roof. Regular pruning encourages healthy growth and prevents overcrowding, so set a seasonal schedule to trim back excess foliage. Pro tip: combining fast-growing vines with slower ones offers continuous coverage while allowing you to manage growth more effectively throughout the year.
Use Reclaimed Wood Creatively
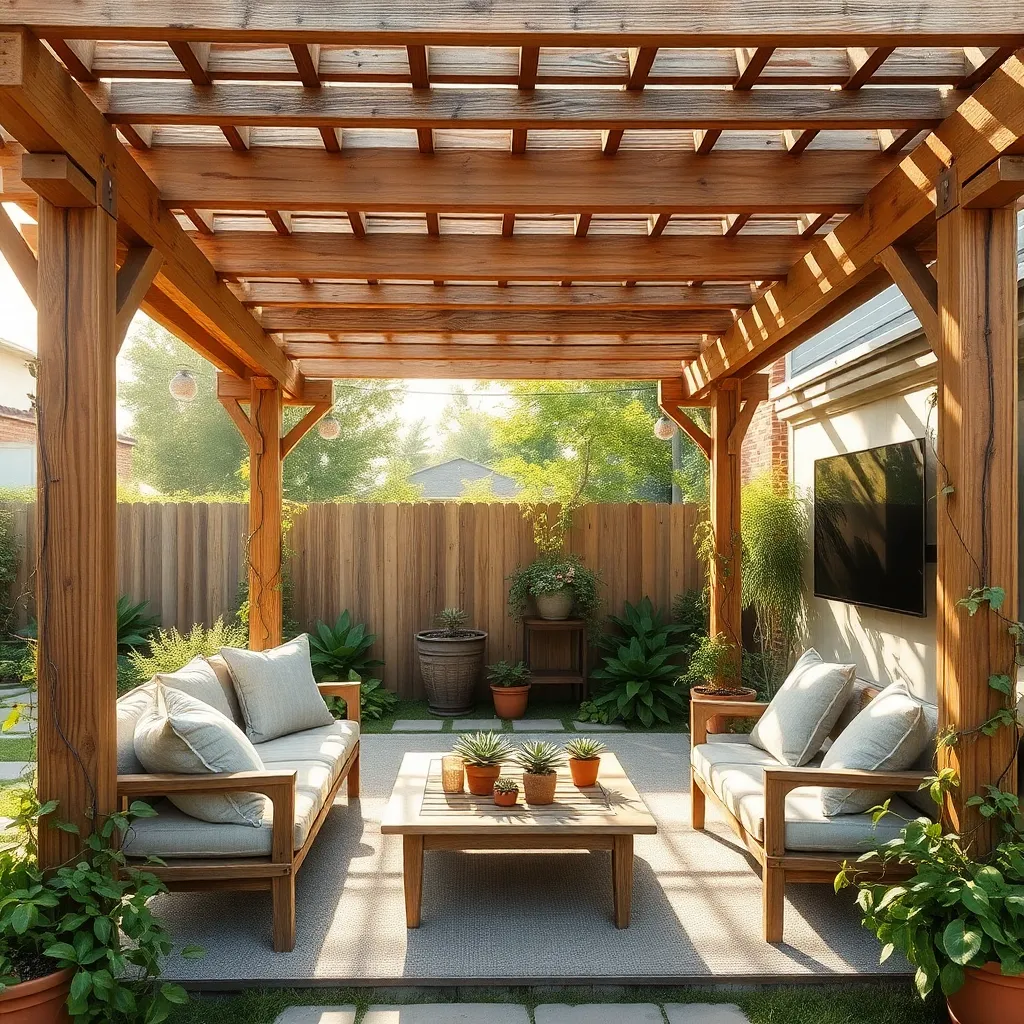
Reclaimed wood adds a charming, rustic touch to pergolas and gazebos, making them both eco-friendly and budget-conscious. Start by sourcing weathered boards from old barns, pallets, or fencing; ensure the wood is structurally sound and free from pests. For durability, treat the wood with a clear outdoor sealant or natural oils to protect it from moisture and UV damage while preserving its character.
To make the most of reclaimed wood, consider mixing different textures and tones for a unique design statement. Use thicker beams (at least 4×4 inches) for support posts and thinner planks (1×4 or 1×6 inches) for decorative slats or lattice panels. Advanced builders can create intricate patterns by combining angled cuts and layering boards, but even simple, evenly spaced slats create attractive shade and airflow for your outdoor shelter.
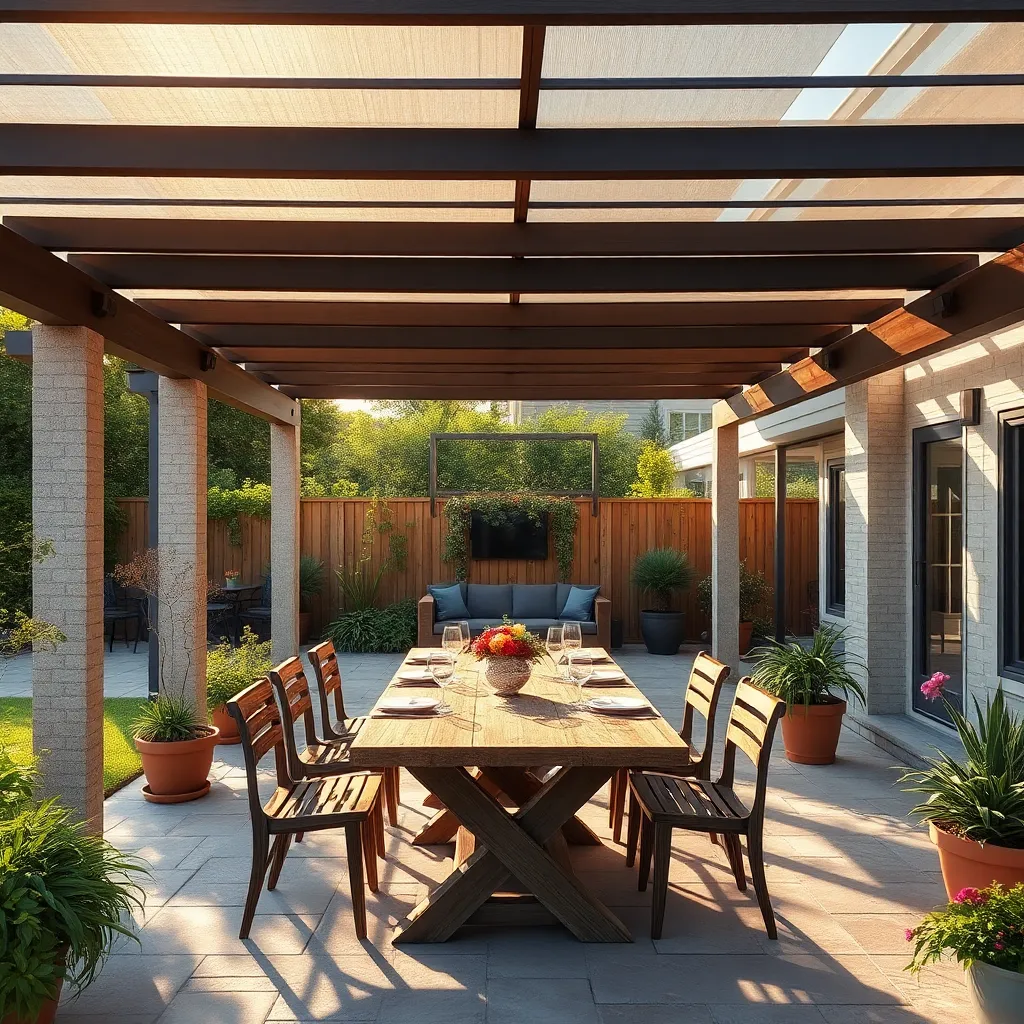
Install Adjustable Shade Covers
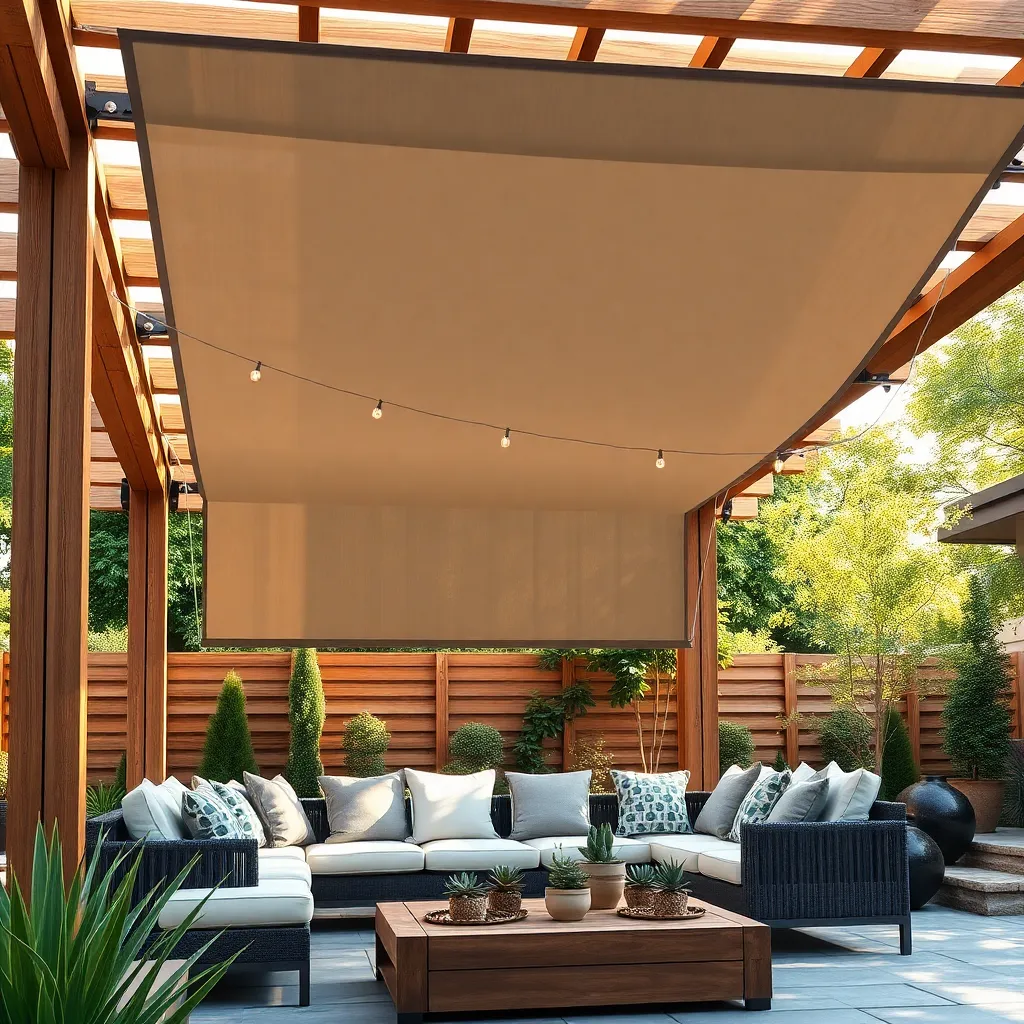
Adjustable shade covers add versatility to your pergola or gazebo by allowing you to control sunlight and airflow throughout the day. Consider installing retractable fabric awnings or vinyl roll-up shades mounted on sturdy aluminum or treated wood frames for durability. For DIY projects, use weather-resistant, UV-protected fabrics in widths matching your structure (usually 6 to 12 feet), and include simple pulley or track systems to easily extend or retract the cover as needed.
To enhance functionality, integrate adjustable slats or louvers made from cedar or aluminum that can be angled to block harsh sun or rain while maintaining ventilation. Advanced tips include adding motorized controls for effortless adjustment and using fade-resistant materials to ensure long-lasting appeal. Properly sealing and securing mounting hardware will increase stability and safety, making your adjustable shade cover a practical, stylish upgrade for any outdoor shelter.
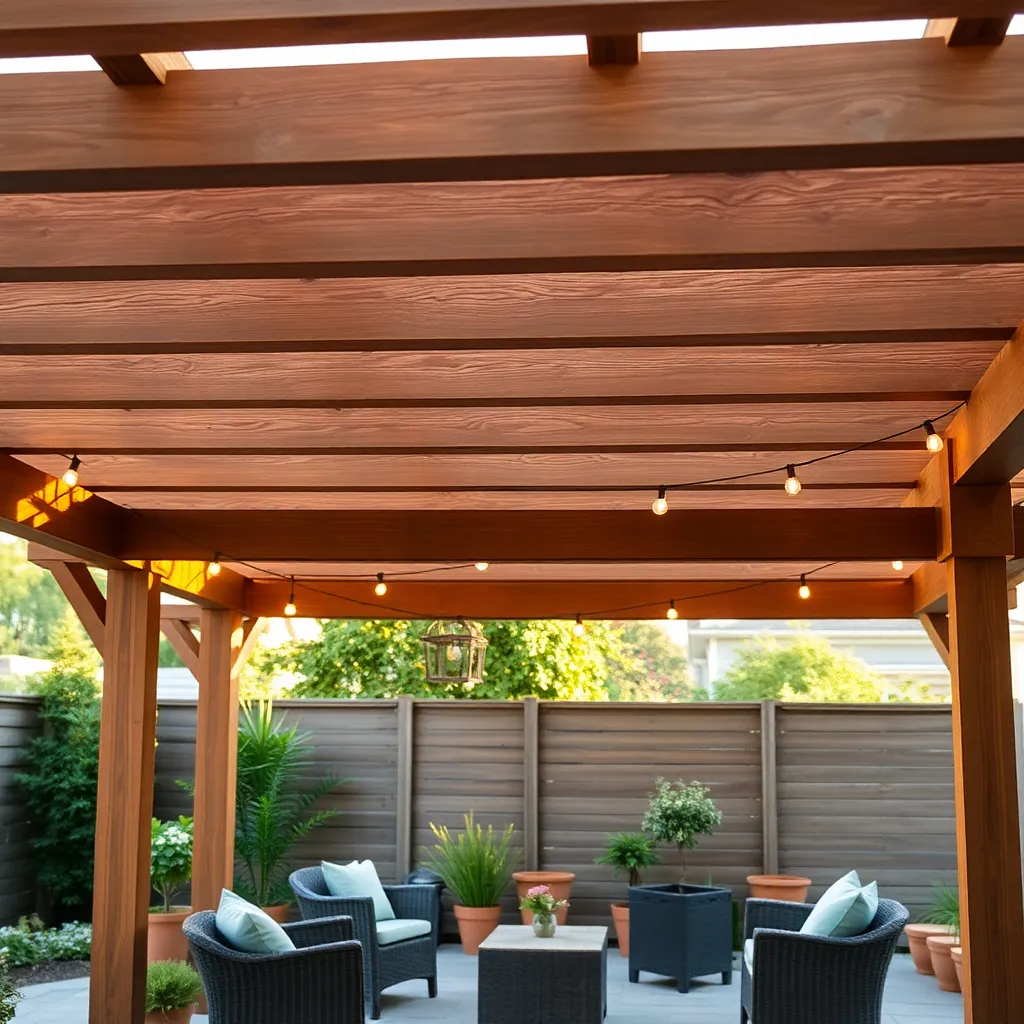
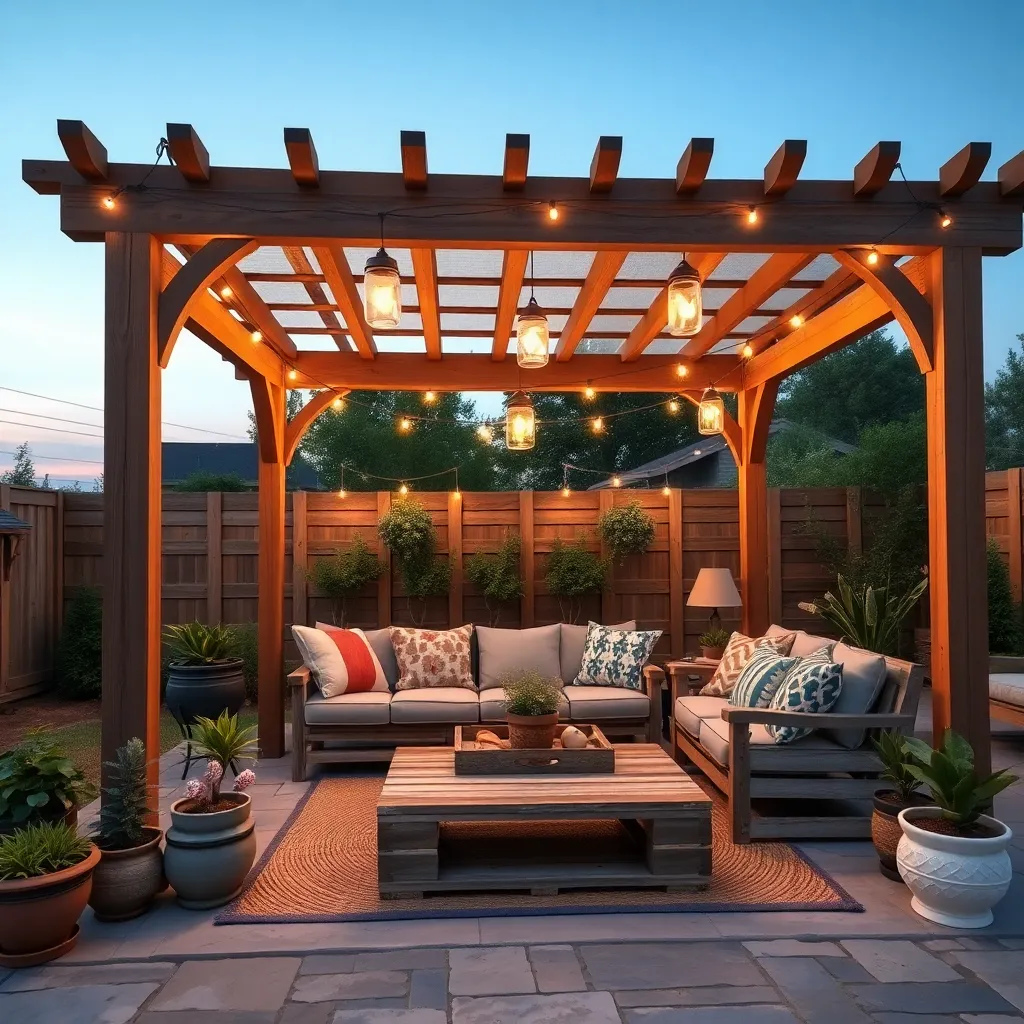
Add String Lights for Ambiance
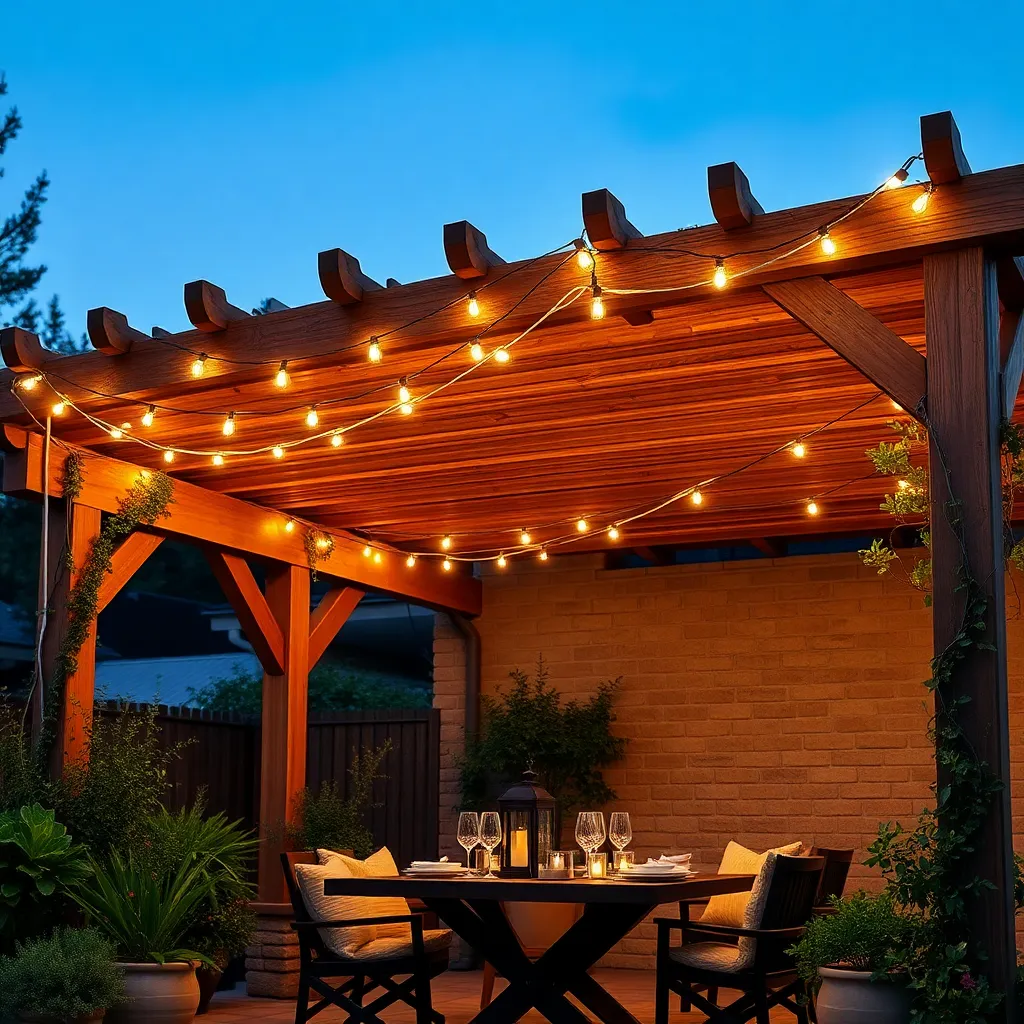
Enhance your pergola or gazebo by adding weatherproof string lights to create a warm, inviting atmosphere for evening gatherings. Opt for LED bulbs with a soft white glow and durable outdoor-rated wiring, and secure them using hooked cup hooks or sturdy zip ties spaced about 12-18 inches apart along the beams or rafters. For a polished look, consider a crisscross or zigzag pattern that evenly distributes light throughout the shelter.
For a more advanced approach, install a dimmable outdoor-rated smart plug to control your lights via smartphone or voice commands, allowing you to adjust brightness and set timers effortlessly. Additionally, pairing string lights with ceiling fans or lanterns can add layered lighting and improve comfort, making your outdoor shelter a versatile space for both relaxing nights and lively parties.
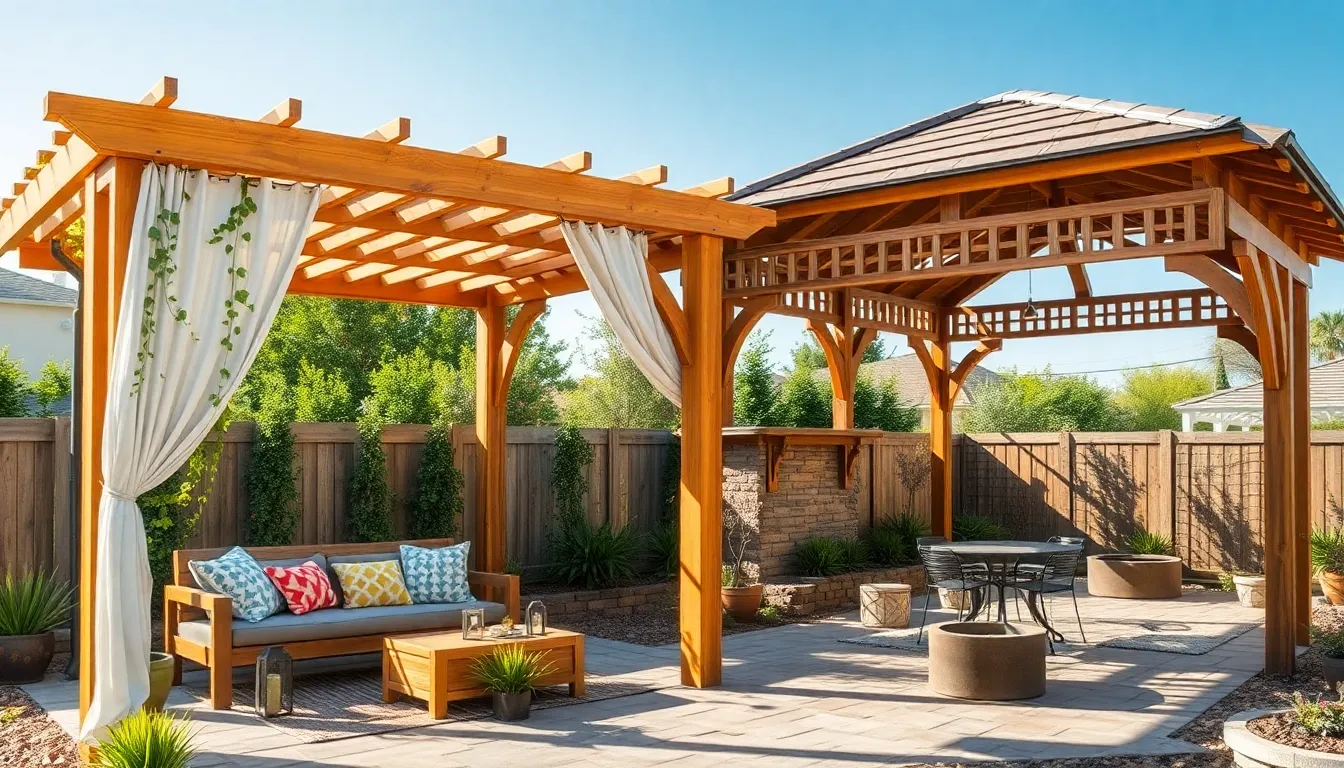
Create DIY Fabric Canopies
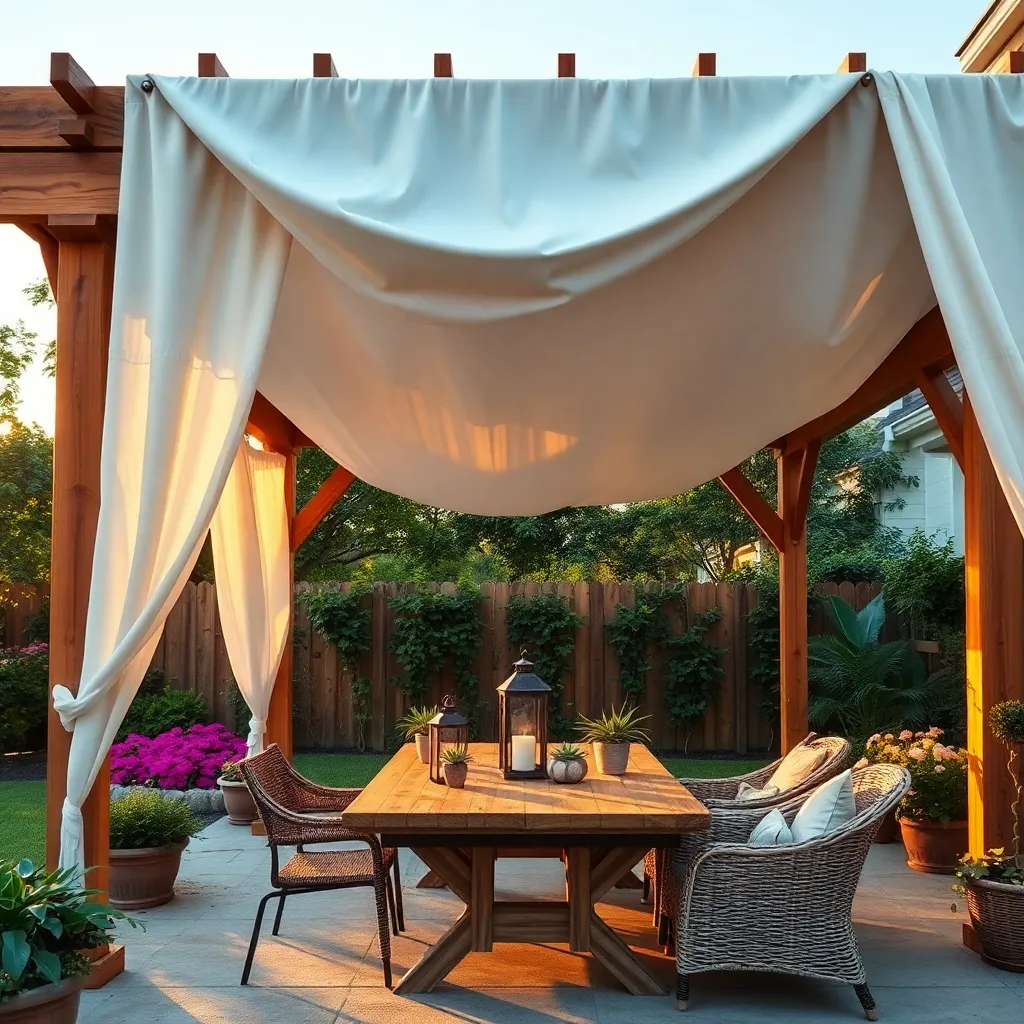
Creating a DIY fabric canopy is an affordable way to add shade and style to your pergola or gazebo. Start with durable, weather-resistant fabrics like solution-dyed acrylic or outdoor-grade polyester, which resist fading and mildew. Use sturdy grommets and stainless steel hooks for easy installation, and ensure your canopy spans at least 8-10 feet wide for ample coverage and airflow.
For a polished look, consider adding adjustable tiebacks or sliding panels to control sunlight and breeze throughout the day. To reinforce your structure, attach the fabric to a simple wooden or metal frame using tension cables or bungee cords, allowing for quick removal during strong winds. This flexible design lets you customize your outdoor space with both functional shade and a charming, soft silhouette.
Anchor Structures Securely to Ground
To ensure your pergola or gazebo stands strong against wind and weather, anchor all support posts securely into the ground. Use galvanized steel post anchors or concrete footings at least 12-18 inches deep for stability, especially in areas with loose or sandy soil. For a quick DIY solution, consider setting posts in concrete-filled holes with metal brackets embedded to prevent movement and rot.
For added durability, incorporate cross-bracing or diagonal supports between posts to reduce sway and improve overall rigidity. Advanced builders can use adjustable post bases that allow for leveling on uneven terrain, ensuring your structure remains perfectly stable over time. Remember, properly anchored frameworks not only enhance safety but also extend the life of your outdoor shelter.
Paint with Weather-Resistant Finishes
Protect your pergola or gazebo by choosing high-quality weather-resistant finishes such as exterior acrylic latex or oil-based paints designed for outdoor wood. Before painting, ensure all surfaces are clean, dry, and sanded smooth; apply a primer specifically made for outdoor use to enhance adhesion and durability. For advanced protection, consider adding a clear UV-resistant topcoat to prevent fading and peeling caused by sun exposure.
When selecting colors, opt for lighter shades to reflect sunlight and reduce heat absorption, which helps prolong the life of your finish. Don’t forget to paint all exposed edges and undersides of boards to seal against moisture intrusion. For a professional look, use a high-quality brush or sprayer and apply at least two coats, allowing proper drying time between each to achieve a lasting, weatherproof barrier.
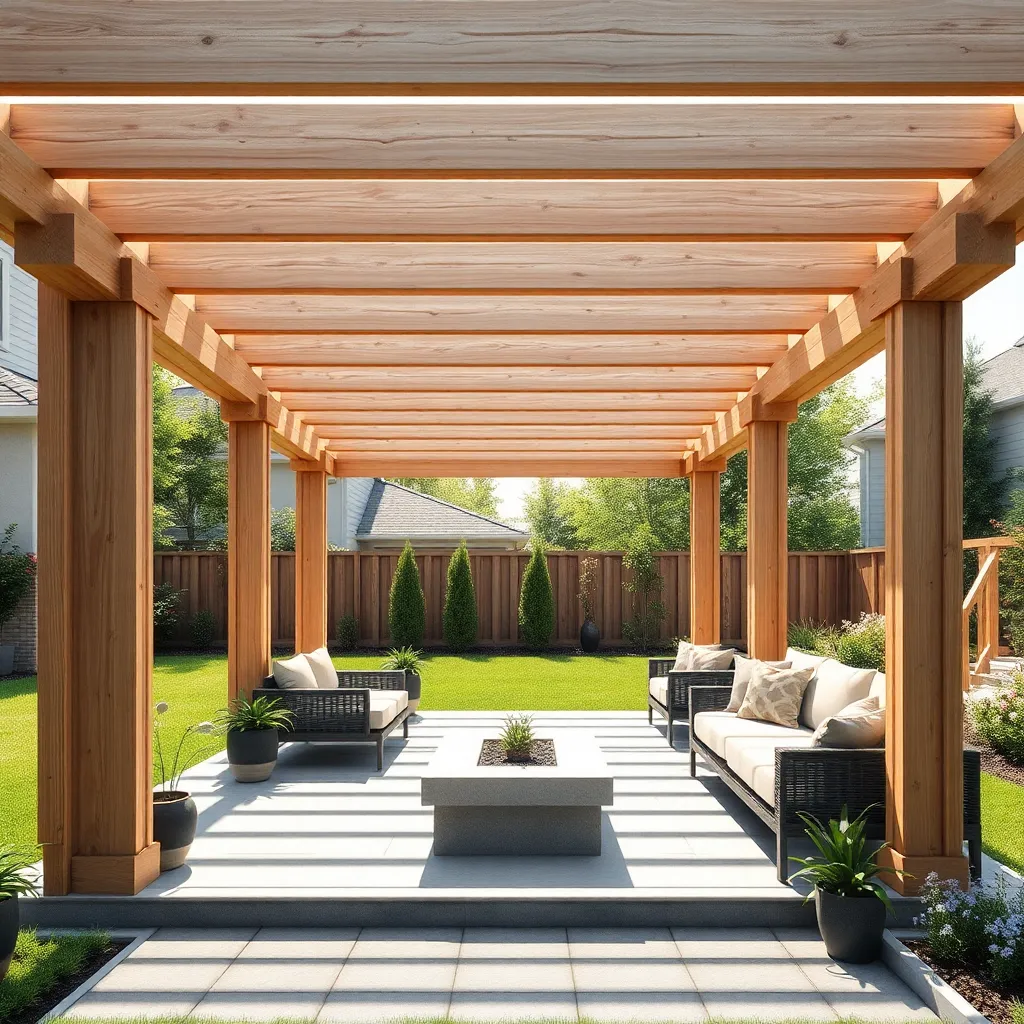
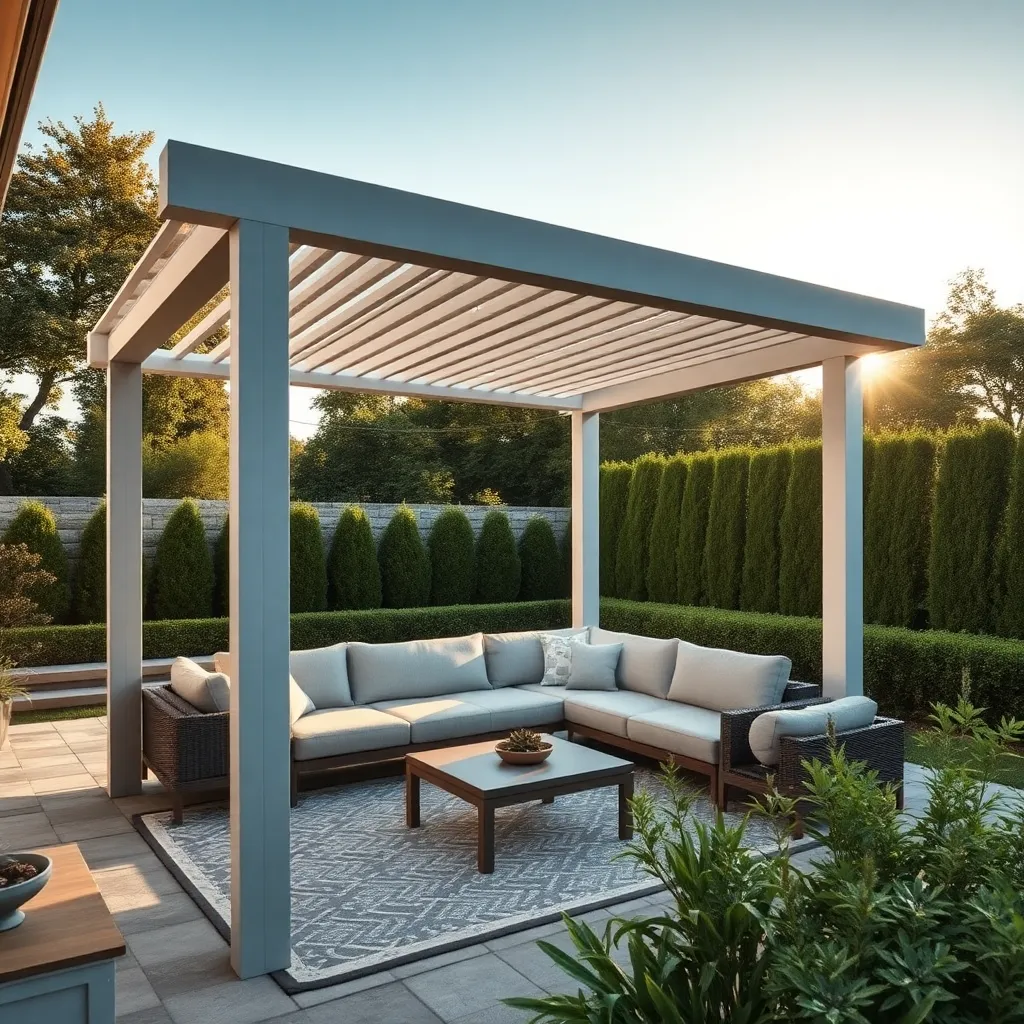
Design Open-Air Gazebo Frames
When designing open-air gazebo frames, start by selecting durable materials like cedar, redwood, or pressure-treated lumber, which resist rot and insect damage. Aim for a sturdy base with posts spaced about 8 to 10 feet apart to balance stability and openness, and use galvanized steel brackets for added strength at joints. Incorporate simple roof designs such as a gable or hip roof frame to provide shade while maintaining airflow, and consider adding decorative crossbeams or lattice panels for visual interest and support for climbing plants.
To enhance your gazebo’s functionality, plan for adjustable features like removable side curtains or retractable shades that allow flexible protection from sun and wind. For advanced builders, integrating metal connectors and pre-cut hardware kits can speed assembly and improve precision. Don’t forget to treat all wood surfaces with weather-resistant sealants after construction to prolong lifespan and maintain the frame’s appearance year-round.
Use Prefabricated Kits for Speed
Prefabricated kits offer a fast and efficient way to build a pergola or gazebo without sacrificing quality. These kits typically include pre-cut, treated wood or powder-coated aluminum components designed for easy assembly, helping you complete your project in a weekend. For best results, choose kits with customizable options such as adjustable post heights and included hardware to tailor the structure to your outdoor space.
To maximize durability and style, look for kits that use weather-resistant materials like cedar or steel with rust-proof finishes. When assembling, ensure the foundation is level and use a power drill for quicker installation of brackets and screws. Advanced tip: add retractable canopy covers or climbing plants to prefab frames for added shade and aesthetic appeal without complicating construction.
Add Built-In Seating Options
Incorporating built-in seating into your pergola or gazebo maximizes space and provides a cohesive, polished look. Start by choosing durable, weather-resistant materials like cedar, teak, or pressure-treated lumber to ensure longevity. For comfortable seating, design benches with a height of around 18 inches and a depth of 16–20 inches, and consider adding removable cushions made from outdoor fabric for extra comfort and easy maintenance.
For a more advanced approach, integrate storage beneath the seating to keep outdoor essentials organized and protected from the elements. Use galvanized screws and waterproof wood glue during construction for added sturdiness. Additionally, building in curved or wraparound benches can enhance social interaction and create a cozy atmosphere that invites guests to linger longer under your shelter.
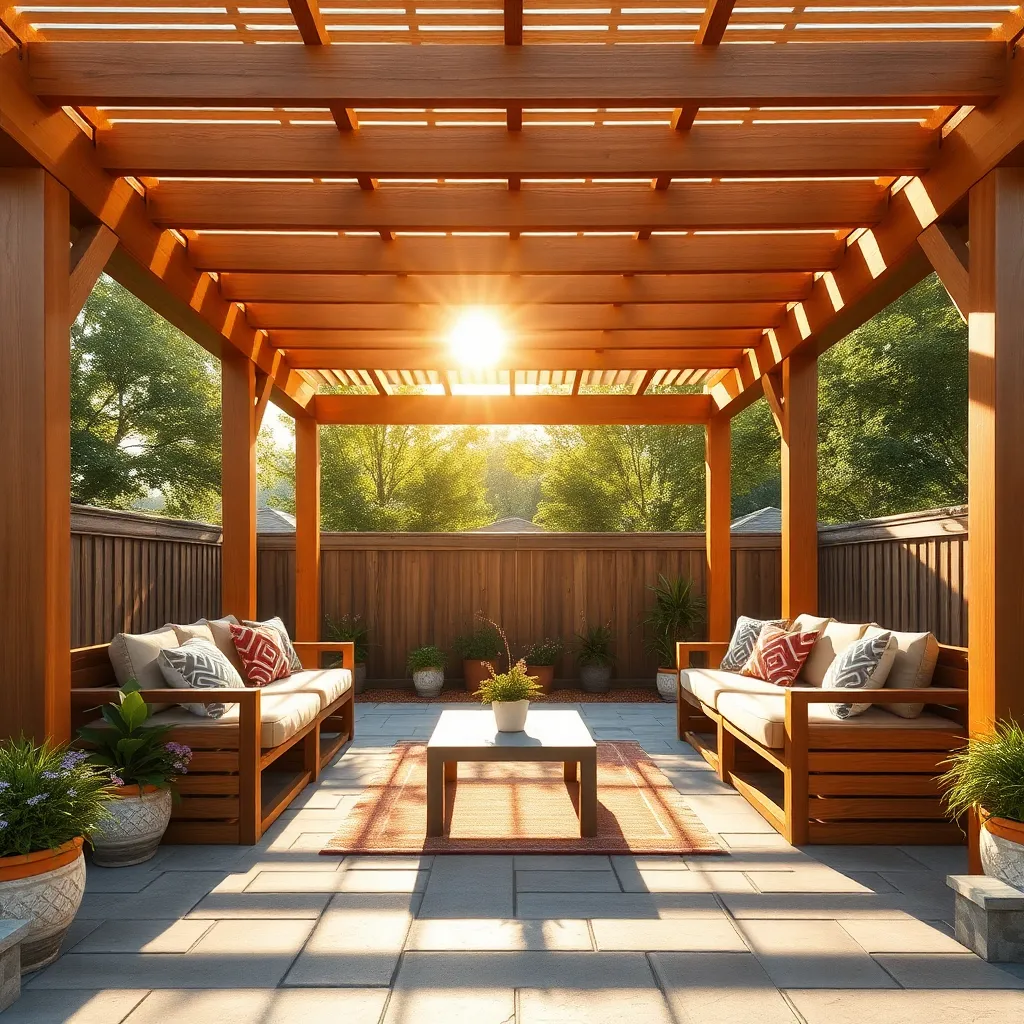
Incorporate Easy-To-Build Roof Panels
For an efficient and stylish pergola or gazebo roof, consider using easy-to-build roof panels made from polycarbonate sheets or cedar slats. These materials offer durability and weather resistance, with polycarbonate providing excellent UV protection and cedar adding a natural aesthetic. To build the panels, create simple wooden frames sized to fit your shelter dimensions, then attach the sheets or slats securely using weatherproof screws or nails.
To enhance functionality, design your panels with a slight slope of about 5-10 degrees to ensure proper water runoff and prevent pooling. For a more advanced touch, integrate removable or hinged panels to allow flexibility in shading and ventilation. Remember to seal all edges with outdoor-grade caulk or tape to maximize longevity and keep your DIY roof both practical and visually appealing.
Customize with Budget-Friendly Decor
Start by adding affordable decor items like string lights, outdoor rugs, and weather-resistant throw pillows to instantly elevate the look of your pergola or gazebo. Choose durable materials such as polypropylene rugs and UV-protected cushions to ensure longevity without frequent replacement. For a cohesive style, select a color palette that complements your outdoor surroundings and repeat it in small accents like lanterns or potted plants.
For more advanced customization, consider installing DIY bamboo or reed curtains for added privacy and shade; these materials are inexpensive and easy to attach with hooks or tension rods. Incorporate natural elements like hanging planters or trellises with climbing vines to enhance the structure’s charm while keeping costs low. Remember to measure your space carefully before purchasing decor to ensure everything fits perfectly without overcrowding.
Conclusion: Creating Beautiful Outdoor Spaces
Creating a beautiful outdoor space with a DIY pergola or gazebo doesn’t have to break the bank. From simple pallet projects to elegant wood structures, our 14 ideas offer something for every budget and skill level. Whether you’re inspired by classic lattice designs, cozy draped fabrics, or vibrant climbing plants, each concept helps you build a welcoming spot to connect, relax, and make lasting memories with those you love.
Now, take a moment to choose one idea that excites you most and sketch out a quick plan—small steps spark big transformations. Bookmark this article so you can revisit these ideas anytime you’re ready to bring your vision to life.
Remember, nurturing your outdoor haven is more than a project—it’s an investment in quality time and deeper bonds. With a little creativity and care, your pergola or gazebo will become a cherished backdrop for joyful moments and stronger relationships. Here’s to crafting spaces that inspire love and connection for years to come!