Summer evenings are made for savoring delicious meals under the open sky, but a little shelter can turn any outdoor dining experience from good to unforgettable. Whether you’re just starting to explore outdoor living or you’ve already crafted stunning spaces, these 12 sheltered dining ideas offer fresh inspiration to elevate your summer gatherings.
Discover practical solutions that blend style, comfort, and protection—helping you enjoy balmy nights without worrying about sun, bugs, or unexpected weather. With this guide, you’ll feel confident creating a cozy, inviting retreat where memories are made and the joy of outdoor living shines brightest.
Install Retractable Shade Sails
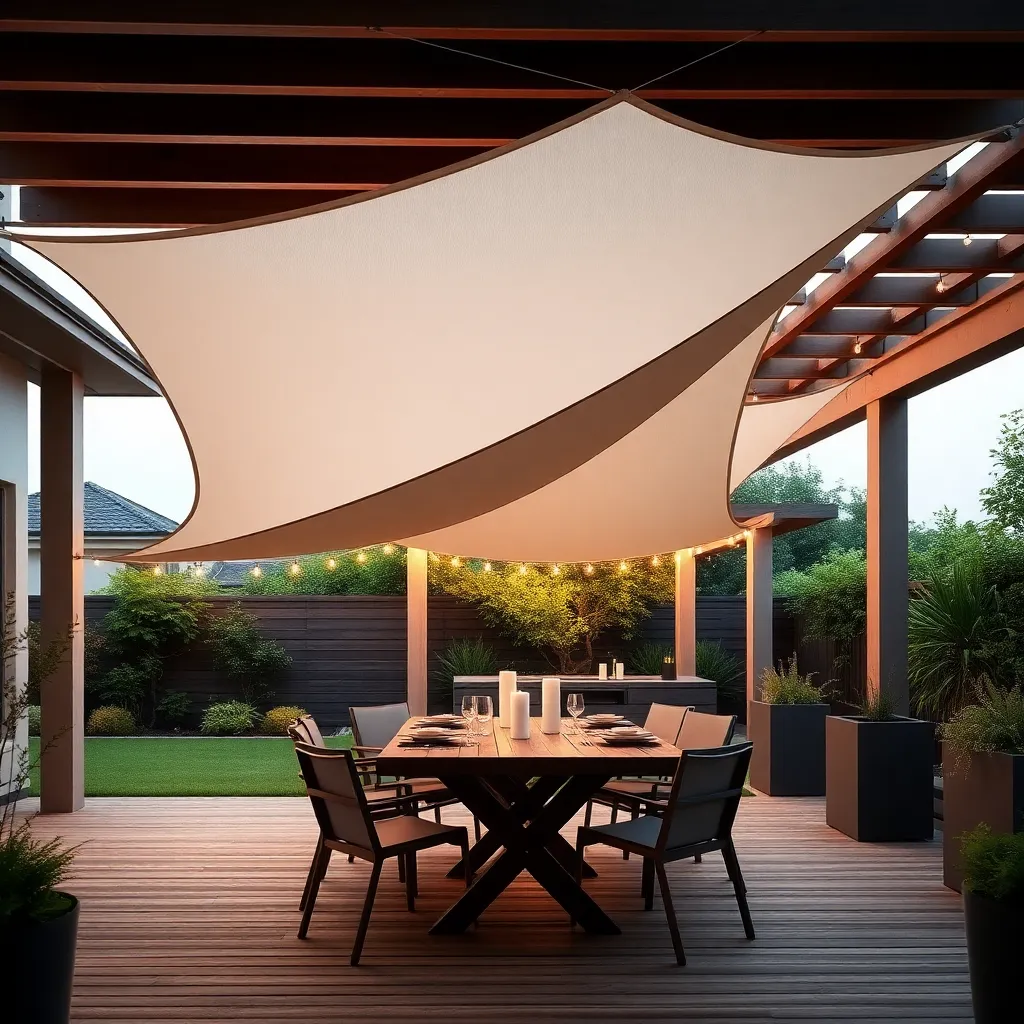
Retractable shade sails offer flexible sun protection for outdoor dining areas, allowing you to adjust coverage based on the time of day or weather. Choose high-quality, UV-resistant fabric such as solution-dyed acrylic or polyester with a waterproof coating to ensure durability. When planning your installation, aim for sails sized between 10 to 20 feet on each side, and mount them securely to sturdy anchor points like posts, walls, or trees using stainless steel hardware for long-lasting support.
For a sleek, functional setup, install a simple pulley system or motorized mechanism to easily retract the sails when not in use. Consider using angled sails for better water runoff and airflow, which helps keep your dining space comfortable during summer rain or heat. Don’t forget to plan the layout so that sails overlap slightly for maximum shade without creating awkward gaps where sunlight sneaks through.
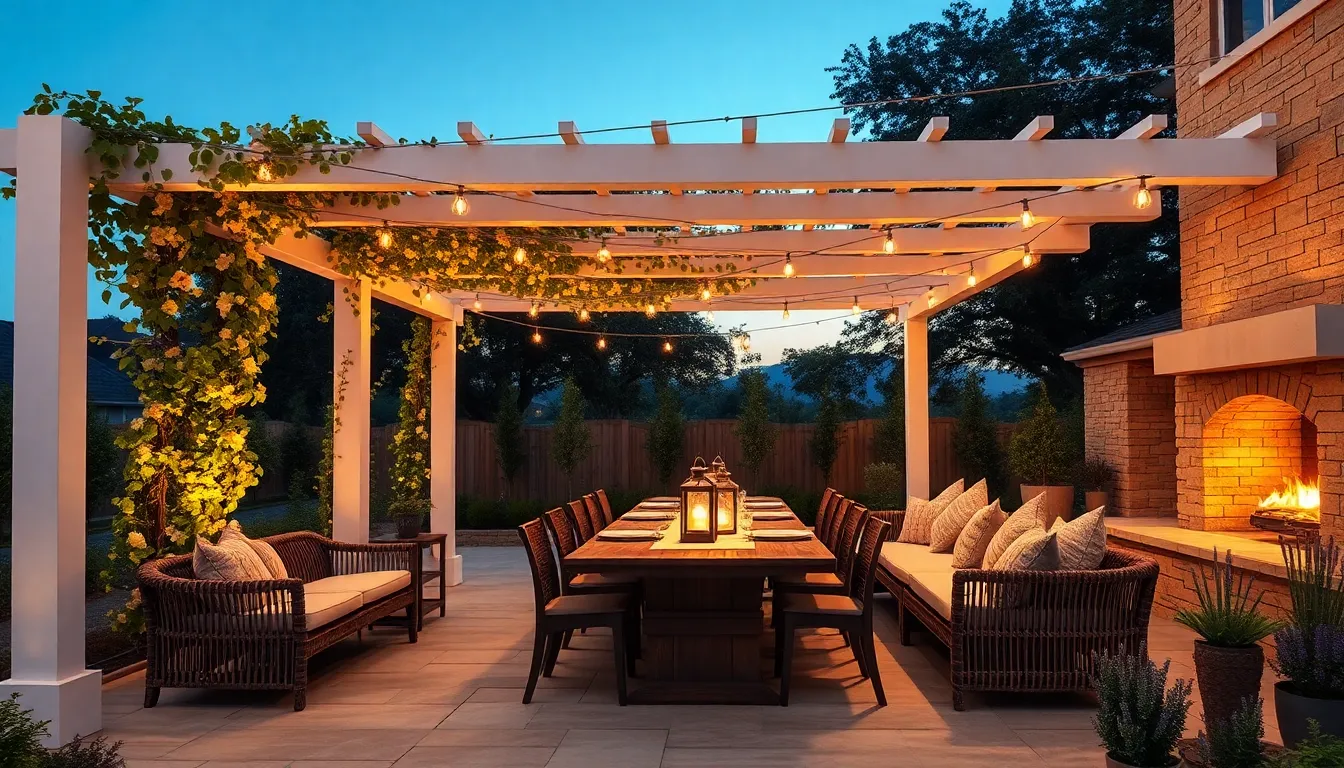
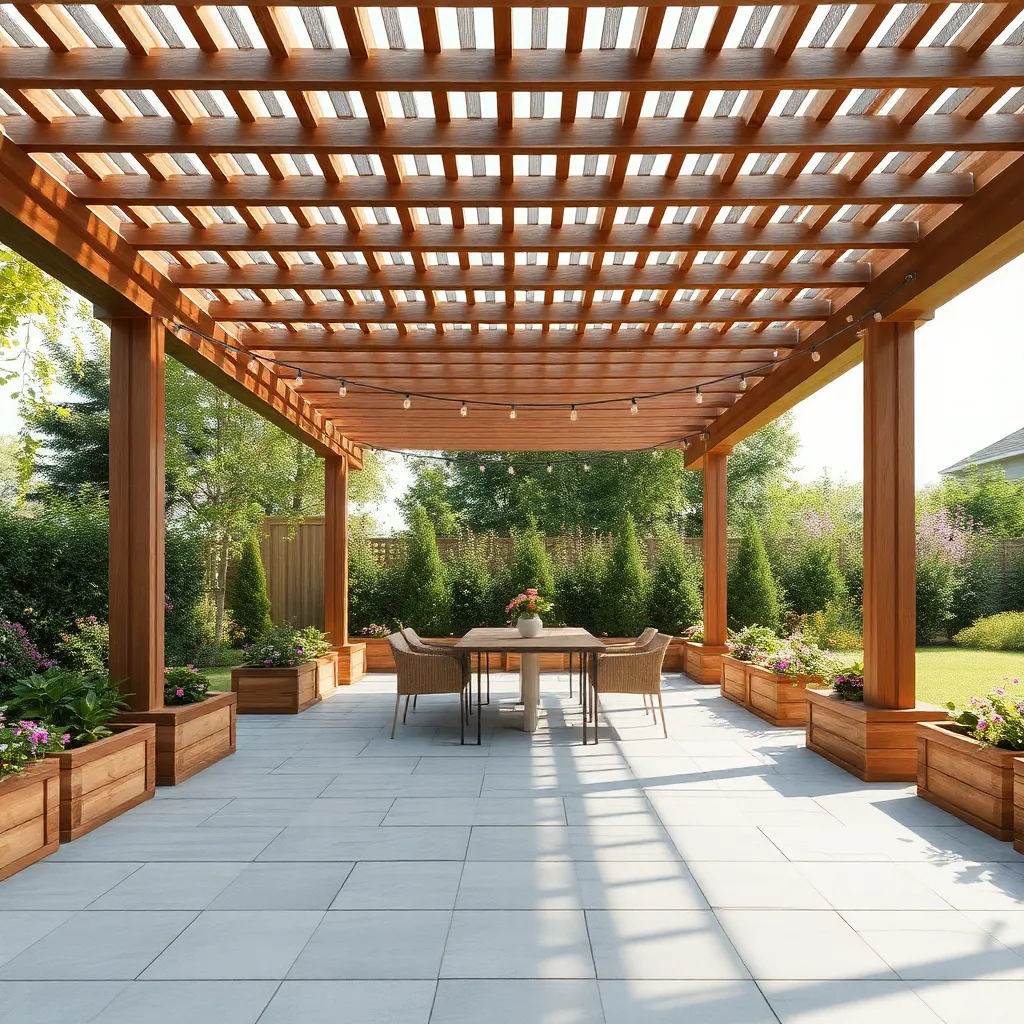
Build a Pergola with Vines
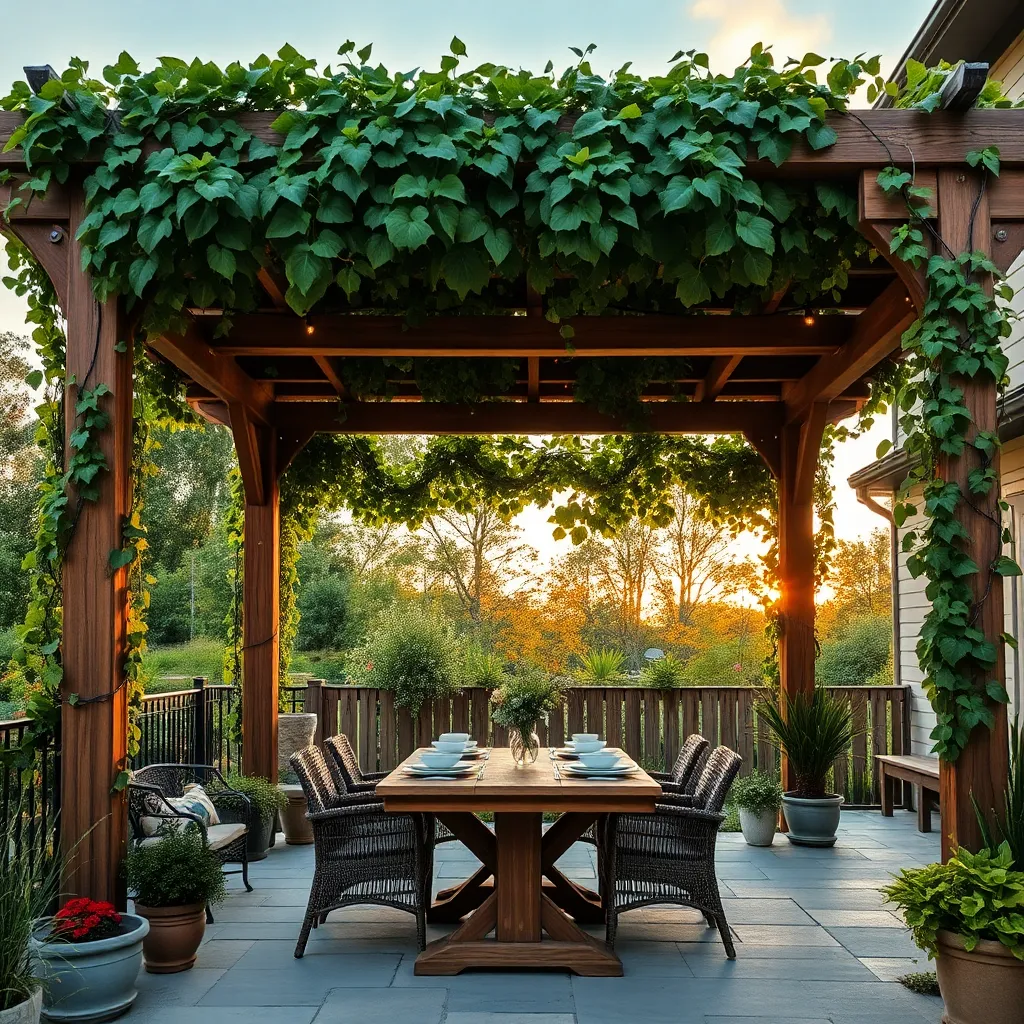
Creating a pergola with vines is a beautiful way to add natural shade and charm to your outdoor dining area. Start by choosing durable materials like cedar or redwood for the frame, which resist rot and insects. Aim for a structure about 8 feet tall with beams spaced 12 to 16 inches apart to support climbing plants effectively while allowing filtered sunlight through.
To encourage healthy vine growth, select fast-growing, hardy varieties such as wisteria, grapevine, or climbing roses, and train them using wire trellises or garden ties attached to the pergola beams. Regular pruning and watering are essential for maintaining coverage and preventing overgrowth, while adding a drip irrigation system can save time and keep plants thriving through summer evenings.
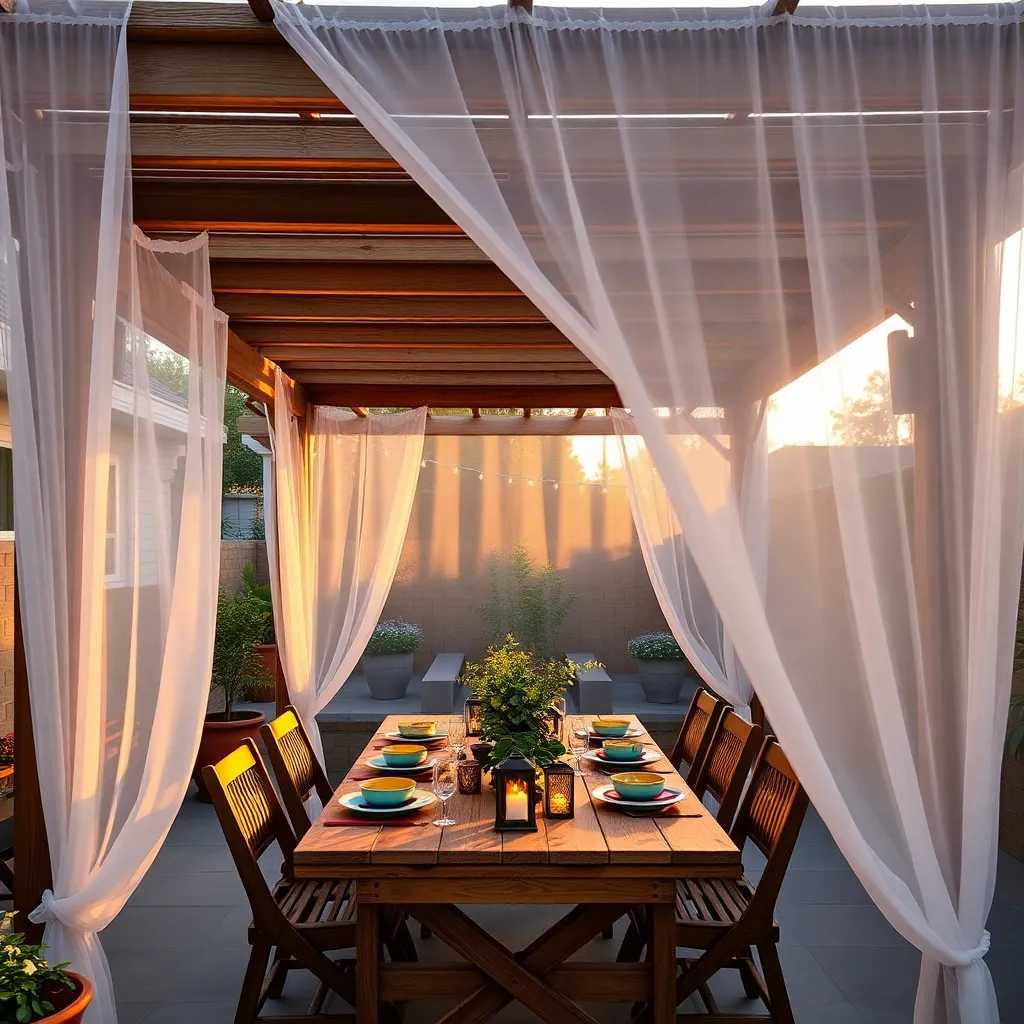
Use Waterproof Outdoor Curtains
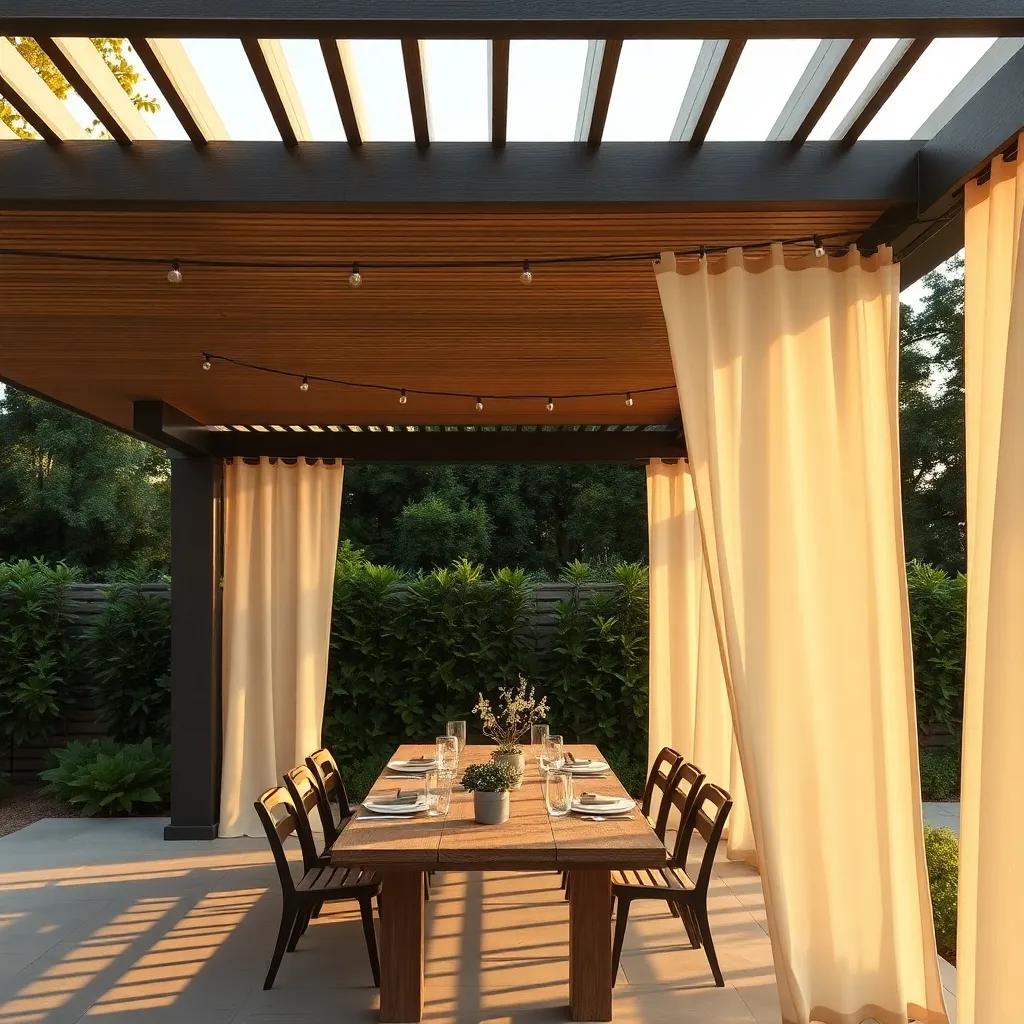
Waterproof outdoor curtains are an excellent way to add both style and protection to your dining shelter. Choose curtains made from durable, water-resistant fabrics like solution-dyed acrylic or polyester with a waterproof coating to withstand rain and sun exposure. For easy installation, use rust-proof grommets and heavy-duty curtain rods or tracks designed for outdoor use, ensuring smooth operation even in windy conditions.
To maximize functionality, consider curtains that are wide enough to fully enclose your dining area, typically around 84 to 96 inches long for standard pergolas or gazebos. For advanced design, add tiebacks or magnetic holdbacks to neatly secure curtains when not in use, and install weighted hems to prevent flapping in the breeze. These thoughtful details will keep your outdoor space cozy, private, and ready for summer evenings rain or shine.

Set Up a Pop-Up Canopy Tent
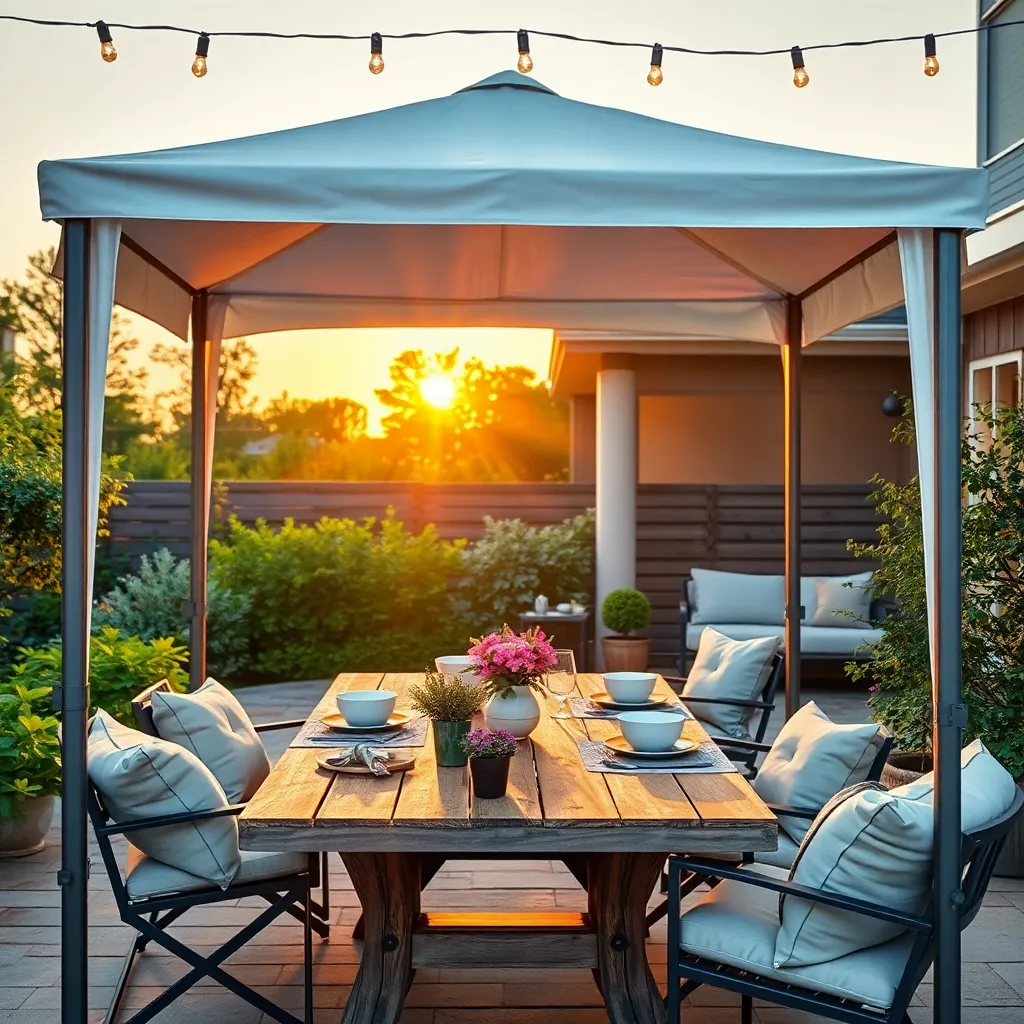
A pop-up canopy tent offers a quick and versatile solution for creating shaded, sheltered dining spaces during summer evenings. Choose a tent with a sturdy steel or aluminum frame and a water-resistant polyester canopy, ideally measuring at least 10×10 feet to comfortably cover your dining area. For added stability, anchor the tent with weight bags or stakes, especially in breezy conditions, and consider sidewalls or mosquito netting to protect against insects and light rain.
To enhance both functionality and style, position the tent over your table and add string lights or lanterns to create a cozy ambiance. For advanced setup, use adjustable legs to level the canopy on uneven ground and incorporate a ground tarp underneath to keep the area clean and dry. These practical steps ensure your pop-up canopy tent becomes a reliable, inviting shelter for enjoyable summer dining experiences.
Incorporate Ceiling Fans for Cooling
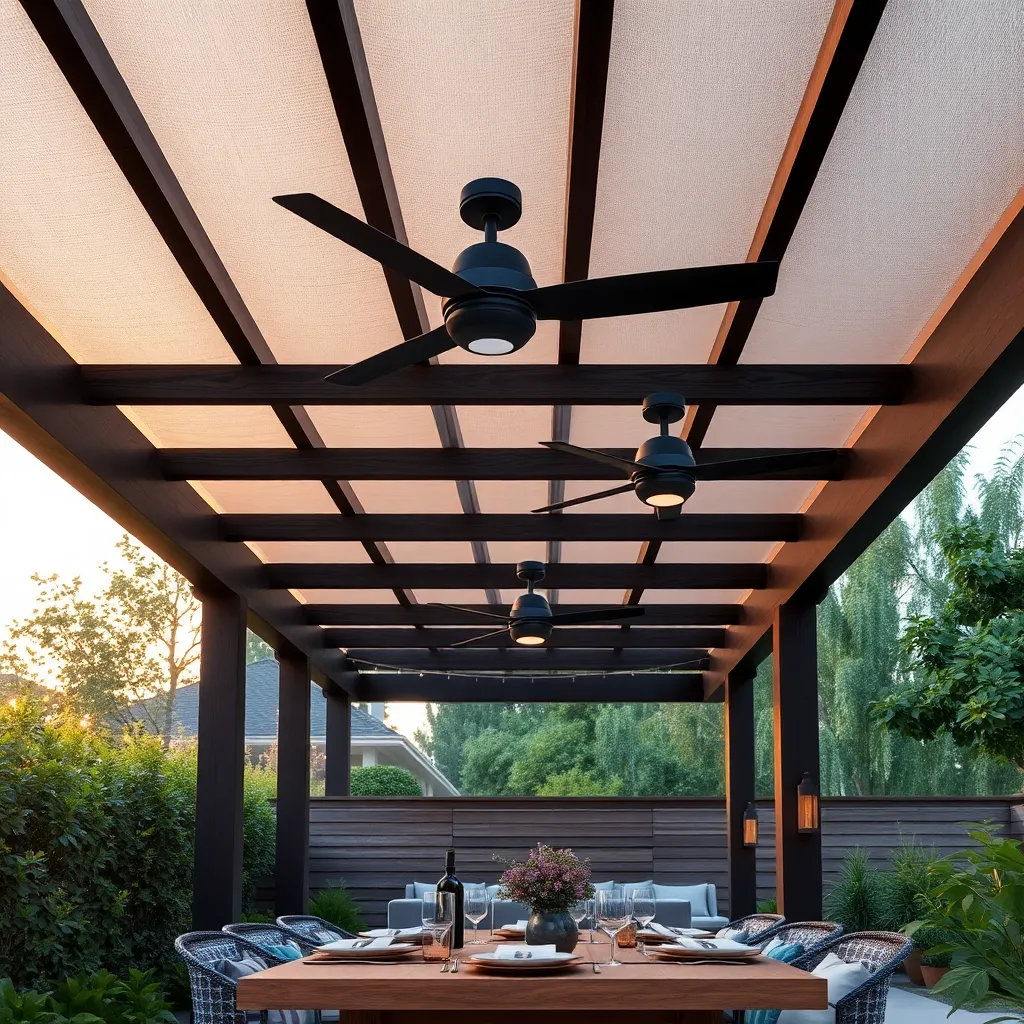
Adding ceiling fans to your outdoor shelter is a highly effective way to boost airflow and keep the dining area comfortable during warm summer evenings. Choose fans specifically designed for outdoor use, featuring weather-resistant materials like stainless steel or sealed motors to withstand humidity and occasional rain. Mount fans to sturdy overhead structures such as pergolas or covered patios, ensuring the blades are at least 7 feet above the floor and 24 inches from walls for optimal air circulation.
For a more advanced setup, consider integrating remote-controlled or smart ceiling fans with adjustable speeds and built-in lighting to enhance convenience and ambiance. Use fans with larger blade spans (48-56 inches) for medium to large shelters to maximize cooling. Additionally, pairing ceiling fans with subtle outdoor lighting or retractable shades can create a versatile dining environment that stays inviting long after the sun sets.
Arrange Modular Outdoor Furniture
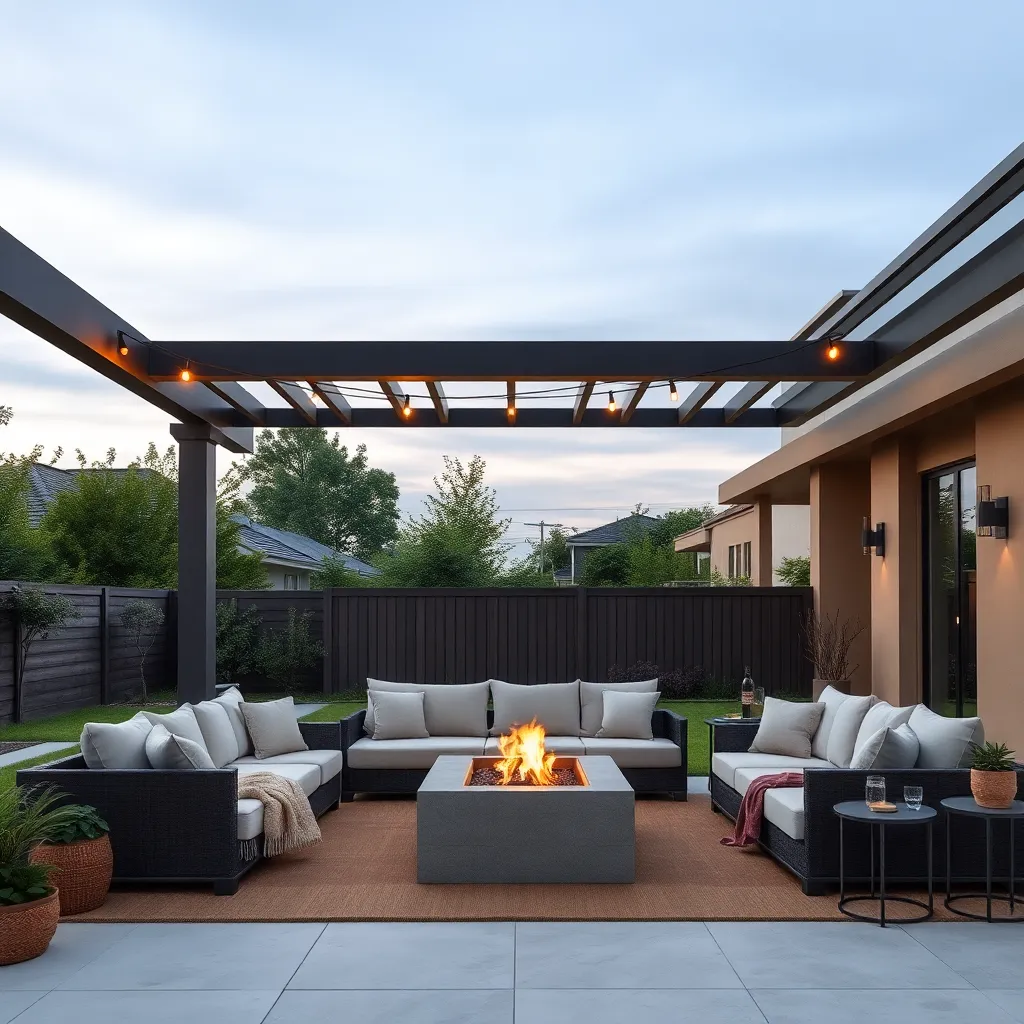
Modular outdoor furniture offers incredible flexibility for sheltered dining areas, allowing you to customize seating arrangements to fit your space perfectly. Opt for weather-resistant materials like aluminum frames with quick-dry cushions or synthetic wicker that withstand sun and rain, ensuring durability and comfort. When planning your layout, consider pieces with built-in storage or adjustable components, such as extendable tables or sectional sofas, to maximize functionality in compact or irregularly shaped shelters.
To elevate your outdoor dining experience, arrange modular units to create intimate conversation nooks or open seating for larger gatherings, depending on the occasion. For advanced design, integrate coordinating side tables, ottomans, or modular benches that can be moved easily to adapt to changing needs. Don’t forget to anchor your furniture with an outdoor rug in natural fibers to define the dining zone and add warmth underfoot, enhancing both style and comfort in your sheltered space.
Add String Lights Under Shelter
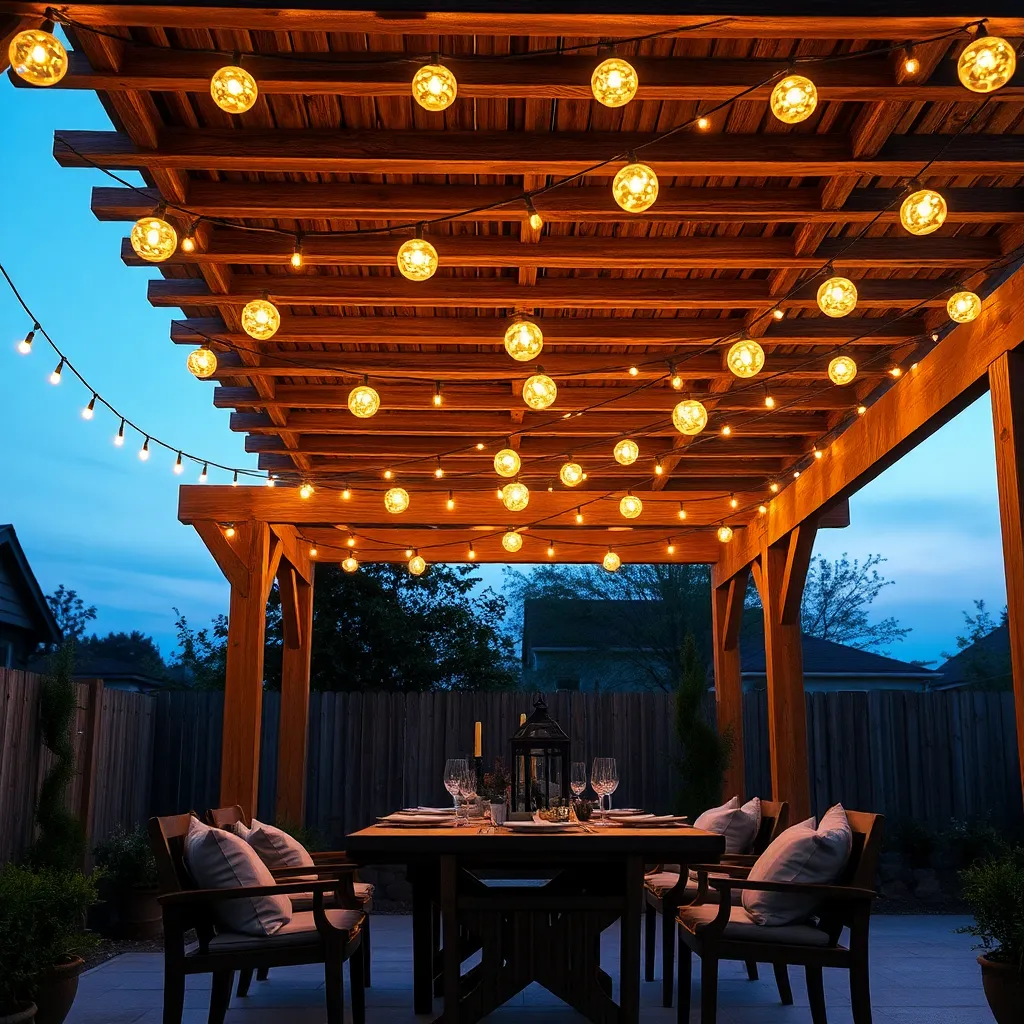
Enhance your outdoor shelter’s ambiance by stringing weatherproof LED lights along the ceiling or rafters. Use sturdy hooks or adhesive clips spaced every 2-3 feet to secure the lights neatly, ensuring even coverage without sagging. For a polished look, choose warm white bulbs on a black or clear wire that complements your shelter’s frame and creates a cozy, inviting glow.
To elevate your lighting setup, consider adding dimmable or color-changing string lights controlled via remote or smartphone app. This allows you to adjust brightness and mood effortlessly for different occasions. Additionally, opt for solar-powered or low-voltage options to save energy and simplify installation, especially if your shelter lacks nearby electrical outlets.
Mount Wall-Mounted Outdoor Heaters
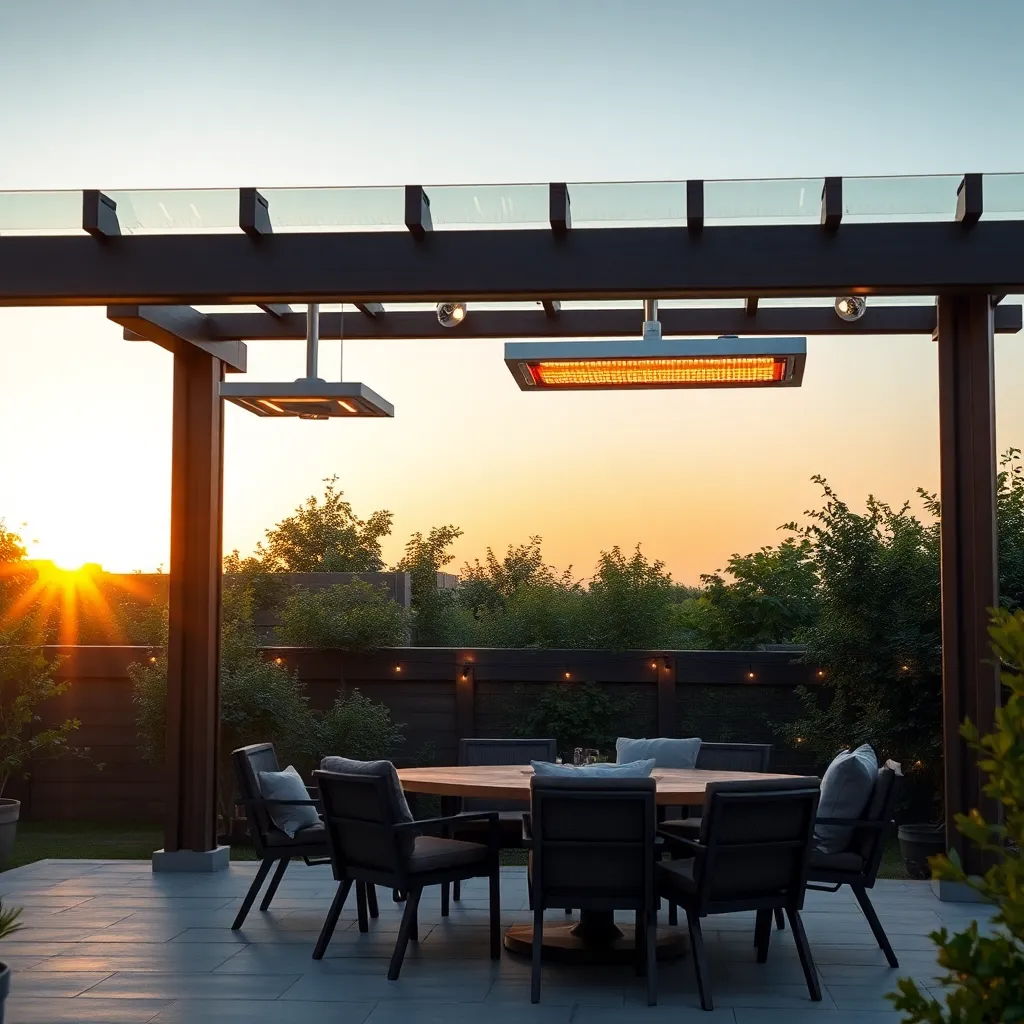
Wall-mounted outdoor heaters are an excellent solution for adding warmth to your sheltered dining area without sacrificing floor space. When selecting a heater, opt for models made from durable, weather-resistant materials like stainless steel or powder-coated aluminum to withstand outdoor conditions. Install heaters at least 6 to 7 feet above the floor and mount them on sturdy walls or posts; this height ensures optimal heat distribution and safety. For advanced efficiency, choose infrared heaters with adjustable settings to control warmth based on your specific outdoor needs.
Integrating these heaters into your shelter design can enhance both comfort and ambiance during summer evenings. Consider positioning heaters on multiple walls or corners to create an even heat envelope, especially in open-sided shelters like pergolas or gazebos. To keep wiring safe and neat, use outdoor-rated conduit or raceways and ensure all electrical components are installed by a licensed professional. With thoughtful placement and quality materials, wall-mounted heaters will make your outdoor dining space cozy and inviting well into the cooler months.
Place Mosquito Netting Around Dining
To effectively keep mosquitoes at bay during your outdoor meals, install mosquito netting around your dining area. Use durable, fine mesh netting—ideally polyester or fiberglass—that can be attached to a pergola, gazebo, or freestanding frame. Ensure the netting extends all the way to the ground or is securely tucked under furniture to prevent gaps where insects can enter.
For a polished look and added convenience, consider adding zippered or magnetic entry panels to your netting, allowing easy access without compromising protection. If your dining shelter is larger, use multiple net panels joined by Velcro or ties to cover expansive areas, and add weighted hems or stakes for stability in breezy conditions.
Choose Durable Weather-Resistant Materials
When selecting materials for your outdoor dining shelter, prioritize weather-resistant options like cedar, teak, or pressure-treated lumber for wooden structures to prevent rot and insect damage. For roofing, consider polycarbonate panels or metal sheets with rust-resistant coatings to ensure durability through sun, rain, and wind. Using stainless steel or galvanized fasteners will also extend the life of your shelter by resisting corrosion.
To elevate your shelter’s resilience, incorporate design features such as angled roofs for efficient water runoff and sealed joints to block moisture intrusion. Advanced tips include applying a high-quality UV-resistant sealant every couple of years and using heavy-duty outdoor fabric for any side curtains or shades, which should be easily removable for cleaning and storage. These steps will help your shelter withstand changing weather while maintaining a fresh, inviting look for summer dining.

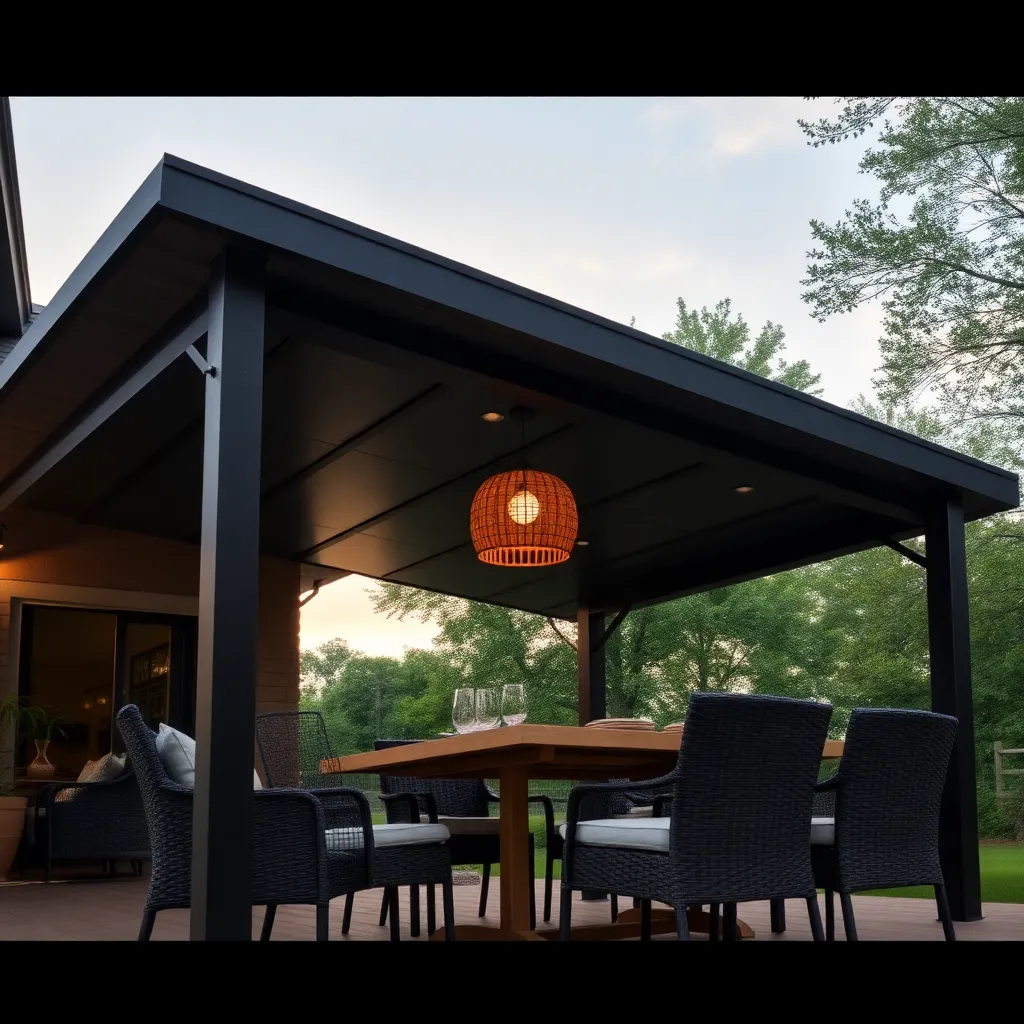
Create Raised Deck with Roof Cover
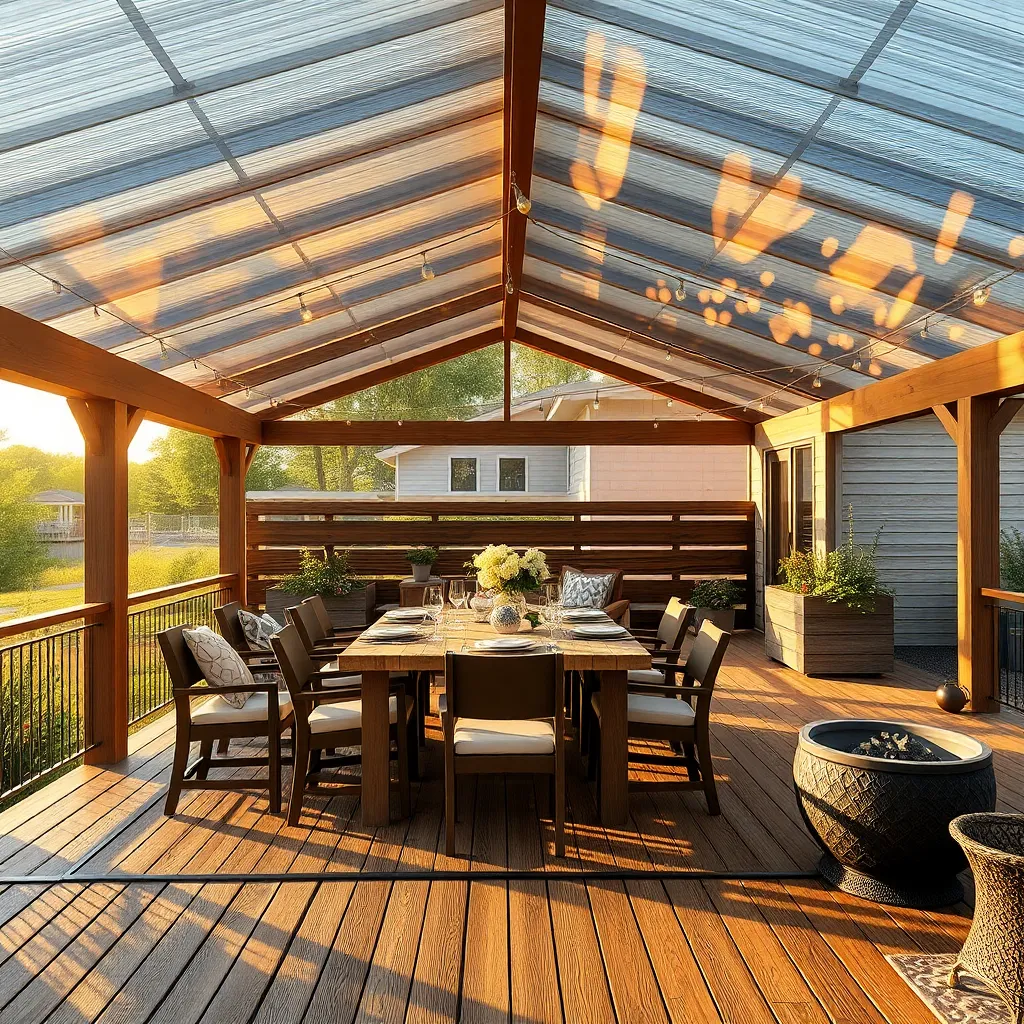
Building a raised deck with a roof cover creates a charming, elevated dining space that stays dry and comfortable during summer evenings. Start by selecting durable, weather-resistant wood like cedar or pressure-treated lumber for the deck frame, and ensure the platform is at least 12-18 inches above ground to avoid moisture issues. For the roof, consider using polycarbonate panels or metal roofing sheets—they provide excellent protection from rain while allowing natural light to filter through.
To enhance stability and style, incorporate sturdy posts and cross beams with galvanized hardware to resist rust and wear. Adding a slight roof pitch of around 10-15 degrees ensures proper water runoff, preventing pooling and damage. For an advanced touch, integrate retractable side screens or curtains to block wind and insects, making your raised deck a versatile, year-round outdoor dining haven.
Integrate Built-In Planter Boxes
Incorporating built-in planter boxes into your outdoor shelter design not only adds natural beauty but also defines the dining space with greenery. Use durable, weather-resistant materials like cedar or composite wood for the planter frames, ensuring they are at least 12-18 inches deep to accommodate a variety of plants. Position these planters along the perimeter of your shelter or as dividers to create a cozy, intimate atmosphere while providing shade and privacy.
For an elevated touch, consider integrating self-watering systems or drainage holes to maintain healthy plants with minimal effort, especially in warmer months. Advanced gardeners can experiment with vertical planter walls or mixing herbs and flowers for both aesthetics and functionality. Remember to choose plants suited to your climate and sunlight exposure, ensuring your built-in planters remain vibrant and inviting throughout the season.
Conclusion: Creating Beautiful Outdoor Spaces
As you’ve discovered, creating memorable summer evenings together is all about blending comfort, creativity, and connection. From cozy canopy setups and charming pergolas to whimsical fairy lights, rustic picnic tables, and intimate fire pit gatherings, these 12 sheltered outdoor dining ideas offer countless ways to nurture your bond while enjoying nature’s beauty. Each concept encourages you to make space for meaningful conversations, shared laughter, and moments that deepen your relationship.
Your next step? Choose one idea that resonates most with you and plan a special evening this week—gather simple decor, prepare a favorite meal, and invite your loved ones to savor the experience under the open sky.
Don’t forget to save or bookmark this article so you can revisit these inspiring ideas whenever you want to refresh your outdoor dates. By intentionally creating these heartfelt moments, you’re investing in a relationship that thrives through every season. Here’s to many warm, joy-filled summer nights that strengthen your connection and build lasting memories!