Transforming your backyard into a personal oasis starts with the right structure, and pavilion kits offer a perfect blend of style, function, and DIY satisfaction. Whether you’re a beginner just dipping your toes into the world of outdoor design or a seasoned homeowner ready for your next project, building your own pavilion can be a rewarding experience that elevates your outdoor space. These kits provide the guidance and materials needed, making the process surprisingly straightforward and enjoyable.
In this article, we delve into 12 pavilion kits that cater to various tastes and skill levels, empowering you to create a sheltered retreat that complements your lifestyle. From sleek modern designs to classic wooden structures, you’ll find options that not only enhance your backyard aesthetics but also offer practical solutions for hosting gatherings or enjoying serene moments alone. Let’s explore how you can confidently embark on this exciting DIY adventure.
Choosing the Right Pavilion Kit
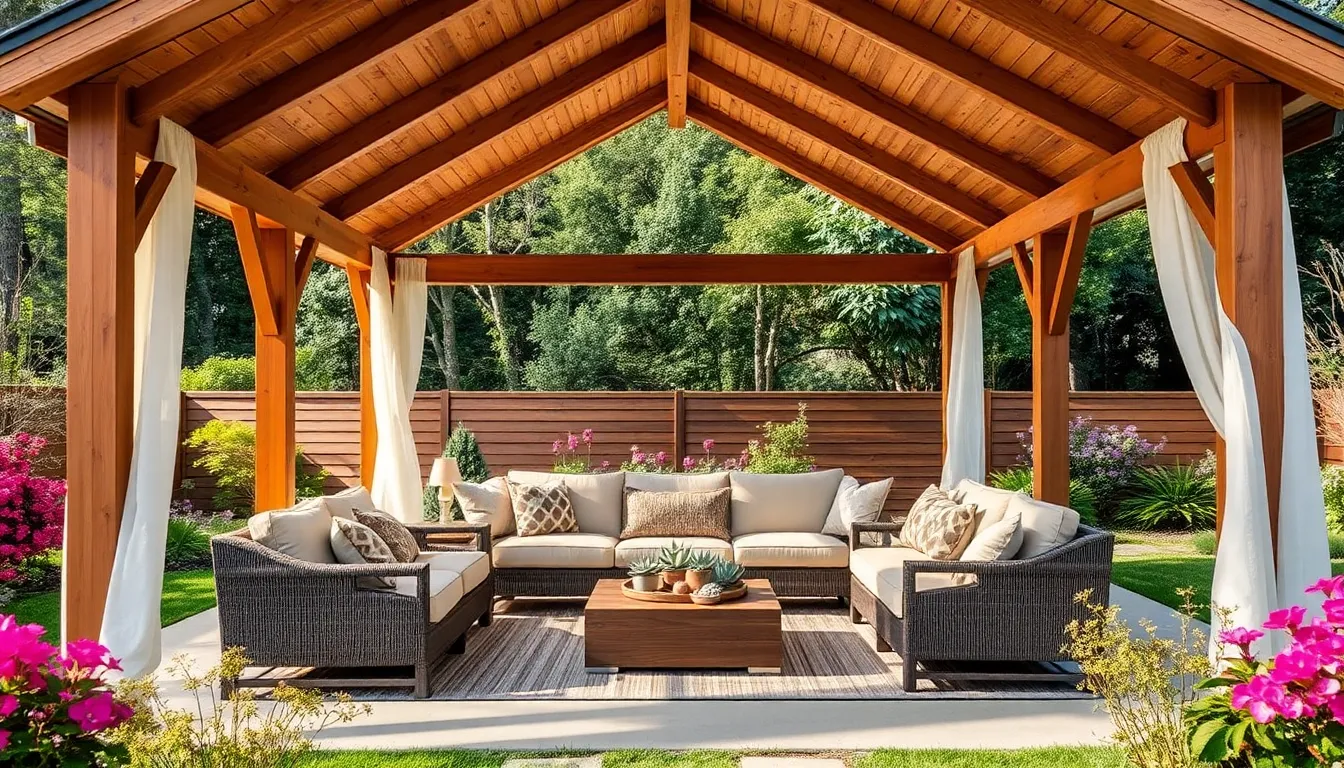
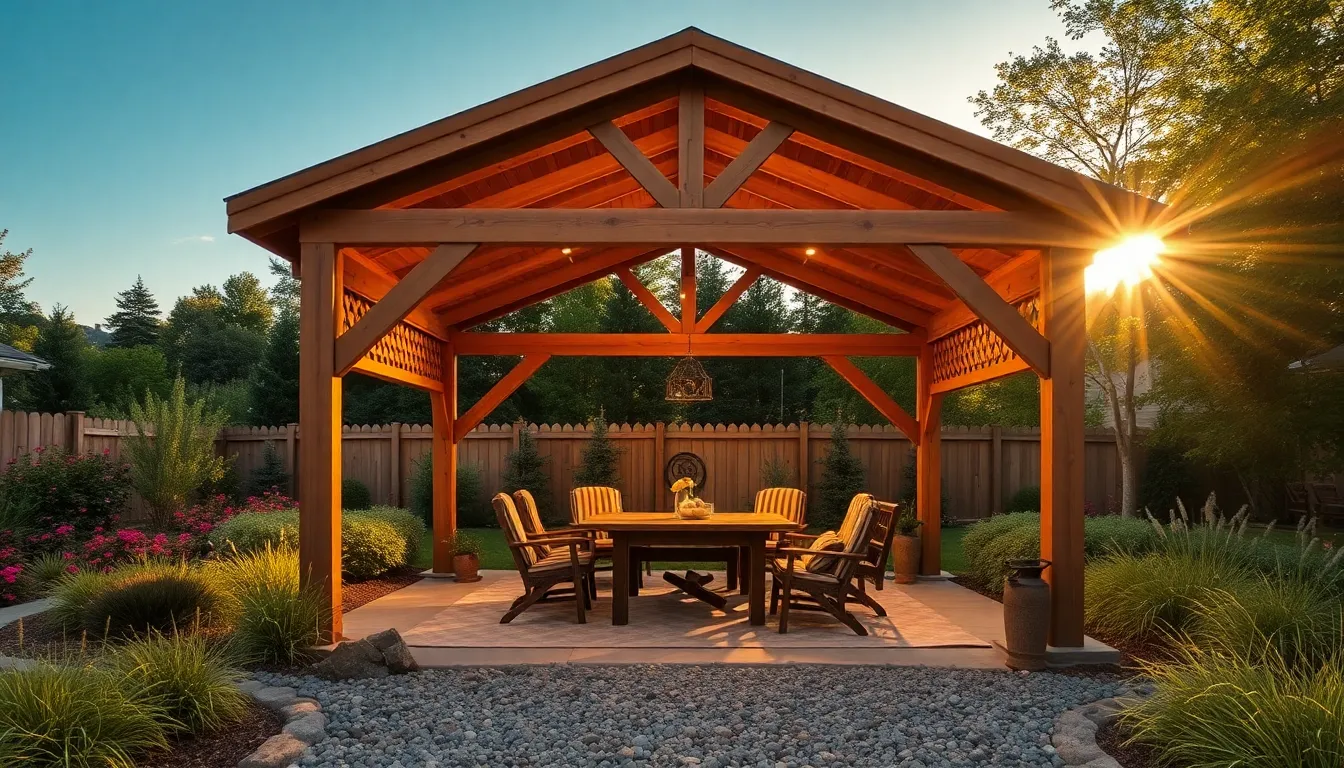
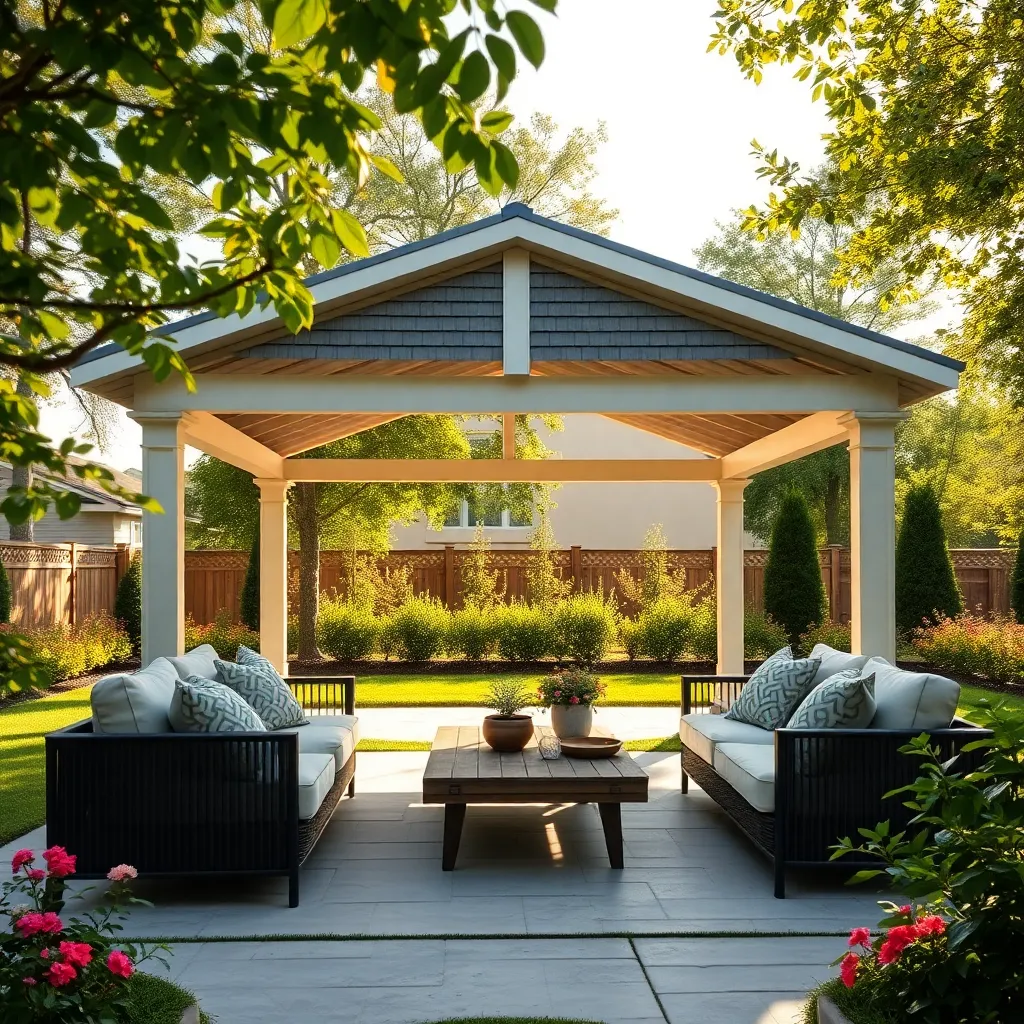
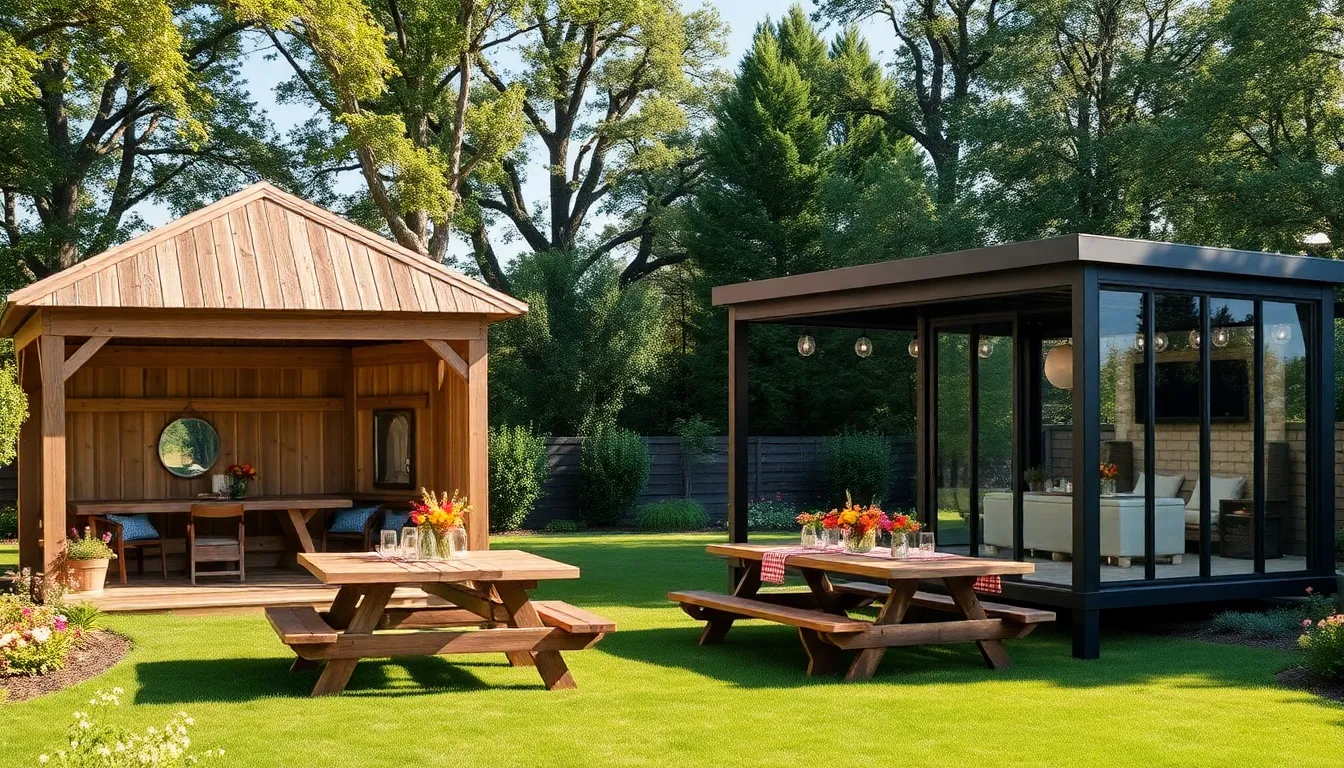
When choosing the right pavilion kit for your outdoor space, consider the specific purpose and style you want to achieve. Evaluate the size of the area where the pavilion will be set up, ensuring it complements your garden without overwhelming it. Opt for materials like cedar or metal, known for their durability and ability to withstand various weather conditions, while offering a range of design aesthetics from rustic to contemporary.
For a more tailored look, think about incorporating design elements such as decorative beams or intricate latticework that match your home’s architecture. Advanced builders might explore custom options like adjustable louvers for shade control or built-in lighting for evening use.
- Start with a sturdy foundation: consider concrete footings or pavers for stability.
- Ensure all components are pre-drilled and clearly labeled for easier assembly.
These details can transform your pavilion into a functional and stylish extension of your living space.
Essential Tools for Pavilion Assembly
Assembling a pavilion kit requires a few essential tools to ensure a smooth and successful build. Begin with a reliable set of basic hand tools, such as a hammer, screwdriver, and a tape measure. For more precision, include a spirit level to ensure your pavilion is perfectly aligned. Consider investing in a cordless drill to speed up the process of securing components, especially for larger kits. Having these tools at your disposal will not only make the assembly process more efficient but also more enjoyable.
For more advanced assembly, a miter saw can be invaluable for making precise cuts, particularly if your kit requires custom adjustments. A rubber mallet can help gently nudge pieces into place without causing damage. To ensure stability and safety, use anchors or ground stakes to secure the pavilion in windy conditions. These tools and techniques will not only enhance the durability of your structure but also ensure it stands up to the elements over time. Whether you’re a novice or a seasoned DIY enthusiast, having the right tools at the ready will empower you to transform your outdoor space with confidence.
Understanding Pavilion Kit Instructions
Understanding pavilion kit instructions is crucial for a smooth assembly process. Start by thoroughly reviewing the instruction manual before any construction begins. This helps you identify all necessary components and tools, ensuring no surprises mid-project. Look for instructions that include clear, labeled diagrams and step-by-step guides. If diagrams are unclear, consider supplementing with online resources or videos from the manufacturer for additional clarity.
For a successful build, pay attention to essential design elements such as the pavilion’s dimensions and materials. Ensure you have a suitable foundation; a concrete slab or well-leveled ground is ideal for stability. While beginners might focus on basic construction, advanced builders can customize their pavilion with features like integrated lighting or a weather-resistant roof. By taking these steps, you not only create a functional outdoor space but also enhance your garden’s aesthetic appeal.
Preparing Your Build Site
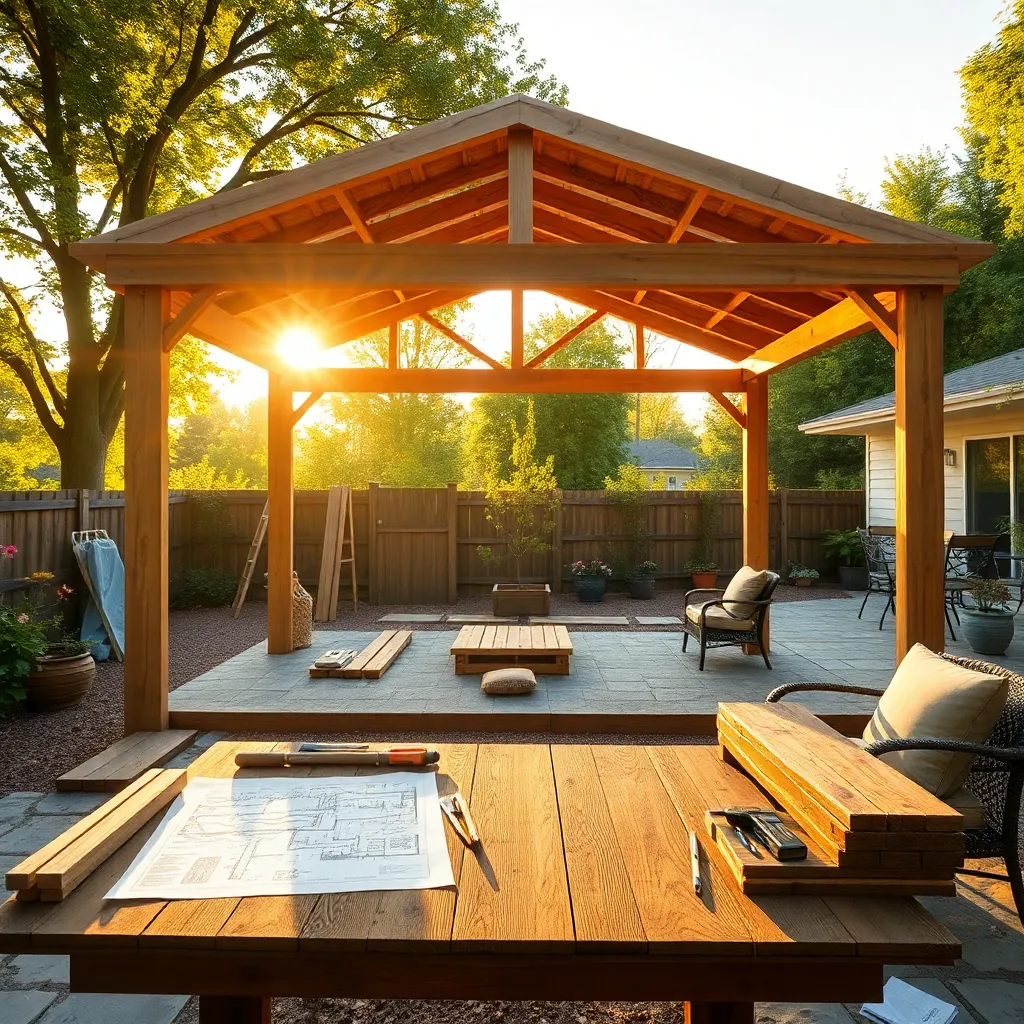
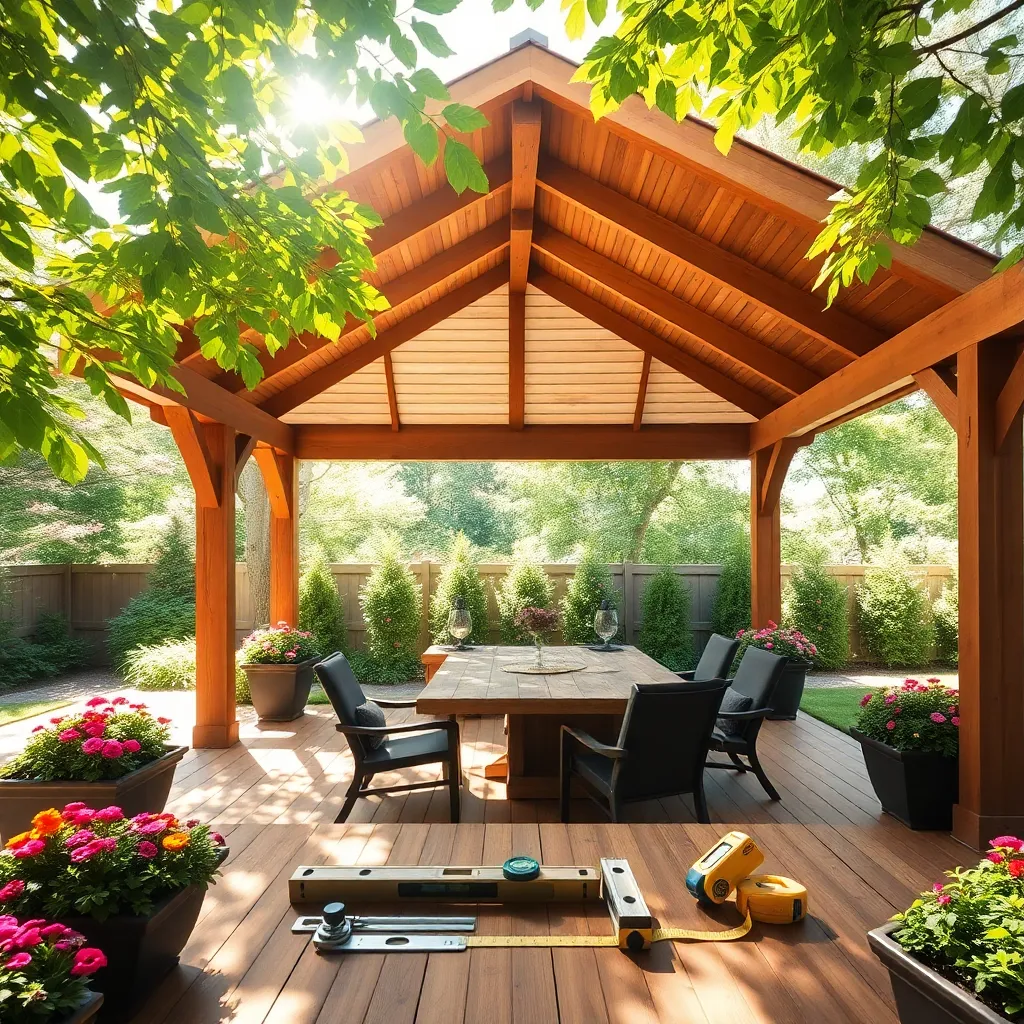
Before you start assembling your pavilion kit, it’s essential to prepare your build site thoroughly. Begin by selecting a level area that provides adequate drainage to avoid water pooling, which could damage your pavilion over time. Clear the space of debris, rocks, and roots, and consider laying a foundation of compacted gravel to provide a stable base for your structure. For those seeking a more permanent installation, pouring a concrete slab can offer added stability, especially in areas prone to heavy winds or rain.
Once your site is ready, take the time to map out the dimensions of your pavilion using stakes and string to ensure accuracy. This step is crucial for aligning your pavilion properly and avoiding surprises later in the build. For a beginner-friendly approach, using a simple measuring tape and level can suffice, while more experienced builders might employ a laser level for precise alignment. Additionally, consider the orientation of your pavilion to maximize sunlight exposure or shade as desired, enhancing both functionality and enjoyment of your outdoor space.
Assembling the Pavilion Frame
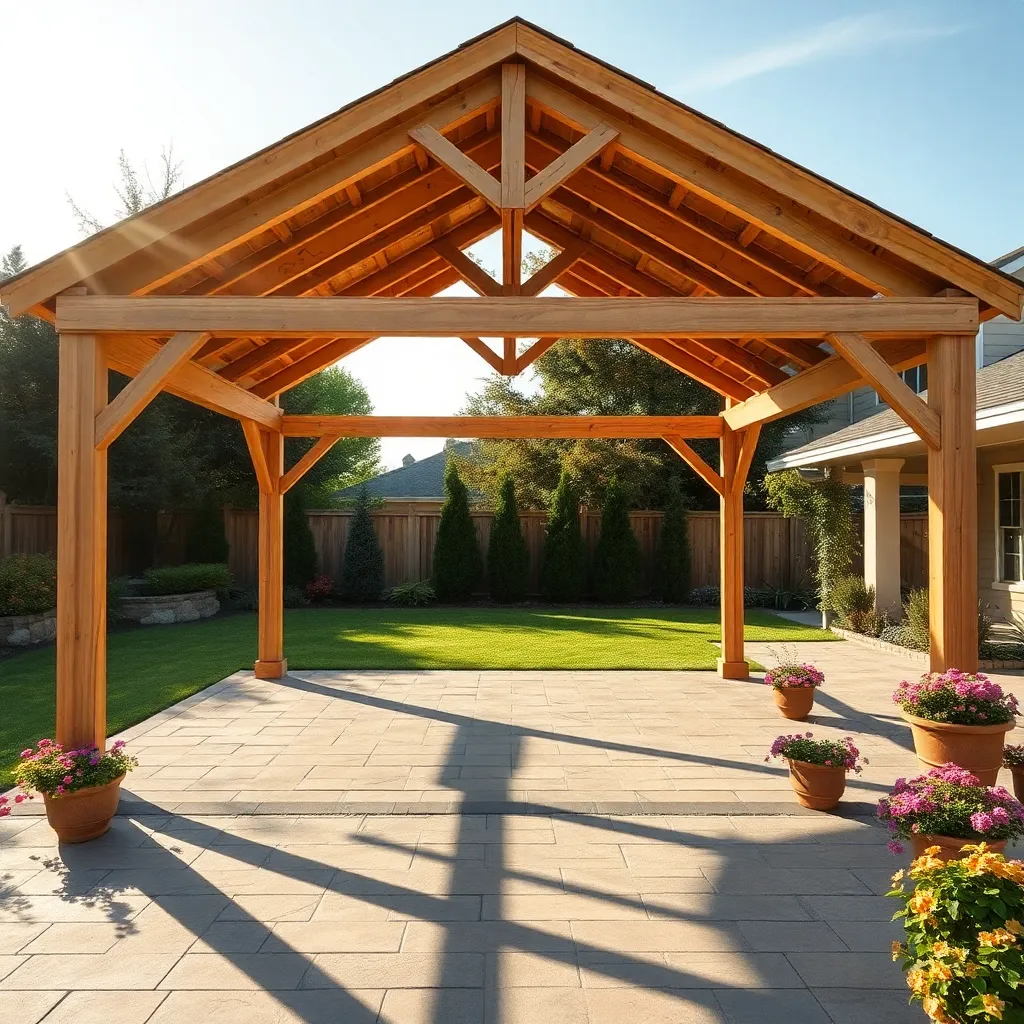
Once your site is prepared, it’s time to focus on assembling the pavilion frame. Begin by laying out all the frame components and tools, such as a level, drill, and ladder, to ensure easy access during construction. For most pavilion kits, the frame is composed of prefabricated steel or aluminum parts, which offer durability and ease of assembly. As you start, carefully follow the manufacturer’s instructions to connect the main support beams, ensuring they are level and square. This foundational step is crucial for stability, so take your time to double-check all alignments.
For a more advanced touch, consider adding design elements like decorative brackets or ornate post caps to enhance the aesthetic appeal of your pavilion. If your kit includes these, attach them securely after the main structure is erected. Use corrosion-resistant bolts and screws for all connections to increase the longevity of the pavilion, especially in areas prone to moisture. A tip for beginners: have a friend assist with holding beams in place during assembly to ensure accuracy and safety. Once the frame is complete, you’ll have a sturdy skeleton ready for the next stage of your project.
Securing the Pavilion Foundation
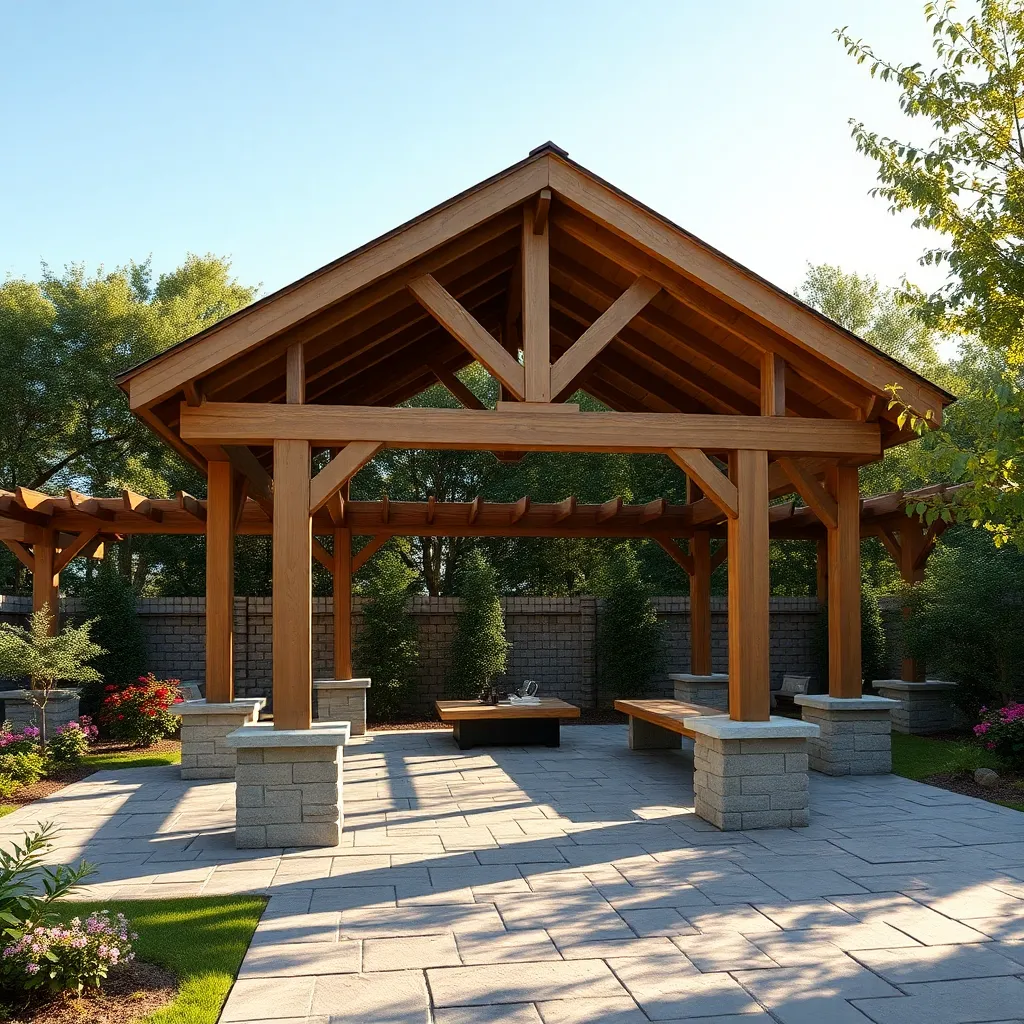
Securing the foundation of your pavilion is crucial for both stability and longevity. Start by selecting a flat, well-drained site to prevent water accumulation that could weaken the structure over time. Depending on your design, you can choose between concrete footings, which offer robust support, or ground anchors for a more temporary setup. Ensure the foundation is level by using a spirit level and adjust as necessary, as this will prevent uneven stress on the pavilion frame.
For a more permanent installation, consider using concrete footings that extend below the frost line to avoid seasonal shifting. Use a post-hole digger to create holes approximately 24 inches deep and fill them with concrete, inserting metal brackets to secure the pavilion posts. Advanced tip: Reinforce your concrete mix with rebar for added strength and longevity, especially in areas prone to high winds. By taking these steps, you can ensure your pavilion remains a sturdy and enduring addition to your outdoor space.
Installing Roofing Components

When installing roofing components for your pavilion kit, start by choosing the right materials to ensure durability and weather resistance. Consider using corrugated metal sheets or polycarbonate panels for a sleek, modern look that withstands harsh weather. If you prefer a more rustic style, opt for cedar shingles, which offer natural insulation and aesthetic appeal. Make sure to measure the roof dimensions accurately and cut materials accordingly to avoid wastage.
For a secure installation, use galvanized screws and waterproof sealants to fasten the roof panels, ensuring they are tightly secured to withstand wind and rain. Beginners should start by laying down a sturdy plywood base before attaching your chosen roofing material. Advanced DIYers can enhance their pavilion with decorative trim or integrated gutters to manage rainwater effectively. Always follow the manufacturer’s guidelines for specific assembly instructions to ensure a safe and long-lasting roof.
Adding Stylish Pavilion Features
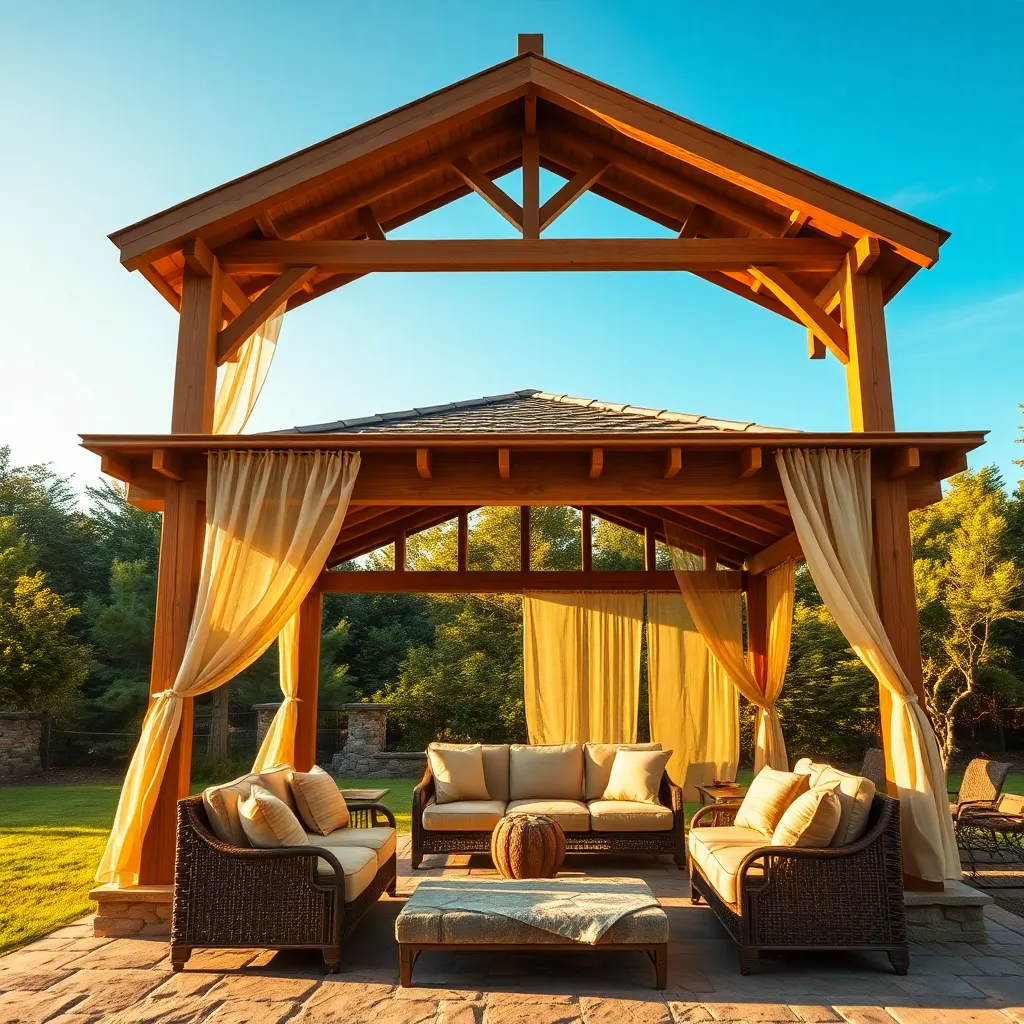
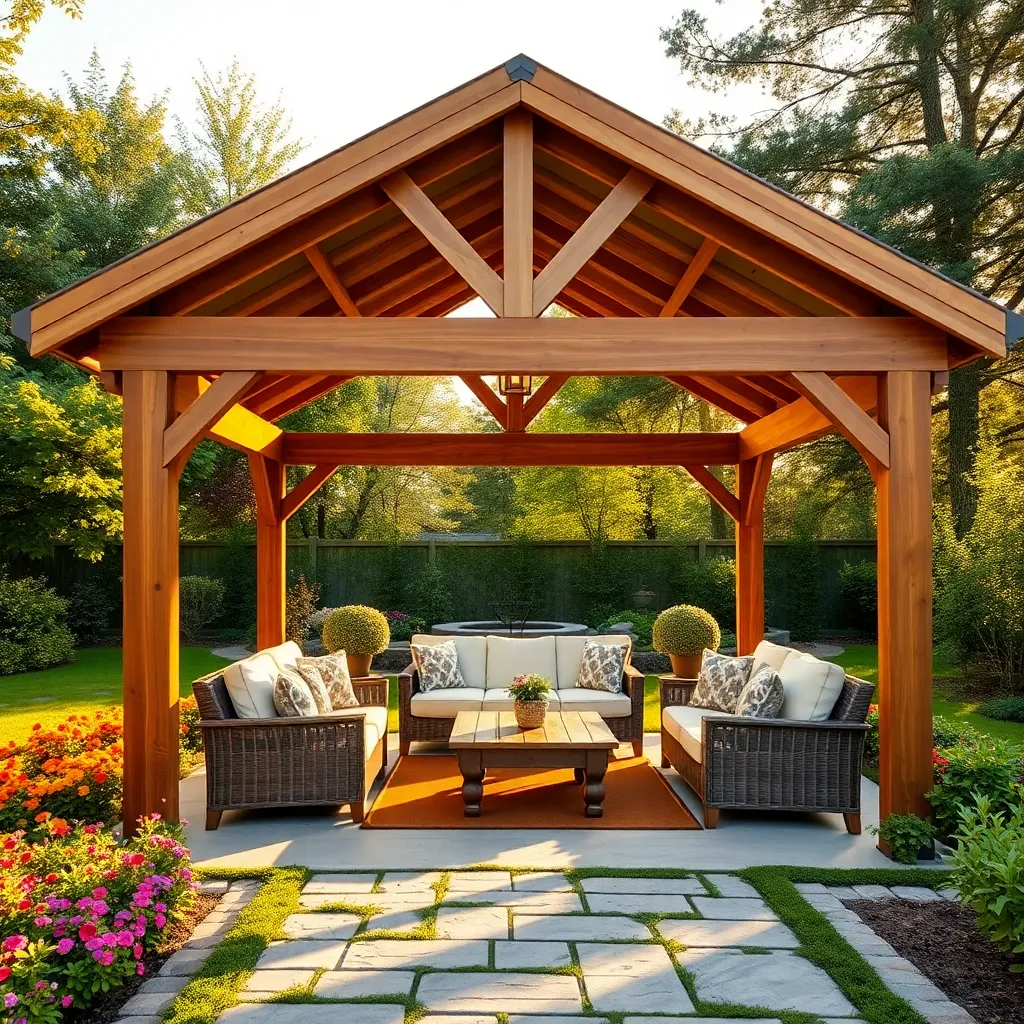
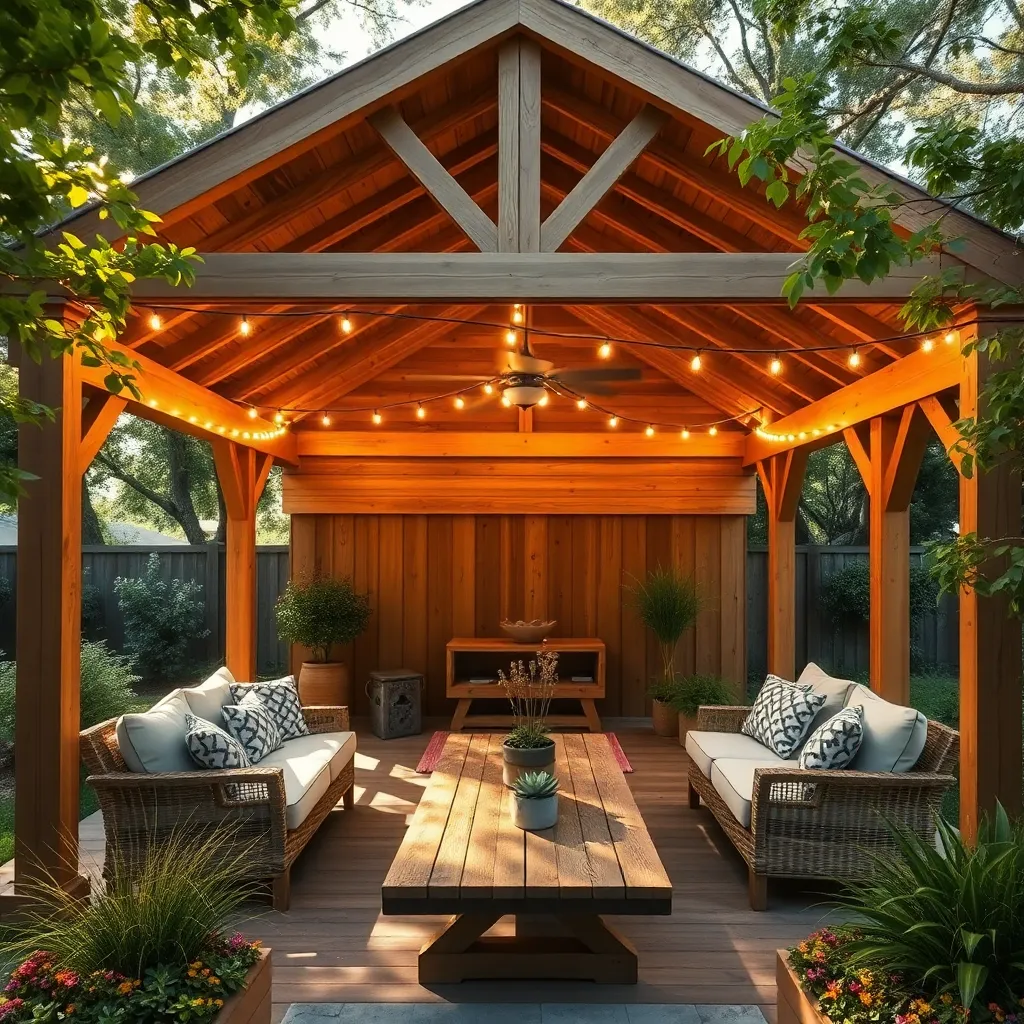
To enhance your pavilion’s appeal, consider adding stylish features that blend functionality with aesthetics. Incorporate built-in seating using durable materials like cedar or treated pine, which weather naturally and require minimal maintenance. Customize your seats with outdoor cushions in weather-resistant fabrics for added comfort and style. For those venturing into more advanced projects, integrate a pergola into the pavilion’s design, offering both shade and an elegant architectural element. A pergola can be crafted from materials like aluminum or vinyl for a sleek, modern look, or wood for a more rustic charm.
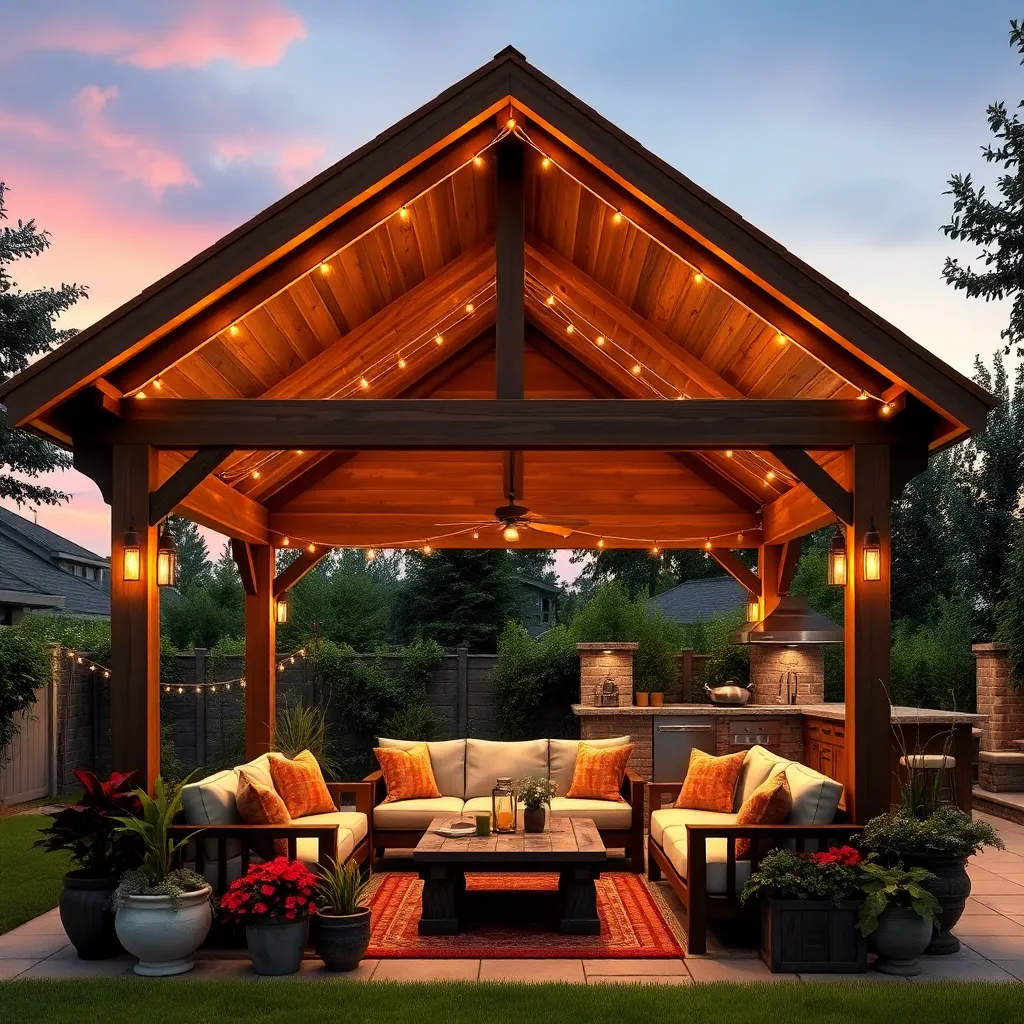
Lighting plays a crucial role in enhancing your pavilion’s atmosphere, especially during evening gatherings. Install solar-powered LED lights along the pavilion’s perimeter or on its columns to create an inviting glow. For an added touch of sophistication, consider hanging a weatherproof chandelier or pendant lights at the center. These lighting fixtures not only elevate the pavilion’s style but also ensure it’s functional after sundown. Beginners can start with simple string lights, while those with more experience might explore wiring for more permanent solutions.
Weatherproofing Your Pavilion Structure
Weatherproofing your pavilion structure ensures it stands up to the elements, extending its lifespan and enhancing its usability. Start by selecting durable materials like pressure-treated wood, cedar, or metal, which resist rot and rust. Adding a layer of weather-resistant sealant to wooden elements is crucial for extra protection against rain and UV rays. For the roof, consider durable options such as polycarbonate panels or asphalt shingles, both of which provide excellent protection and are relatively easy to install.
Incorporate design elements that enhance functionality, such as overhanging eaves to direct rainwater away from the seating area. Installing gutters and downspouts is an advanced step that can further manage water runoff effectively. For added stability, ensure your pavilion is securely anchored to the ground using concrete footings or metal brackets. These simple yet effective measures not only protect your structure but also create a welcoming, dry space for outdoor enjoyment, regardless of the weather.
Incorporating Lighting and Utilities
Enhancing your pavilion with lighting and utilities can transform it into a versatile outdoor space usable day and night. Start by considering weather-resistant LED lights that can be easily strung along beams or integrated into the roof structure. For a cozy atmosphere, opt for solar-powered lanterns or string lights, which are not only eco-friendly but also require minimal maintenance. Beginners can start with battery-operated options, while more advanced DIYers might venture into low-voltage systems requiring basic electrical work.
Integrating utilities like electrical outlets and ceiling fans adds functionality to your pavilion. When planning electrical work, use outdoor-rated cables and fittings to ensure safety and durability. Consider incorporating GFCI outlets to protect against moisture-related hazards. If you’re looking to add a ceiling fan, ensure the structure can support its weight by reinforcing beams as needed. Advanced enthusiasts might explore smart home integrations, allowing control of lighting and fans from a mobile device. These considerations will create a comfortable and convenient outdoor retreat.
Personalizing Your Pavilion Space
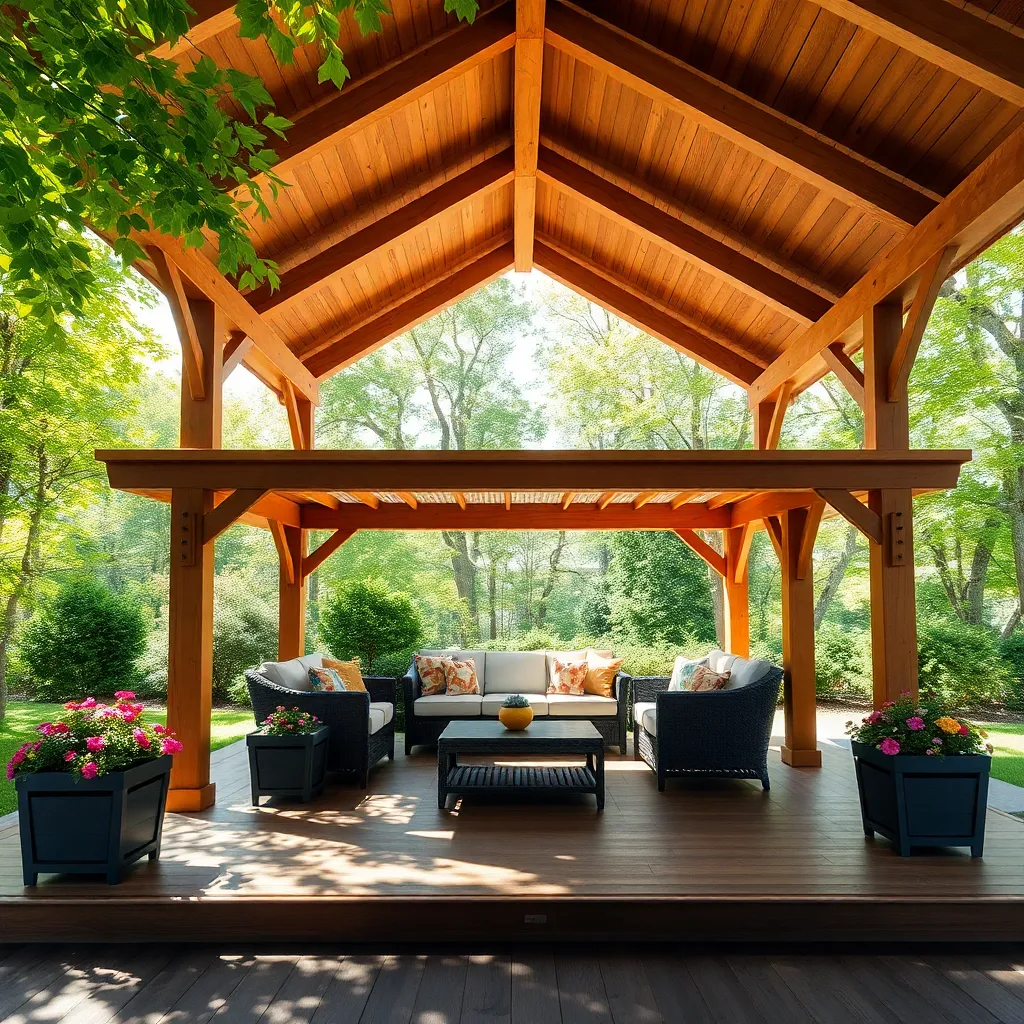
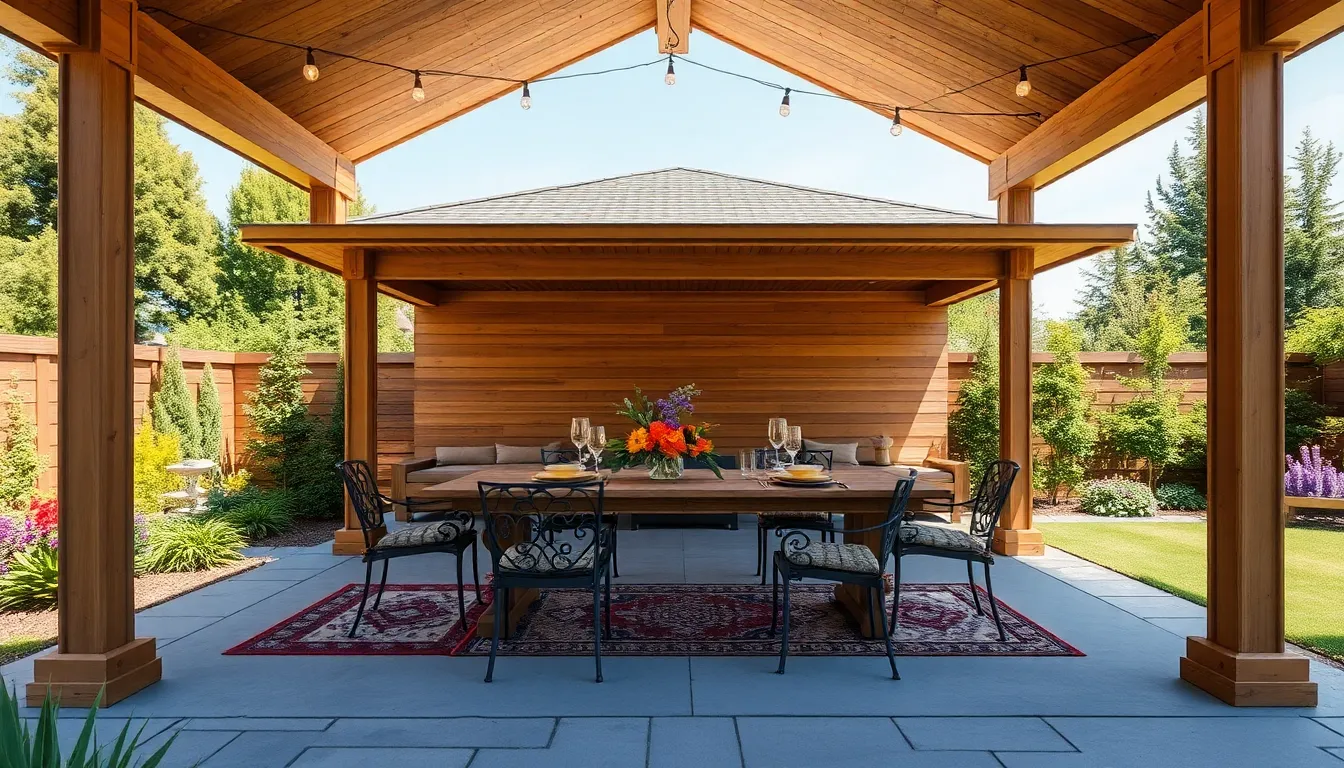
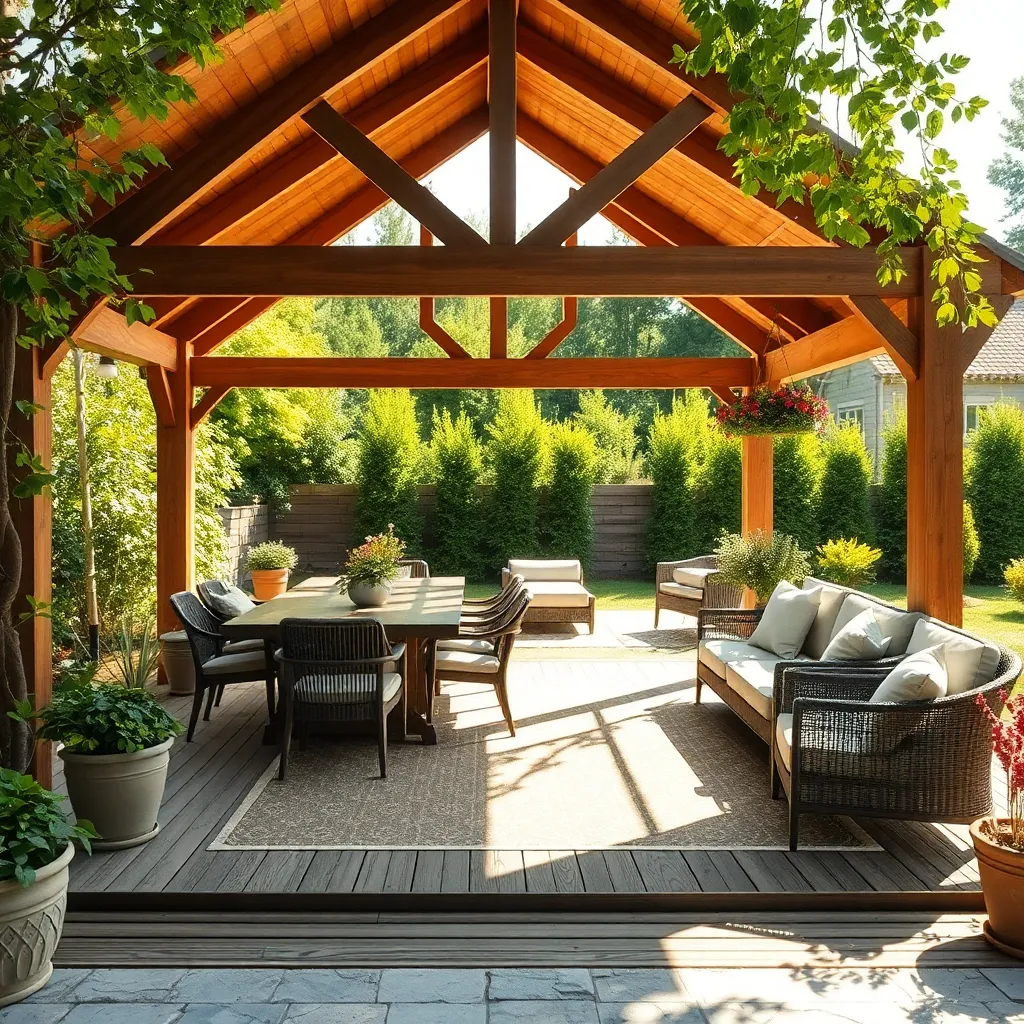
Transforming your pavilion space into a personal oasis begins with choosing the right furniture and decor. Opt for weather-resistant materials like teak, aluminum, or rattan to ensure longevity and ease of maintenance. An inviting layout can be created with a mix of seating options, such as cushioned lounge chairs and a sturdy dining table. These provide both comfort and functionality. For a touch of personalization, consider adding colorful outdoor rugs and throw pillows that reflect your style, making the pavilion feel like an extension of your home.
Beyond furniture, incorporating natural elements can make your pavilion more inviting. Install hanging planters with cascading greenery or set up vertical garden walls using wooden pallets for an added layer of privacy and ambiance. Lighting plays a crucial role—utilize solar-powered LED string lights or lanterns to create a cozy atmosphere without the need for extensive wiring. For those seeking a more advanced touch, integrate a built-in sound system or a small outdoor heater to extend usability into cooler evenings. These enhancements not only personalize your pavilion but also increase its functionality throughout the year.
Maintaining Your DIY Pavilion
Ensuring your DIY pavilion stands the test of time involves regular maintenance and smart design choices. Start by selecting durable, weather-resistant materials like cedar or pressure-treated pine, which can withstand various climates. Regularly inspect and seal the wood to protect against moisture and UV damage, especially in areas with harsh weather conditions. For those using metal components, such as screws or brackets, opt for galvanized steel to prevent rust.
For more advanced maintenance, consider incorporating design elements that enhance durability and ease of upkeep. Install a sloped roof to facilitate water runoff and prevent pooling, which can lead to structural damage. Adding a gutter system may also help divert water away from the pavilion’s foundation, preserving its stability over time.
- Paint or stain your pavilion every few years to maintain its appearance and protect it from the elements.
- Check fastenings and joints regularly to ensure everything remains secure and sturdy.
These proactive steps will keep your outdoor retreat looking beautiful and functioning well for years to come.
Conclusion: Creating Beautiful Outdoor Spaces
In exploring the ’12 Pavilion Kits You Can Build Yourself,’ we’ve delved into essential relationship concepts such as communication, teamwork, patience, creativity, problem-solving, flexibility, trust, compromise, shared goals, appreciation, resilience, and growth. Each concept mirrors the process of building something meaningful with your partner, much like assembling a pavilion kit. Now, it’s your turn to translate these insights into action. Choose one concept that resonates most with your current relationship dynamic and discuss it with your partner today—begin implementing small changes and watch your connection flourish.
To ensure these transformative insights remain at your fingertips, save or bookmark this article for future reference. It’s a treasure trove of guidance that can help you navigate the complexities and joys of relationships, reinforcing the foundation you’ve built together.
Remember, the journey to a successful relationship is ongoing. By continuously investing in these principles, you’re not just building a pavilion; you’re fortifying a partnership that can weather any storm and celebrate countless sunny days. Let’s move forward with intention and make every moment together count. Your relationship is worth the effort.