Whether you’re new to outdoor projects or a seasoned DIY enthusiast, creating your own outdoor shelter is a rewarding way to elevate your backyard experience. This guide offers 12 essential tips that simplify the process, making it easy and enjoyable to build a beautiful, functional space that suits your lifestyle.
Transforming your outdoor area into a cozy haven not only boosts your home’s appeal but also extends your living space into nature’s embrace. With practical advice and expert insights, you’ll gain the confidence to craft a shelter that brings comfort, style, and countless moments of joy to your outdoor living.
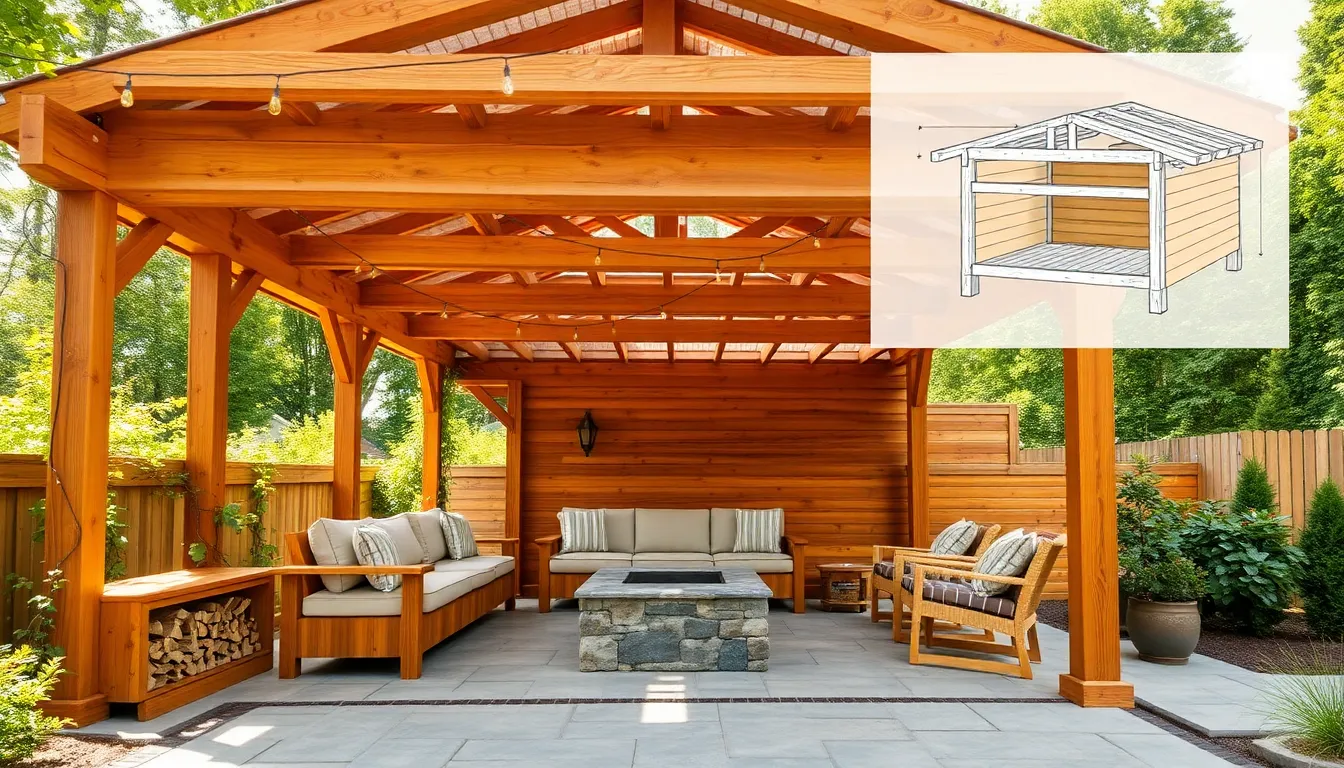
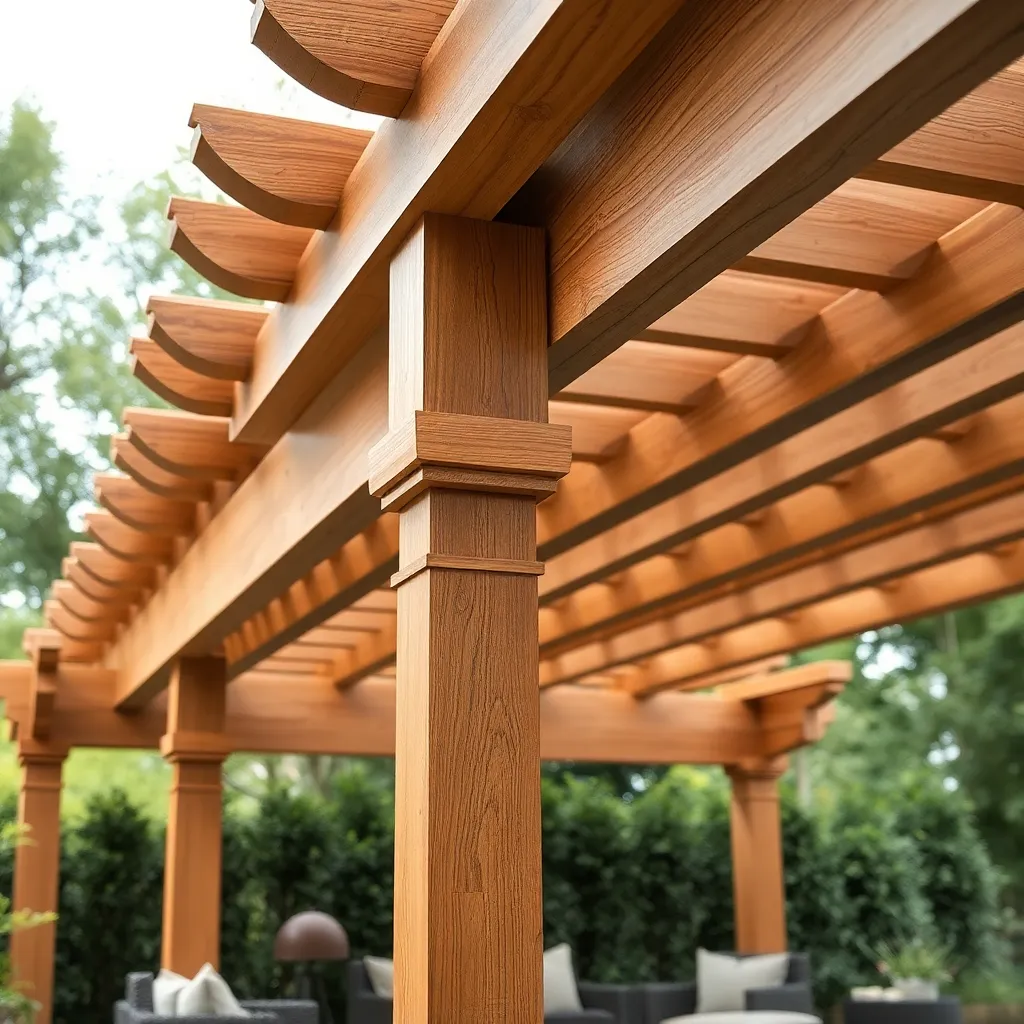
Choose Durable, Weather-Resistant Materials
Opt for weather-resistant materials like cedar, redwood, or pressure-treated lumber to ensure your outdoor shelter stands up to rain, wind, and sun exposure. For roofing, consider durable options such as metal panels or asphalt shingles, which provide excellent protection and longevity. When selecting fasteners, use galvanized or stainless steel screws and nails to prevent rust and maintain structural integrity over time.
Incorporate design features that enhance durability, like slightly sloped roofs for efficient water runoff and raised flooring to avoid ground moisture damage. For advanced protection, apply a high-quality sealant or waterproof paint to all exposed surfaces, and use weatherproof fabric or polycarbonate panels for sidewalls if your shelter needs additional wind or rain protection. This approach balances practicality with long-term resilience, making your shelter a reliable outdoor retreat.
Select a Level, Well-Drained Location

Start by scouting an area that is level and free of slopes to ensure stability and ease of construction. Use a long board and a level tool to check flatness across the chosen spot; if needed, build up low areas with gravel or compacted soil to create a firm, even base. Prioritize locations with natural drainage or consider installing a simple French drain system around your shelter to prevent standing water and protect the structure’s foundation.
For advanced durability, choose a site with well-drained soil such as sandy or loamy types, which reduce moisture retention and minimize rot risks. Avoid heavy clay soils unless you plan to add a raised floor or install a concrete slab with proper drainage layers beneath. Incorporate gravel or crushed stone beneath the shelter’s flooring or footings to further enhance drainage and prolong the life of your outdoor shelter.
Build a Strong, Stable Foundation
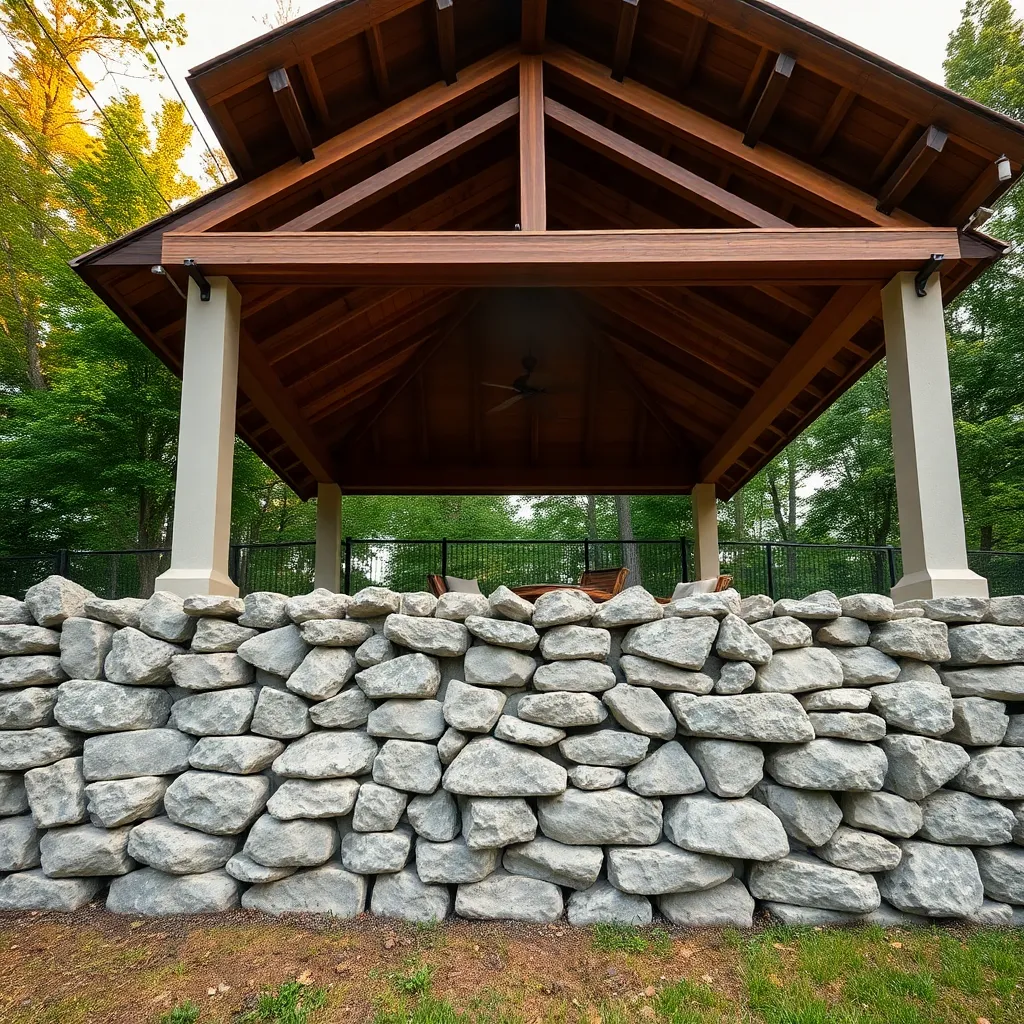
Start by excavating a trench at least 12 inches deep and 8 inches wide for your foundation to ensure stability and prevent shifting. Use compacted gravel or crushed stone as a base layer to improve drainage and reduce frost heave, then pour concrete footings sized according to your shelter’s load requirements—commonly 12×12 inches for small to medium structures. For wooden shelters, consider using pressure-treated lumber or concrete piers anchored with metal brackets to resist moisture and pests.
To enhance durability, level and square your foundation precisely, using a spirit level and measuring diagonals to avoid structural issues later. Advanced builders might incorporate adjustable post bases or a floating slab foundation for better adaptability on uneven terrain. Remember, a strong, stable foundation not only supports your shelter’s weight but also ensures safety and longevity, making this step critical before moving on to framing.

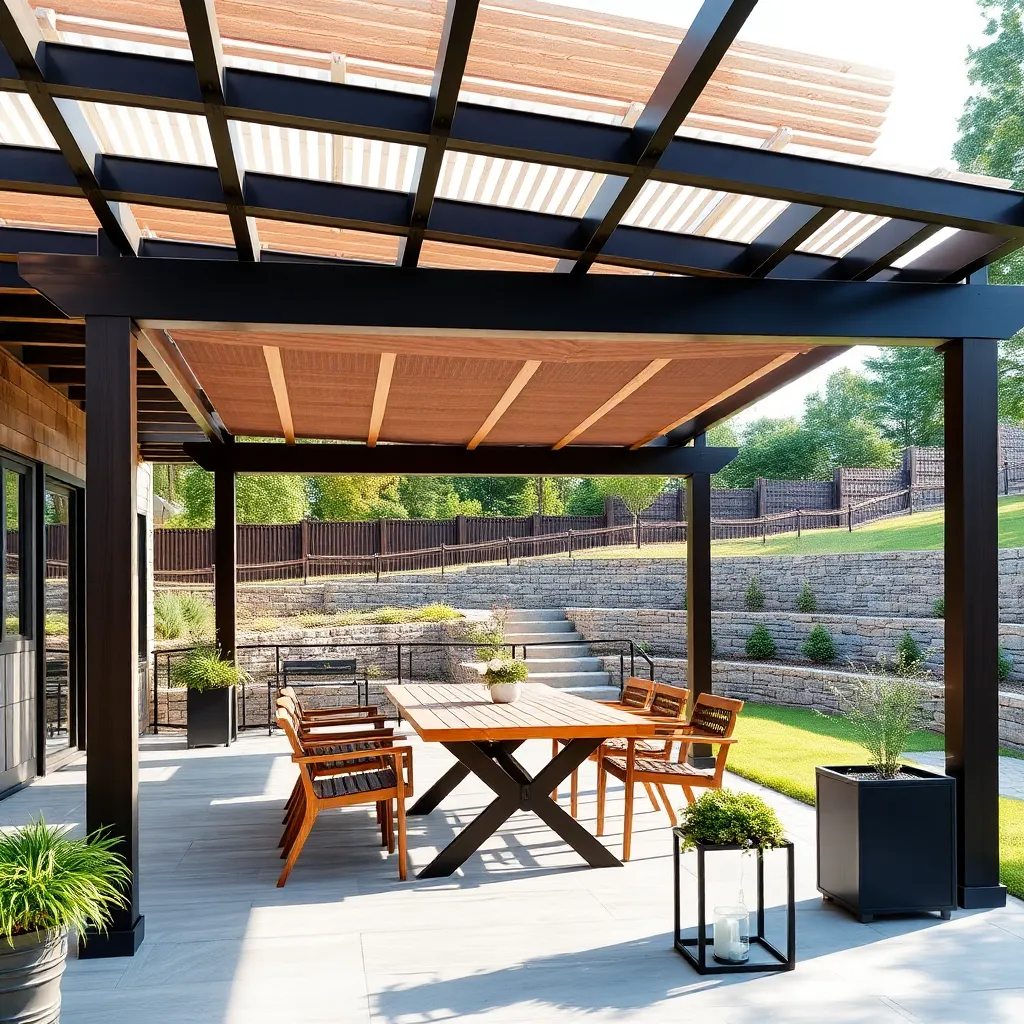
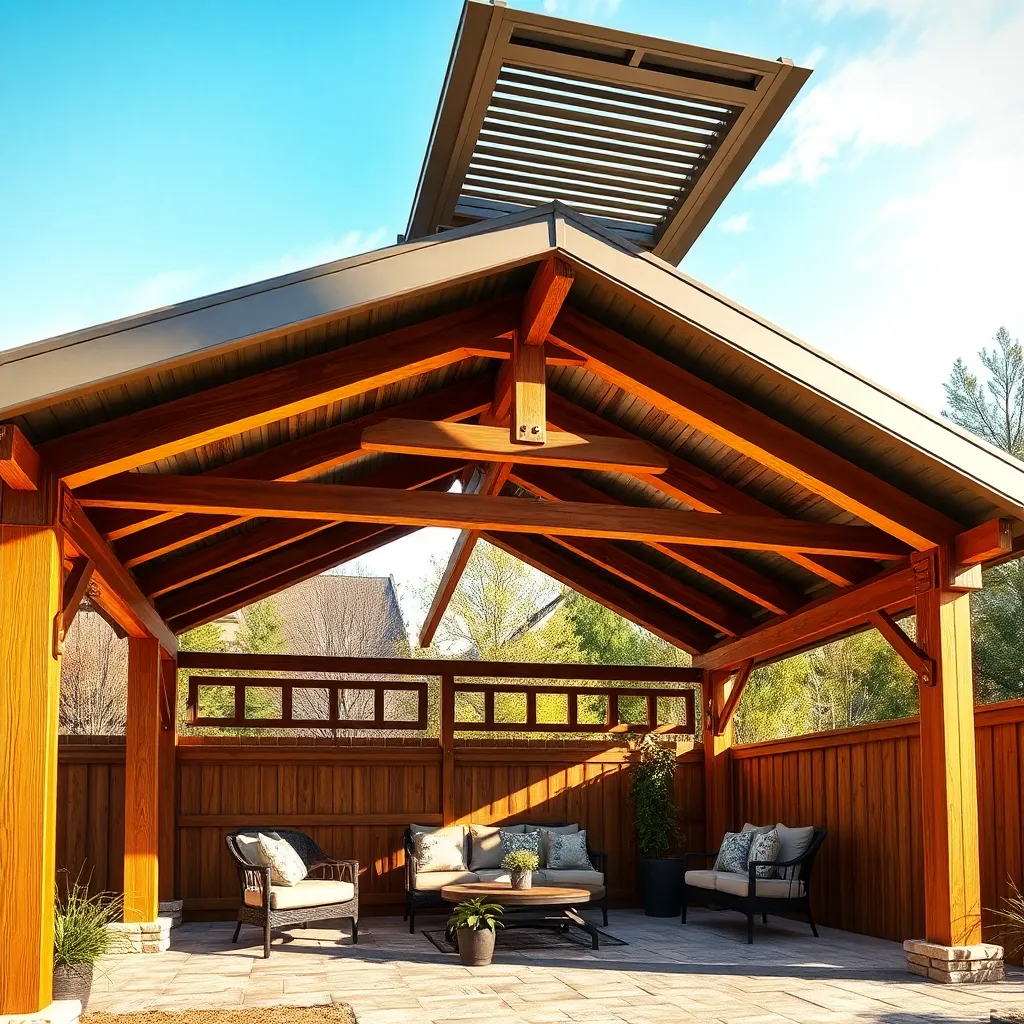
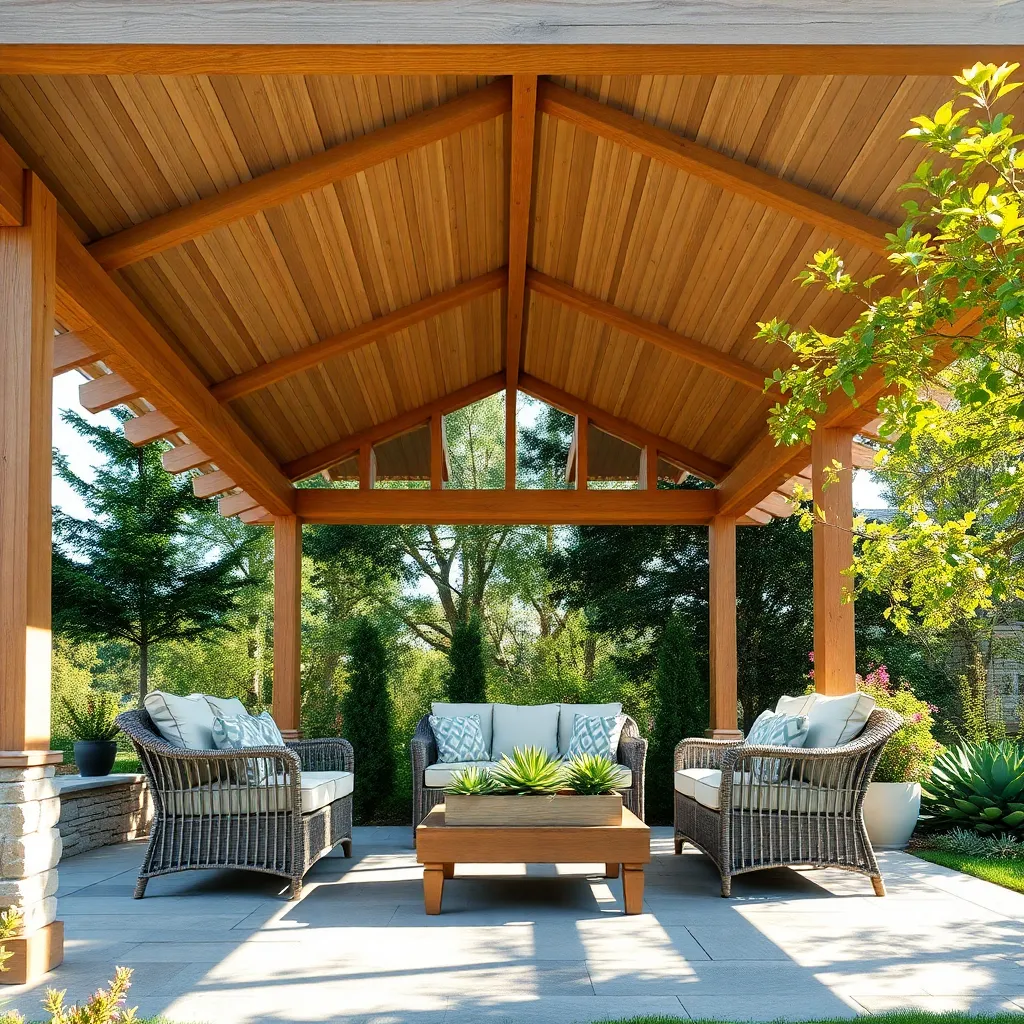
Incorporate Proper Roof Pitching

Ensuring your outdoor shelter has a proper roof pitch is crucial for effective water drainage and durability. A pitch between 4:12 and 6:12 (meaning 4 to 6 inches of rise per 12 inches of run) works well for most climates, helping to prevent water pooling and reduce snow buildup. Use sturdy rafters spaced no more than 24 inches apart to support your roofing material, whether you choose metal, shingles, or polycarbonate panels.
For advanced durability, consider adding a ridge vent or drip edge to improve air circulation and protect the shelter’s edges from water damage. If you live in heavy snow regions, increasing the pitch to 8:12 or steeper helps snow slide off easily, reducing structural stress. Remember to double-check local building codes for any specific roof requirements before finalizing your design.
Use Insulation for Temperature Control
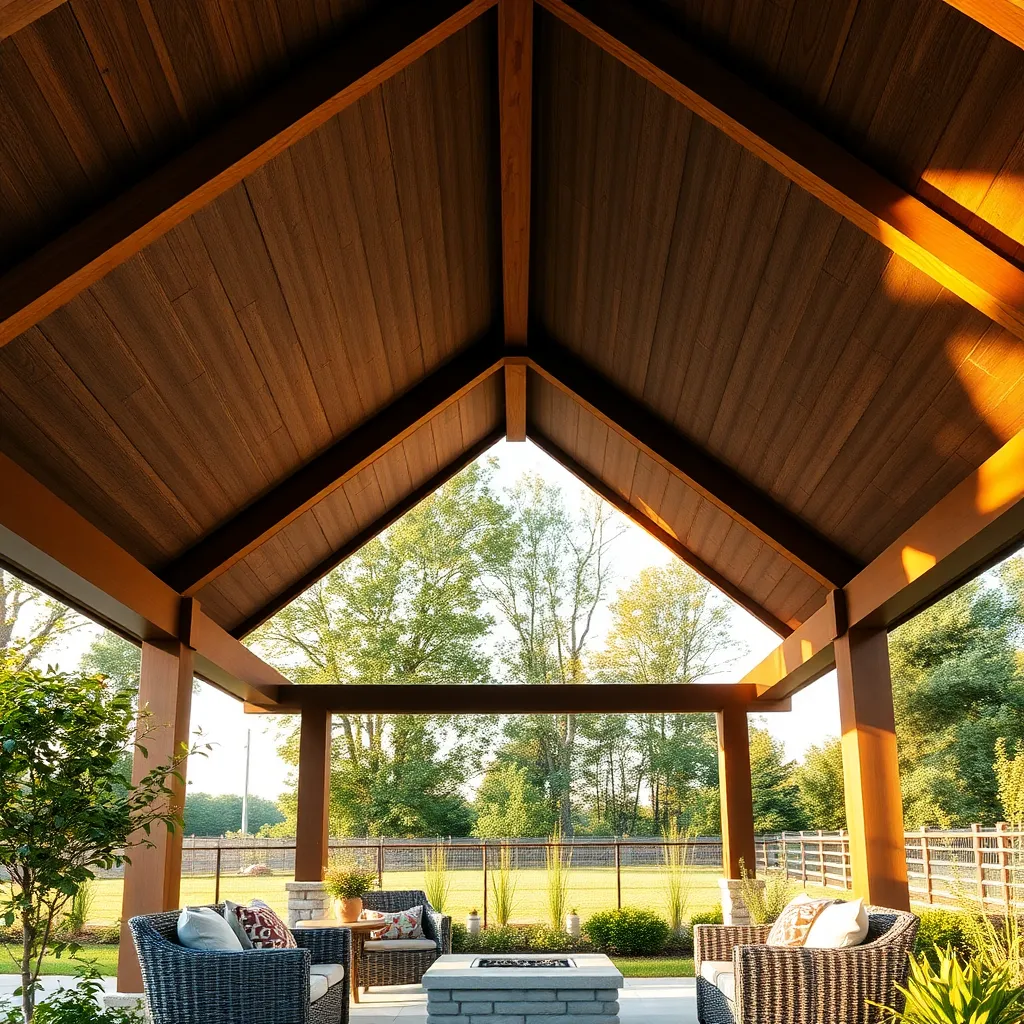
Maintaining comfortable temperatures in your outdoor shelter starts with using high-quality insulation materials such as rigid foam boards, spray foam, or reflective foil insulation. For walls and ceilings, aim for at least 2 inches of foam board with a minimum R-value of 6 to retain heat during cold months and keep the space cooler in summer. Properly sealing gaps with weatherstripping or caulk will enhance insulation effectiveness and prevent drafts.
To maximize temperature control, consider layering insulation with a vapor barrier to reduce moisture buildup and protect structural elements. For advanced shelter designs, integrating insulated panels combined with natural ventilation—like adjustable vents or operable windows—ensures airflow without sacrificing warmth. These thoughtful insulation techniques create a more energy-efficient and comfortable outdoor retreat year-round.
Install Effective Ventilation Openings
Proper ventilation is crucial for any outdoor shelter to prevent moisture buildup and maintain fresh air circulation. Install openings near the roofline and close to the floor to create a natural airflow, allowing hot air to escape while drawing in cooler air. Use materials like screened vents or adjustable louvered panels made from weather-resistant metal or durable plastic to keep pests out while ensuring ventilation.
For advanced control, consider adding vent covers or flaps that can be opened or closed seasonally, giving you flexibility in different weather conditions. Make sure openings are sized appropriately—typically, vent openings should total about 1/150th of the floor area to achieve effective airflow, which you can easily calculate before installation to optimize performance.
Anchor Shelter Securely to Ground
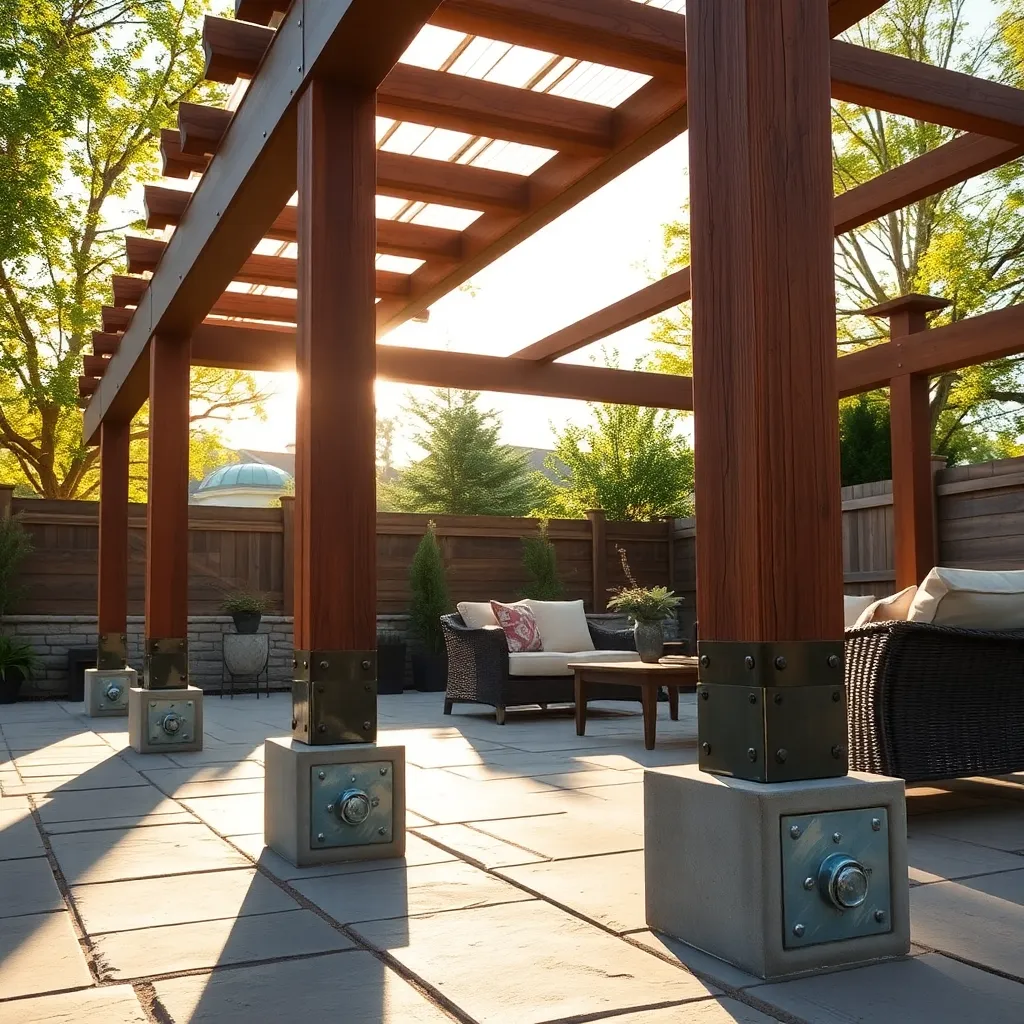
To anchor your outdoor shelter securely to the ground, start by selecting the right foundation method based on your site conditions. For soft soil, use heavy-duty ground stakes or auger anchors driven at a 45-degree angle for maximum hold. In harder or rocky ground, consider concrete footings or anchor bolts embedded at least 12 inches deep to resist wind uplift and shifting.

For added stability, especially in windy areas, attach metal straps or hurricane ties to connect the shelter’s frame to the anchors securely. Use galvanized or stainless steel hardware to prevent rust and ensure longevity. Beginners can easily reinforce corners by installing adjustable post anchors, while advanced builders might integrate a perimeter anchor system for uniform tension and enhanced durability.
Design for Easy Assembly and Disassembly
Start by choosing lightweight, durable materials like aluminum or treated pine for the frame to make assembly manageable. Incorporate modular components with pre-drilled holes and labeled parts, which simplify alignment and reduce setup time, especially for beginners. Using quick-connect fasteners such as wing nuts or snap pins allows for tool-free assembly and faster disassembly, perfect for seasonal shelters or temporary setups.
For advanced builders, consider a design with interlocking joints or sliding rails that securely hold panels without extra hardware, enhancing stability and ease of transport. Including features like foldable walls or roof sections can further streamline the process while maintaining shelter strength. Always prototype your design on a small scale or create detailed sketches to ensure every piece fits perfectly before final construction.
Add Waterproof Sealing to Joints
To ensure your outdoor shelter remains watertight, apply waterproof sealing to all joints where materials meet. Use high-quality exterior-grade silicone or polyurethane sealants, which are flexible and durable against weather changes. Focus on corners, overlaps, and screw holes—these are common weak points where water can seep in and cause damage.
For added protection, consider installing weather-resistant flashing tape or strips beneath the sealant at critical joints. This extra layer helps direct water away and reinforces the sealant’s effectiveness. Remember to clean joints thoroughly before application and follow manufacturer drying times to achieve a reliable, long-lasting waterproof barrier.
Plan for Adequate Natural Lighting
Maximize natural light by positioning your shelter with large openings facing south or southeast, where sunlight is most abundant throughout the day. Incorporate translucent roofing panels or skylights made from polycarbonate to brighten the interior without sacrificing weather protection. For beginners, simple window placements can make a huge difference, while advanced builders might consider adjustable louvers to control light intensity.
Use light-colored interior surfaces and reflective materials like aluminum or white paint to enhance brightness inside the shelter. Remember to keep overhangs and awnings moderate in size—around 12 to 18 inches—to allow sunlight in during winter while providing shade in summer. Combining these practical design elements ensures your outdoor shelter remains well-lit and comfortable year-round.

Include Rainwater Drainage Systems
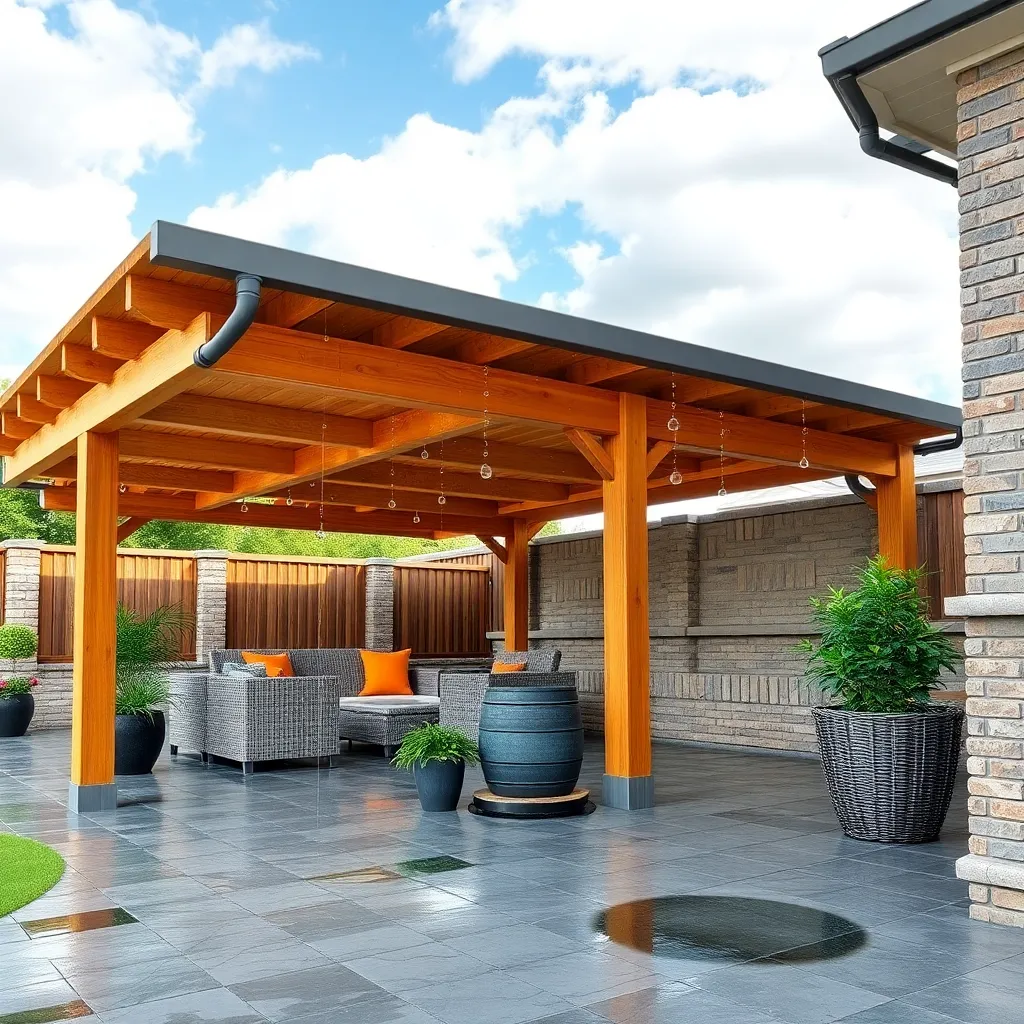
Incorporating an effective rainwater drainage system is crucial for protecting your outdoor shelter from water damage. Start by installing gutters made of durable materials like aluminum or vinyl, which resist rust and require minimal maintenance. Ensure gutters have a slight slope—about 1/4 inch per 10 feet—to guide water smoothly toward downspouts, preventing pooling and structural issues.
For advanced water management, consider adding rain chains or splash blocks at the downspout ends to direct runoff away from the shelter’s foundation. Using gravel-filled trenches or French drains can further disperse water, reducing erosion and moisture buildup. Regularly inspect and clean your drainage components to maintain optimal flow and extend your shelter’s lifespan.
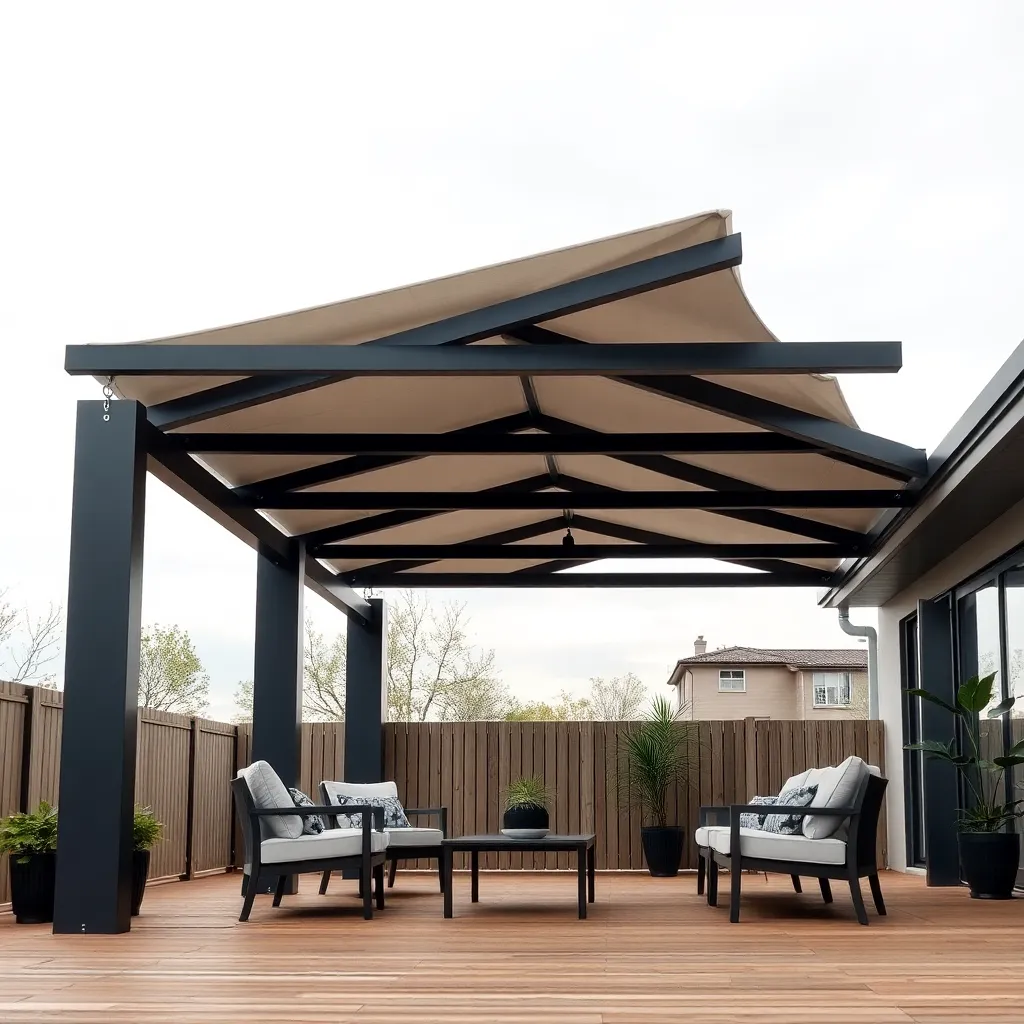
Reinforce Structure Against Wind Loads
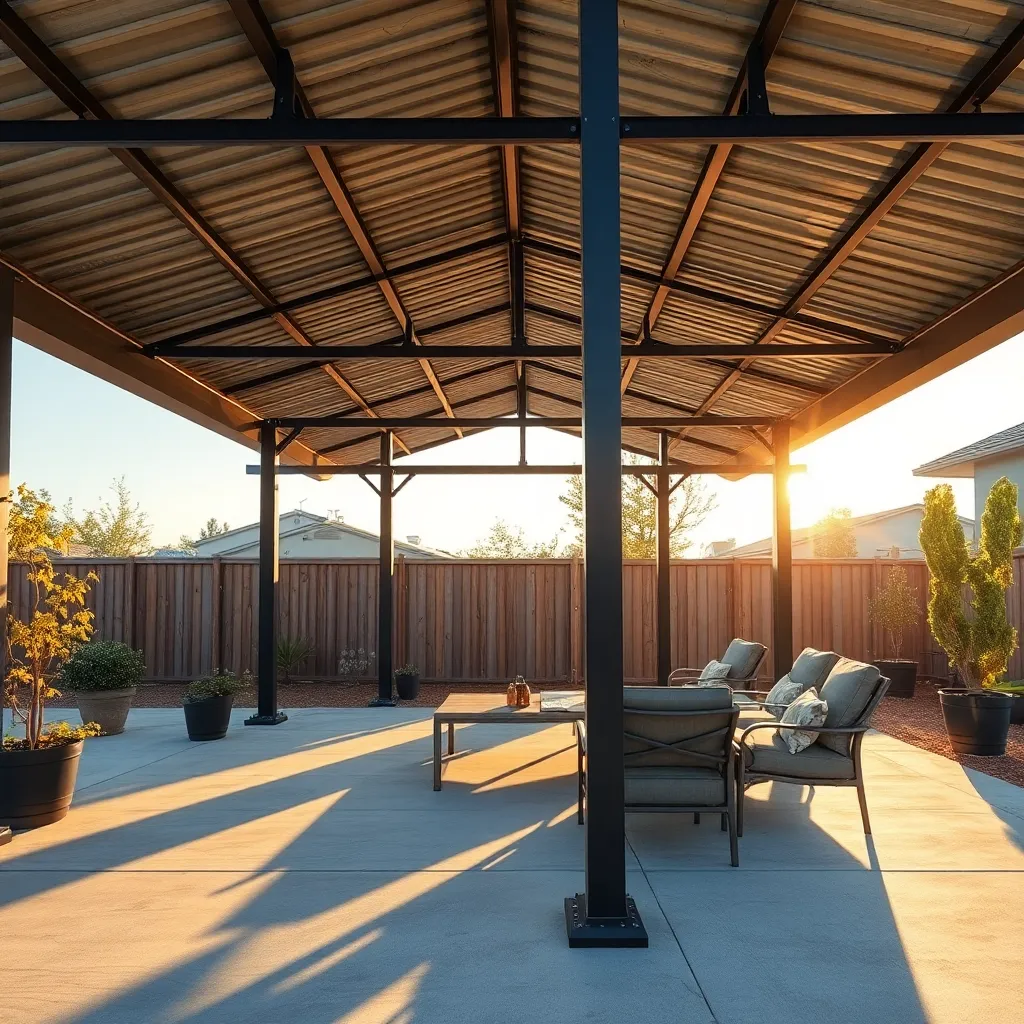
To reinforce your shelter against wind loads, start by anchoring the structure securely with deep-set concrete footings or ground anchors designed for high wind resistance. Use heavy-gauge steel brackets and hurricane ties at all joints to prevent frame shifting, and consider adding diagonal bracing with treated lumber or metal straps to increase lateral stability.
Incorporate aerodynamic design elements such as sloped roofs and open sides to reduce wind pressure on the shelter. For advanced reinforcement, install removable windbreak panels or use tensioned cables across the frame to distribute force evenly, ensuring your shelter stands strong through gusty conditions.
Conclusion: Creating Beautiful Outdoor Spaces
Building a strong, lasting relationship is much like constructing your own outdoor shelter—it takes intention, care, and the right tools. In this article, we explored 12 essential tips, from establishing trust and open communication to nurturing mutual respect, setting boundaries, and embracing teamwork. We also highlighted the importance of patience, adaptability, and celebrating shared joys along the way.
Now, take a moment to reflect on one tip that resonates most with you and commit to practicing it today. Whether it’s initiating an honest conversation or simply expressing appreciation, small steps build solid foundations.
Be sure to save or bookmark this article as your go-to guide whenever you need a reminder or fresh inspiration. Relationships thrive when we invest consistently and thoughtfully—just like a shelter that protects and nurtures us through all seasons. With these tools in hand, you’re empowered to create a relationship that stands strong and grows beautifully over time. Keep building, keep growing, and watch your connection flourish!