Transforming your backyard into a cozy retreat is one of the most rewarding projects for homeowners, whether you’re just starting out or a seasoned DIY enthusiast. This guide offers 10 inspiring ideas for building outdoor shelters that blend comfort, style, and practicality to elevate your outdoor living experience.
From simple shade structures to charming gazebos, each idea is designed to help you create a welcoming space where family and friends can gather year-round. With easy-to-follow tips and versatile options, you’ll feel confident turning your outdoor area into a beautiful sanctuary that invites relaxation and connection.
Choose Insulating Natural Materials
Opt for natural insulating materials like straw bales, wool, or recycled denim to keep your outdoor shelter warm and eco-friendly. These materials offer excellent thermal properties and moisture regulation, making them ideal for year-round comfort. For beginners, layering straw bales between wooden frames can be a simple yet effective method to boost insulation.
Advanced builders can enhance insulation by adding earth plaster or clay finishes over natural materials to improve durability and thermal mass. Consider incorporating green roofs or living walls with native plants, which not only insulate but also protect your shelter from harsh weather. Remember to seal gaps and use breathable membranes to maintain airflow while keeping warmth inside.
Build Raised Flooring for Drainage
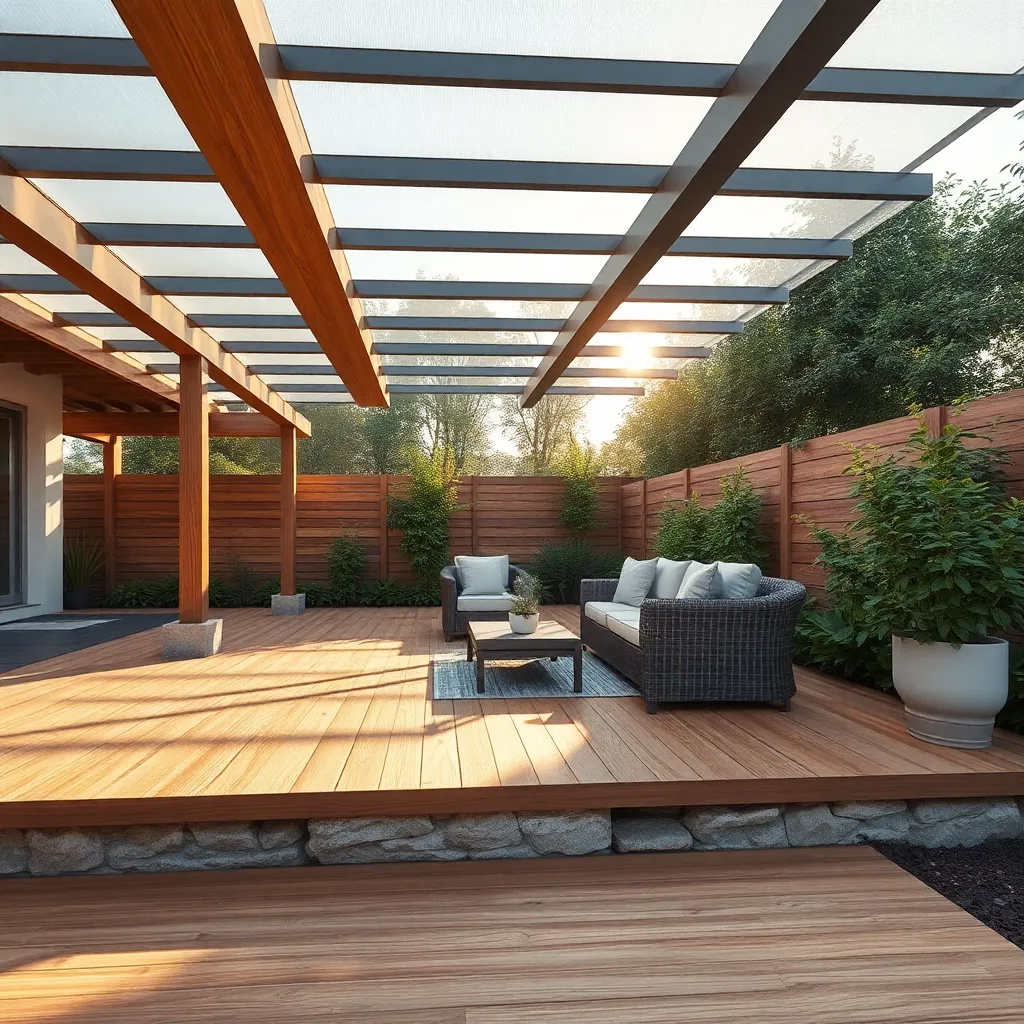
Raising your shelter’s flooring is essential to prevent water damage and improve drainage. Start by constructing a sturdy frame using pressure-treated lumber, ideally 4×4 posts spaced no more than 2 feet apart for stability. Next, lay down a gravel bed beneath the frame to facilitate water runoff and reduce moisture buildup, which helps protect wooden floors from rot and mold.
For a smooth, durable surface, consider decking boards made from composite materials or cedar, both resistant to weathering. Ensure the floor is slightly sloped—about 1/8 inch per foot—to direct water away from the shelter. Advanced tip: incorporate removable floor panels for easy cleaning and maintenance, enhancing longevity and comfort.
Incorporate Retractable Roof Panels
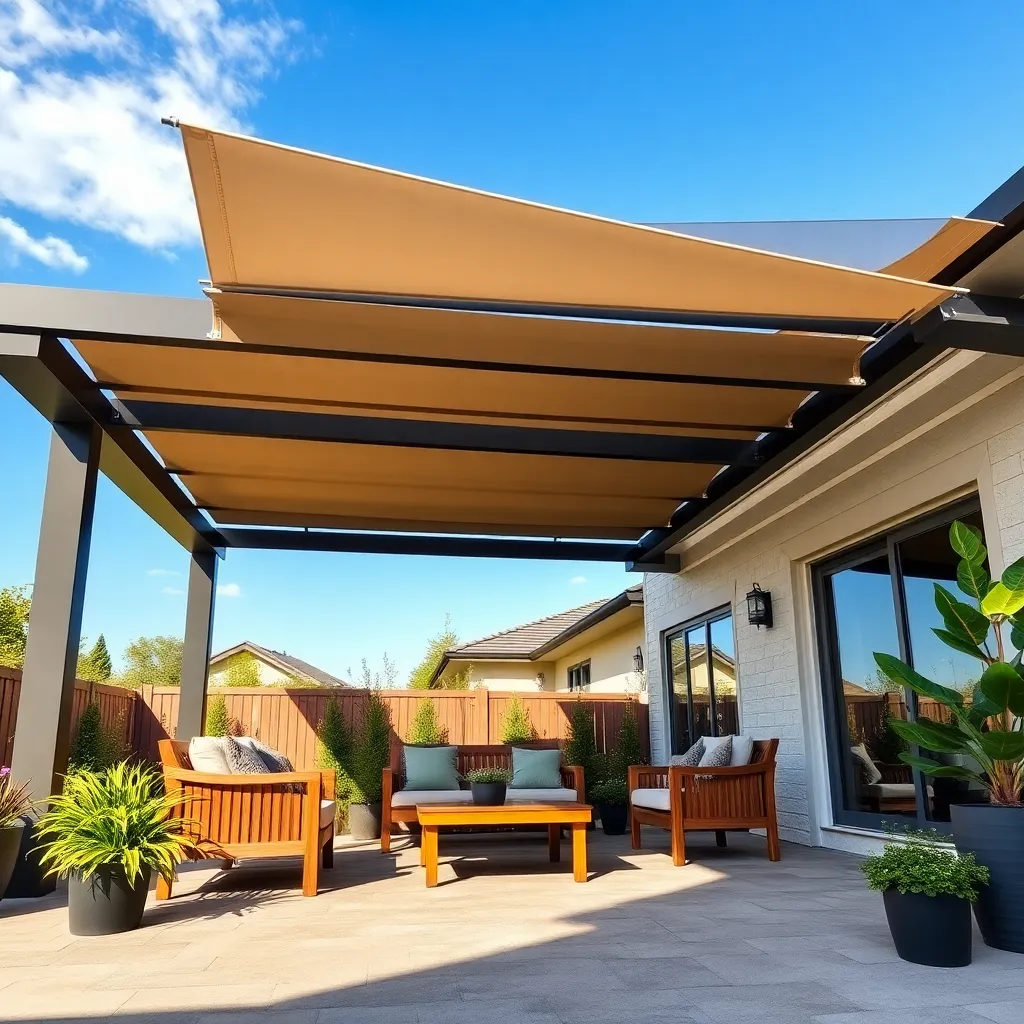
Incorporating retractable roof panels into your outdoor shelter offers versatile protection from sun and rain, allowing you to enjoy your space year-round. Use durable materials like polycarbonate or aluminum panels paired with a smooth sliding mechanism for easy operation and longevity. For beginners, installing tracks on sturdy wooden or metal frames ensures stability, while advanced builders might integrate motorized systems for convenient remote control.
To maximize functionality, consider designing the panels to overlap slightly when closed to prevent leaks and ensure adequate drainage. Additionally, adding weather seals along the edges enhances insulation and keeps debris out. Keep panel dimensions manageable—typically 2 to 3 feet wide—to balance ease of handling with coverage, and always plan for proper support beams spaced no more than 4 feet apart to maintain structural integrity.

Use Windbreaks for Added Comfort
Adding windbreaks around your outdoor shelter can greatly enhance comfort by reducing chilly drafts and creating a more sheltered atmosphere. Use materials like lattice panels, wooden slats, or even dense evergreen shrubs positioned 3 to 5 feet from the shelter to effectively block prevailing winds without sacrificing airflow. For a quick solution, consider installing removable fabric screens made from weather-resistant canvas or mesh that can be adjusted seasonally.
For a more advanced approach, design windbreaks at varying heights and angles to optimize protection while maintaining natural light. Incorporate vertical gardens or climbing plants on trellises for added insulation and aesthetic appeal. Remember to leave at least 2 feet of clearance between the windbreak and shelter walls to prevent moisture buildup and ensure proper ventilation, promoting longevity of your outdoor space.
Install Solar-Powered Warm Lighting

Solar-powered warm lighting is an efficient way to enhance your outdoor shelter’s ambiance without complicated wiring. Choose LED string lights or lanterns with a color temperature around 2700K to 3000K for a cozy, inviting glow. Position solar panels in direct sunlight for at least 6 hours daily, and mount lights on beams, posts, or pergola rafters to evenly distribute soft illumination.
For a more advanced setup, consider integrating motion sensors or dimmers to customize light levels and save energy. Use weatherproof fixtures rated at IP65 or higher to ensure durability in all conditions. Combining solar lighting with reflective surfaces like light-colored walls or stone enhances brightness, making your shelter both warm and practical after sunset.
Add Cushioned Seating and Throws
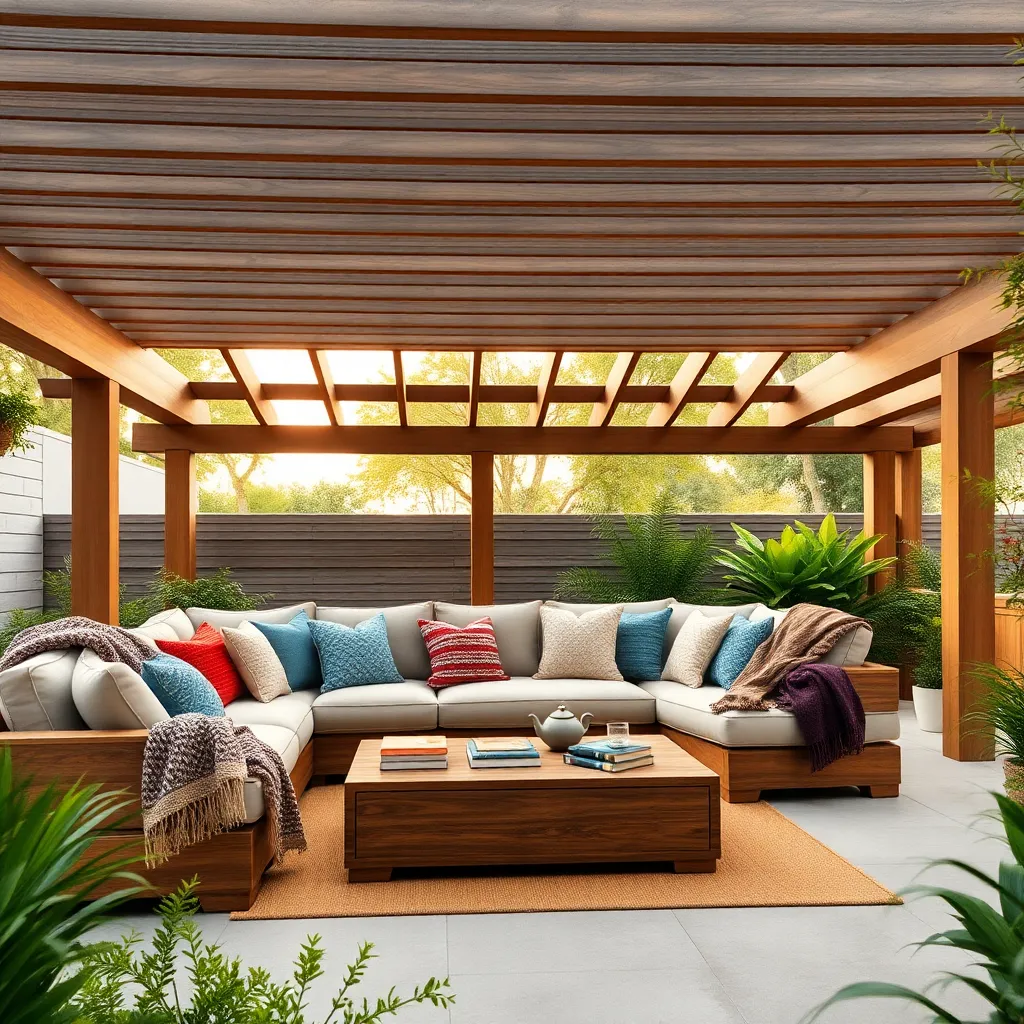
Enhance your outdoor shelter’s comfort by incorporating cushioned seating made from weather-resistant materials such as Sunbrella fabric or treated outdoor foam. Choose seat cushions that are at least 4 inches thick for optimal support, and consider modular seating arrangements to fit the shelter’s dimensions perfectly. For a polished look, use neutral tones or patterns that complement your shelter’s existing color palette.
To add warmth and style, layer soft throws made from quick-drying, breathable fabrics like acrylic or polyester blends that withstand outdoor conditions. Store them in a waterproof basket or an outdoor storage bench to keep them dry and accessible. For advanced comfort, include a mix of textures and sizes, such as larger throws for lounging and smaller lap blankets for cooler evenings.
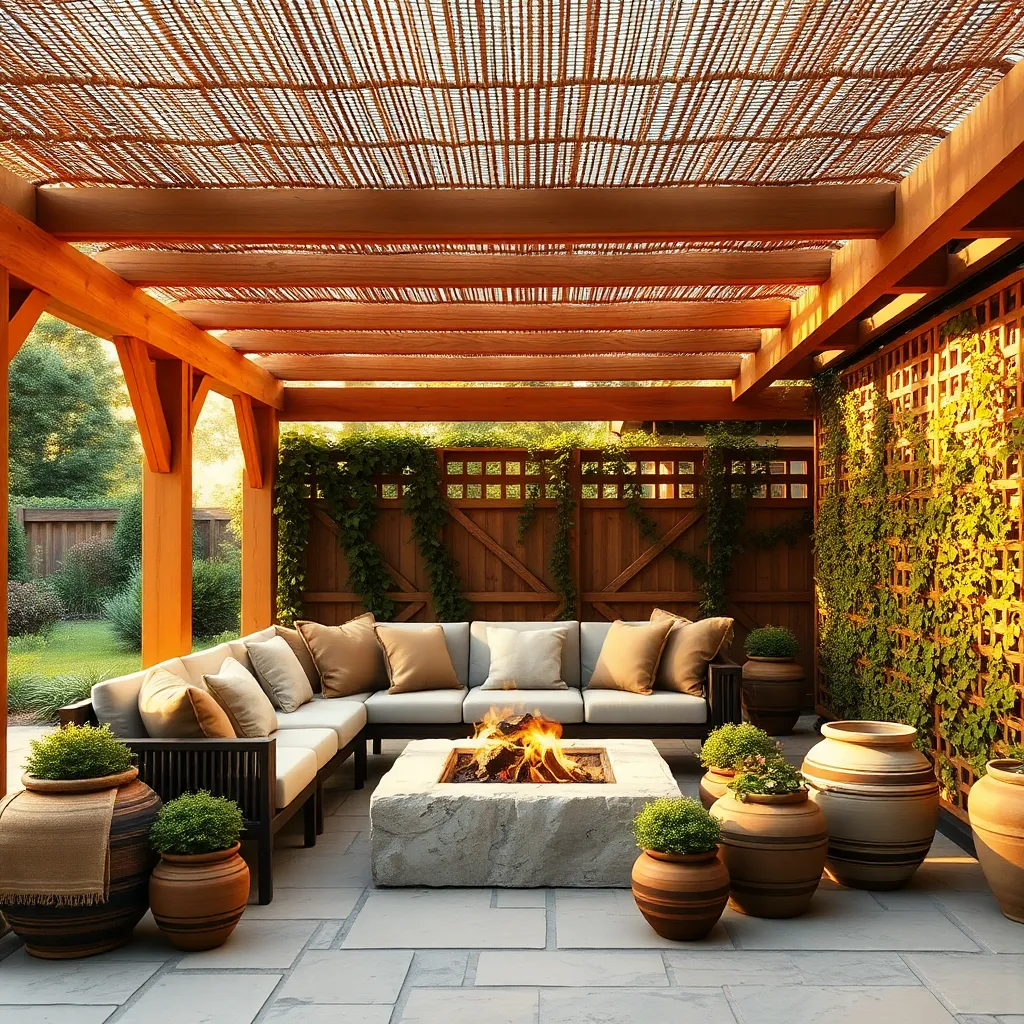
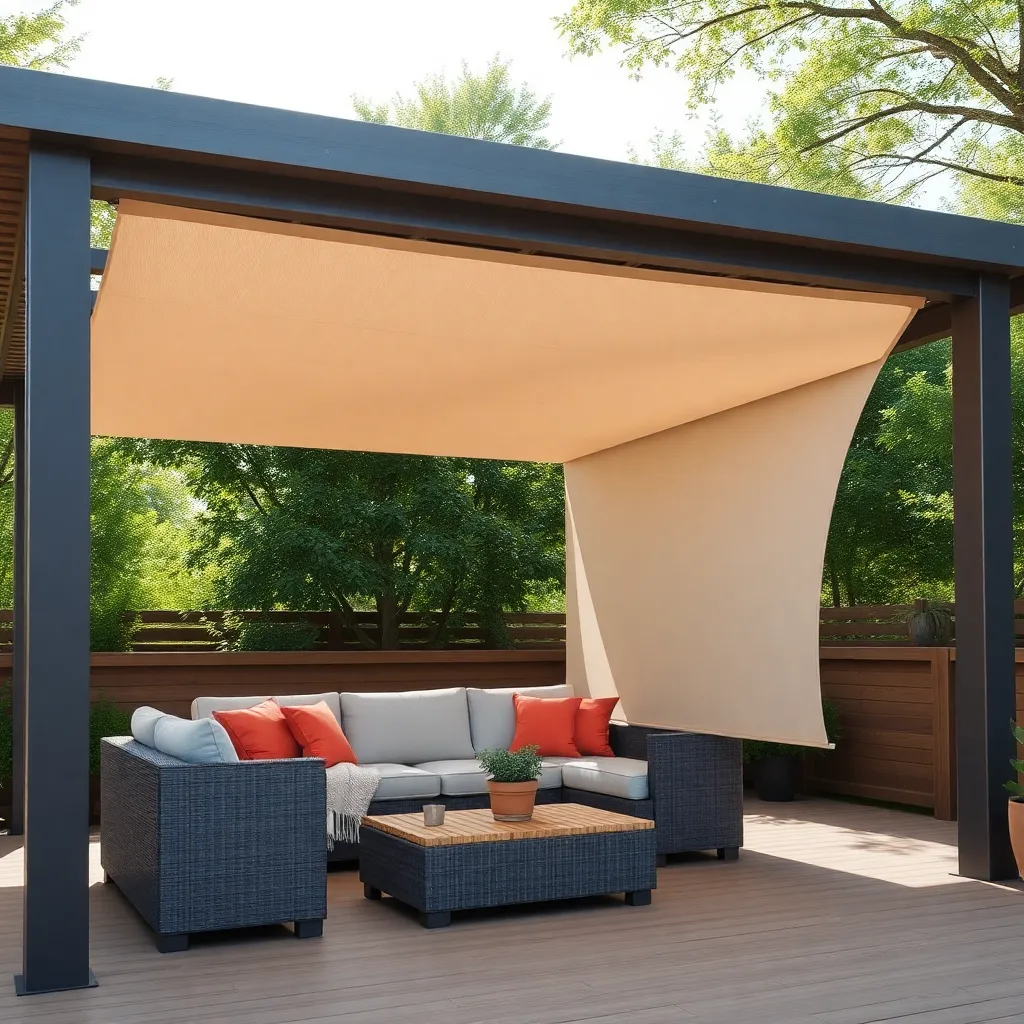
Design Multi-Layered Shade Structures
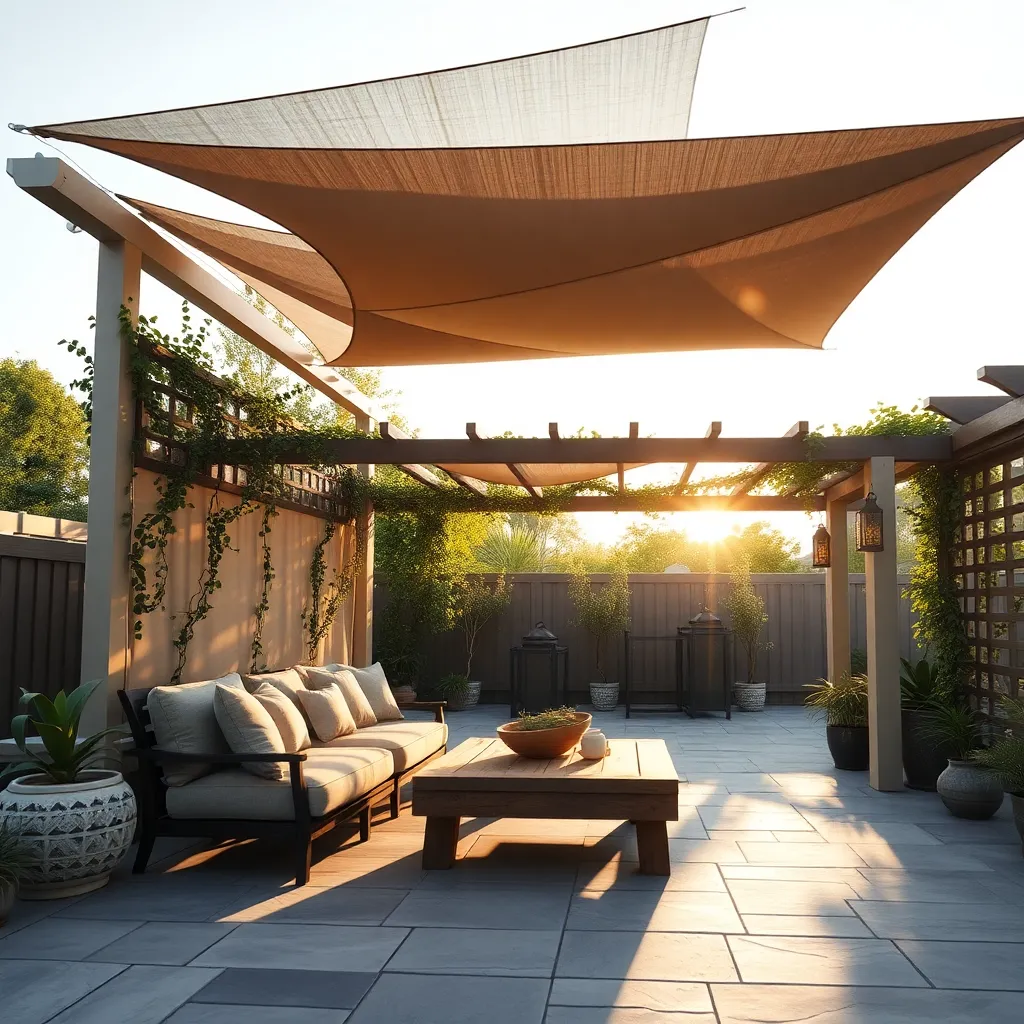
Creating multi-layered shade structures enhances both comfort and style in your outdoor shelter. Start with a sturdy frame using weather-resistant materials like cedar or aluminum, then add layers such as retractable fabric canopies, bamboo screens, or shade sails to block sun at different angles throughout the day. This layered approach allows you to control light and airflow, keeping the space cooler and more inviting.
For advanced designs, consider incorporating climbing plants like wisteria or grapevines on trellises integrated into your structure, which provide natural shade and seasonal beauty. Additionally, installing adjustable louvers or pergola slats gives you the flexibility to customize shade intensity based on the time of day and weather. Remember to use durable, UV-resistant fabrics and fasteners to ensure longevity and minimal maintenance.
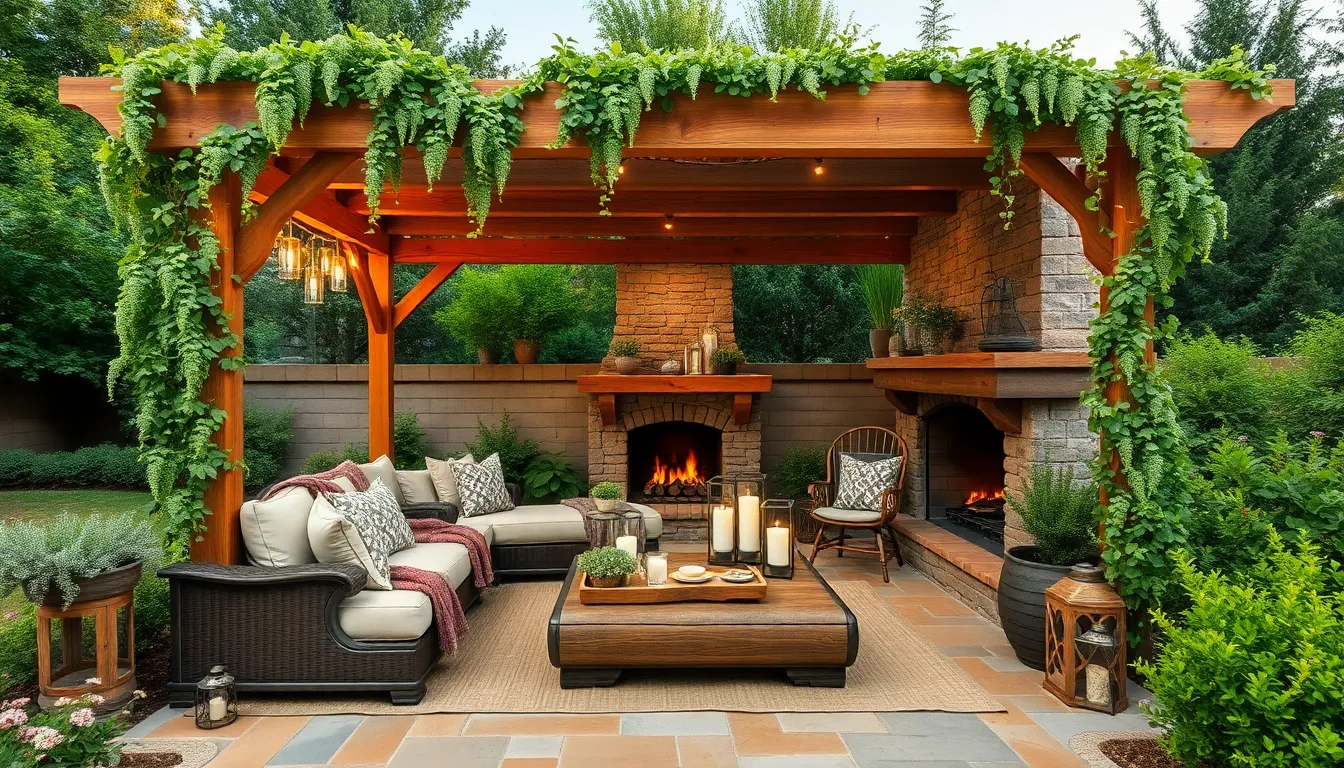
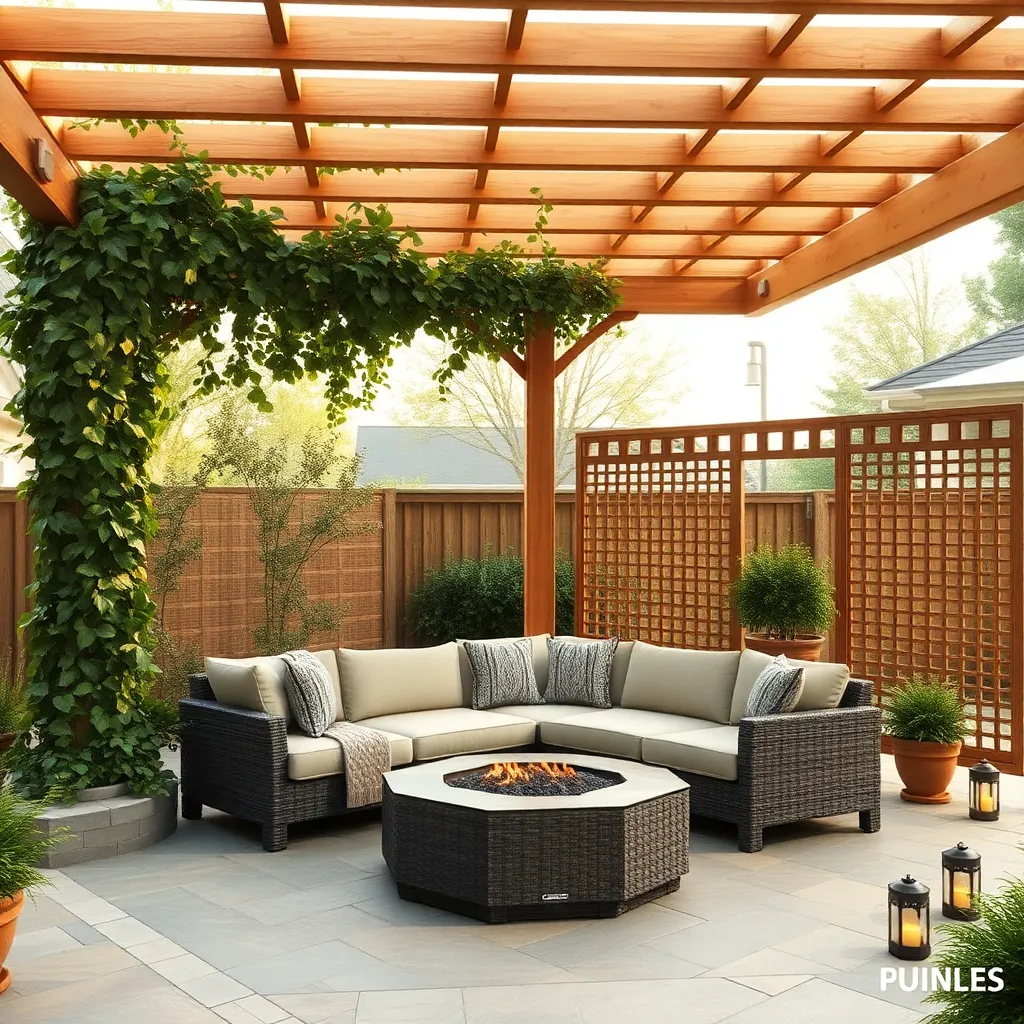
Integrate Built-In Fire Pit Features
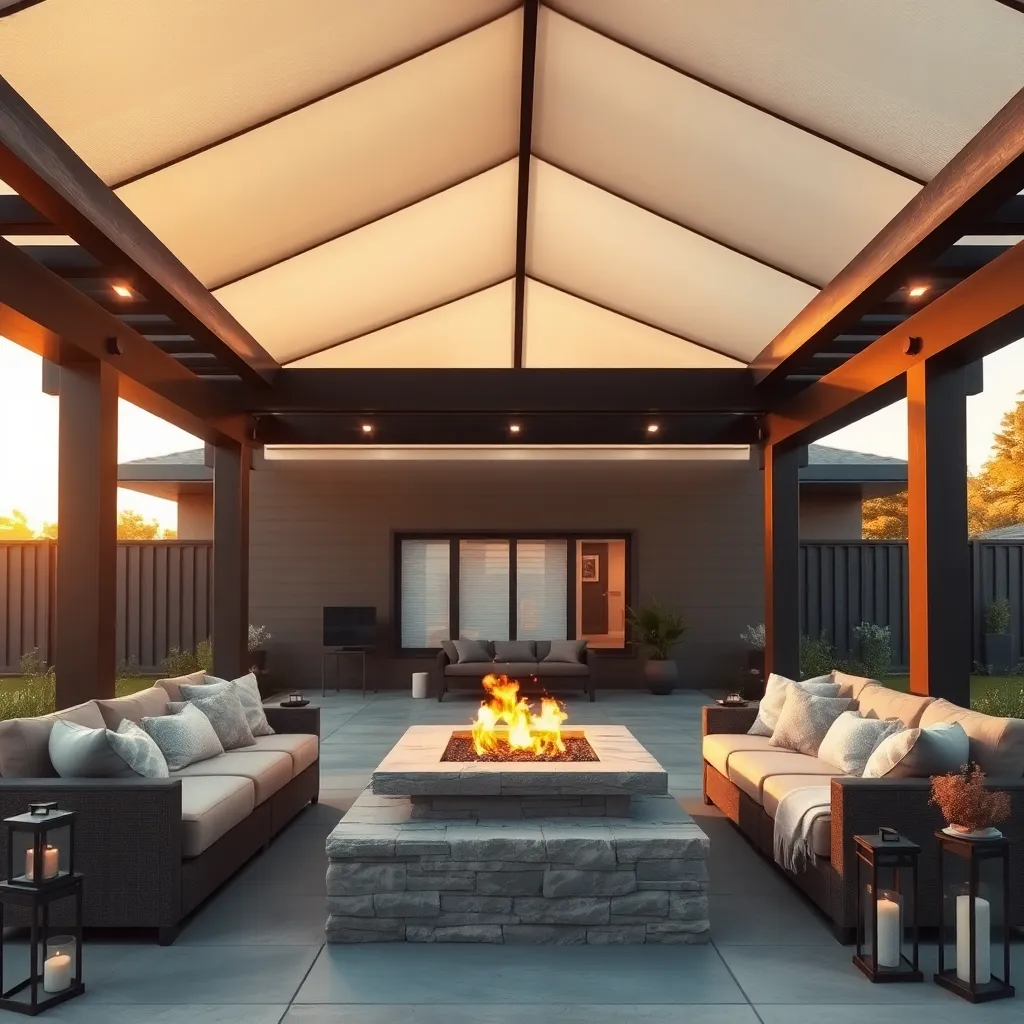
Incorporating a built-in fire pit into your outdoor shelter elevates both warmth and ambiance, creating a natural gathering spot. Use durable materials like natural stone, concrete, or fire-rated bricks to construct the pit, ensuring safety and longevity. Aim for a fire pit diameter of 36 to 44 inches to comfortably accommodate several people, and position it centrally or slightly off-center to optimize seating arrangement.
To enhance functionality and style, consider adding a surrounding seating wall or integrated benches made from weather-resistant wood or stone. For advanced design, install a removable metal grate or spark screen to control flames and facilitate cooking. Finally, ensure proper ventilation and maintain a minimum clearance of 10 feet from any overhead structures to keep your cozy shelter safe and enjoyable year-round.
Utilize Waterproof Outdoor Fabrics
Choosing waterproof outdoor fabrics like solution-dyed acrylic or vinyl-coated polyester ensures your shelter stays dry and durable through all weather conditions. When selecting fabrics, prioritize those with a minimum water resistance rating of 300mm to 500mm and UV protection to prevent fading. For beginners, opt for ready-made waterproof covers or awnings that can be easily installed with grommets and reinforced edges.
To elevate your shelter’s functionality, consider integrating removable or roll-up panels made from these fabrics to create flexible walls that protect against wind and rain. For advanced customization, use heavy-duty zippers or Velcro strips for quick attachment and removal, allowing you to adapt your shelter to changing weather while maintaining a cozy, sheltered space year-round.

Plant Surrounding Shrubs for Privacy
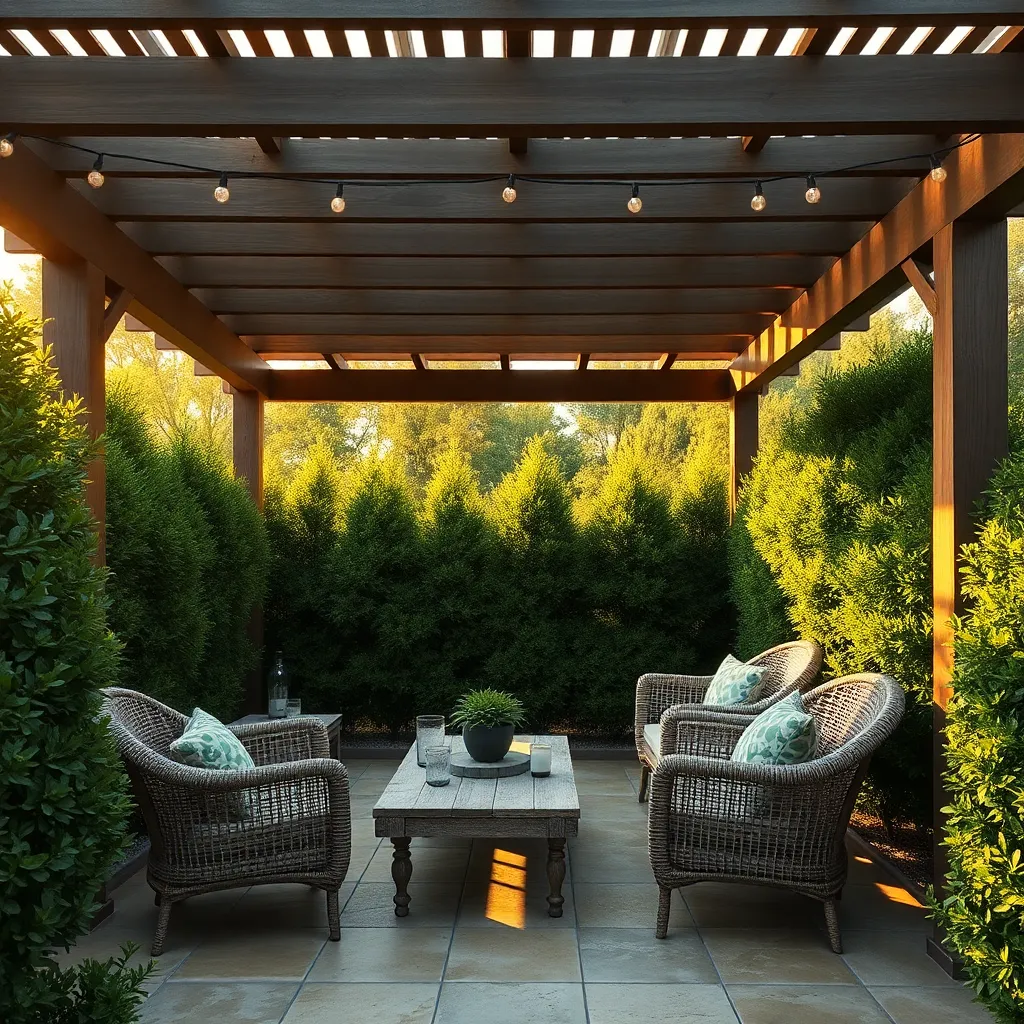
For creating a natural privacy screen around your outdoor shelter, planting surrounding shrubs is an excellent strategy that blends aesthetics with function. Choose fast-growing, dense shrubs like boxwood, viburnum, or hydrangea that reach at least 4 to 6 feet tall to ensure effective coverage. Position them about 2 to 3 feet apart in a staggered pattern for both fullness and airflow, which helps prevent disease and allows sunlight to reach the shelter.
To maintain a tidy and inviting space, regularly prune the shrubs to keep their shape and encourage healthy growth. For an added layer of privacy and year-round interest, consider mixing evergreen shrubs with flowering varieties, and install a drip irrigation system to keep the plants hydrated without overwatering. This natural barrier not only enhances your shelter’s coziness but also reduces noise and wind, making your outdoor retreat more peaceful.
Conclusion: Creating Beautiful Outdoor Spaces
Creating a cozy outdoor shelter isn’t just about building a physical space—it’s about nurturing connection, comfort, and shared moments with your loved ones. From choosing the perfect location and incorporating soft lighting, to adding inviting seating and thoughtful décor, each idea encourages you to craft an environment that invites closeness and conversation. Remember the importance of layering textures, using natural elements, and personalizing the space to reflect your unique bond.
To take the next step, gather a few simple materials this weekend and start designing your own cozy nook—invite your partner or family to join you in the process, turning it into a meaningful project together.
Don’t forget to save or bookmark this article so you can revisit these ideas whenever you want to refresh your outdoor sanctuary. By investing time and care into your shared spaces, you’re building more than shelter—you’re fostering lasting warmth and connection that will strengthen your relationship for years to come.
Your journey toward deeper togetherness starts with one small, cozy step—embrace it today!