Imagine transforming your backyard into a serene oasis or a lively entertaining hub with just a touch of creativity and some sturdy metal. Whether you’re a seasoned DIY enthusiast or new to outdoor projects, our guide, “10 DIY Metal Gazebo Frame Ideas,” is your ticket to crafting a beautiful, personalized outdoor retreat. Dive into a world where your imagination can soar, and discover how a simple metal structure can redefine your open-air living experience.
In this guide, you’ll find an inspiring collection of ideas that promise not only aesthetic charm but also practical solutions for your outdoor space. From enhancing your garden’s appeal to creating a cozy nook for family gatherings, these DIY gazebo frames offer something for everyone. Let us help you unlock the potential of your backyard, boosting your confidence to create a space that’s as functional as it is delightful.
Choose Durable Metal Materials Wisely
When selecting metal materials for your gazebo frame, prioritize durability and weather resistance. Opt for galvanized steel or powder-coated aluminum, as these materials resist rust and corrosion, ensuring longevity in various climates. If you’re in a coastal area, consider stainless steel for its superior resistance to saltwater damage, a crucial factor for maintaining your structure’s integrity.
For a sturdy build, use metal tubing with a thickness of at least 1.5 inches in diameter to withstand strong winds and heavy loads. Beginners can start with pre-drilled metal kits that simplify assembly while allowing for customization. For those more experienced, welding joints offers greater stability and a sleek finish, perfect for creating a professional look. Always remember to anchor your gazebo securely to the ground using concrete footings or metal stakes to prevent shifting in adverse weather conditions.
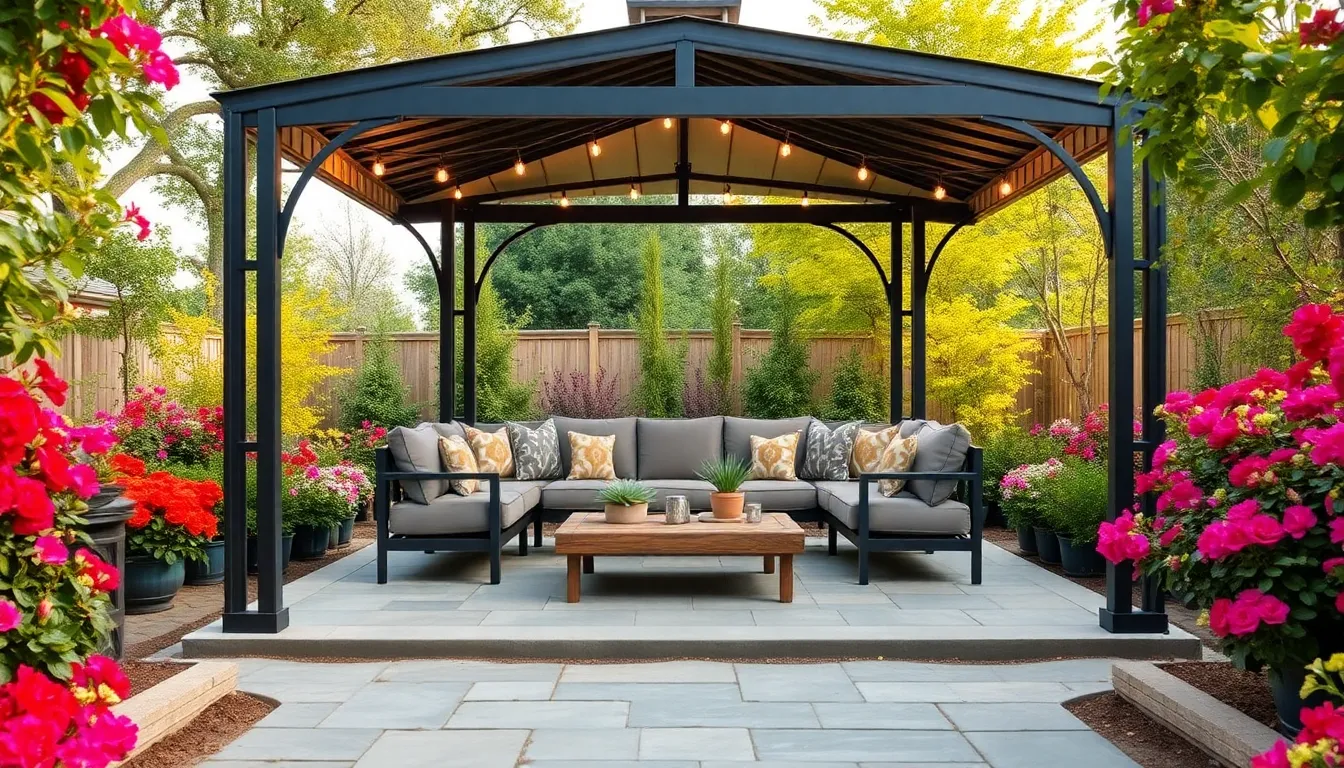
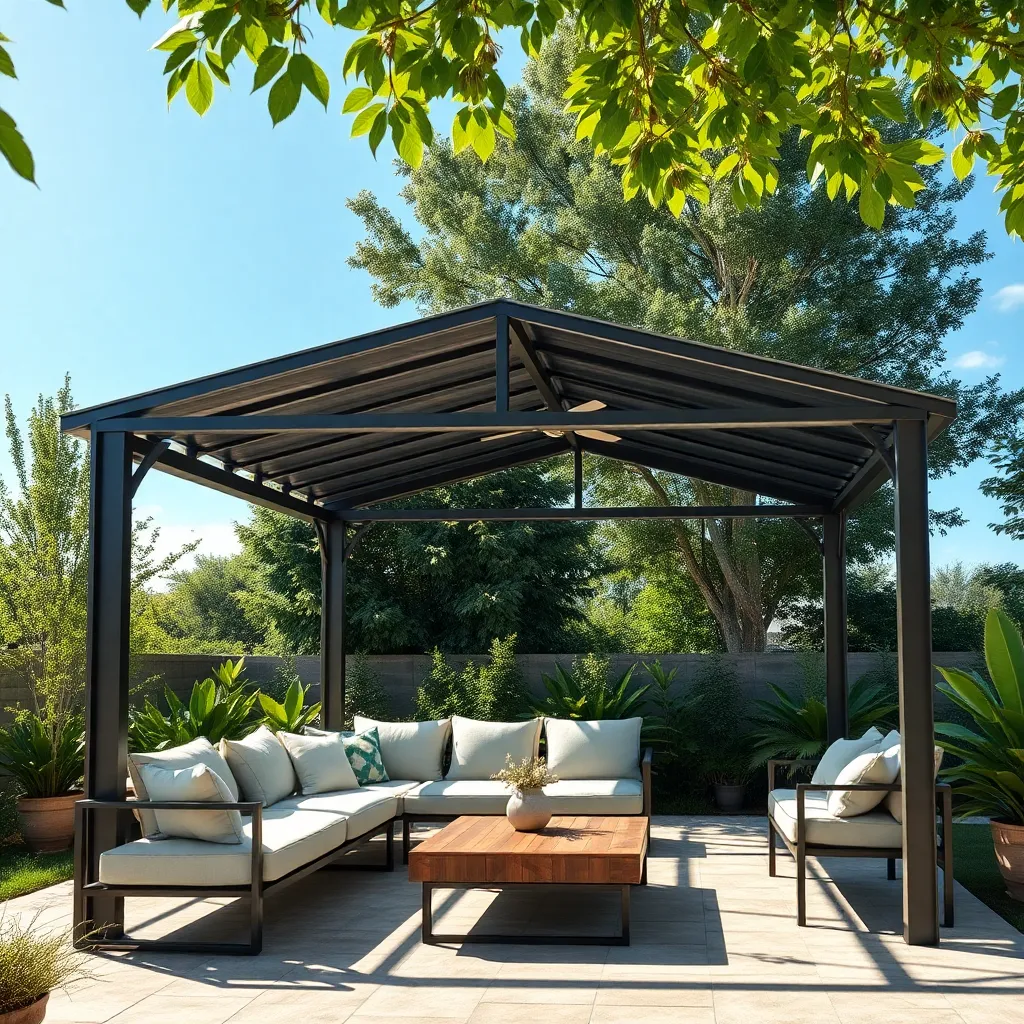
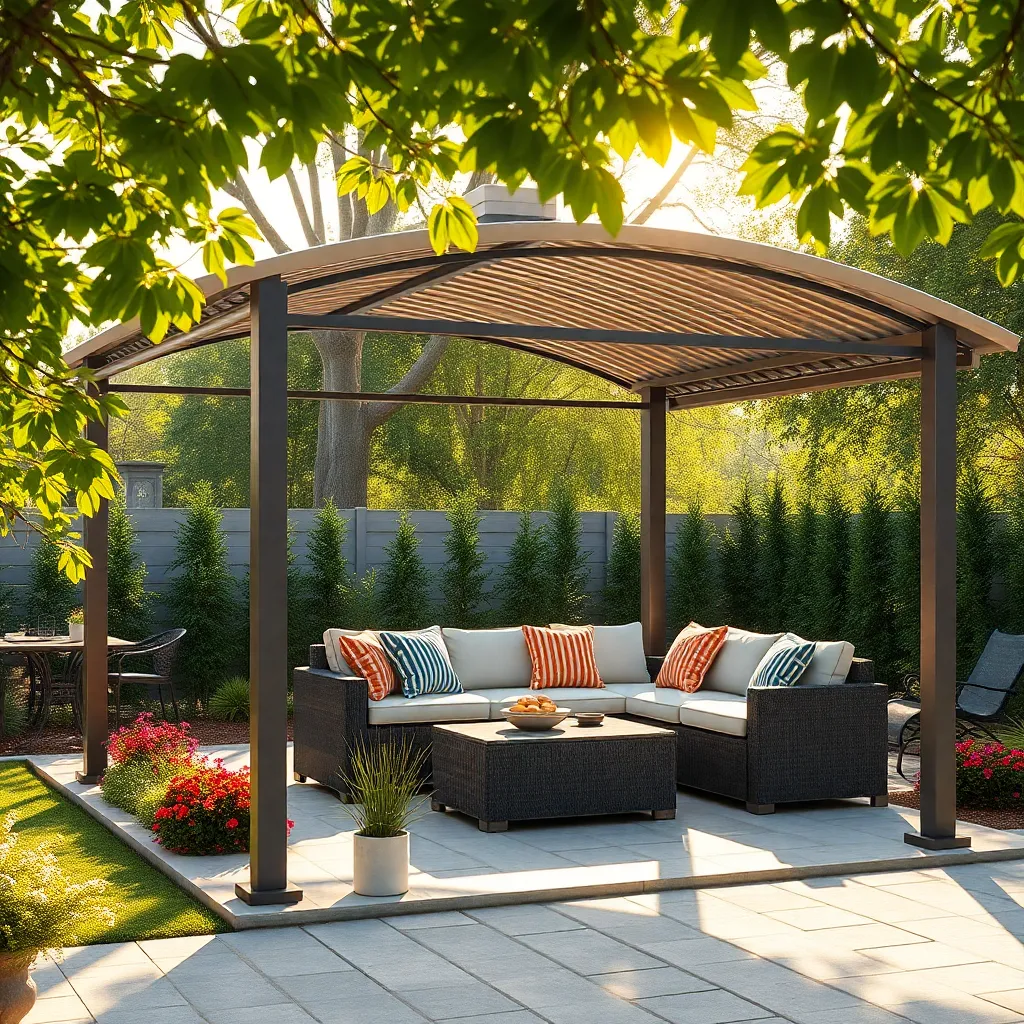
Incorporate Adjustable Canopy Features
To enhance the functionality of your metal gazebo, consider incorporating adjustable canopy features that allow you to control sunlight and ventilation with ease. Opt for a sliding or tilting canopy system that can be manually adjusted depending on the time of day or weather conditions. Look for durable, weather-resistant materials like UV-protected polyester or acrylic fabric for the canopy, ensuring longevity and minimal maintenance.
Beginners can start with simple pulley systems for ease of use, while experienced DIYers might explore motorized options for a touch of luxury. Ensure the canopy frame is sturdy by using galvanized steel or aluminum, which are both lightweight and resistant to rust. Keep in mind the dimensions of your gazebo to ensure the canopy fits snugly, usually allowing for a slight overhang of about 12-18 inches to provide extra shade and protection from rain. This practical feature not only enhances comfort but also adds a customizable element to your outdoor space.
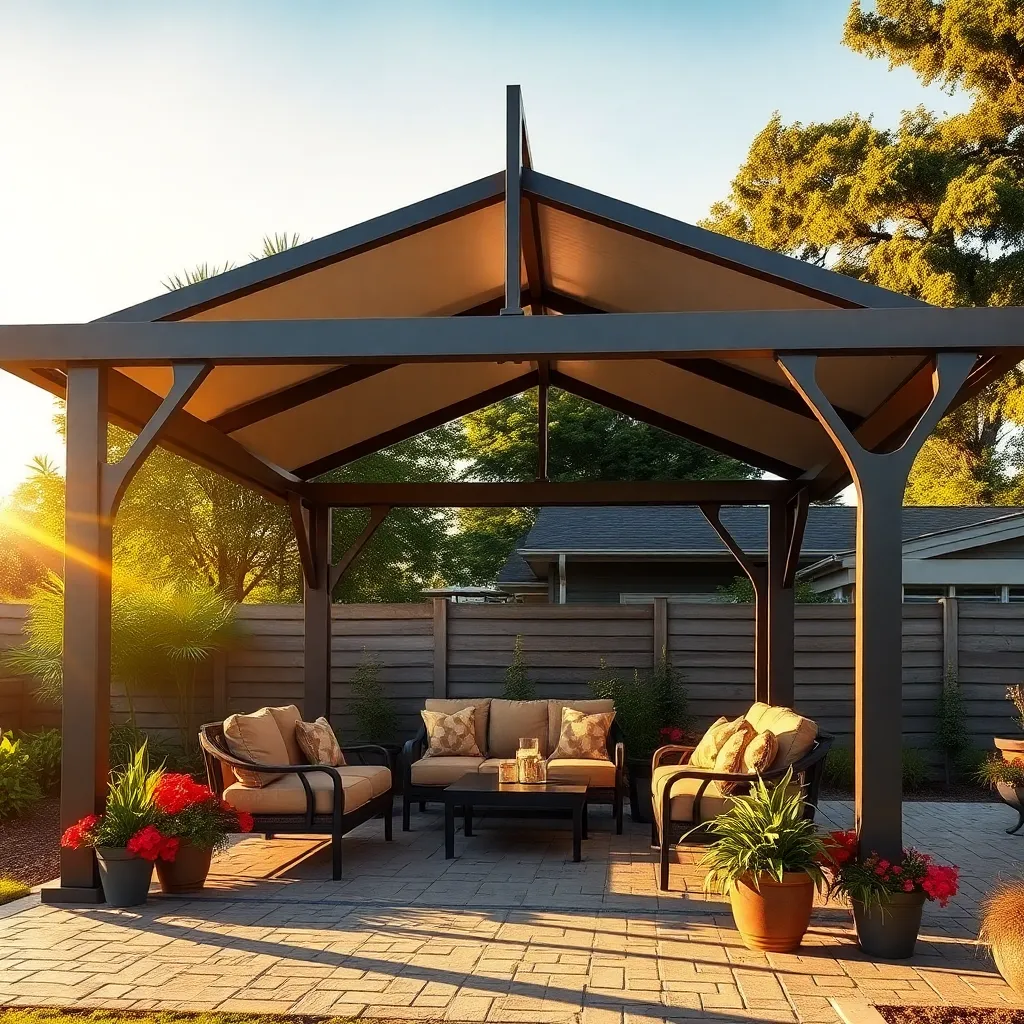
Add Decorative Metal Bracing
To enhance both the aesthetic appeal and structural integrity of your metal gazebo, consider adding decorative metal bracing. Opt for materials like wrought iron or aluminum, which are durable and available in a variety of ornate designs. Decorative brackets can be used at the junctions of the frame to provide additional support while offering a visually pleasing element. When selecting designs, choose patterns that complement the style of your home and garden to create a cohesive look.
For those new to DIY projects, start with simple geometric patterns that are easy to install, using pre-made kits available at most home improvement stores. Advanced DIY enthusiasts might try custom designs by cutting and welding metal pieces themselves for a truly unique touch. Always ensure that the bracing pieces are securely attached using weather-resistant screws or bolts to prevent rust and maintain their strength over time. These additions not only beautify your gazebo but also enhance its durability, making your outdoor space both stylish and sturdy.
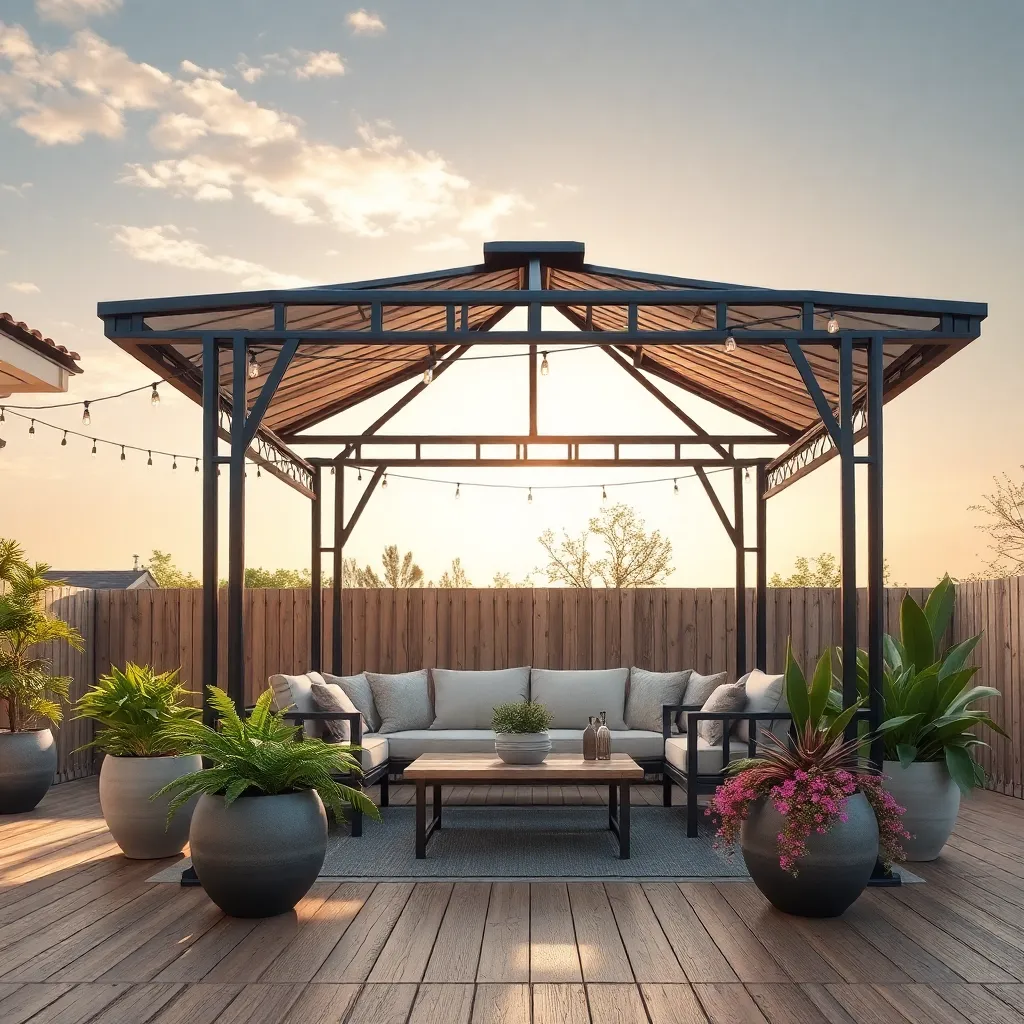
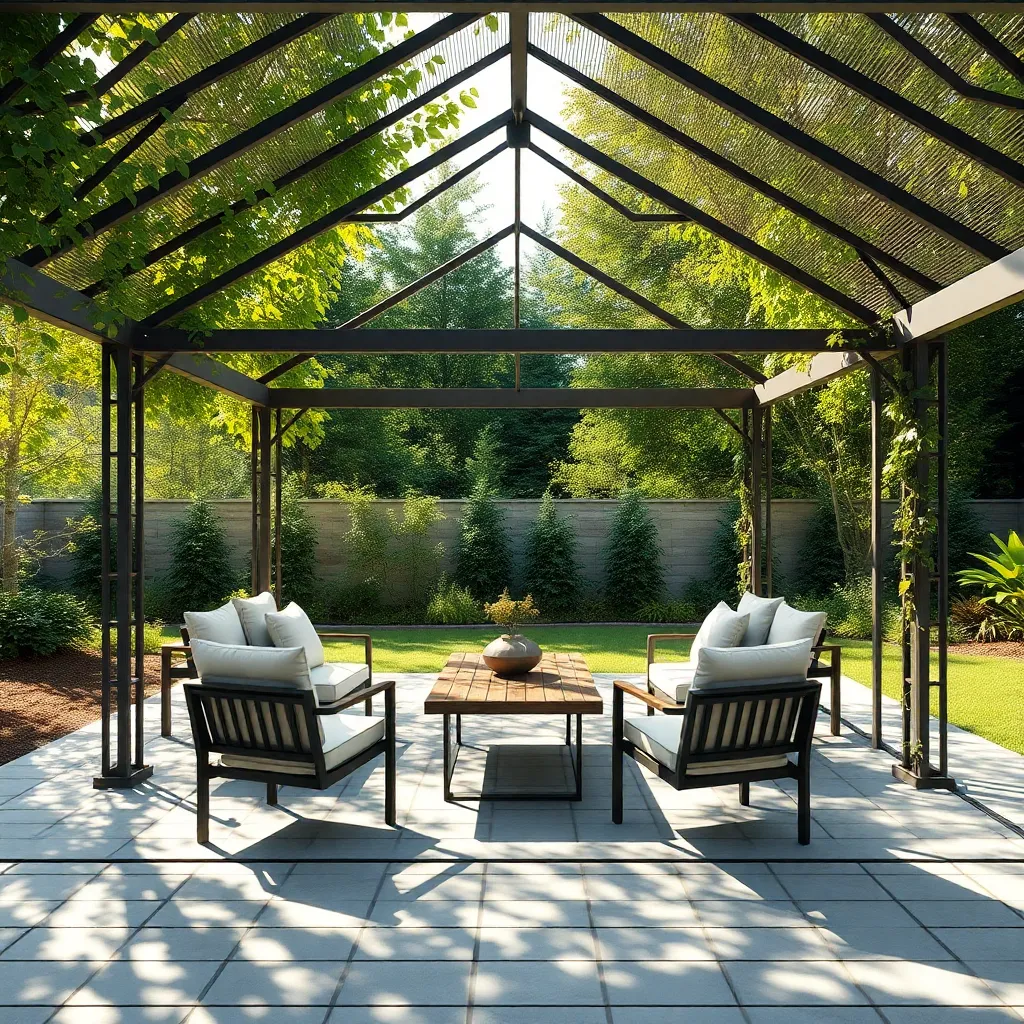
Create Modular Frame Sections
Creating modular frame sections for your metal gazebo is a smart way to ensure flexibility and ease of construction. Begin by selecting sturdy materials like galvanized steel or aluminum, which offer excellent durability and resistance to the elements. For beginners, using pre-measured metal tubing with connector joints simplifies assembly. Ensure that each section is identical in size—typically, a 4×4-foot grid works well for most backyard settings—to facilitate easy expansion or reconfiguration.
Experienced builders might consider incorporating adjustable connectors to allow for slight adjustments in uneven terrain. Mark each segment clearly to streamline the assembly process and ensure a tight fit between sections. For added stability, reinforce joints with cross-bracing or gusset plates. This approach not only enhances structural integrity but also provides a chance to add decorative elements, like ornate metalwork, to personalize your gazebo. Remember, precision in your initial measurements and cuts is crucial for achieving a professional finish.
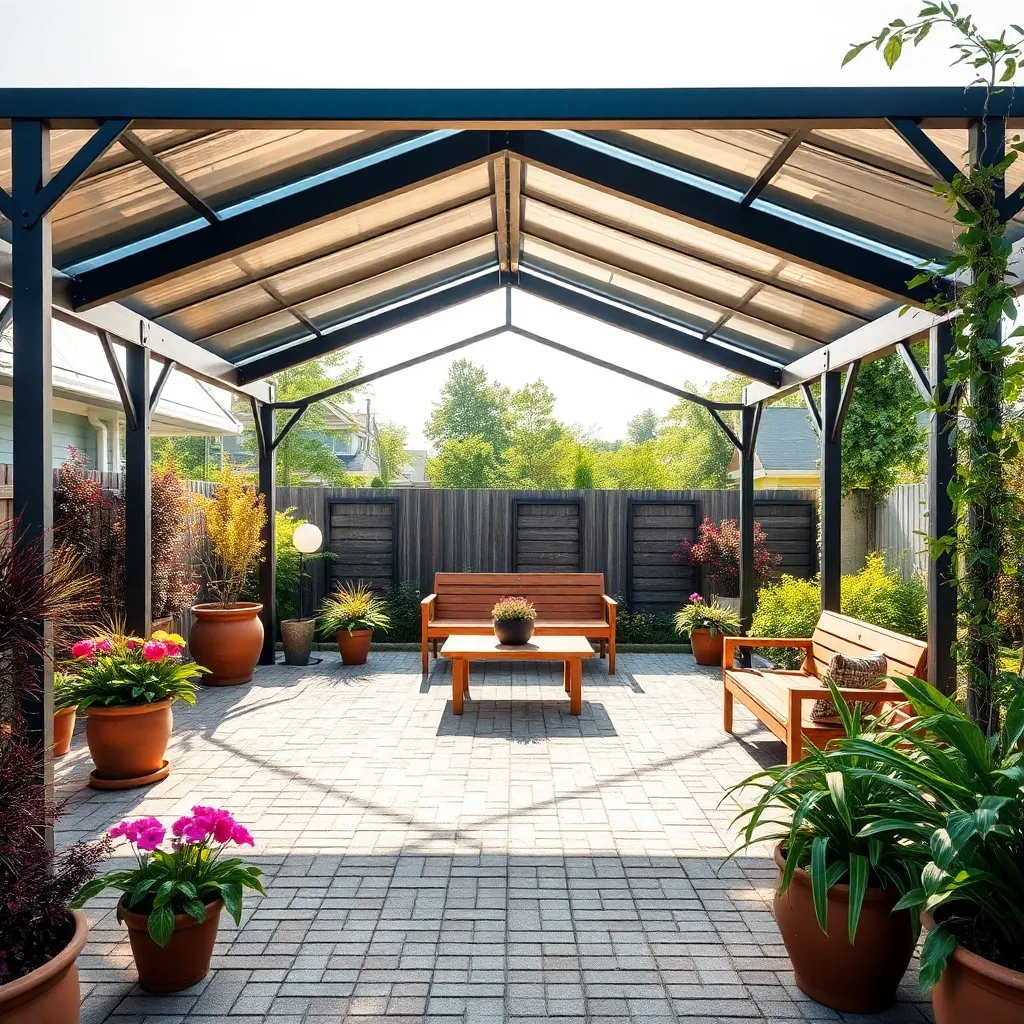
Utilize Pre-drilled Metal Kits

Using pre-drilled metal kits for your gazebo project can significantly streamline the construction process. These kits typically include all necessary components with pre-measured and pre-drilled holes, making assembly akin to piecing together a large puzzle. For beginners, this means less room for error and a faster build time. Simply follow the included instructions, and remember to have basic tools like a screwdriver and wrench on hand to tighten bolts and fasteners.
For those looking to customize their metal gazebo, consider painting the metal frame with weather-resistant paint to match your outdoor decor. Advanced DIYers can enhance stability by anchoring the frame securely to a concrete base, especially in windy areas. Use heavy-duty metal brackets to attach the frame to the ground, ensuring durability. By choosing a kit with a variety of design options, homeowners can create a personalized outdoor retreat that fits their specific aesthetic and functional needs.
Implement Rust-Resistant Coatings
To prolong the life of your metal gazebo frame, implementing rust-resistant coatings is essential. Begin by selecting a high-quality primer specifically designed for metal surfaces, as it creates a strong base that enhances adherence and provides an initial layer of protection. Afterward, apply a rust-inhibiting paint, which not only prevents corrosion but also adds a decorative finish to your gazebo. For beginners, look for spray-on options that offer ease of application, ensuring even coverage without the need for brushes or rollers.
For those seeking advanced techniques, consider using a powder coating, which provides a more durable and long-lasting finish. This method involves applying a dry powder to the metal surface, which is then cured under heat to form a hard protective layer. While this option may require professional equipment or services, it offers superior protection against the elements. Additionally, ensure all joints and connections are sealed with weather-resistant sealants to prevent moisture ingress, further safeguarding your structure from the elements.
Design With Wind Stability In Mind
When designing your metal gazebo frame, it’s crucial to prioritize wind stability to ensure safety and longevity. Start by selecting robust materials like galvanized steel or aluminum, which offer both strength and resistance to rust. Anchor the gazebo securely using concrete footings, especially in windy areas, to prevent it from being lifted by strong gusts. For beginners, consider using pre-drilled anchor kits available at most home improvement stores to simplify the installation process.
For those with more advanced DIY skills, integrating cross-bracing into your design can significantly enhance wind resistance. Position these braces diagonally between the vertical posts to increase structural integrity. Incorporate roof design elements such as a slight pitch or vented roof panels to allow wind to flow over the structure more easily rather than creating upward lift. With careful planning and execution, your gazebo will not only withstand the elements but also serve as a stylish and functional outdoor retreat.
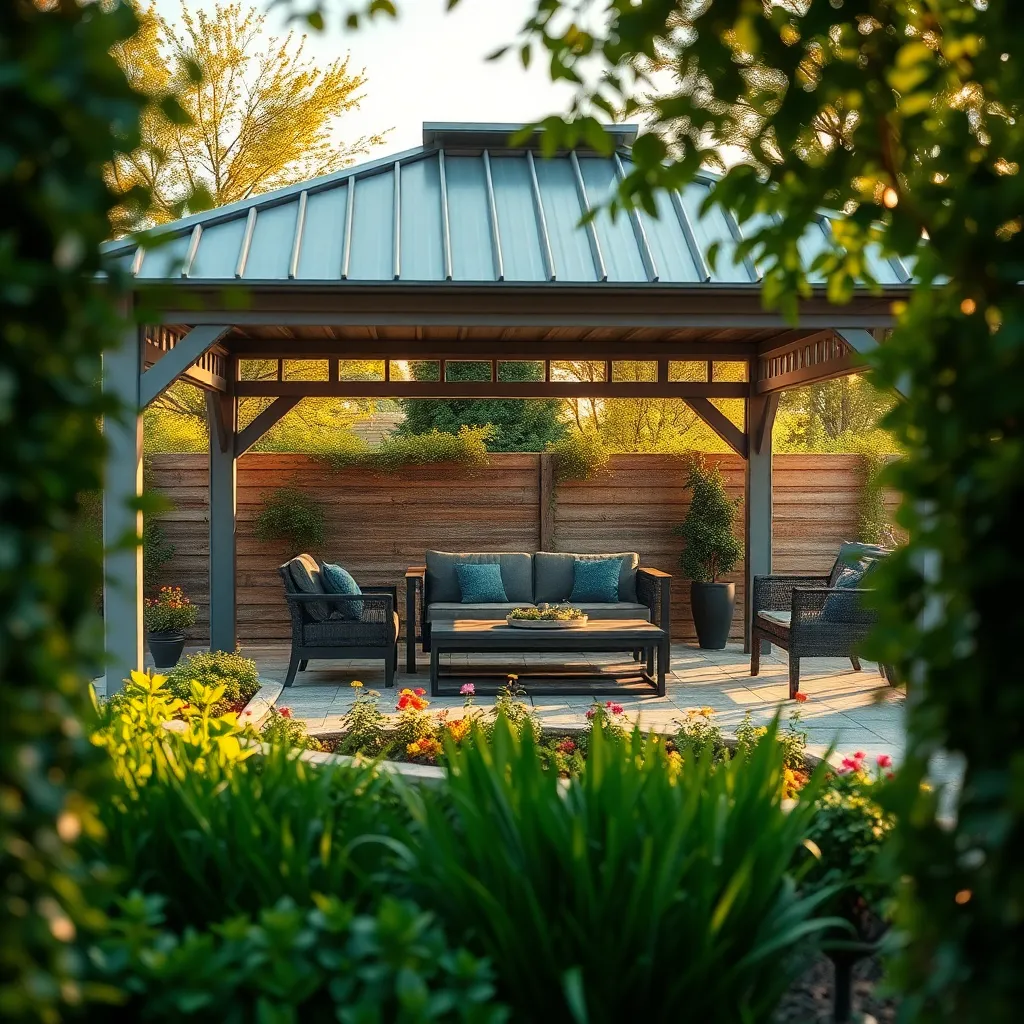
Integrate Built-in Drainage Systems
Incorporating a built-in drainage system into your metal gazebo frame is essential to prevent water accumulation, which can lead to rust and structural damage. Start by slightly sloping the roof design so that rainwater naturally flows towards designated drainage channels. Use durable materials such as galvanized steel or aluminum for these channels to ensure longevity and resistance to corrosion.
For a more advanced approach, consider installing hidden downspouts within the frame legs to discreetly direct water away from the structure’s base. This design not only preserves the aesthetic appeal of your gazebo but also enhances its functionality. Beginners can start with basic PVC piping systems, while experienced DIYers might opt for custom-fabricated metal solutions to match the gazebo’s style and color. Implementing these drainage solutions will keep your outdoor space dry and extend the life of your gazebo.
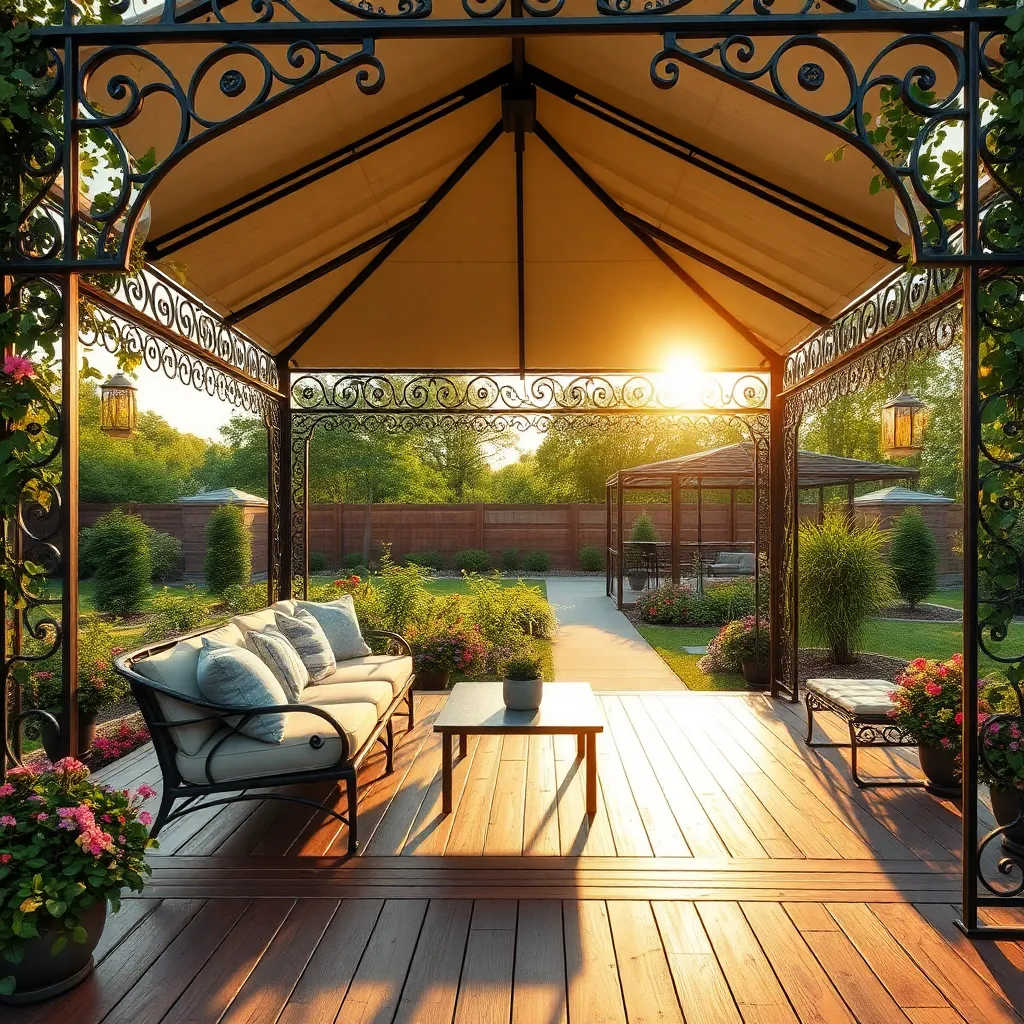
Enhance Aesthetics With Metal Carvings
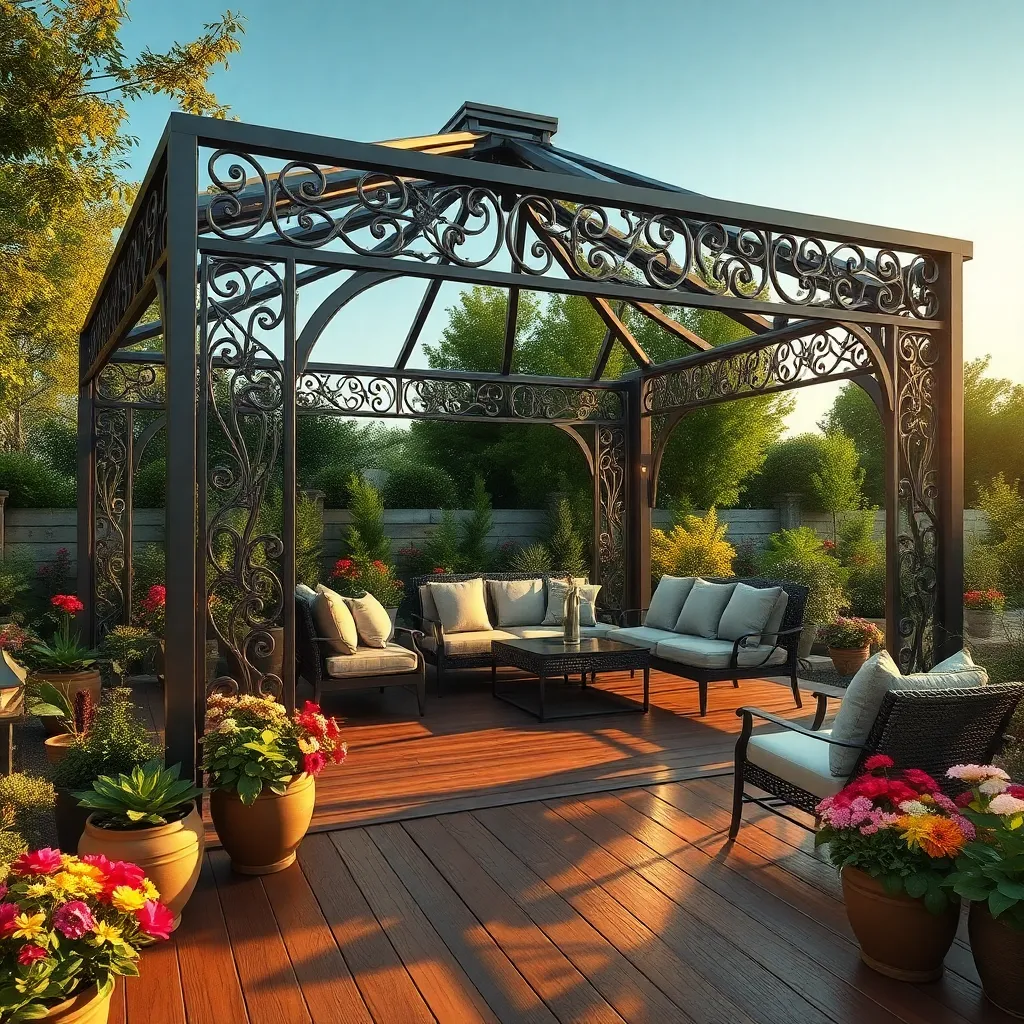
Metal carvings can add a touch of elegance and personalization to your gazebo, transforming it from a simple structure into a stunning focal point. Consider using weather-resistant metals like aluminum or stainless steel for durability, and explore intricate designs that complement your garden’s aesthetic. Beginners might start with pre-made panels that can be easily attached to the frame, while advanced DIYers could experiment with custom-cut designs or even incorporate laser-cut patterns for a unique flair.
For a cohesive look, match the metal carvings to existing elements in your outdoor space, such as garden furniture or pathways. Keep dimensions in mind—carvings that are too large can overwhelm the structure, while too small might get lost in the overall design. For a balanced appearance, aim for panels that are approximately 20-30% of the full height of your gazebo frame. To ensure safety, smooth any sharp edges and secure each piece firmly using rust-resistant fasteners or clips.
Ensure Easy Assembly With Snap-Fit Connectors
Using snap-fit connectors in your DIY metal gazebo frame can significantly simplify the assembly process. These connectors allow for a quick, tool-free setup, making them perfect for both beginners who might be intimidated by complex constructions and seasoned DIY enthusiasts looking for efficiency. To maximize ease, choose connectors made from durable materials like stainless steel or reinforced plastic, ensuring they withstand the elements while providing a secure fit.
For an optimal build, consider a modular design that utilizes snap-fit connectors to enable easy disassembly and storage during off-seasons. This not only saves space but also extends the life of your gazebo by protecting it from harsh weather conditions. When selecting materials, prioritize those with weather-resistant coatings to prevent rust and corrosion, ensuring your structure remains sturdy and attractive for years. By focusing on these elements, you enhance both the practicality and longevity of your outdoor shelter.
Conclusion: Creating Beautiful Outdoor Spaces
In exploring the ’10 DIY Metal Gazebo Frame Ideas,’ we unearthed more than just creative outdoor projects; we delved into the essential relationship concepts of collaboration, communication, adaptability, patience, trust, creativity, support, compromise, shared vision, and resilience. Each idea provided a unique opportunity to build not only a physical structure but also to fortify the emotional and relational ties between partners.
Now, empowered with these insights, take the first step: choose a project that resonates with both of you and set a date to begin. This shared journey promises to enhance your connection while creating a beautiful space to enjoy together.
As you embark on this journey, remember to save this article as your guide and inspiration. Bookmark it now, ensuring these invaluable insights are just a click away whenever you need a reminder of the strength and beauty you can build together.
Your relationship, much like these DIY projects, is a testament to what you can achieve through teamwork and dedication. As you nurture your bond, anticipate a future enriched with deeper understanding and lasting joy. Let these projects be the foundation for not just a gazebo, but a thriving, resilient partnership.